

Sony Bravia KDL-55W900A, Bravia KDL-65S990A I-manual
i-Manual
1
Basic Operations
Parts Description
Print
Font Size
Top Page
Watching TV
Using Other
Devices
Using “BRAVIA”
Sync Devices
Useful Functions
Using Internet
Using Home
Network
Configuring
Various Settings
Troubleshooting
How to Use
Bookmarks
KDL-55W900A
List of Contents© 2013 Sony Corporation
i-Manual
2
Basic Operations
Basic Operations
Print
Top Page > Basic Operations
Font Size
Parts Description
Watching TV
Using Other
Devices
Using “BRAVIA”
Sync Devices
Useful Functions
Using Internet
Using Home
Network
Configuring
Various Settings
Troubleshooting
How to use remote
Home Menu screen
Picture adjustment
Enjoy Internet on TV
How to use i - Manual
Useful OPTIONS button
Watch in 3D
Watch connected device
How to Use
Bookmarks
Top of Page
List of Contents© 2013 Sony Corporation
i-Manual
3
Basic Operations
Parts Description
Print
Top Page > Parts Description
Font Size
Parts Description
Watching TV
Using Other
Devices
Using “BRAVIA”
Sync Devices
Useful Functions
Using Internet
Using Home
Network
Configuring
Various Settings
Troubleshooting
How to Use
Bookmarks
TV Controls/Terminals/Indicators
Front
Right
Terminals
Bottom
Rear
Right
Remote Control
Top
Upper
Middle
Lower
Bottom
One-touch Remote Control
Home Menu screen
Upper
Lower
Back
Displaying Screen Keyboard
Top of Page
List of Contents© 2013 Sony Corporation
i-Manual
4
Basic Operations
Watching TV
Print
Top Page > Watching TV
Font Size
Parts Description
Watching TV
Using Other
Devices
Using “BRAVIA”
Sync Devices
Useful Functions
Using Internet
Using Home
Network
Configuring
Various Settings
Troubleshooting
How to Use
Bookmarks
Selecting Channels
Selecting channels from the Home Menu
Selecting channels by the CH +/- buttons
Selecting channels by the number buttons
Watching in 3D
Watching Twin Picture
Displaying picture- in- picture (PIP)
Displaying left- and-right pictures (P&P)
Changing Display/Audio
Display information
Subtitles/Closed captions
Screen format/Wide Mode
Audio (for analog mode)
Top of Page
List of Contents© 2013 Sony Corporation

i-Manual
5
Basic Operations
Using Other Devices
Print
Top Page > Using Other Devices
Font Size
Parts Description
Watching TV
Using Other
Devices
Using “BRAVIA”
Sync Devices
Useful Functions
Using Internet
Using Home
Network
Configuring
Various Settings
Troubleshooting
How to Use
Bookmarks
BD/DVD Player
HDMI connection
Component video connection
Composite connection
Digital Still Camera/Camcorder
USB Device
PC
Audio System
HDMI connection
Optical audio connection
Audio cable connection
MHL Device
Playable file formats
Top of Page
List of Contents© 2013 Sony Corporation
i-Manual
6
Basic Operations
Top Page > Using “BRAVIA” Sync Devices
Using “BRAVIA” Sync Devices
Print
Font Size
Parts Description
Watching TV
Using Other
Devices
Using “BRAVIA”
Sync Devices
Useful Functions
Using Internet
Using Home
Network
Configuring
Various Settings
Troubleshooting
Setting “BRAVIA” Sync
Using the Sync Menu
Setting Buttons to Control the HDMI/MHL Device
Displaying the “BRAVIA” Sync Device List
How to Use
Bookmarks
Top of Page
List of Contents© 2013 Sony Corporation
i-Manual
7
Basic Operations
Useful Functions
Print
Top Page > Useful Functions
Font Size
Parts Description
Watching TV
Using Other
Devices
Using “BRAVIA”
Sync Devices
Useful Functions
Using Internet
Using Home
Network
Configuring
Various Settings
Troubleshooting
How to Use
Bookmarks
Picture/Sound Auto Adjustment
Selecting a picture and sound setting suitable for the
content
Automatically adjusting picture brightness according
to ambient light
Adding to Favorites
Saving Power Consumption
Saving power by picture brightness
Saving power by automatically adjusting the backlight
drive
Turning the TV off by monitoring idle time
Turning the TV off by monitoring input signal
Using Clock/Timers
Setting the current time manually
Setting the on timer
Using TV as Picture Frame
Setting Parental Control
Setting the sleep timer
Setting parental lock password
Setting viewing restriction
Blocking specific channels
Restricting Internet access
Top of Page
List of Contents© 2013 Sony Corporation
i-Manual
8
Basic Operations
Using Internet
Print
Top Page > Using Internet
Font Size
Parts Description
Watching TV
Using Other
Devices
Using “BRAVIA”
Sync Devices
Useful Functions
Using Internet
Using Home
Network
Configuring
Various Settings
Troubleshooting
Connecting to the Internet
Wireless connection (built-in wireless LAN)
Wired connection (with a LAN cable)
Setting IPv6
Browsing Websites
Watching Internet Video
Using Skype
Performing initial setup
Making a call
Current View Information Search
Keyword Search
How to Use
Bookmarks
Top of Page
List of Contents© 2013 Sony Corporation
i-Manual
9
Basic Operations
Using Home Network
Print
Top Page > Using Home Network
Font Size
Parts Description
Watching TV
Using Other
Devices
Using “BRAVIA”
Sync Devices
Useful Functions
Using Internet
Using Home
Network
Configuring
Various Settings
Troubleshooting
Playing Content on a PC
Home Network Settings
Enabling the renderer function
Allowing/blocking access from controller
Making advanced renderer settings
Selecting servers to display
Checking server connection
Playing Content with Renderer Function
Using a Smartphone/Tablet as a Remote
Using Wi - Fi Direct Function
Using One-touch mirroring
Using Screen mirroring
How to Use
Bookmarks
Top of Page
List of Contents© 2013 Sony Corporation
i-Manual
10
Basic Operations
Top Page > Configuring Various Settings
Configuring Various Settings
Print
Font Size
Parts Description
Watching TV
Using Other
Devices
Using “BRAVIA”
Sync Devices
Useful Functions
Using Internet
Using Home
Network
Configuring
Various Settings
Troubleshooting
How to Use
Bookmarks
Picture/Screen Settings
Selecting picture mode
Adjusting various picture settings (e.g. picture
brightness/color)
Locking picture adjustment
Setting screen size/position
Sound Settings
Adjusting various sound settings (e.g.
bass/treble/balance)
Setting sound according to TV position
Channel Settings
Checking signal information
Selecting the cable/antenna signal
Tuning channels automatically
Adding digital channels
Program Information & Service Settings
General Settings
Setting channels to surf with CH +/- buttons
Editing channel labels
Fine adjusting analog channels
Setting the information banner
Setting closed captions
Turning off the key tone of remote control operations
Turning off start-up logo
Turning on/off and adjusting the brightness of the

illumination
Setting menu language
11
Setting your region
Setting One- touch Remote Control
Setting Bluetooth Device
External Sound Output Settings
Selecting speakers to output sound
Outputting sound from headphones
Controlling the volume of an audio system with the
TV’s remote control
Setting headphone speaker link
External Input Settings
Managing external inputs
Switching the video input
Making detailed settings of video input
Running initial setup
Support
Checking Sony contact information
Uploading operation history
Software Update
Updating broadcast/service software
Updating TV’s software
Top of Page
List of Contents© 2013 Sony Corporation
i-Manual
12
Basic Operations
Troubleshooting
Print
Top Page > Troubleshooting
Font Size
Parts Description
Watching TV
Using Other
Devices
Using “BRAVIA”
Sync Devices
Useful Functions
Using Internet
Using Home
Network
Configuring
Various Settings
Troubleshooting
How to Use
Bookmarks
Power Symptoms
Picture/Screen Symptoms
Broadcast Reception Symptoms
3D Picture/Glasses Symptoms
Sound Symptoms
Connected Device Symptoms
Network/Application Symptoms
Home Network Symptoms
Remote Control Symptoms
One-touch Remote Control Symptoms
Bluetooth Mouse Symptoms
Screen mirroring Symptoms
One-touch mirroring Symptoms
TV SideView Symptoms
Wi-Fi 5GHz Symptoms
Notes
Top of Page
List of Contents© 2013 Sony Corporation
i-Manual
13
Basic Operations
How to Use Bookmarks
Print
Top Page > How to Use Bookmarks
Font Size
Parts Description
Watching TV
Using Other
Devices
Using “BRAVIA”
Sync Devices
Useful Functions
Using Internet
Using Home
Network
Configuring
Various Settings
Troubleshooting
How to Use
Bookmarks
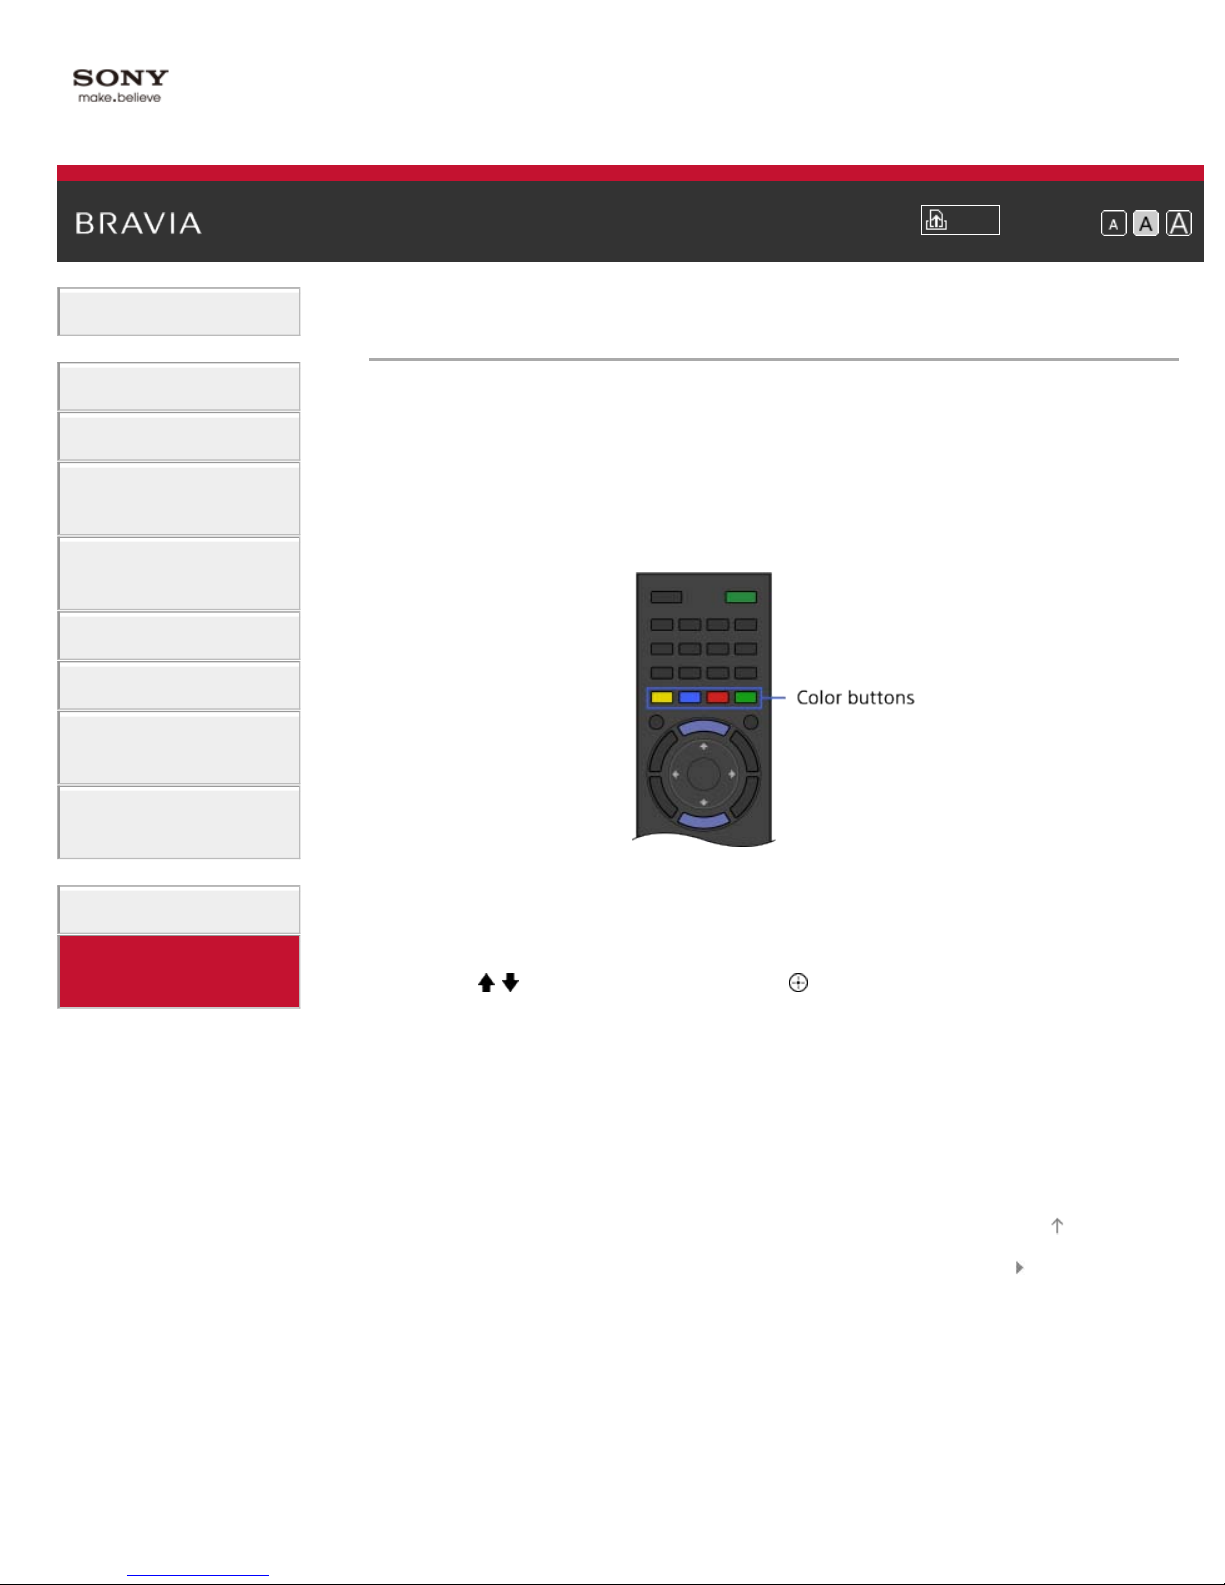
You can save frequently viewed pages in this manual. Use the color
buttons indicated at the bottom of the screen.
To save a page
In the page to bookmark, press the red button that corresponds to [Add
Bookmark] at the bottom of the screen.
To access the bookmarked page
Press the blue button that corresponds to [Show Bookmark] at the
bottom of the screen to display the bookmark list. Select the desired title
using the
/ buttons, then press the button.
To return to the previous screen
Press the RETURN button.
To remove a bookmark
In a bookmarked page, press the red button that corresponds to
[Remove Bookmark] at the bottom of the screen.
Top of Page
List of Contents© 2013 Sony Corporation
i-Manual
14
Basic Operations
How to use remote
Home Menu screen
Picture adjustment
Enjoy Internet on TV
How to use i-Manual
Useful OPTIONS button
Watch in 3D
Watch connected device
Parts Description
Print
Top Page > List of Contents
Font Size
Top of Page
TV Controls/Terminals/Indicators
Front
Right
Terminals
Bottom
Rear
Right
Remote Control
Top
Upper
Middle
Lower
Bottom
One-touch Remote Control
Upper
Lower
Back

Displaying Screen Keyboard
Home Menu screen
15
Watching TV
Selecting Channels
Selecting channels from the Home Menu
Selecting channels by the CH +/- buttons
Selecting channels by the number buttons
Watching in 3D
Watching Twin Picture
Displaying picture -in-picture (PIP)
Displaying left -and-right pictures (P&P)
Changing Display/Audio
Display information
Subtitles/Closed captions
Top of Page
Screen format/Wide Mode
Audio (for analog mode)
Using Other Devices
BD/DVD Player
HDMI connection
Component video connection
Composite connection
Digital Still Camera/Camcorder
USB Device
PC
Audio System
HDMI connection
Optical audio connection
Top of Page
Audio cable connection
MHL Device
Playable file formats
Top of Page

Using “BRAVIA” Sync Devices
16
Setting “BRAVIA” Sync
Using the Sync Menu
Setting Buttons to Control the HDMI/MHL Device
Displaying the “BRAVIA” Sync Device List
Useful Functions
Picture/Sound Auto Adjustment
Selecting a picture and sound setting suitable for the content
Automatically adjusting picture brightness according to ambient light
Adding to Favorites
Saving Power Consumption
Saving power by picture brightness
Saving power by automatically adjusting the backlight drive
Turning the TV off by monitoring idle time
Top of Page
Turning the TV off by monitoring input signal
Using Clock/Timers
Setting the current time manually
Setting the on timer
Setting the sleep timer
Using TV as Picture Frame
Setting Parental Control
Setting parental lock password
Setting viewing restriction
Blocking specific channels
Restricting Internet access
Using Internet
Connecting to the Internet
Top of Page
Wireless connection (built-in wireless LAN)
Wired connection (with a LAN cable)
Setting IPv6
Browsing Websites
Watching Internet Video

Using Skype
17
Performing initial setup
Making a call
Current View Information Search
Keyword Search
Using Home Network
Playing Content on a PC
Home Network Settings
Enabling the renderer function
Allowing/blocking access from controller
Making advanced renderer settings
Selecting servers to display
Checking server connection
Top of Page
Playing Content with Renderer Function
Using a Smartphone/Tablet as a Remote
Using Wi-Fi Direct Function
Using One-touch mirroring
Using Screen mirroring
Configuring Various Settings
Picture/Screen Settings
Selecting picture mode
Adjusting various picture settings (e.g. picture brightness/color)
Locking picture adjustment
Setting screen size/position
Sound Settings
Adjusting various sound settings (e.g. bass/treble/balance)
Top of Page
Setting sound according to TV position
Channel Settings
Checking signal information
Selecting the cable/antenna signal
Tuning channels automatically
Adding digital channels

Setting channels to surf with CH +/ - buttons
Editing channel labels
18
Fine adjusting analog channels
Program Information & Service Settings
Setting the information banner
Setting closed captions
General Settings
Turning off the key tone of remote control operations
Turning off start-up logo
Turning on/off and adjusting the brightness of the illumination
Setting menu language
Setting your region
Setting One-touch Remote Control
Setting Bluetooth Device
External Sound Output Settings
Selecting speakers to output sound
Outputting sound from headphones
Controlling the volume of an audio system with the TV’s remote control
Setting headphone speaker link
External Input Settings
Managing external inputs
Switching the video input
Making detailed settings of video input
Running initial setup
Support
Checking Sony contact information
Uploading operation history
Software Update
Updating broadcast/service software
Updating TV’s software
Top of Page
Troubleshooting
Power Symptoms
Picture/Screen Symptoms
Broadcast Reception Symptoms

3D Picture/Glasses Symptoms
Sound Symptoms
19
Connected Device Symptoms
Network/Application Symptoms
Home Network Symptoms
Remote Control Symptoms
One-touch Remote Control Symptoms
Bluetooth Mouse Symptoms
Screen mirroring Symptoms
One-touch mirroring Symptoms
TV SideView Symptoms
Wi-Fi 5GHz Symptoms
Notes
Top of Page
List of Contents© 2013 Sony Corporation

i-Manual
20
Basic Operations
Parts Description
How to use remote
Print
Top Page > Basic Operations > How to use remote
Font Size
Watching TV
Using Other
Devices
Using “BRAVIA”
Sync Devices
Useful Functions
Using Internet
Using Home
Network
Configuring
Various Settings
Troubleshooting
How to Use
Bookmarks
Using / / / and Buttons
Operate this TV’s functions and settings basically using / / / and
buttons.
1. Select the item on the screen using the / / / buttons.
2. Press the button to apply the selection.
Using RETURN and Color Buttons
To return to the previous screen
Press the RETURN button.
To operate functions using the color buttons
The color buttons and available functions are indicated at the bottom of
the screen.
Press the color button that corresponds to the function you want to use.
The available functions differ depending on the screen.

Related Information
Home Menu screen
21
How to use i-Manual
Top of Page
List of Contents© 2013 Sony Corporation
i-Manual
22
Basic Operations
Parts Description
Home Menu screen
Print
Top Page > Parts Description > Home Menu screen
Font Size
Watching TV
Using Other
Devices
Using “BRAVIA”
Sync Devices
Useful Functions
Using Internet
Using Home
Network
Configuring
Various Settings
Troubleshooting
How to Use
Bookmarks
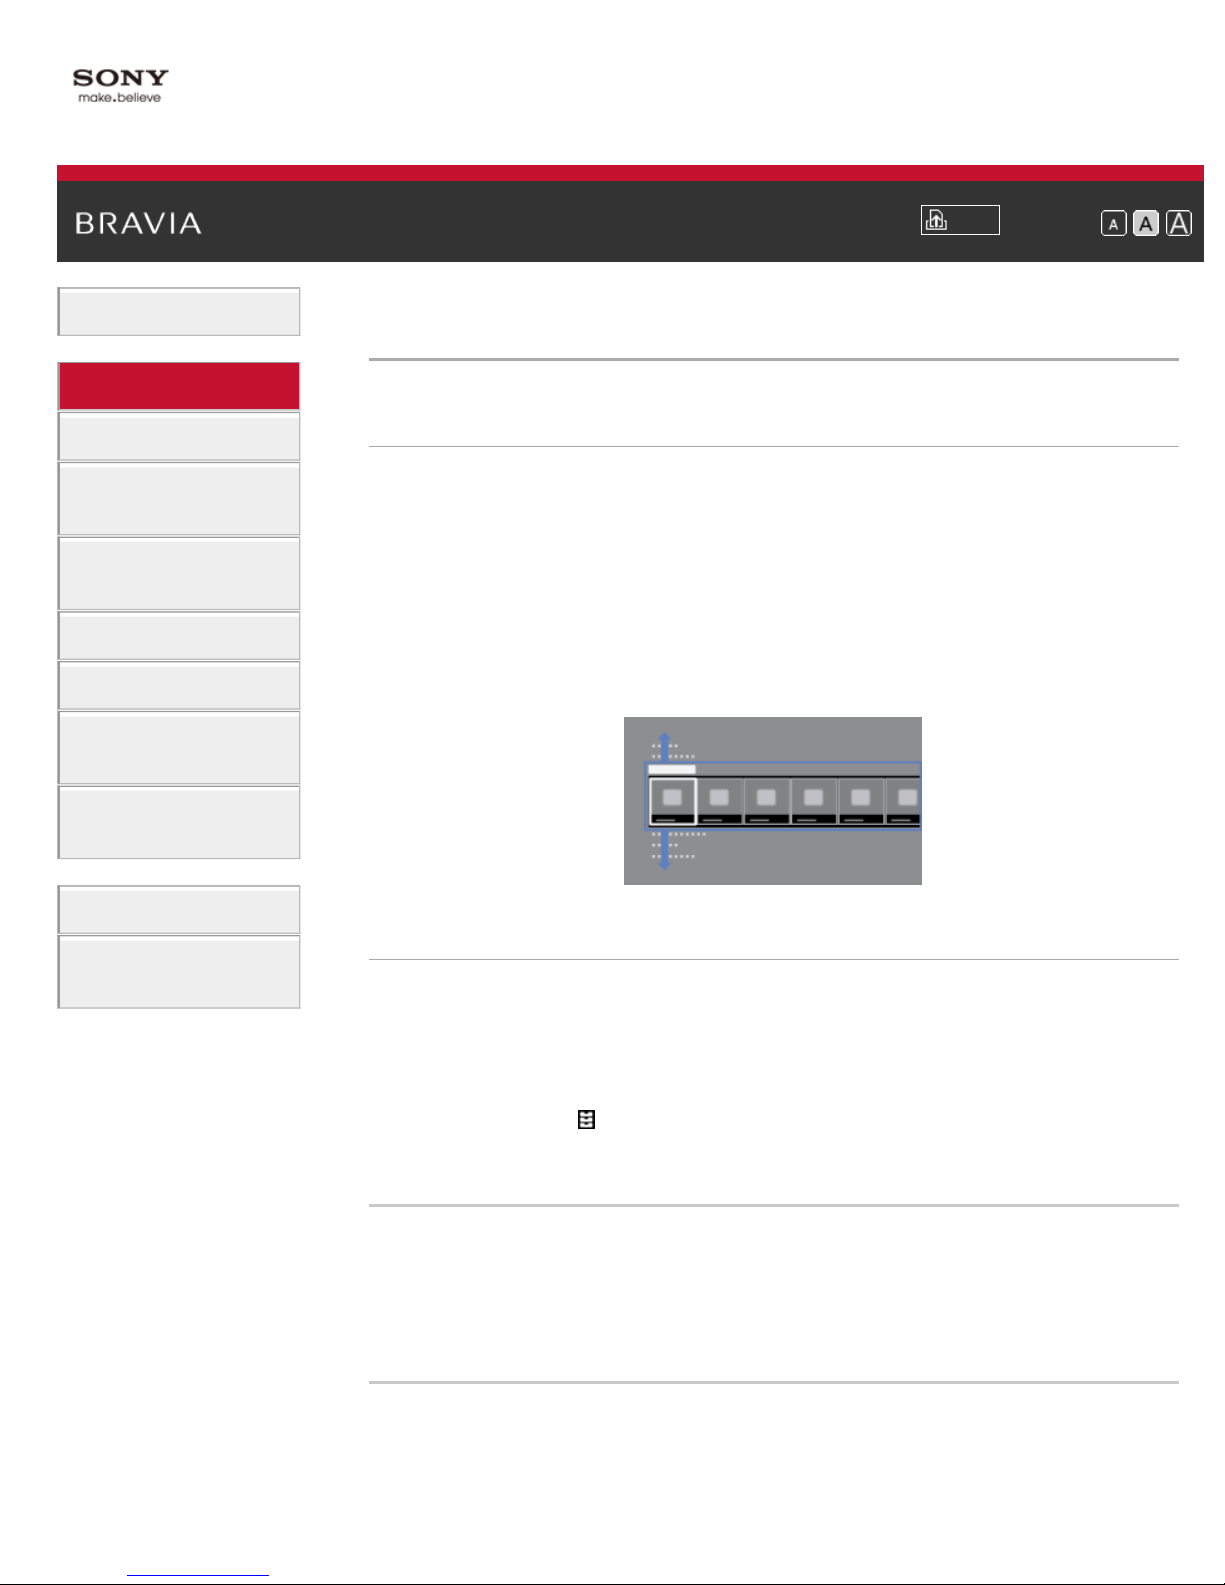
Overview
The Home Menu, which can be displayed by pressing the HOME
button, contains various categories.
Displays content such as TV program, external inputs and function
settings, divided into categories. You can first select the category, then
select a desired program or external input, or change settings, such as
picture quality. The number of categories and available items vary
depending on your region/country.
Categories in the Home Menu
[Featured]
Displays recommend information and current information about available
applications and content.
If there is no network connection, or the [Featured] display setting is set
to [Settings] →
Display] → [Off], the [Featured] category will not be displayed. (This
function is available depending on your region/country.)
[Preferences] → [Home Menu Settings] → [Featured
[History]
[TV]
Allows you to choose from [History], such as a channel, input, or
application that you watched and used recently.
If the History display setting is set to [Off], the [History] category will not
be displayed.
Allows you to choose from a list of TV channels, or a program guide.
(Program guide is available depending on your TV model or region.)
Also, enables timer recordings to a connected USB HDD devices, and
selection of recorded content play. (This function may not be available
23
depending on your model/region/country.)
A list of channels registered as favorites in the TV category are
displayed.
[Applications]
Launches applications that require an Internet connection. Although
most applications need an Internet connection, for Media Player it is not
necessary.
A list of applications registered as favorites in the Applications category
are displayed.
If you select [All Applications], all applications are displayed as a list.
You can register your favorite applications to [Applications] in the Home
Menu by selecting a favorite application icon and pressing the OPTIONS
button. You can enjoy more applications if you connect your TV to the
Internet. (This function is available depending on your region/country.)
[Connected Devices]
Enables selection of devices connected to the TV.
[Settings]
Provides settings (e.g. picture settings, sound settings, key tone setting)
that allow you to customize your TV.
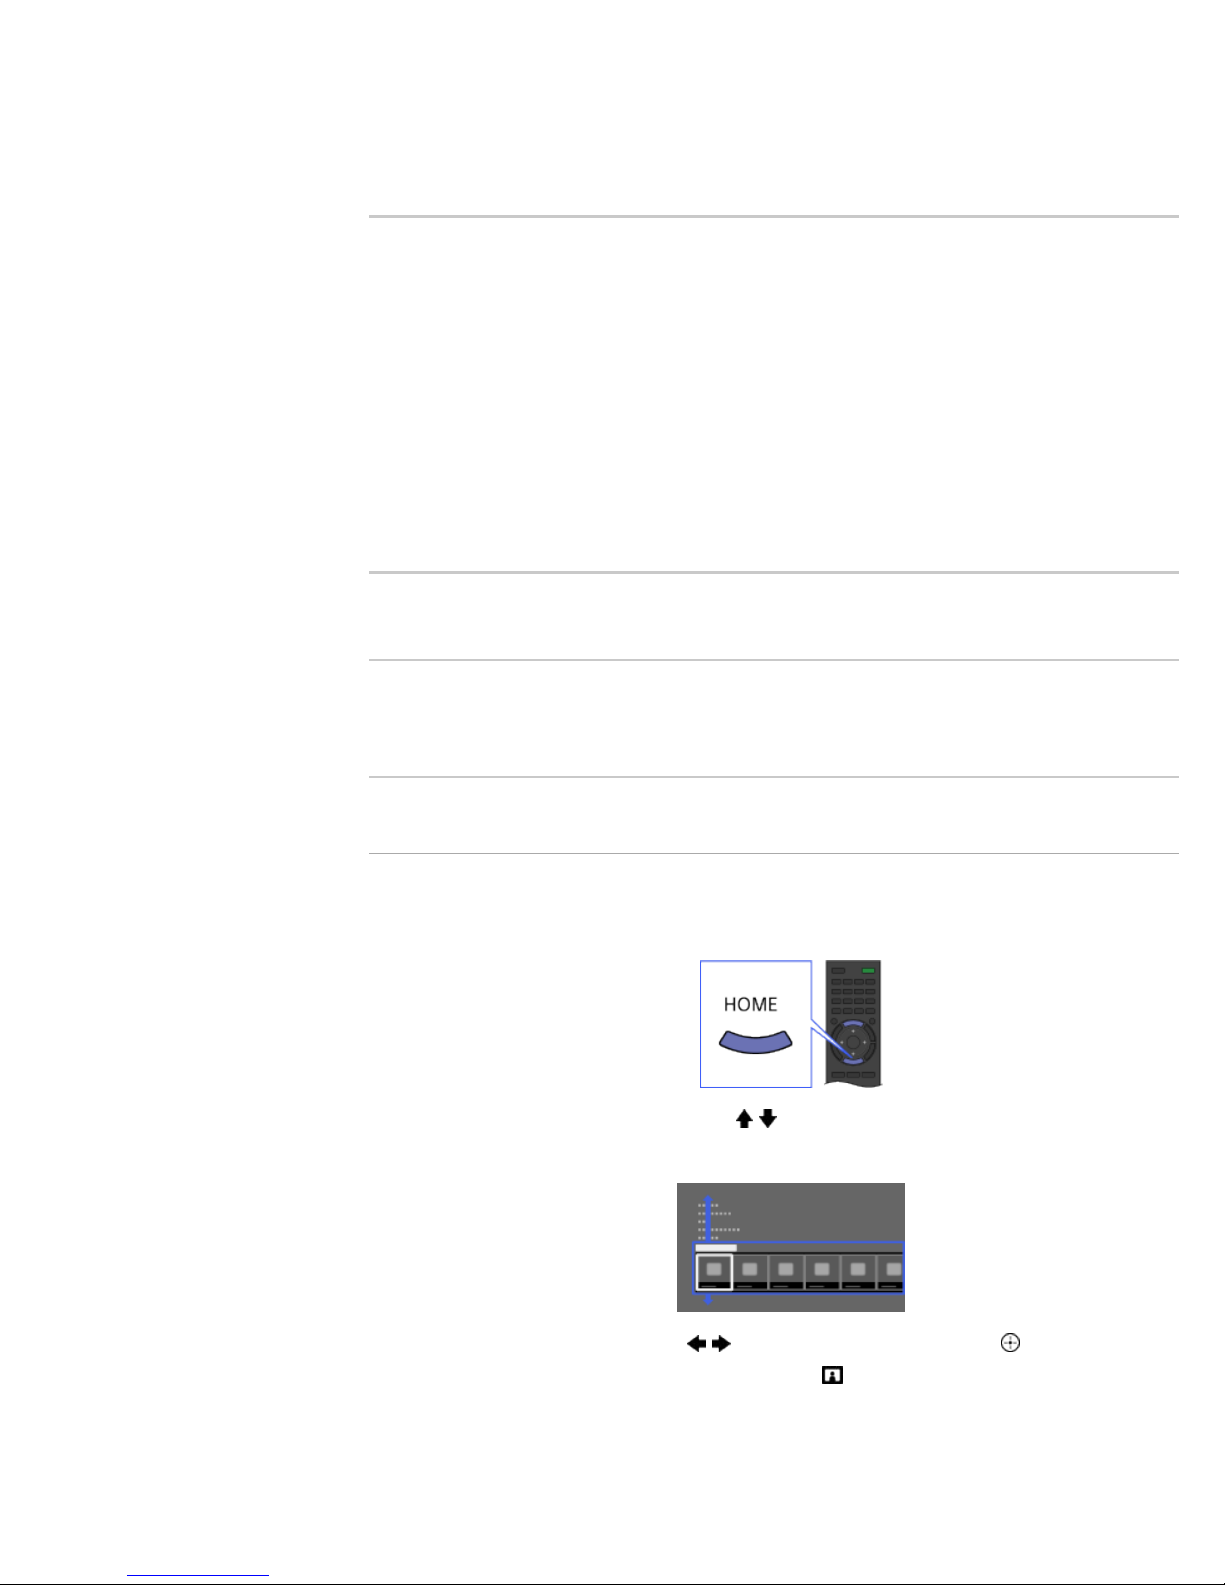
Steps
1.
Press the HOME button.
The Home Menu appears.
2. Select the category using the / buttons.
(Illustration example: When selecting the [Settings] category.)
3. Select the item using the / buttons, then press the button.
(Illustration example: When selecting
[Picture & Display].)
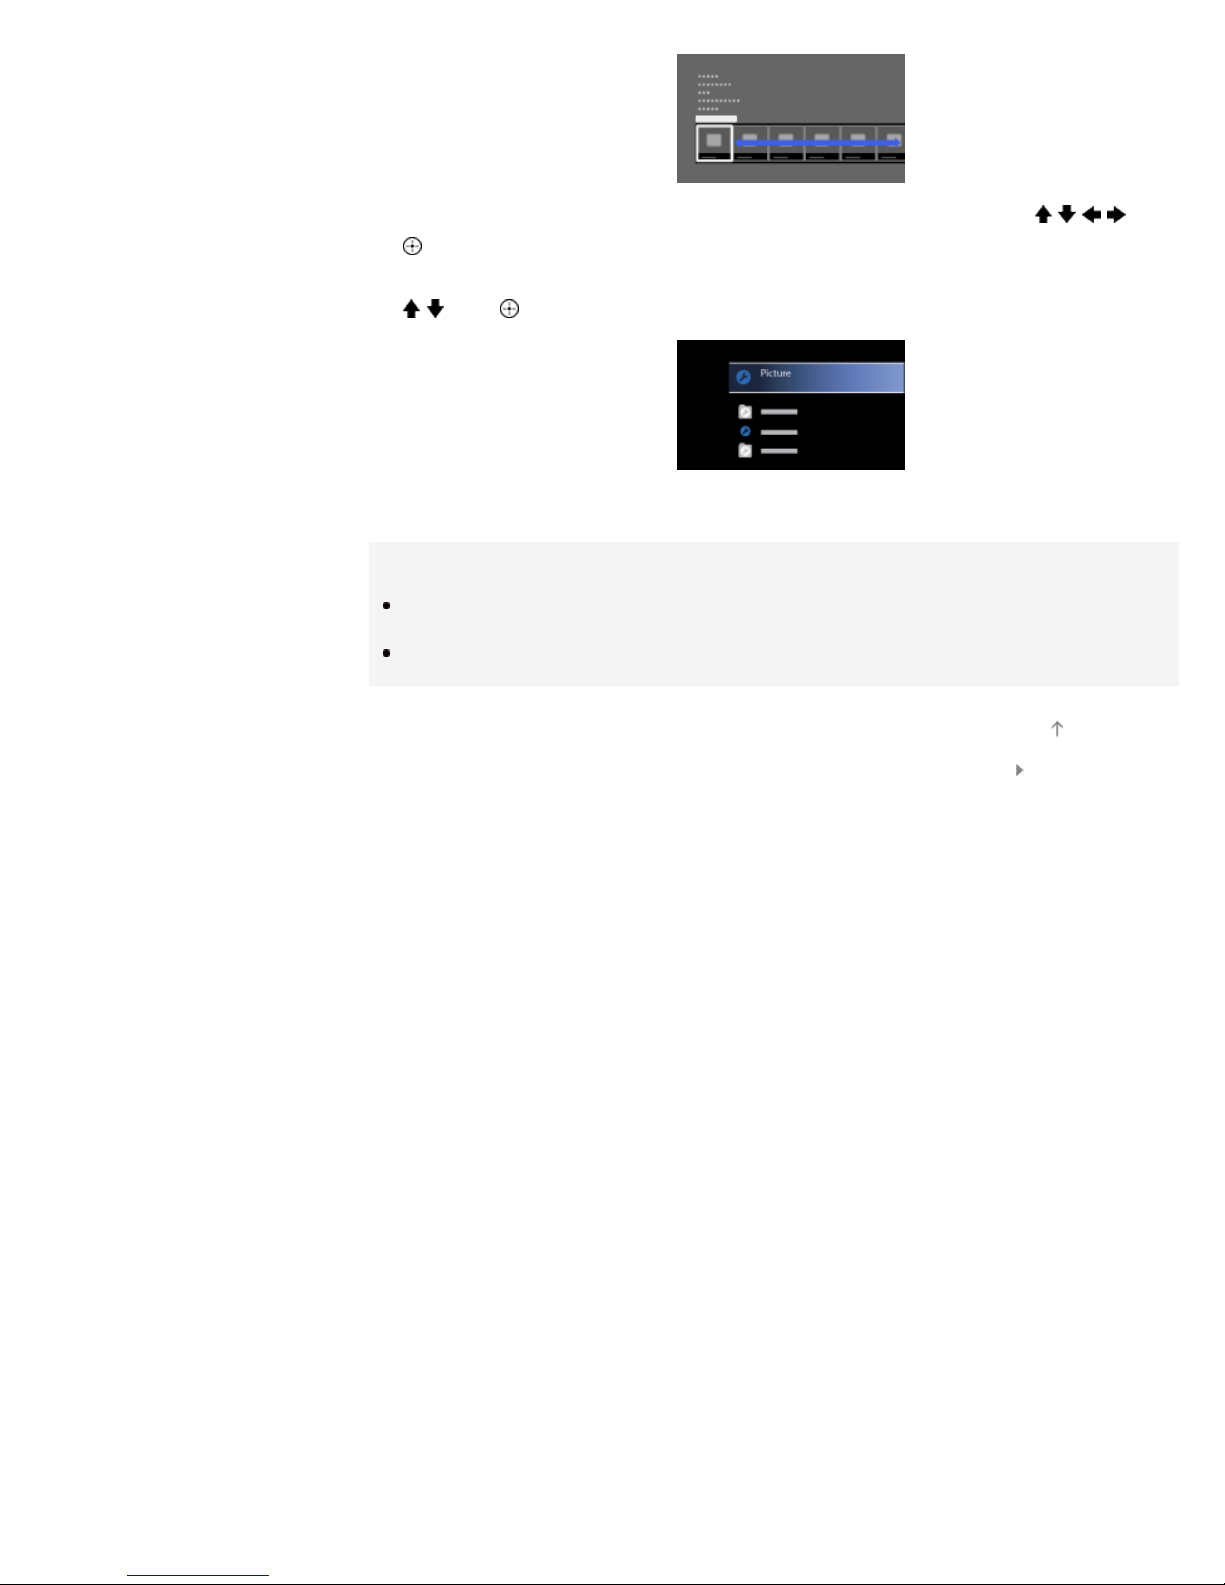
4. In the displayed screen, perform the operation using the / / / and
24
buttons.
(Illustration example: When selecting [Picture Adjustments] using the
/ and buttons.)
To return to the last viewed source, press the HOME button twice.
Tips
The items you can select may vary depending on the situation.
Unavailable items are grayed out or not displayed.
Top of Page
List of Contents© 2013 Sony Corporation
i-Manual
25
Basic Operations
Print
Top Page > Configuring Various Settings > Adjusting various picture settings (e.g. picture
Font Size
brightness/color)
Parts Description
Watching TV
Using Other
Devices
Using “BRAVIA”
Sync Devices
Useful Functions
Using Internet
Using Home
Network
Configuring
Various Settings
Troubleshooting
Adjusting various picture settings (e.g. picture
brightness/color)
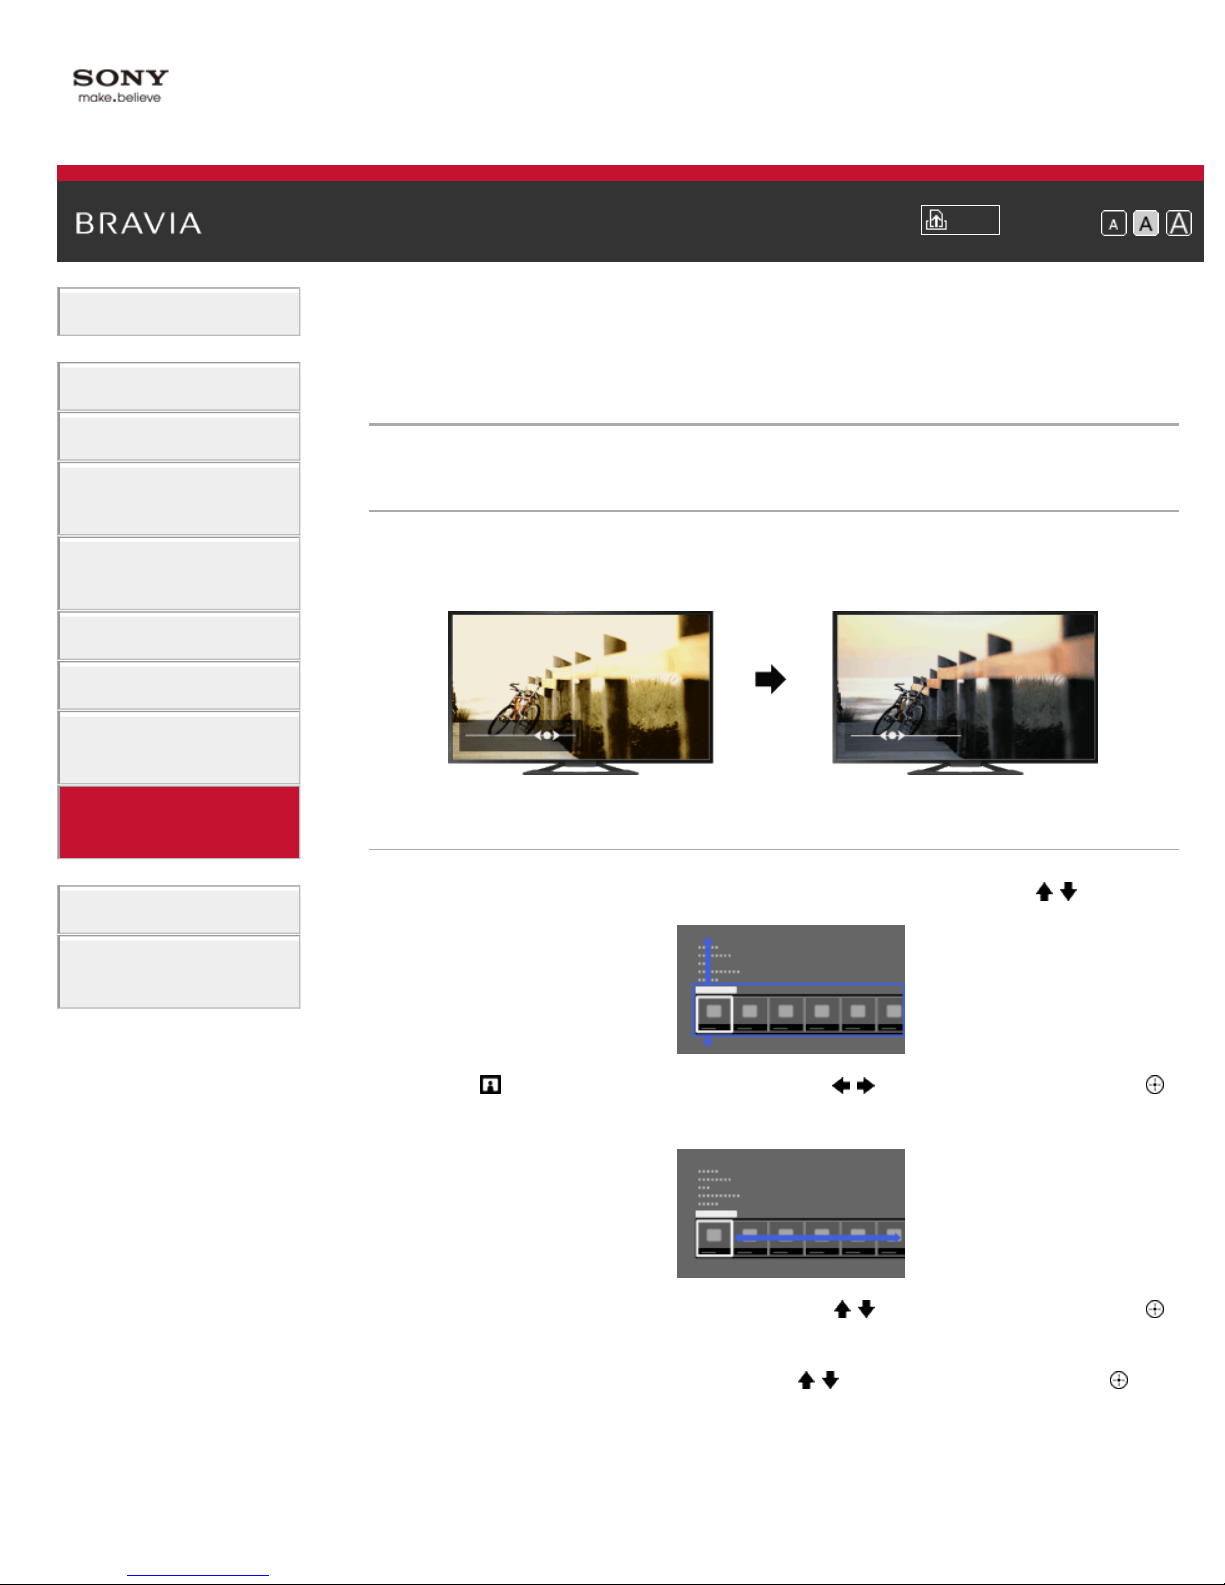
Overview
You can adjust various picture settings, such as picture
brightness/color, etc.
Steps
1.
Press the HOME button, then select [Settings] using the / buttons.
How to Use
Bookmarks
2. Select [Picture & Display] using the / buttons, then press the
button.
3. Select [Picture Adjustments] using the / buttons, then press the
button.
4. Select the desired option using the / buttons, then press the
button.
To return to the last viewed source, press the HOME button twice.

Available Options
[Setting Memory]
26
Applies custom picture settings to the current input or to common
memory shared by other inputs.
[Picture Mode]
Enables selection of a picture mode according to your preference.
Jump to the page
[Reset]
Resets all the [Picture Adjustments] settings to the factory settings
excluding [Setting Memory], [Picture Mode] and [Advanced Settings].
[Backlight]
Adjusts the brightness of the backlight. Reducing the brightness of the
screen will reduce the power consumption.
[Picture]
Adjusts picture contrast.
[Brightness]
Adjusts the brightness of the picture.
[Color]
Adjusts color intensity.
[Hue]
Adjusts green and red tones.
([Hue] is available depending on color system.)
[Color Temperature]
Adjusts the whiteness of the picture.
[Cool]: Gives white colors a bluish tint.
[Neutral]: Gives white colors a neutral tint.
[Warm 1]/[Warm 2]: Gives white colors a reddish tint. [Warm 2] gives a
redder tint than [Warm 1].
[Sharpness]
Adjusts sharpness of the picture.
[Noise Reduction]
[Auto]: Automatically reduces picture noise.
[High]/[Medium]/[Low]: Modifies the effect of noise reduction.
[Intelligent]: Automatically optimizes picture quality with noise reduction.
(This function is available only for analog RF input and composite video
input.)
It’s recommended to select [Intelligent] for analog input signal of bad
quality.

[Off]: Turns off [Noise Reduction].
[MPEG Noise Reduction]
27
[Auto]: Automatically reduces noise in MPEG-compressed videos.
[High]/[Medium]/[Low]: Reduces noise in MPEG-compressed videos.
[Off]: Turns off [MPEG Noise Reduction].
[Dot Noise Reduction]
[Auto]: Automatically reduces dot noise around objects on the screen.
[Off]: Turns off [Dot Noise Reduction].
[Reality Creation]
Adjusts detail and noise for a realistic picture.
[Video Area Detection]
Adjusts effect level optimally by detecting video area within a picture.
[Resolution]
Adjusts detail and clarity of the picture.
[Noise Filtering]
Adjusts to reduce noise of the picture.
[Smooth Gradation]
Creates smooth gradations on flat surfaces of the picture.
[Motionflow]
[Smooth]: Provides smoother picture movement; especially effective for
film-based content.
[Standard]: Provides smoother picture movement for standard use.
[Clear]: Reduces motion blur while maintaining brightness for highspeed picture content.
[Clear Plus]: Reduces motion blur for high-speed picture content more
than [Clear].
[Impulse]: Reproduces original picture quality. Provides cinema-like
picture, which may flicker.
[True Cinema]: Images, such as a movie created in 24 frames per
second, are reproduced at the original framerate.
[Off]: Use this setting if [Smooth], [Standard], [Clear], [Clear Plus],
[Impulse] or [True Cinema] results in a distorted picture.
(Depending on the picture content, you may not see the effect visually
even if you have changed the settings.)
[CineMotion]
[Auto]: Displays film-based content with picture expression close to the
original by applying a film-specific process.
[Off]: Turns off [CineMotion].
(If the image contains irregular signals or too much noise, this setting is
automatically turned off even if [Auto] is selected.)

[Advanced Settings]
28
[Reset]: Resets all [Advanced Settings] to the default values (except for
[White Balance]).
[Black Corrector]: Enhances black areas of the picture for stronger
contrast.
[Adv. Contrast Enhancer]: Automatically optimizes [Backlight] and
[Picture] according to the brightness of the screen. This setting is
effective for dark images and scenes.
[Gamma]: Adjusts the balance between light and dark areas of the
picture.
[LED Dynamic Control]: Optimizes contrast by adjusting brightness in
individual sections of the screen. ([LED Dynamic Control] is available
depending on the TV model.)
[Auto Light Limiter]: Reduces glare such as in scenes where the entire
screen is white.
[Clear White]: Emphasizes whiteness in the picture.
[Live Color]: Makes colors more vivid.
[White Balance]: Adjusts red, green and blue level in the screen.
[Detail Enhancer]: Enhances the details of the picture.
[Edge Enhancer]: Enhances the edges of the picture.
[Skin Naturalizer]: Detects faces and reproduces natural skin tone.
[Display Speed Preference]: Reduces the picture delay to optimize the
response to game controllers/PC mouse operation by selecting [On].
Top of Page
List of Contents© 2013 Sony Corporation
i-Manual
29
Basic Operations
Parts Description
Enjoy Internet on TV
Print
Top Page > Basic Operations > Enjoy Internet on TV
Font Size
Watching TV
Using Other
Devices
Using “BRAVIA”
Sync Devices
Useful Functions
Using Internet
Using Home
Network
Configuring
Various Settings
Troubleshooting
How to Use
Bookmarks
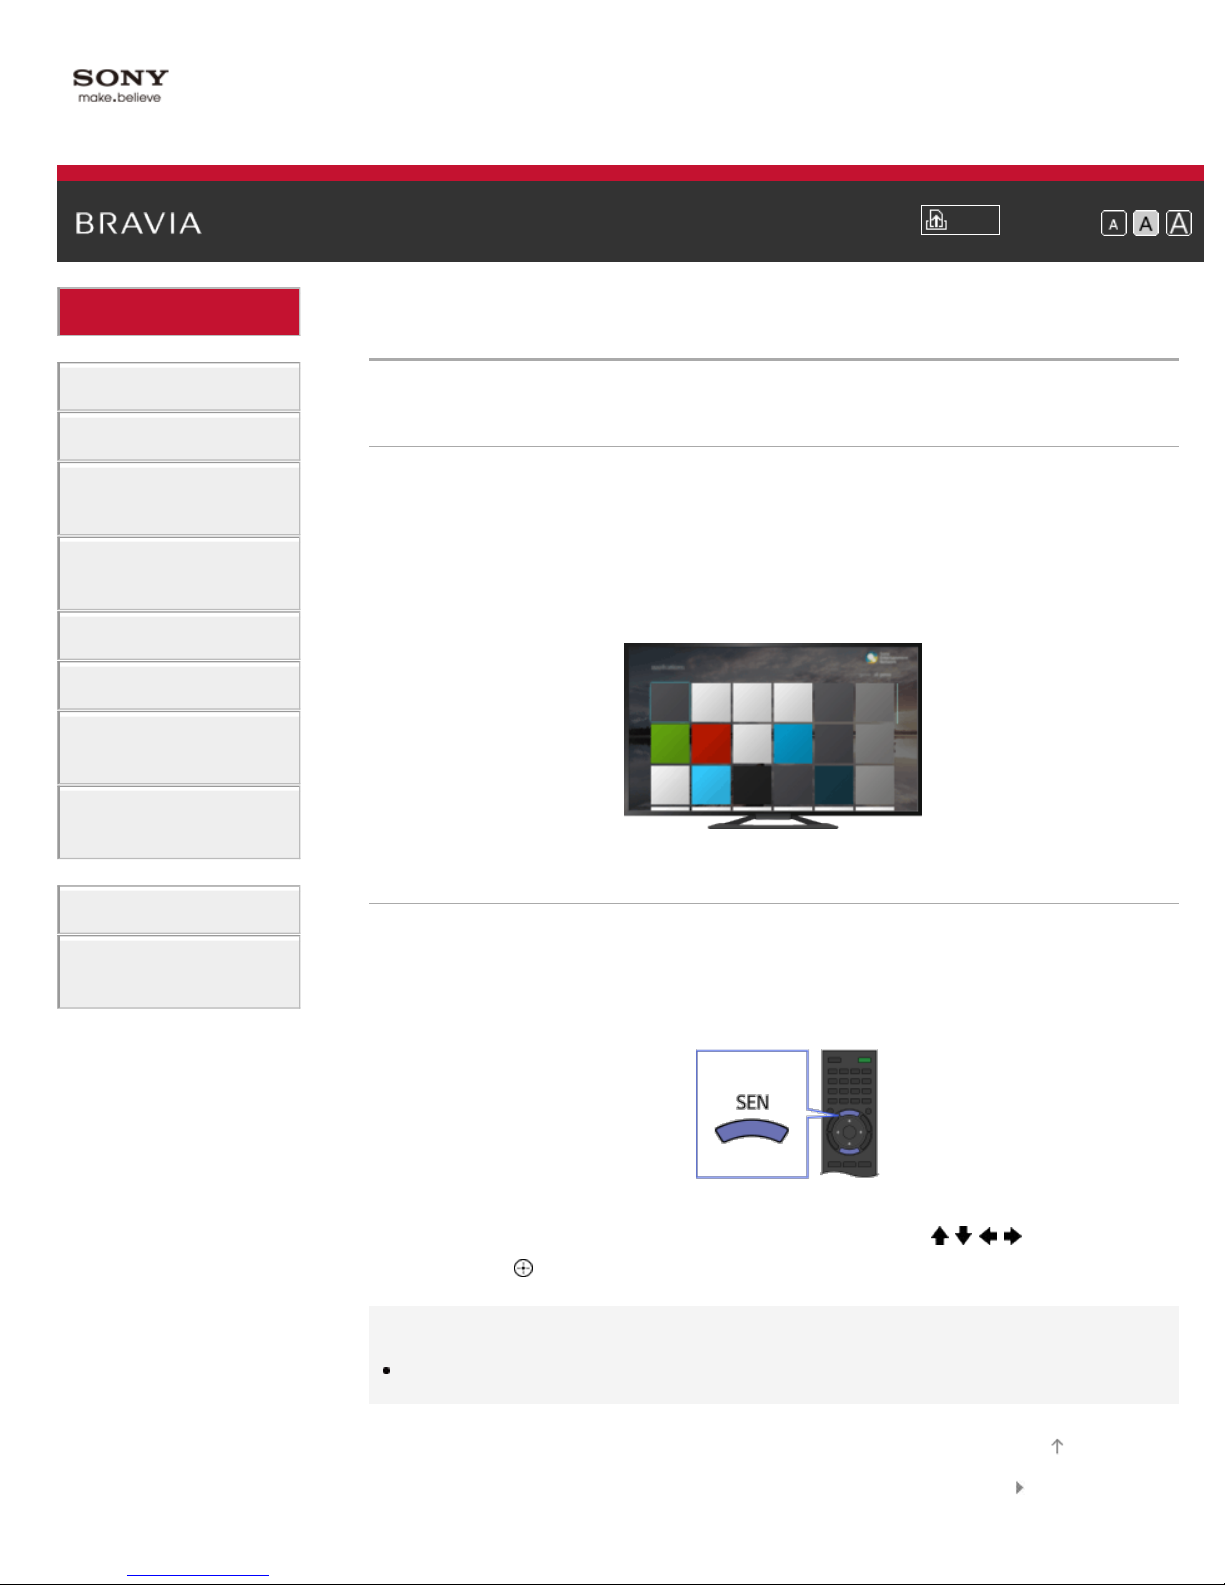
Overview
By pressing the SEN button, the Sony Entertainment Network screen
appears, which serves as a gateway to Internet content. From this
screen, you can access various services and applications. The items on
the Sony Entertainment Network screen differ depending on your
region/country, and are subject to change.
Steps
1.
Make a broadband Internet connection.
2. Press the SEN button to display the Sony Entertainment Network
screen.
3. Select the desired service or website using the / / / buttons, then
Tips
Depending on the service, registration may be required before use.
press the
button.
Top of Page
List of Contents© 2013 Sony Corporation
i-Manual
30
Basic Operations
Parts Description
How to use i - Manual
Print
Top Page > Basic Operations > How to use i-Manual
Font Size
Watching TV
Using Other
Devices
Using “BRAVIA”
Sync Devices
Useful Functions
Using Internet
Using Home
Network
Configuring
Various Settings
Troubleshooting
How to Use
Bookmarks
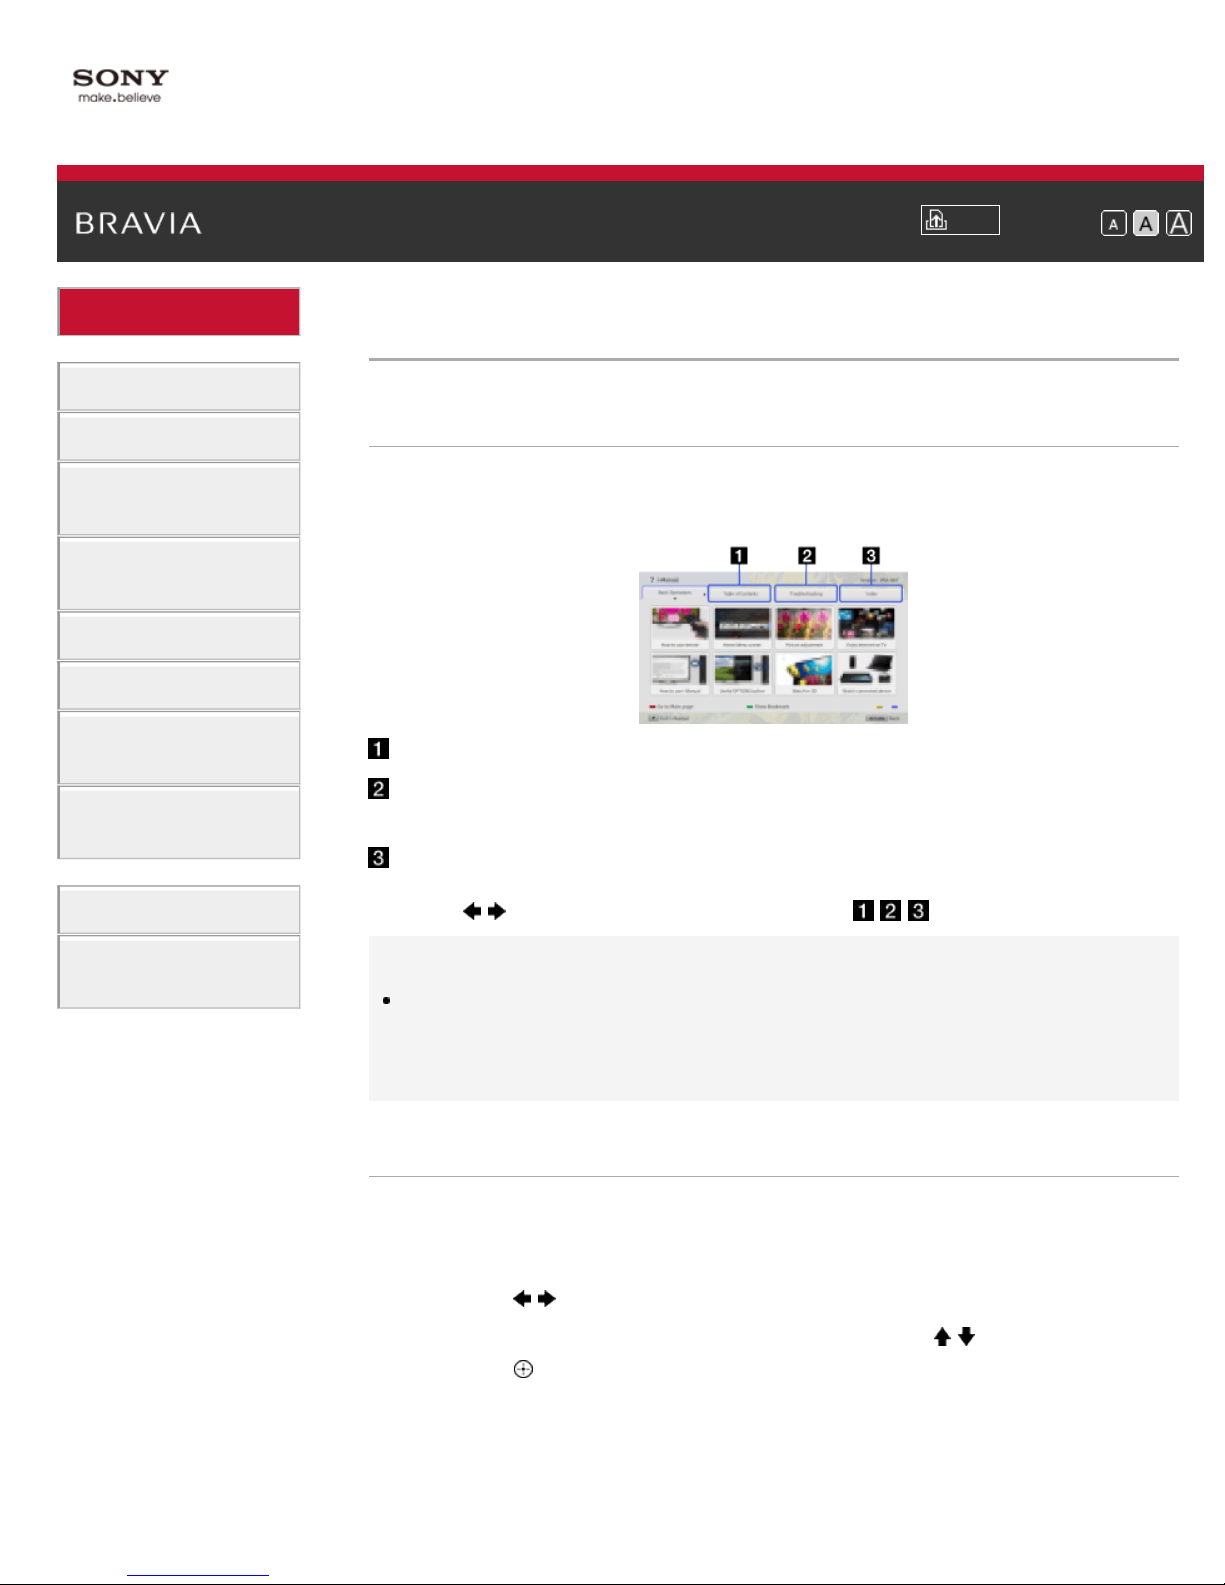
Searching for Information
This i- Manual explains how to use all functions. In the main page of i Manual, you can select the desired method to search for information.
Table of Contents: Searches from a title list.
Troubleshooting: Searches for solutions to
problems.
Index: Searches by function/feature name.
Use the
/ buttons to switch between the / / tabs.
Tips
The supplied paper manual contains important information such as
cautions and operating instructions to prevent accidents. Read the
supplied paper manual thoroughly for safe use.
Steps
Procedure example: “Table of Contents” search
1. In the main page of this manual, select the “Table of Contents” tab
2. Select a title on the left of the screen using the / buttons, then
using the
press the
/ buttons.
button.
The titles on the right of the screen change according to the title
selected on the left of the screen.
 Loading...