

Page 1
Quick Start Guide
Fo
Windows
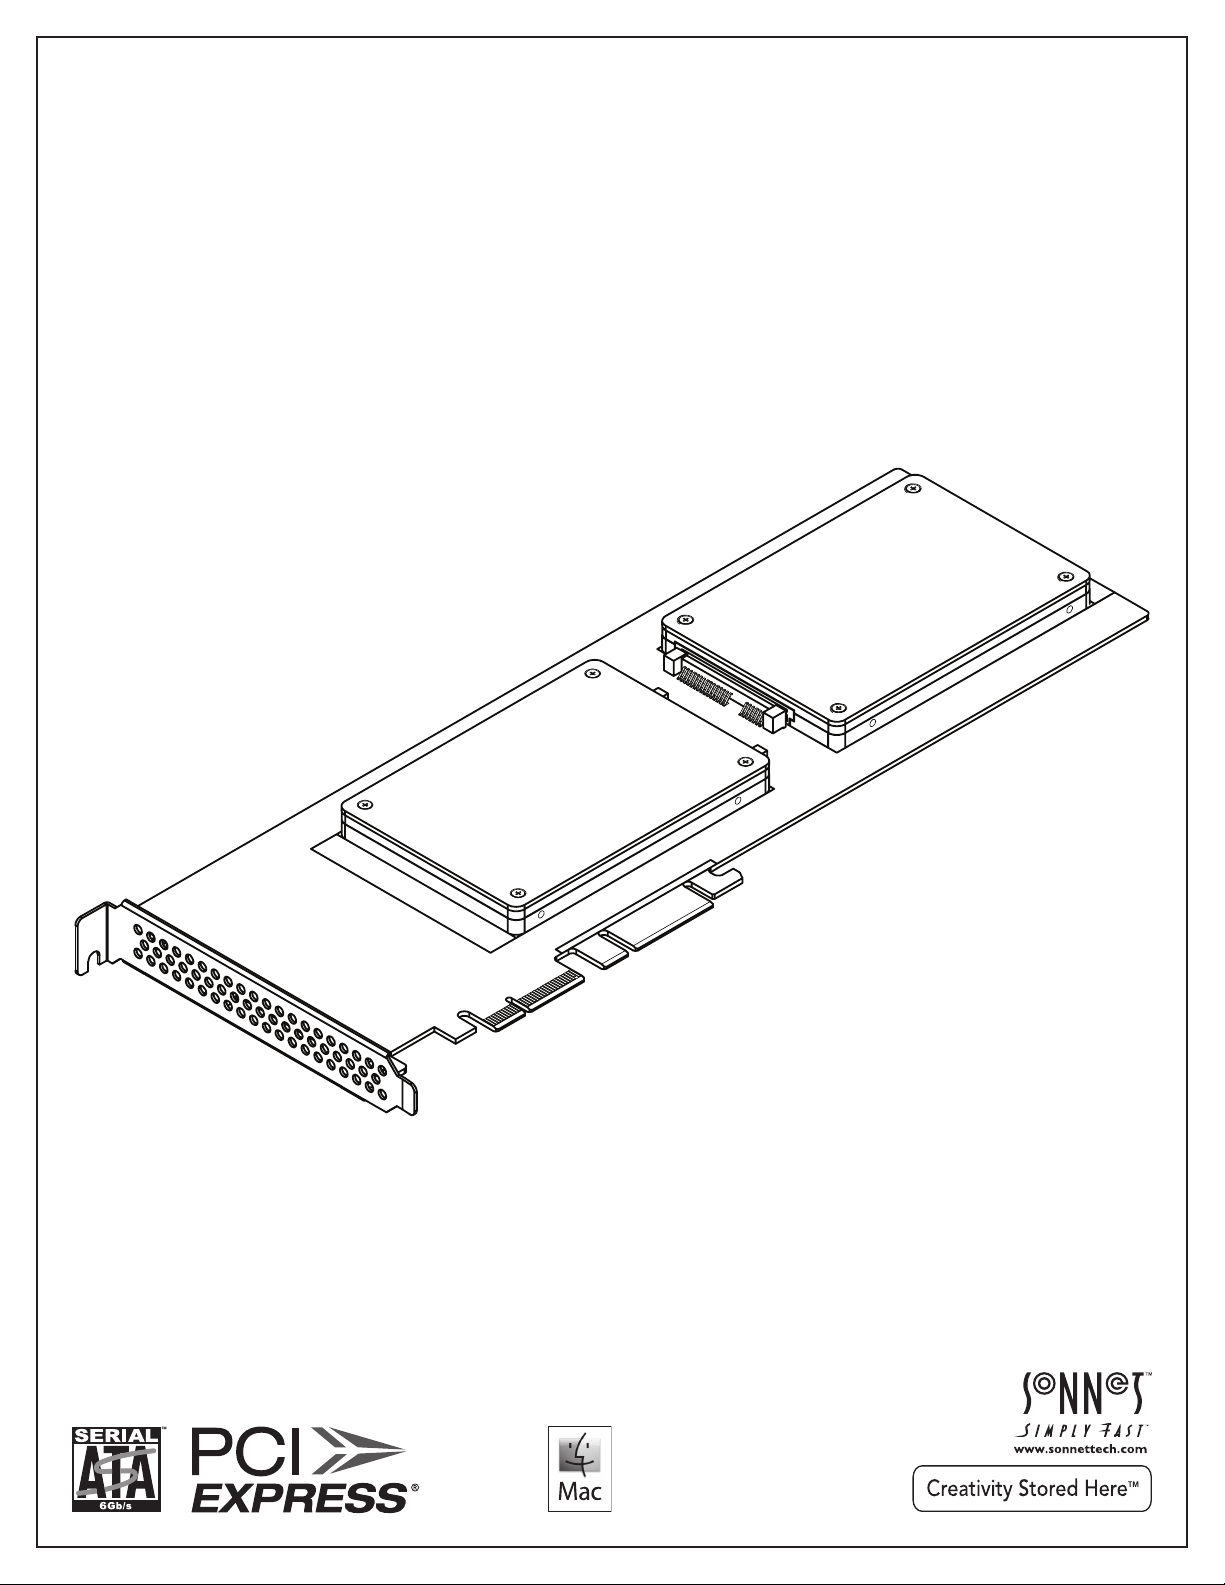
for Tempo™ SSD Pro 6Gb/s SATA PCIe Drive Card for SSDs
Tempo SSD Pro shown with
SSDs attached; drives not
included (sold separately)
r
Page 2

This page left intentionally blank
Page 3
Introduction and Package Contents
Congratulations on your purchase! Tempo SSD Pro provides a
handy way to install one or two 2.5-inch SATA SSDs (or HDDs)
into a PCIe slot. Dual SATA controllers (one for each SSD) ensure
that each SSD will perform at maximum speeds.
®
OS X
, Windows®, and Thunderbolt™ compatible, this card
supports both operating systems’ RAID features and works in
PCIe expansion chassis without additional drivers
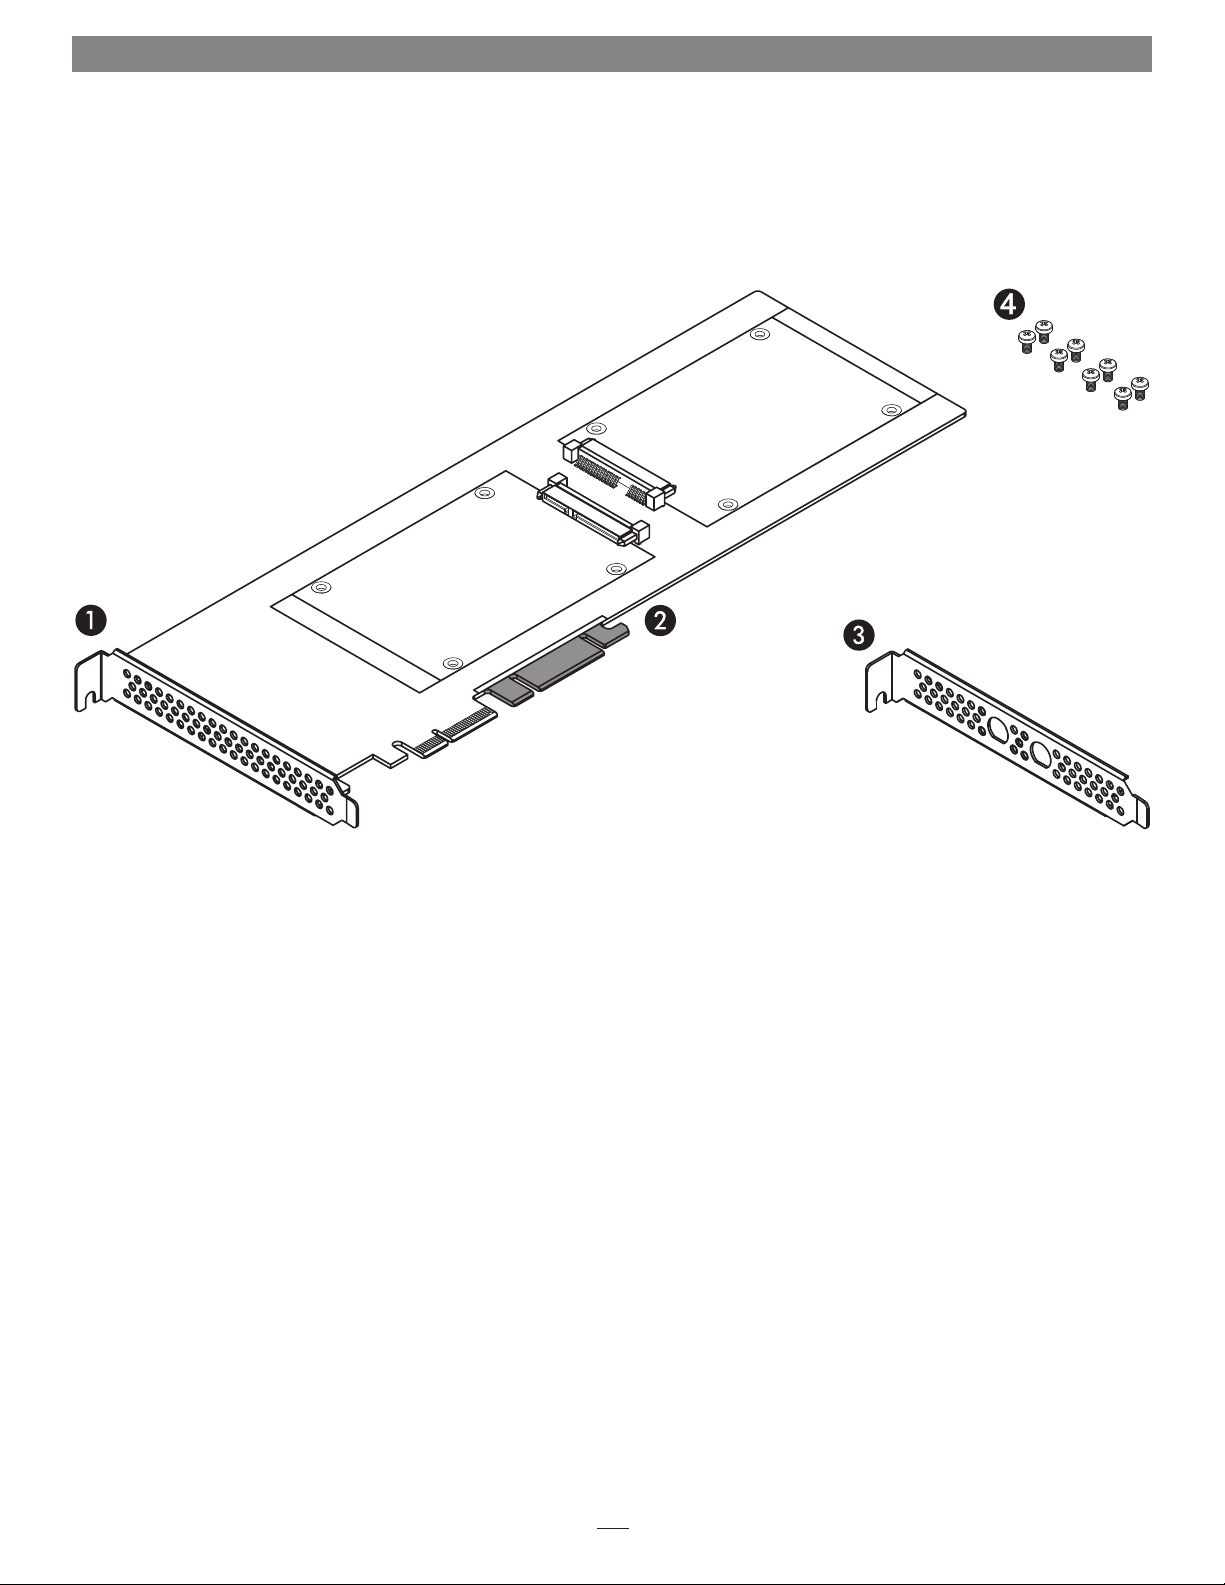
1 – Tempo SSD Pro Card
2 – Support Tabs
In longer PCIe slots, these tabs provide additional support
for the Tempo SSD Pro card. In some installations, it may be
necessary for you to snap off one or more of the tabs to allow
the card to fit properly
3 – Optional PCIe Bracket
This bracket supports the installation of two BNC connectors
like those supplied with the RED ROCKET card for SDI
output, and replaces the existing bracket attached to the
Tempo SSD Pro card. Use this bracket only when you install
BNC connectors!
4 – Drive Mount Screws
Eight screws are provided to attach SSDs to the card
1
Page 4

Optional Card Preparation Steps
Installation Preparation
Prior to attaching SSDs to the Tempo SSD Pro
and installing the card, you should perform the
steps below as necessary. Remove the Sonnet card
from its packaging, handling the card by its edges
and without touching any components or gold
connector pins. Set the card down on a flat, level
surface to perform the steps.
BNC Connector Installation Steps
If you intend to install BNC connectors like those
included with the RED ROCKET card, you must
swap PCIe brackets first.
1. Remove and set aside the two screws securing
the standard PCIe bracket to the Tempo SSD
Pro card (Figure 1).
2. Using the screws you just removed, secure
the optional PCIe bracket to the card; do not
overtighten the screws (Figure 1).
3. If necessary, remove the BNC connectors
from the I/O plate from the video card you’re
working with.
Figure 1
Figure 2
4. Route the BNC connectors’ cables through
the openings in the Tempo SSD Pro card’s
optional PCIe bracket (Figure 2).
5. Slide the connectors’ locking hex nuts over
the cables, and then secure the connectors to
the bracket (Figure 2).
2
Page 5

SSD Installation Steps
SSD Installation
1. Remove the SSDs from their packaging.
2. Place an SSD label side up on top of the
Tempo SSD Pro card with the SSD’s and
card’s connectors aligned with each other
(Figure 3).
3. Push the SSD’s connector into the Tempo
SSD Pro card’s connector until the SSD is
completely seated (Figure 3).
4. Holding the SSD firmly against the card, flip
the Tempo SSD Pro over again.
5. Using four of the eight screws provided, secure
the SSD to the Tempo SSD Pro card; do not
overtighten the screws (Figure 4).
Figure 3
Figure 4
6. Flip the Tempo SSD Pro over again, and then
place the second SSD label side up on top of
the card with the SSD’s and card’s connectors
aligned with each other (Figure 5).
7. Push the SSD’s connector into the Tempo
SSD Pro card’s connector until the SSD is
completely seated (Figure 5).
8. Holding the SSD firmly against the card, flip
the Tempo SSD Pro over again.
Figure 5
3
Page 6

SSD Installation Steps
9. Using the remaining four screws, secure the
SSD to the card; do not overtighten the screws
(Figure 6).
10. Tempo SSD is ready for installation; proceed to
the next page.
Figure 6
4
Page 7

Tempo SSD Pro Card Installation Steps
Hardware Installation Steps for All Users
1. Shut down your computer or expansion chassis, disconnect
its power cable, and then open it to access the expansion
card area (PCI Express slots); refer to the user manual for
specific information
2. Locate an available PCI Express slot and remove its access
cover if necessary. Windows users skip to the next step; OS X
users:
• Mac Pro (Mid 2012), Mac Pro (Mid 2010), Mac Pro (Early
2009) and pre-2008 Mac Pro users may install the card
into any available slot.
• Mac Pro (Early 2008) users must only use slot 3 or 4.
Support Note for Pre-2008 Mac Pro Users: When
you turn on your computer after installing the Tempo SSD
Pro, depending on which version of Mac OS X your computer
is running, the Expansion Slot Utility application will open
automatically. If it does not open by itself, you must do so
manually (Expansion Slot Utility is located in the /System/Librar y/
CoreServices folder). Select the configuration appropriate for your
setup (Tempo SSD Pro is an x4 card, and should be assigned at
least an x4 slot), and then click Quit if the default configuration
was appropriate, or click Save and Restart if you changed the
configuration.
3. Install the Tempo SSD Pro card with attached SSDs into the
slot; make sure the card is firmly seated and secured. If
necessary, break off one or more support tabs to allow the
card to be installed in your computer or expansion chassis.
4. Close your computer or expansion chassis.
5. Reconnect the computer’s power cable.
Driver Information
OS X:
The drivers that enable the Tempo SSD Pro card to work in your
computer are installed as part of OS X; the Tempo card is ready to
use when you power on your computer.
Formatting Drives
OS X:
Use Disk Utility (found in the Utilities folder within the
Applications folder) to set up connected SSDs for use.
Windows:
If you intend to format drives connected to the Tempo card using
Windows drive formatting tools (Disk Management), you may
locate the information by using “format volume”, and “create
striped volume” as search items in Windows Help.
Booting From Attached SSDs
OS X:
Tempo SSD Pro supports booting OS X 10.6.8 and later from
attached SSDs, including those configured as a RAID set,
when installed in early 2008 and later Mac Pro computers and
Thunderbolt-to-PCIe expansion chassis, as described below:
• All Tempo SSD Pro cards support booting from attached SSDs
when the card is installed in a Thunderbolt-to-PCIe expansion
chassis.
• Installed in a Mac Pro (Early 2008 model and newer), revision
B (serial number starts with B) and later cards support booting
out of the box.
• Revision A cards may be updated to support booting when the
card is installed in a Mac Pro (Early 2008 model and newer).
You may obtain the software to update the card by visiting
www.sonnettech.com/support/kb/kb.php, navigating to the
Tempo SSD Pro support page, and downloading the firmware
updater.
Please note that in some cases it may be necessary for you to hold
the option key during a start or restart, and then select the startup
disk attached to the Tempo card.
Windows:
Tempo SSD Pro supports booting from a single SSD when the
card is installed in a PC running Windows 8 or 7; booting from a
software-created RAID volume is not supported.
Windows:
After starting up Windows, the drivers that enable the
Tempo SSD Pro card to operate in your system are installed
automatically. A Found New Hardware popup will appear. Then,
information regarding the process of identifying the card, and
searching for and installing the appropriate software will appear.
Finally, the message “Your new hardware is installed and ready to
use” will be displayed, and then the popup will disappear.
5
Page 8

Specifications and Support Information
Specifications
Internal Connectors Two SATA
Bus Interface PCI Express 2.0 x4 mechanical,
Drives Supported Two 2.5-inch SATA SSDs or hard
Drive Types Supported SATA 6 Gb/s, SATA 3 Gb/s, and
Mac Compatibility • Mac Pro
Windows Compatibility • PC (with PCIe slots)
Thunderbolt
Compatibility
Boot Support
Firmware Flash-ROM upgradeable to
RoHS Compliant Yes
x4 electrical
disk drives (HDDs)
SATA 1.5 Gb/s SSDs and HDDs
• Mac OS X Version 10.5+
• Windows 8
• Windows 7
• Windows Vista
®
Any computer with a Thunderbolt
port via Sonnet's Echo™ Express
Pro Thunderbolt Expansion
Chassis for PCIe cards, or Sonnet's
xMac™ mini Server (Mac mini
only)
Single SSD or up to six SSDs in a
RAID 0:
• Mac Pro 3,1 (early 2008 and
newer
• Any Mac with a Thunderbolt
port
Single SSD only:
• Windows 7 or 8 PCs
latest firmware version
Contacting Sonnet Customer Service
USA Customers
The Sonnet Web site located at www.sonnettech.com has the
most current support information and technical updates. Before
you call Sonnet Customer Service, please check our Website for
the latest updates and online support files, and check this User’s
Guide for helpful information. When you call Sonnet Customer
Service, have the following information available so our customer
service staff can better assist you:
• Product name
• Date and place of purchase
• Computer model
• PCIe card models
• Operating system version
• Software/firmware versions
If further assistance is needed, please contact Sonnet Customer
Service at:
Tel : 1-949-472-2772
(Monday–Friday, 7 a.m.–4 p.m. Pacific Time)
E-mail: support@sonnettech.com
For Customers Outside the USA
For support on this product, contact your reseller or local
distributor.
Visit Our Web Site
For the most current product information and online support
files, visit the Sonnet Web site at www.sonnettech.com/support/.
Register your product online at http://registration.sonnettech.com
to be informed of future upgrades and product releases.
©2013 Sonnet Technologies, Inc. All rights reserved. Sonnet, the Sonnet logotype, Creativity Stored Here, Simply Fast, the Simply Fast logotype, Echo, Tempo, and xMac are trademarks of
Sonnet Technologies, Inc. Mac, the Mac logo, Mac Pro, and OS X are trademarks of Apple Inc., registered in the United States and other countries. Thunderbolt and the Thunderbolt logo
are trademarks of Intel Corporation in the U.S. and/or other countries. Other product names are trademarks of their respective owners. Product specifications subject to change without
notice. Printed in the USA. QS-TSATA6-SSDPR-E2-E-B-020613
 Loading...