

Page 1
™
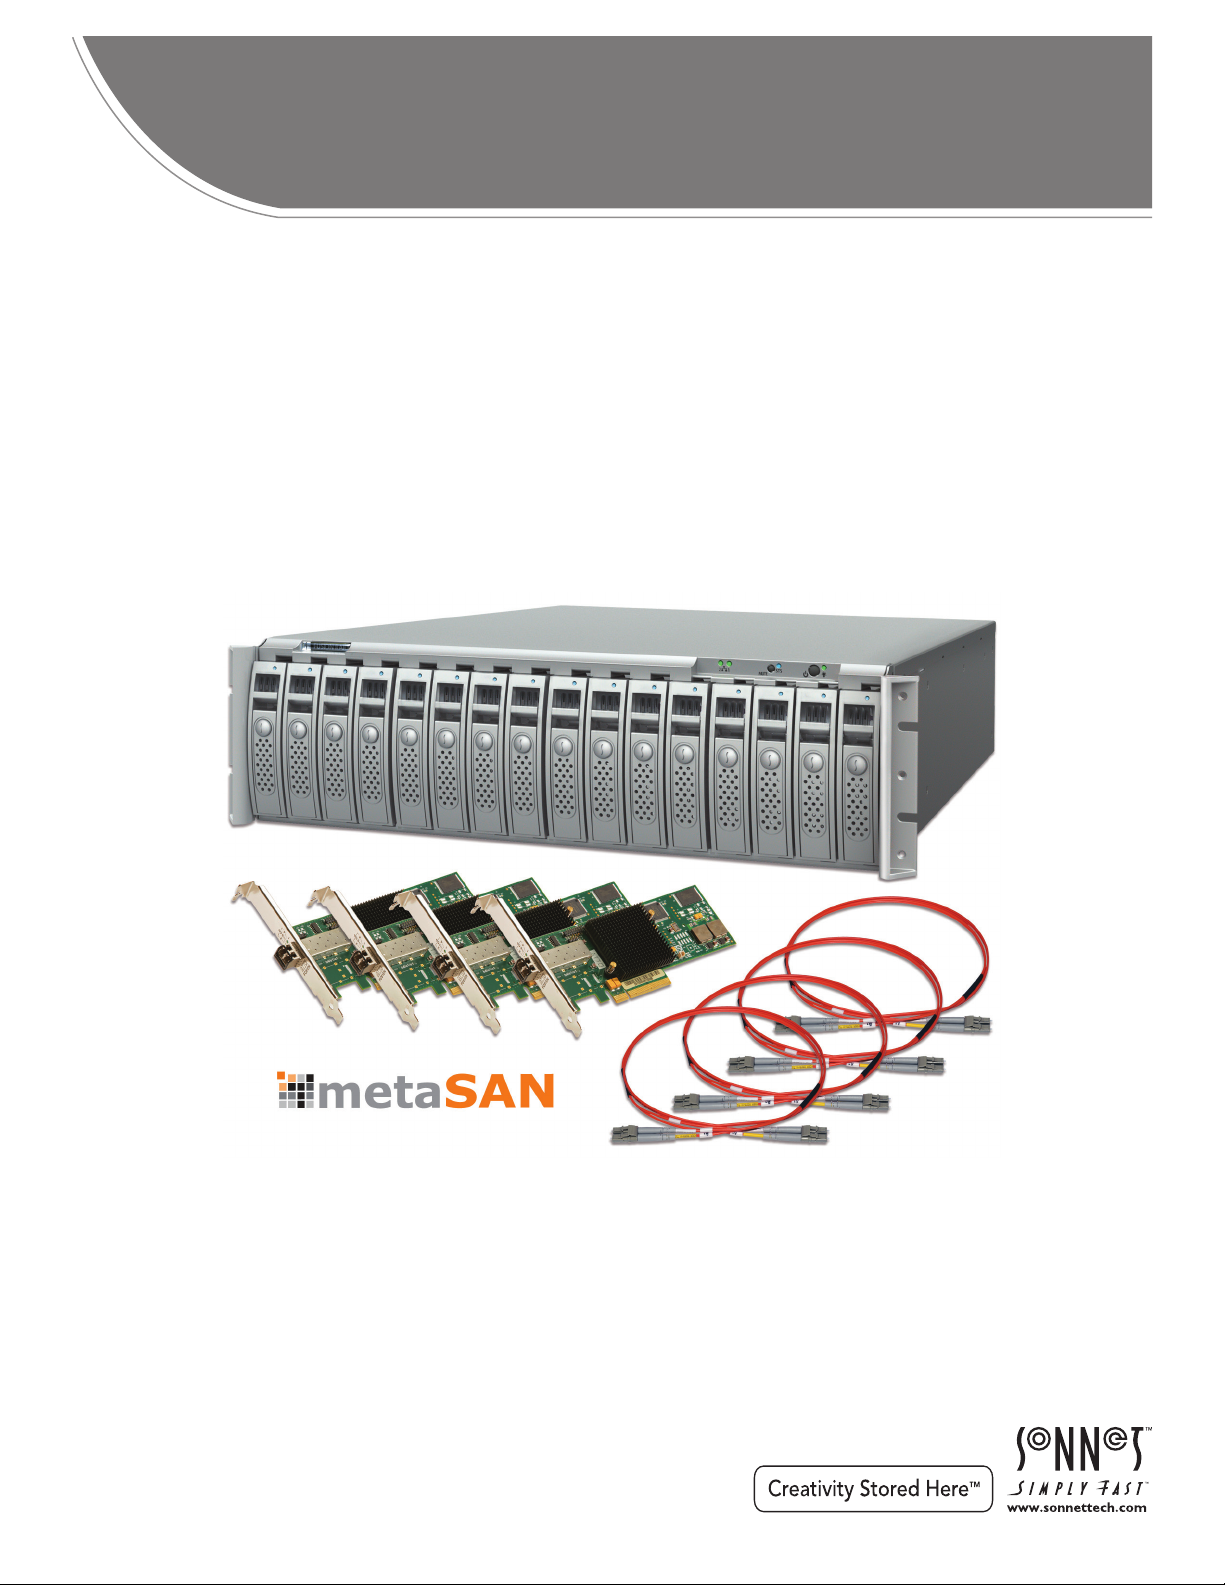
FUSION
Fusion RX1600Fibre Storage System + Fibre Channel Adapters
FIBRE-FOR-
+ Fiber Optic Cables + 4-Seat metaSAN License
4
Mac® User’s
Quick Start Guide
Page 2

Overview
This quick start guide is not intended to replace any other
documentation. Instead, we hope it will enable you to proceed
from removing the products from their boxes, to setting up a
simple shared storage network.
• Because this quick start guide only references the setup
of the Fibre-for-4 package in an all-Mac environment,
information on incorporating the system into a Windows
Linux, or mixed OS environment is not included here.
Although much of the information listed in this guide is
applicable to Windows, Linux, and mixed environments, it is
best to refer to the other available documentation.
• Please refer to the manual on the software CD included with
each Fibre Channel host adapter card for detailed installation
instructions.
• Please refer to the printed Sonnet Web Management Tool
User’s Guide included in the package for detailed information
on configuring, monitoring, and maintaining the Fusion
RX1600Fibre storage system.
• Please refer to the metaSAN 4 License PO email sent to you
from Tiger Technology for information on how to download
the metaSAN software and the latest documentation from
Tiger’s Website.
Requirements – Mac Only Setup
• Mac Pro; Power Mac®, or Xserve® with PCI Express® (PCIe) x8 slot
®
• Mac OS
X or Mac OS X Server v10.5 or later
• Two Gigabit Ethernet ports on each computer
®
,
• One public network Ethernet switch (with access to the
Internet) and one private network Ethernet switch
Warnings
• Handle fiber optic cables with care; although they are flexible,
they will break if bent too far
• When installing the Fusion RX1600Fibre chassis into the
equipment rack, be sure to do so without drives installed.
• Please refer to the metaSAN software documentation you
downloaded for more detailed information on setting up a
small SAN workgroup, as well information on how to integrate
it into a larger SAN environment.
• For questions regarding technical support and service for the
Fusion RX1600Fibre storage system and the included Fibre
Channel host adapters, please contact Sonnet Technologies
or your local reseller. (See the back of the Sonnet Web
Management Tool User’s Guide for contact information.)
• For questions regarding support for metaSAN, please contact
Tiger Technology.
2
Page 3

Setup
Workgroup Computers’ Preparation
Before creating the SAN (storage area network), you need to
prepare the workgroup and storage system. This preparation
will include the installation of the included Fibre Channel
(FC) host adapter cards and their software, connection of the
workgroup computers to both a public and private network
Gigabit Ethernet switches for testing, and the connection of
the Fusion RX1600Fibre storage system to a single computer for
reconfiguration (if necessary) and testing.
1. Install the FC cards’ software from the included software CD
on the workgroup computers; download the latest driver,
firmware, and Configuration Tool software from www.
sonnettech.com/support/kb/kb.php if necessary.
2. Install the FC adapters into the workgroup computers.
3. Connect the workgroup computers to the dedicated
private network Gigabit Ethernet switch (for metadata
communications), and to a public network’s Gigabit Ethernet
switch for Internet access (required for metaSAN license
activation). Refer to Mac OS X Help (Apple Menu > Help >
Mac Help) for basic information.
4. Manually assign a static IP address to each computer’s
dedicated private network Ethernet port. A listing of valid
private IP address ranges may be found at:
support.apple.com/kb/TA25227?viewlocale=en_US
9. Verify the storage system mounts and operates, copying files
to and from the it; don’t install metaSAN yet.
10. Run QuickNAV and access the RX1600Fibre storage
system through the Web GUI. Refer to page 1 of the Web
Management Tool manual.
11. Assign a static IP address the RX1600Fibre storage system.
Refer to IPAddress on page x, Appendix A of the Web
Management Tool manual.
12. Modify the storage system if desired (change from one
RAID 6 group to two RAID 5 groups, change from Mac OS
Extended to NTFS, etc.). Refer to the Web Management Tool
manual, chapter 1.8 Modify Storage for more information.
13. Run Disk Utility to verify the volume is sound.
WARNING: After metaSAN is installed, you can’t run
Disk Utility on the RX1600Fibre volumes without
first uninstalling metaSAN. Refer to Dealing with Disk
Corruption section of chapter 6 in the metaSAN User’s Guide.
Install metaSAN on the Metadata Master and Create
the SAN Definition
Install metaSAN and connect the RX1600Fibre storage system to
each computer in the specific order listed. Otherwise, you may
lose data or have to reformat the drives.
5. Write down the public and private network IP addresses for
each computer in the workgroup for reference during setup.
6. Verify each computer can see each other on both the public
and private networks (ping each other), and verify each
computer can access the Internet.
Support Note: To “ping” another computer, both
computers and the Ethernet switches must be turned on.
Open the Terminal application and type “ping” and the IP
address of the other computer (for example: “ping 192.166.1.5”).
If the ping command is successful, repeated 64-byte transfers
will occur. If the ping command is unsuccessful, repeated
timeout requests will occur. Enter control+C to stop the ping
command.
7. For now, choose a computer to be designated as the
Metadata Master, and then shut down all the computers in
the workgroup except for that one.
8. Connect the RX1600Fibre unit to a single computer via a
fiber optic cable, and then turn on the storage system.
Support Note: Connecting the RX1600Fibre unit to the
public network Ethernet switch is necessary in order to
access the system through a Web GUI to configure the storage
pool (RAID level assignment, formatting, etc.), and monitor
system health.
1. Refer to the metaSAN 4 License PO email to prepare the
workgroup’s computers for metaSAN installation.
2. Download the metaSAN documentation (Quick Start Guide,
User’s Guide, Best Practices Guide, etc.) and the metaSAN
software following the directions from the metaSAN 4
License PO email.
3. Double-click the metaSAN software disk image, and then
double-click the metaSAN install icon to launch the installer.
4. When the Welcome window appears, click Next.
5. When the next window appears, click Authorize, and then
enter the administrator’s name (if necessary) and password.
6. When the License agreement window appears, click the
Accept checkbox, and then click next; the software is
installed, and then the installer quits.
7. When the Configuration Wizard appears, click Next.
8. When the next window appears, select the computer’s
private network IP address, and then click Next.
9. When the next window appears, select the volume and the
Create SAN definition(a) radio button, and then click Next.
3
Page 4

Setup
Install metaSAN on the Metadata Master and Create
the SAN Definition (continued)
10. When the next window appears, enter a name for the SAN
definition, select the checkbox next to the RX1600Fibre
storage system’s volume name, and then click Next.
11. When the Select SAN Failover Type window appears, select the
radio button next to Create Dedicated Metadata Master, and
then click Next.
12. When the next window appears, click next; a generic Fibre
Channel storage volume icon will disappear from the
desktop.
13. When the Installation Wizard Complete window appears,
click Finish; the computer restarts. Note that the RX1600Fibre
volume will not appear on the desktop until metaSAN is activated.
14. Open System Preferences, locate and then click the metaSAN
control panel icon in the Others category at the bottom of
the window.
15. In the metaSAN preferences window, verify the About
button is selected, and then click the lock icon in the
bottom left corner of the window to make changes.
5. When the Welcome window appears, click Next.
6. When the next window appears, click Authorize, and then
enter the administrator’s name (if necessary) and password.
7. When the License agreement window appears, click the
Accept checkbox, and then click next; the software is
installed, and then the installer quits.
8. When the Configuration Wizard appears, click Next.
9. When the next window appears, select the private network
IP address of the computer you’re installing the software,
and then click Next.
10. When the next window appears, click Join existing SAN
definition(s), and then click Next.
11. When the next window appears, click Join/Search.
12. When the next window appears, enter the Metadata Master
computer’s private network IP address, and then click Test.
13. When the SAN Remote machine is up and running pop-up
appears, click OK.
16. When the security pop-up appears, enter the administrator’s
name (if necessary) and password, and then click OK.
17. Back in the metaSAN preferences window, click Activate
metaSAN.
18. When the Activation method pop-up appears, select
Automatic activation, and then click OK.
19. When the metaSAN activation pop-up appears, enter the Sales
Order number and Password from the metaSAN License PO
email, and then click Activate; metaSAN is activated, and the
metaSAN volume appears on the desktop.
Install metaSAN on Other Computers in the
Workgroup and Join the SAN
1. Move over to the next computer in the workgroup, and
verify only the Ethernet network cables are connected; do
not connect a fiber optic cable to this computer yet!
2. Boot the computer.
3. Copy the metaSAN software disk image from the Metadata
Master computer to the one on which you’re currently
working, or download the software again. Refer to the
metaSAN 4 License PO email.
4. Double-click the metaSAN software disk image, and then
double-click the metaSAN install icon to launch the installer.
14. Back in the main window, click next.
15. When the next window appears, click the “No, I will restart
my computer later” radio button, and then click Finish.
16. Shut down the computer.
17. Connect a fiber optic cable between the Fusion RX1600Fibre
and the computer on which you’ve been working, and then
boot the computer.
18. Open System Preferences, locate and then click the metaSAN
control panel icon in the Others category at the bottom of
the window.
19. In the metaSAN preferences window, verify the About
button is selected, and then click the lock icon in the
bottom left corner of the window to make changes.
20. When the security pop-up appears, enter the administrator’s
name (if necessary) and password, and then click OK.
21. When the Activation method pop-up appears, select
Automatic activation, and then click OK.
22. When the metaSAN activation window appears, enter the
Sales Order number and Password from the metaSAN
License PO email, and then click Activate; metaSAN is
activated, and the metaSAN volume appears on the desktop.
4
Page 5

Setup
Install metaSAN on Other Computers in the
Workgroup and Join the SAN (continued)
23. Go back to the master computer, open System Preferences,
and then open the metaSAN control panel.
24. Click the SAN Management button, and then click Refresh;
the second computer’s private network IP address appears in
the Members field.
25. Repeat the steps in this section with the remaining
computers in the workgroup.
26. Refer to metaSAN documentation for information on how to
specify the Metadata Master for the group, managing SAN
volumes and members, and advanced settings.
5
Page 6

©2011 Sonnet Technologies, Inc. All rights reserved. Sonnet, the Sonnet logotype, Simply Fast, the Simply Fast logotype, Creativity Stored Here, and Fusion are trademarks of Sonnet Technologies, Inc. Mac, the Mac logo,
Mac OS, Power Mac, and Xserve are trademarks of Apple Inc., registered in the United States and other countries. Other product names are trademarks of their respective owners. Product specifications subject to change
without notice. Printed in the USA. QSG-FUS-R16FM-E-A-021111
 Loading...