

Page 1
Mac OS 8 Installation Instructions for Sonnet
Presto and Presto Plus Processor Upgrade Cards
What You Need:
• Sonnet™Presto™or Presto Plus processor upgrade card.
• Sonnet Presto 8 Enabler Boot diskette.
• Macintosh
®
compatible CD-ROM drive.
• Mac™OS 8.0 or 8.1 software package (sold separately).
• Minimum of 16 MB of RAM.
• Approximately 100 MB of free hard drive space for
basic software installation; additional hard drive
space for optional components.
Software Installation Overview
Please review the following guidelines prior to installing Mac OS 8:
• Mac OS 8 requires a 68040 processor or better. You must upgrade
your 68020 or 68030 Macintosh with a Presto or Presto Plus
processor upgrade card before installing Mac OS 8.
• Make a backup of important information on your hard drive prior to
installing new hardware or software.
• If you are installing Mac OS 8 from a non-Apple CD-ROM drive, or
wish to review Apple’s guidelines for installing Mac OS 8, refer to the
Mac OS 8 Installation Guide.
• To avoid Mac OS 8 software conflicts you may need to update
third-party extensions and control panels. Contact the software
manufacturers or visit their web sites for software updates.
• For the installation of Mac OS 8 we recommend performing a
“clean” installation of the system software. A clean installation
creates a completely new System Folder for Mac OS 8. The current
System Folder on your hard drive is untouched and renamed
Previous System Folder. This allows you to easily return to your
old system software if you need or choose to do so.
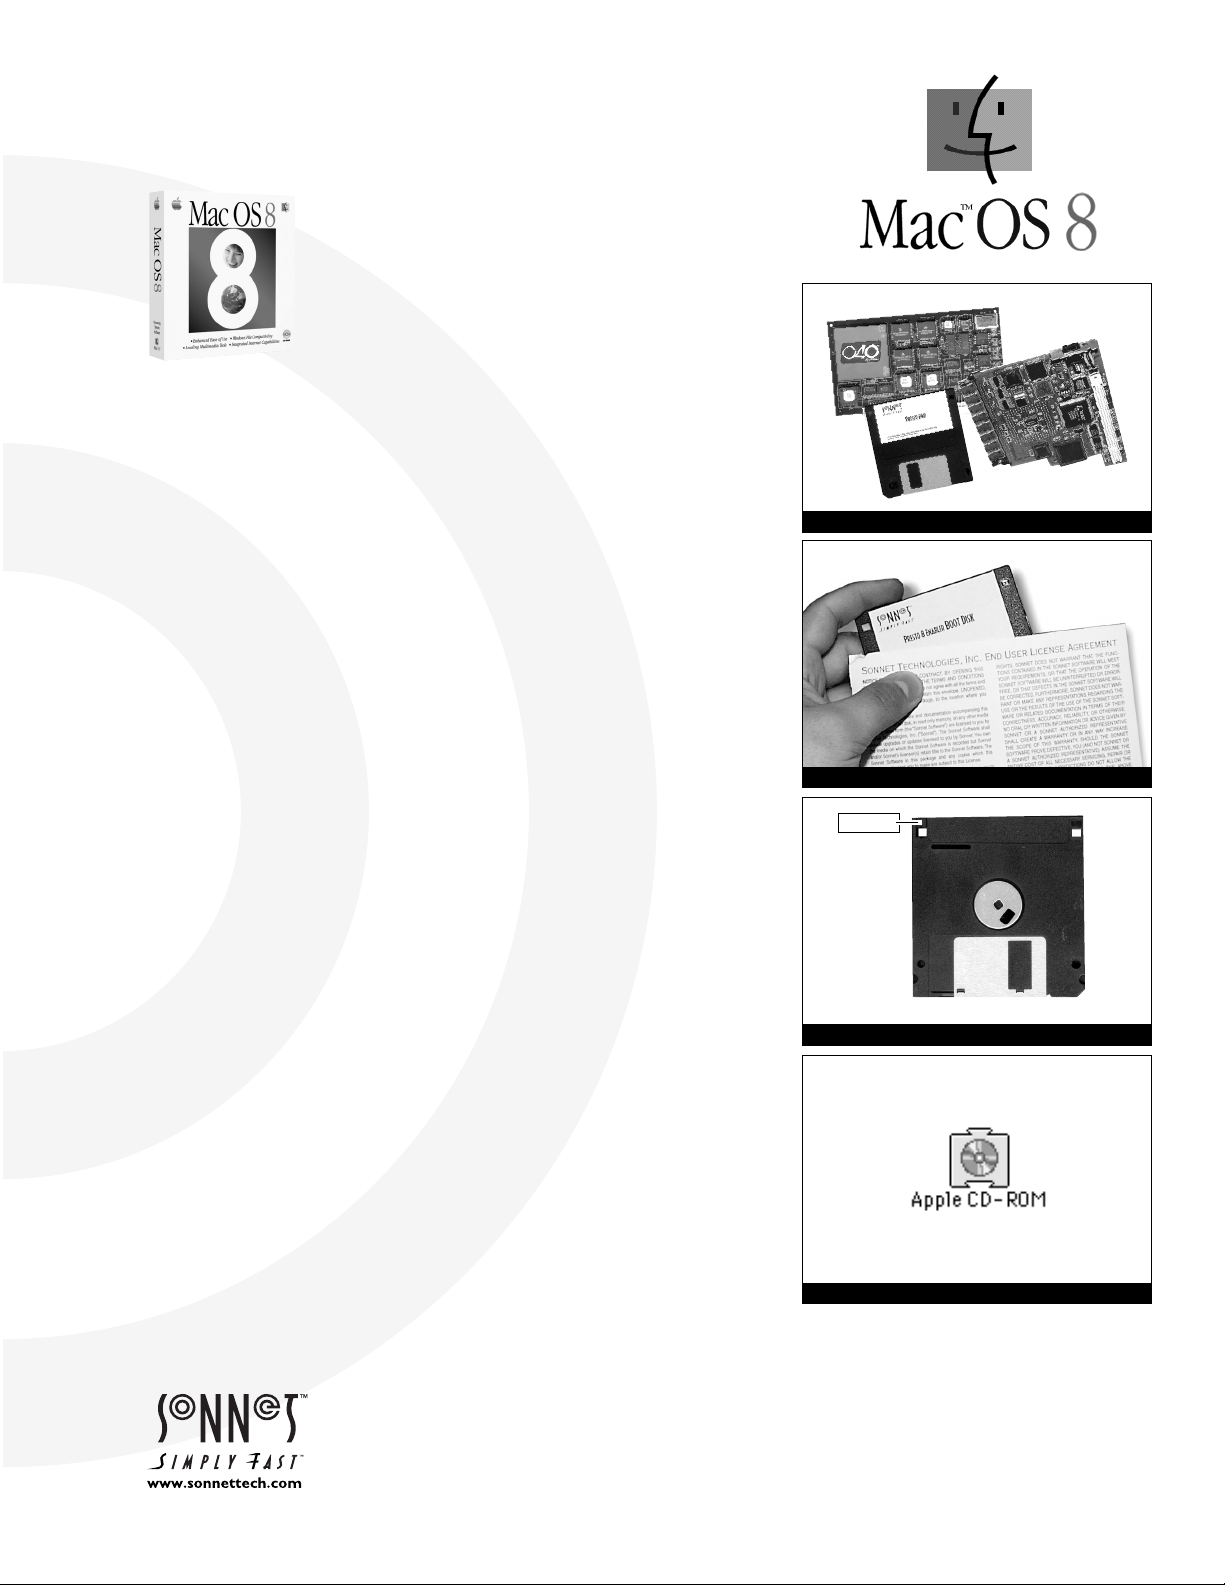
1. Your should already have a Presto or Presto Plus processor upgrade card
and accompanying Presto software (Figure 1) installed in your computer.
If not, refer to your Macintosh model installation instructions packaged
with the Presto or Presto Plus for further instructions.
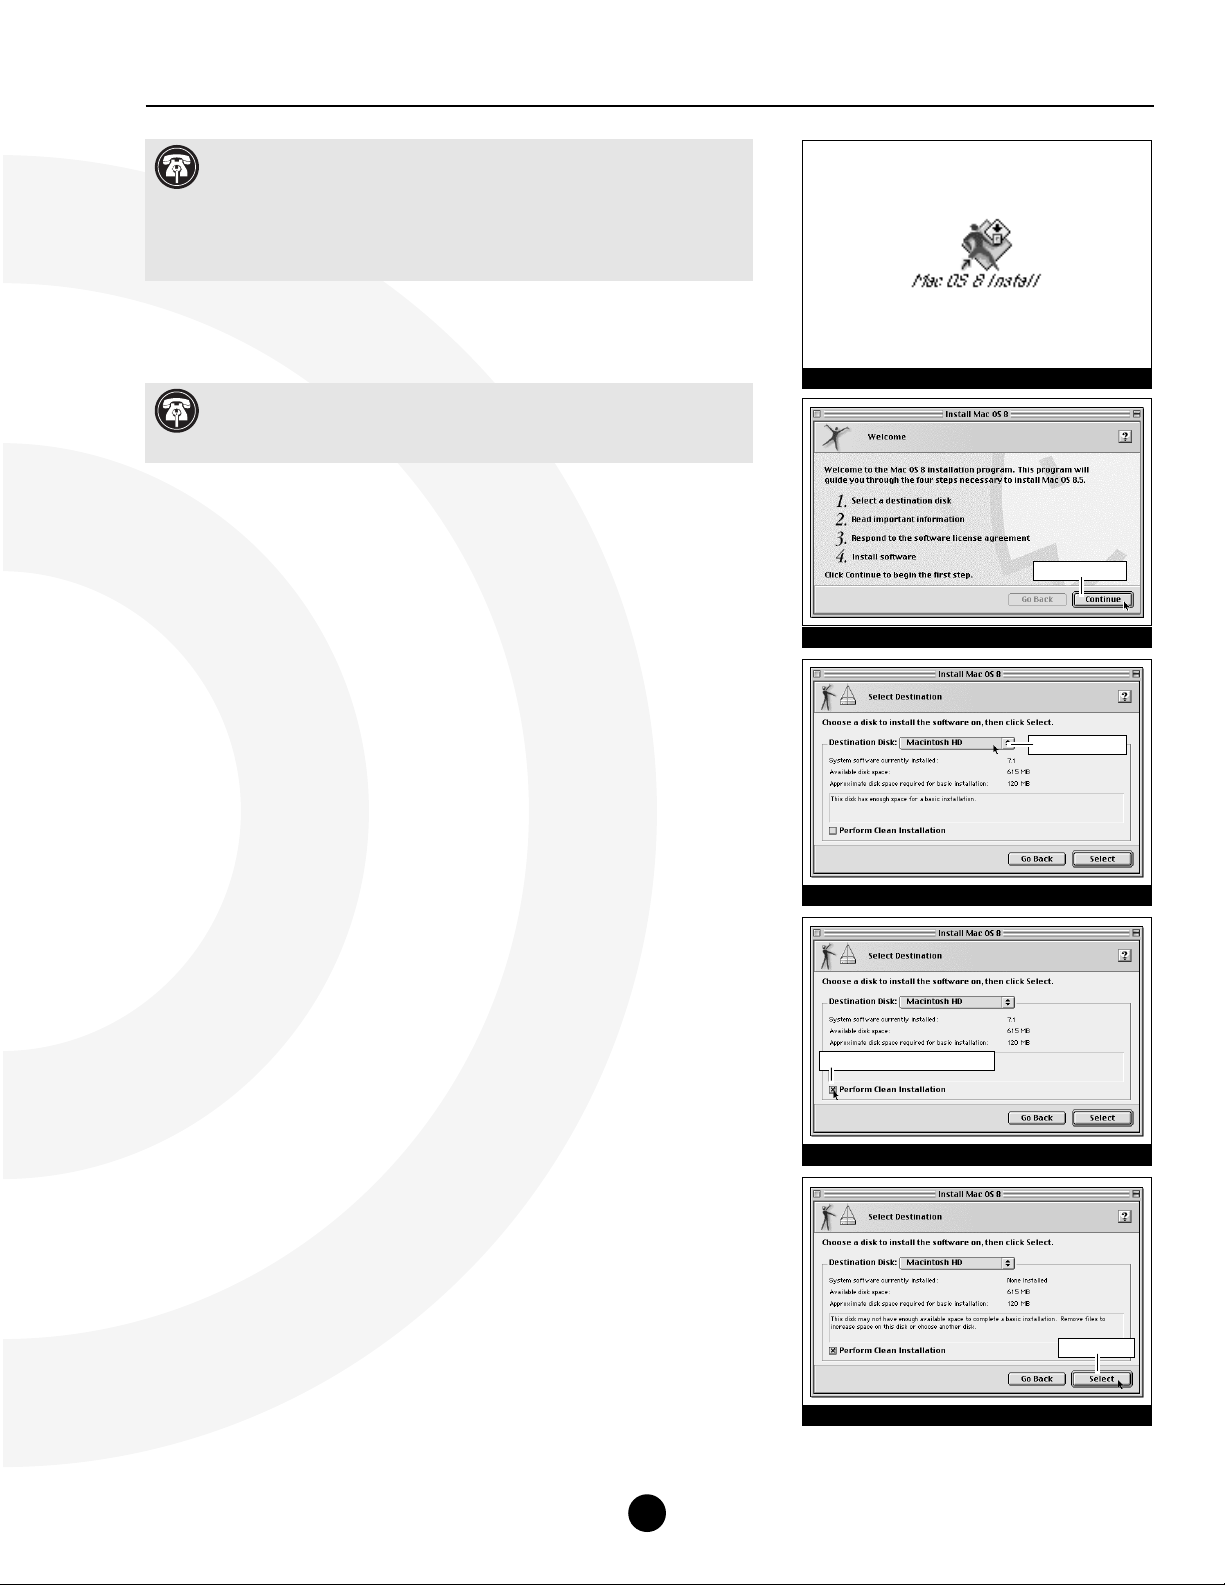
2. If your Macintosh is turned on, shut it down. Locate the Presto 8
Enabler Boot diskette (Figure 2) from the packaging materials.
3. If you have an Apple manufactured CD-ROM drive, skip to step 4. If you
have a third party manufactured CD-ROM drive, you need to install the
third-party CD-ROM driver software from your hard drive to the floppy
diskette as follows:
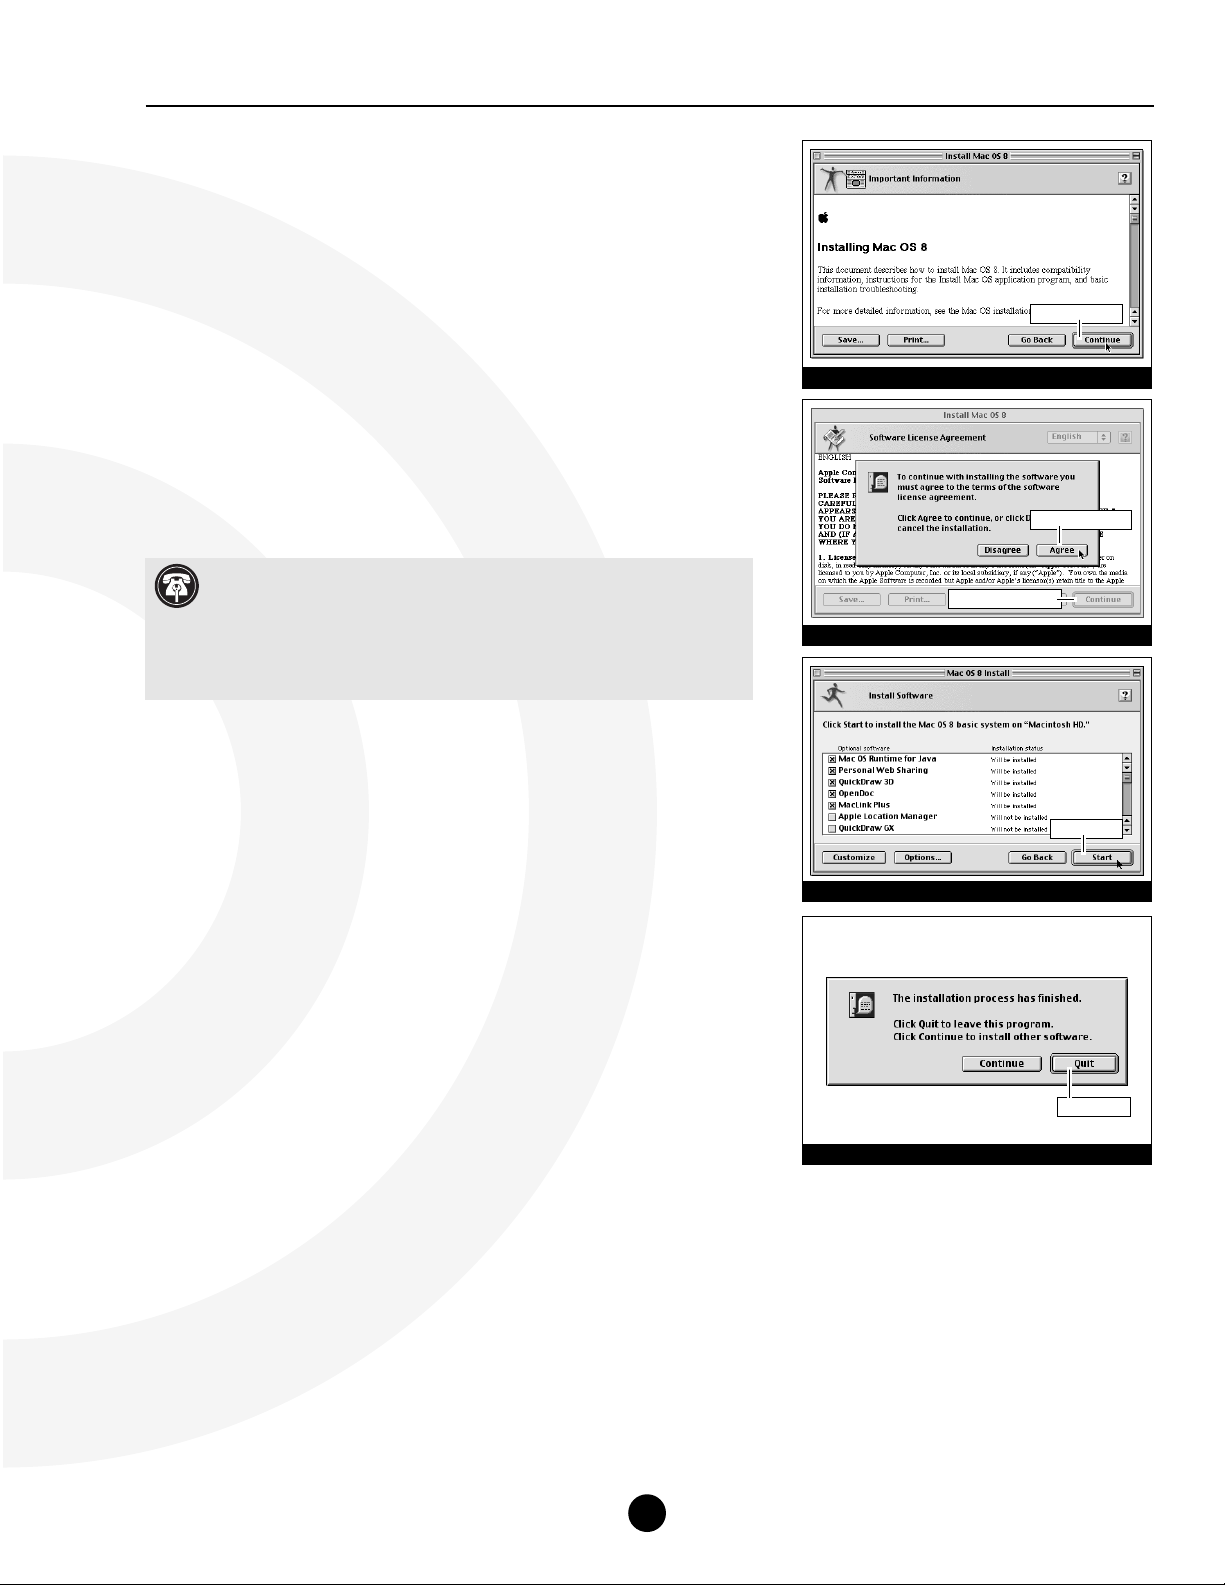
• Unlock the diskette by raising the lock tab (Figure 3), then insert the
diskette into the floppy disk drive. Open the System Folder on the
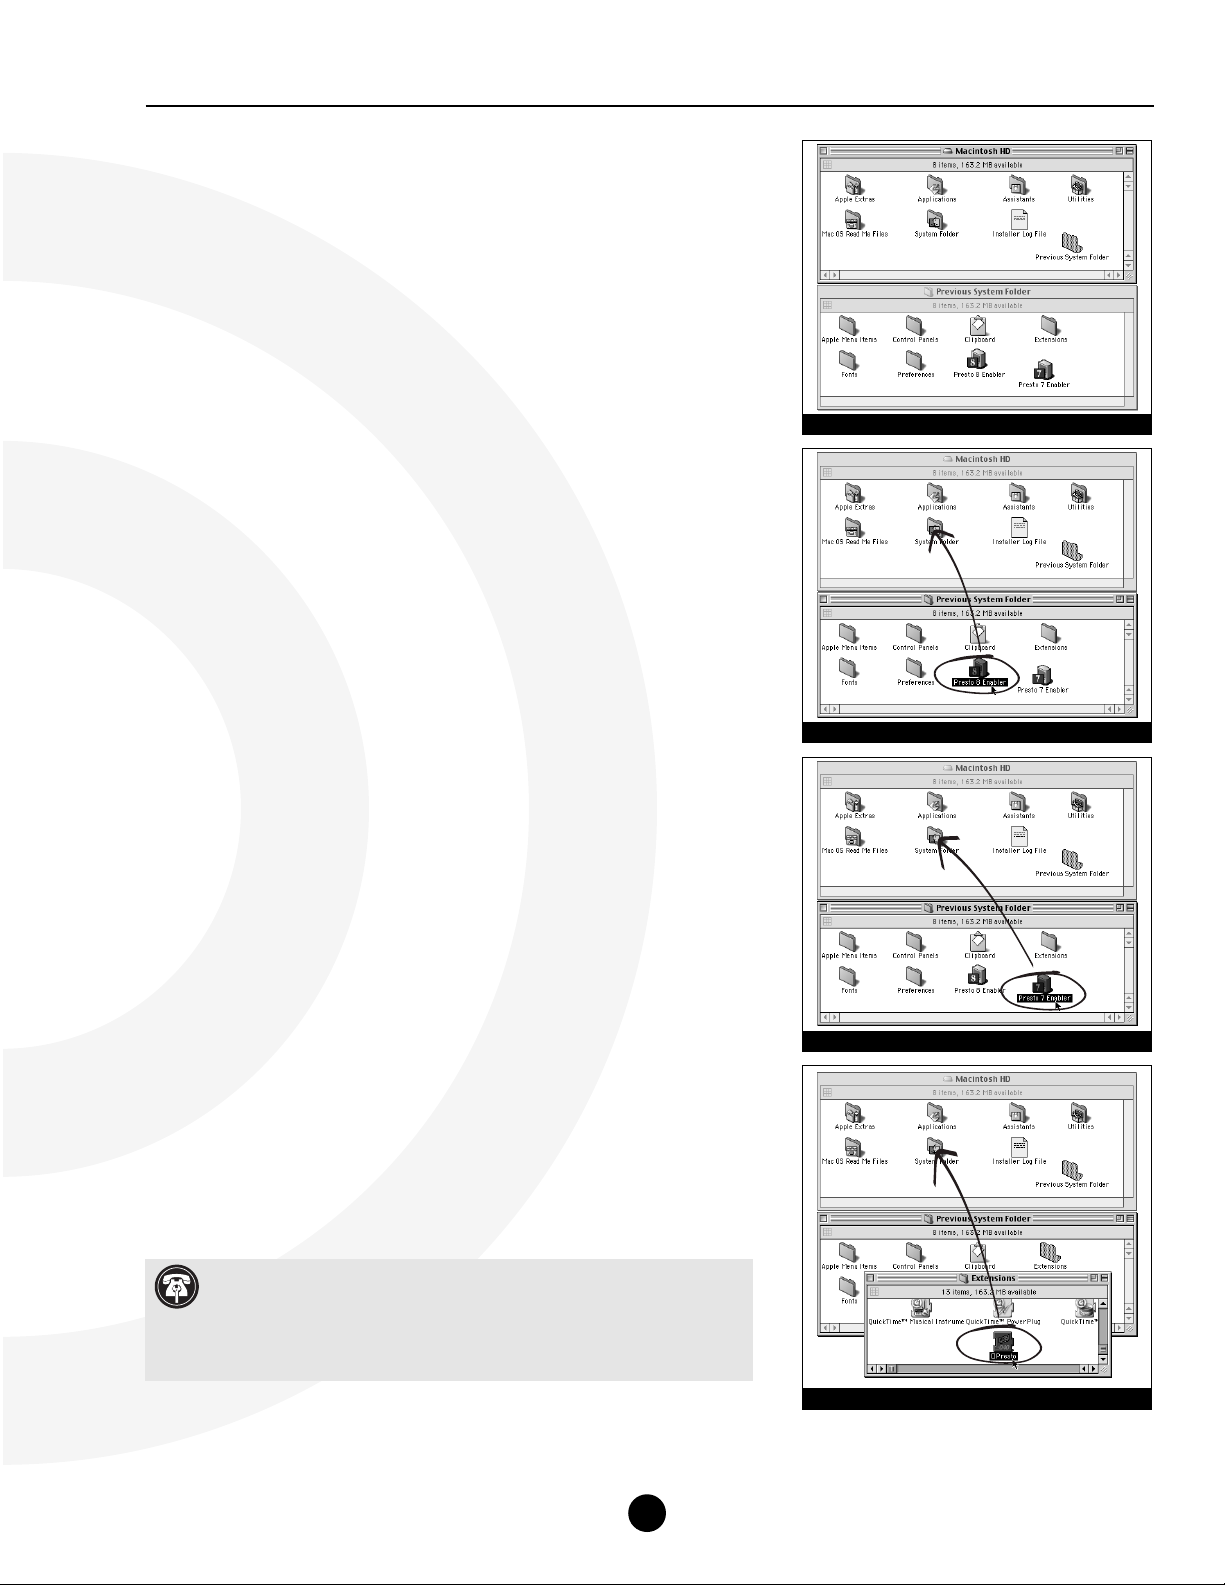
floppy diskette and locate the Extensions Folder. Open the Extensions
folder, locate the Apple CD-ROM extension (Figure 4), and move it to
the trash. Empty the trash.
• Copy the third party CD-ROM driver software from the System Folder
on your hard drive to the closed System Folder on the floppy
diskette. Usually it is an extension that is installed in the Extensions
Folder. If you are uncertain about the driver software installed on your
computer, refer to your CD-ROM drive user’s manual for details.
(Installation instructions continued on next page)
Figure 1: Hardware/software required for Mac OS 8
Figure 2: Presto 8 Enabler Boot diskette
Figure 3: Location of floppy diskette lock
Figure 4: Apple CD-ROM extension icon
raise tab
Software updates and links are available from the Sonnet web site at www.sonnettech.com.
Sonnet Technologies Customer Service hours are Monday-Friday,8am-5pm PT.
Customer Service Phone: 1-949-472-2772 • E-mail: support@sonnettech.com
Sonnet Technologies, Inc., 15 Whatney, Irvine, California 92618-2808 USA • Tel: 1-949-587-3500 • Fax: 1-949-457-6350
© 1999 Sonnet Technologies,Inc. Revised 2000. All rights reserved. Sonnet,the Sonnet logotype, Simply Fast, the Simply Fast logotype,and Presto are trademarks of Sonnet Technologies, Inc. Macintosh,Mac, and
the Mac logo are trademarks of Apple Computer, Inc., registered in the U.S. and other countries.The PowerPC name and the PowerPC logotype are trademarks of International Business Machines Corporation,
used under license therefrom. Other product names are trademarks of their respective owners.Product specifications are subject to change without notice. Printed in the U.S.A. PP8.0-090500
Page 2
4. Insert the Presto 8 Enabler Boot diskette into the floppy disk drive. Turn
on your Macintosh. The computer will boot from the diskette which in
turn will allow you to install Mac OS 8.
5. After the computer finishes booting, insert the Mac OS 8 CD into the
CD-ROM drive; the Mac OS 8 CD will appear on the desktop.
6. Locate and double-click the Mac OS Installer (Figure 5).
7. At the Welcome screen click ‘Continue’ (Figure 6).
8. At the Select Destination screen (Figure 7) perform the following:
• From the Destination Disk pop-up menu select the hard drive
(Figure 7) where you plan to install Mac OS 8. For the purposes of
these instructions, it should be the same hard drive where your
current system software resides.
• Click ‘Perform Clean Installation’ (Figure 8).
• Then, click ‘Select’ (Figure 9).
(Installation instructions continued on next page)
Mac OS 8 Installation Instructions - Presto and Presto Plus Processor Upgrade Cards
2
Figure 5: Mac OS Installer icon
Figure 6: Welcome to Mac OS 8.5 Screen
Figure 7: Select destination disk for Mac OS 8.5
Figure 8: Click ‘Options’ for Clean Install
select hard drive
click ‘Continue’
Figure 9: Click ‘Select’ to continue installation
click ‘Perform Clean Installation’
click ‘Select’
Support Note: If the driver software does not fit onto the
floppy diskette, you need to create a Presto 8 Enabler Boot disk with
sufficient disk space for the additional software. One way to accomplish
this is to copy the files from the Presto 8 Enabler Boot diskette onto a Zip
disk or external hard drive, install the third-party CD-ROM driver software,
and boot from the Zip disk or external hard drive.
Support Note: It is important to boot your Macintosh from the
Presto 8 Enabler Boot diskette otherwise you will not be able to
install Mac OS 8.
Page 3
Mac OS 8 Installation Instructions - Presto and Presto Plus Processor Upgrade Cards
9. At the Important Information screen read the Installing Mac OS 8
onscreen documentation; click ‘Continue’ (Figure 10).
10. At the Software License Agreement screen read the software license agree-
ment; click ‘Continue’. A dialog box appears asking you to agree to the
terms of the software license agreement. If you agree, click ‘Agree’
(Figure 11).
11. At the Install Software screen (Figure 12) you have the option to:
• Select the software you wish to install by checking or unchecking the
software components of your choice.
• Click ‘Customize” to customize the system software even further.
• Click ‘Options’ to select the option of updating hard disk drivers
formatted by Apple disk utility software.
• Click ‘Start’ to begin the installation of Mac OS 8.
If you wish to install the default system software selected by the
installer, simply click ‘Start’.
12. A dialog box may appear stating that the Mac OS Installer will auto-
matically quit all running applications to begin the software
installation. If this occurs, click ‘Continue’ to begin the installation.
13. The Mac OS Installer will first check the integrity of your hard drive,
which will take several minutes depending on the size of your hard
drive. If the hard drive is functioning properly the installer will begin
the installation. Refer to the troubleshooting section of the Mac OS 8
Installation Manual for further instructions should a problem arise.
14. After the installation is complete a dialog box will appear asking if
you would like to continue to install other software or quit from the
installation; select ‘Quit’ (Figure 13).
(Installation instructions continued on next page)
3
Figure 10: Important Information screen
click ‘Continue’
Figure 11: Agree to Software License Agreement
then click ‘Agree’
Figure 12: Click ‘Start’ to Install Mac OS 8
click ‘Start’
Figure 13: Click ‘Quit’ to exit from the Installer
click ‘Quit’
first click ‘Continue’
Support Note: By default, Personal Web Sharing and OpenDoc are
installed as part of the installation process of Mac OS 8. To conserve
space on your hard drive and the amount of RAM used by the system software, you may want to uncheck these components from the Install Software
screen. They are optional software components that can always be installed
at a later time.
Page 4
Mac OS 8 Installation Instructions - Presto and Presto Plus Processor Upgrade Cards
15. MOST IMPORTANT STEP! - Before using Mac OS 8 you need to
update the newly created System Folder with the Presto software
from the Previous System Folder. This step enables your Macintosh
to boot with the Presto or Presto Plus processor upgrade card and
Mac OS 8.
To update the newly created System Folder, perform the following:
• Close all open windows on your screen.
• Locate and double click the icon for the hard drive you selected for the
installation of Mac OS 8; a window will appear showing the contents of
the hard drive. Move the window to the upper left corner of the screen.
Depending on your system setup and files, the window should appear
similar to one illustrated for the Macintosh HD window (Figure 11).
• Locate and double click the Previous System Folder. A window will
appear showing the contents of the folder. Move the window underneath the window of the hard drive with Mac OS 8. Depending on your
system setup and files, the window should look similar to one illustrated
for the Previous System Folder window (Figure 11).
• From inside the Previous System Folder, locate the Presto 8 Enabler,
click on it once to select it, and while holding down the option key, drag
the icon of the Presto 8 Enabler directly onto the new System Folder
(Figure 12). This process will make a copy of the Presto 8 Enabler in the
new System Folder.
• From inside the Previous System Folder, locate the Presto 7 Enabler,
click on it once to select it, and while holding down the option key, drag
the icon of the Virtual Enabler directly onto the new System Folder
(Figure 13). This process will make a copy of the Virtual Enabler in the
new System Folder.
• From inside the Previous System Folder, double click the Extensions
Folder; a window will appear showing the contents of the Extensions
Folder. Locate the Presto extension, click on it once to select it,
and while holding down the option key, drag the icon of the Presto
extension directly onto the new System Folder (Figure 14). A dialog box
will appear stating that the extension needs to be placed in the
Extensions Folder; click ‘OK’. This process will make a copy of the
Presto extension in the new System Folder.
16. Restart your computer.
17. As the computer boots, hold down the Option-Command () keys to
rebuild your Macintosh Desktop file.
18. After the computer finishes rebuilding the Desktop file, your computer
should boot with Mac OS 8.
19. Since your new System Folder was performed as a clean installation of
the system software, your third-party extensions, control panels, and
fonts will not be installed in the new System Folder. You will need to
copy or move these files from the Previous System Folder to the new
System Folder. Before doing so we strongly recommend you verify their
compatibility with Mac OS 8. Contact the software manufacturers or
visit their web sites for software updates.
4
Figure 11: Hard drive & Previous System Folder windows
Figure 13: Copy Presto 7 Enabler to System Folder
Figure 14: Copy Presto extension to System Folder
Figure 12: Copy Presto 8 Enabler to System Folder
Support Note: Remember that anytime you update or move files
around in your System Folder, it must always have the Presto 8
Enabler, Presto 7 Enabler, and Presto extension installed, otherwise your
computer will not recognize the Presto or Presto Plus processor upgrade
card and the Mac OS 8 system software.
Page 5

Troubleshooting Mac OS 8 with the Presto or Presto Plus
Problem: The computer does not boot with Mac OS 8.
Possible Solution: Mac OS 8 requires a 68040 processor to operate. You may
need to install the Sonnet Presto or Presto Plus processor upgrade card and
Presto software.
• If the Presto or Presto Plus is not installed – If the Presto or Presto
Plus processor upgrade card is removed from the computer you will
need to reinstall it.
• If the Presto software is not installed – If the Presto software is not
installed, your computer will turn on the Presto or Presto Plus. Mac
OS 8 will not boot without a 68040. You can use the Presto 8 Enabler
Boot diskette to temporarily boot your Macintosh and verify that the
System Folder on the hard drive contains Sonnet’s Presto 8 Enabler
and Virtual Enabler and the Extensions Folder contains the Presto
extension.
Problem: The computer does not boot directly from the Mac OS 8 CD.
Possible Solution: Since the CD-ROM does not contain the Presto 8 Enabler
software, it does not have the necessary software to be utilized as a bootable
startup disk. You need to boot your computer first with the Presto 8 Enabler
Boot diskette and then insert the Mac OS 8 CD into your CD-ROM drive.
Mac OS 8 Installation Instructions - Presto and Presto Plus Processor Upgrade Cards
5
Support Note: If you have a third party manufactured CD-ROM
drive, you need to install the third-party CD-ROM driver software
from your hard drive to the Presto 8 Enabler floppy diskette. If the CDROM driver software does not fit on the floppy diskette, copy it to a Zip
disk or external hard drive with a copy of the Presto 8 Enabler software.
Page 6

Items Packaged with the Sonnet Presto Plus Processor Upgrade Card:
• Presto Plus
™
processor upgrade card
• Presto diskette
• Powered by Sonnet label
• Mac OS 8 Installation Boot diskette
• Mac OS 8 installation instructions
If your Macintosh will be connected to an Ethernet network, you will require:
• An unshielded twisted-pair (CAT 3-5 UTP) cable
System Software Compatibility:
• Compatible with System 7.1–Mac
™
OS 8.1.
Note: We r ecommend you make a backup of important information on your
hard drive prior to installing new hardware or software. When handling computer
products, you must take care to prevent components from being damaged by static
electricity. Avoid carpeted areas, handle cards only by their edges, and avoid touching
connector traces and component pins.
If you plan to upgrade to Mac OS 8, you will need to first install the Presto Plus.
For instructions on the installation of Mac OS 8, please refer to the separate
Mac OS 8 software installation instructions packaged with the Presto Plus.
1. Insert the Presto diskette into the floppy disk drive. Double-click
the Presto Installer icon. By default the software will be installed
on the boot drive. If this is ok then click ‘Install’; otherwise, select
another drive and click ‘Install’. If the installation was successful, a
dialog box will appear. Click ‘Quit’ to leave the installer or click
‘Continue’ to perform additional installations.
The Presto Installer will install the following items:
• ‘Presto’ will be placed into the Extensions Folder.
• ‘Presto 7 Enabler’ will be placed into the System Folder.
• ‘Presto 8 Enabler’ will be placed into the System Folder.
• ‘Metronome’ will be placed into the Apple Menu Items Folder.
2. Shut down your Macintosh. If the computer has been on for any
length of time, wait a few minutes for it to cool before beginning
the installation.
3. Open your Macintosh by first unscrewing the two security screws on the
back of the case (Figure 1) with a medium head Philips screwdriver.
4. Unlatch the back panel (Figure 2) from the rear of the computer.
5. Remove the PDS access cover port from the back panel (Figure 3).
6. Unpack everything you will need from the packaging box that contains
the Presto Plus card. Close the box. The box will be used as a relatively
soft installation surface to protect the components underneath the
logic board.
7. Slide the logic board out of the computer (Figure 4).
8. Place the logic board on the packaging box (Figure 5). Locate the PDS
slot (Figure 5). If there is a PDS card already installed, remove it.
Figure 1: Remove security screws
Installation Instructions for Macintosh LC 520, 550,
and Performa 520, 550, 560
Figure 2: Unlatch and remove back panel
Figure 3: Remove PDS access port cover
Figure 4: Slide logic board out of computer
Software updates and links are available from the Sonnet web site at www.sonnettech.com.
Sonnet Technologies Customer Service hours are Monday-Friday,8am-5pm PT.
Customer Service Phone: 1-949-472-2772 • E-mail: support@sonnettech.com
Sonnet Technologies, Inc., 15 Whatney, Irvine, California 92618-2808 USA • Tel: 1-949-587-3500 • Fax: 1-949-457-6350
© 1999 Sonnet Technologies,Inc. Revised 2000. All rights reserved.Sonnet, the Sonnet logotype, Simply Fast,the Simply Fast logotype, and Presto are trademarks of Sonnet Technologies, Inc.Macintosh, Mac, and the
Mac logo are trademarks of Apple Computer, Inc., registered in the U.S. and other countries.The PowerPC name and the PowerPC logotype are trademarks of International Business Machines Corporation, used
under license therefrom. Other product names are trademarks of their respective owners.Product specifications are subject to change without notice. Printed in the U.S.A.PP5XX-090500
Figure 5: Location of PDS slot
PDS slot
Page 7

9. Remove the Presto Plus card from the anti-static package, making
sure to handle the card by the edges.
10. Orient the Presto Plus card directly over the PDS slot so the rear of the
card aligns flush with the rear of the logic board. Gently press down
until the Presto Plus card is firmly seated in the PDS slot (Figures 6, 7).
If you encounter any resistance, lift the card out of the PDS slot, check
for bent pins, and reinstall the card.
11. Slide the logic board into the computer (Figure 8) by first aligning it
with the inner guides of the computer’s case and then pushing it back
until it fully in place.
12. Replace the back panel and two security screws.
13. Return your Macintosh to your computing area and reconnect the
power and peripheral cables to the computer.
14. Affix the Powered by Sonnet label (Figure 9) to the front of your
computer.
15. Turn on your Macintosh. You should see the Presto extension icon load
during startup.
16. The Presto Plus processor upgrade card has an onboard RAM expansion
SIMM slot with a 32 MB SIMM that adds additional RAM to your
system. For example, if your computer has 10 MB of RAM the Presto
Plus adds an additional 32 MB for a total of 42 MB. To determine the
amount of RAM available to your system, select “About this Macintosh”
or “About This Computer” (depending on the installed System software)
from under the Apple Menu.
17. The Presto Plus features 10BaseT Ethernet via a RJ45 Ethernet port. If
you intend to connect your Macintosh to an Ethernet network, you will
require an unshielded twisted-pair (CAT 3-5 UTP) cable. You will also
need to configure the system software (via AppleTalk and TCP/IP control
panels) to recognize proper Ethernet settings.
Two LED indicators on the Presto Plus provide status information for
verification and diagnostic purposes:
• The LED Link indicator (Figure 10) indicates a valid connection to
a network. When a connection is established, the LED is on; if a
connection is not detected, the LED should be off.
• The LED Transmit indicator (Figure 10) indicates the transmission of
data. When on, the LED should blink on as data is being transmitted.
When no data is being sent, the LED should be off.
Presto Plus Installation Instructions for Macintosh LC 520, 550; and Performa 520, 550, 560
2
Figure 6: Gently press Presto Plus card into PDS slot
Figure 7: Side view of Presto Plus card in PDS slot
Figure 9: Powered by Sonnet label
Figure 8: Slide logic board into computer
guide
Figure 10: Ethernet LED indicators
Link
Transmit
Page 8

Items Packaged with the Sonnet Presto Plus Processor Upgrade Card:
• Presto Plus™processor upgrade card
• Presto diskette
• Powered by Sonnet label
• Mac OS 8 Installation Boot diskette
• Mac OS 8 installation instructions
If your Macintosh will be connected to an Ethernet network, you will require:
• An unshielded twisted-pair (CAT 3-5 UTP) cable
System Software Compatibility:
• Compatible with System 7.1–Mac
™
OS 8.1.
Note: We r ecommend you make a backup of important information on your
hard drive prior to installing new hardware or software. When handling computer
products, you must take care to prevent components from being damaged by static
electricity. Avoid carpeted areas, handle cards only by their edges, and avoid touching
connector traces and component pins.
If you plan to upgrade to Mac OS 8, you will need to first install the Presto Plus.
For instructions on the installation of Mac OS 8, please refer to the separate
Mac OS 8 software installation instructions packaged with the Presto Plus.
1. Insert the Presto diskette into the floppy disk drive. Double-click
the Presto Installer icon. By default the software will be installed
on the boot drive. If this is ok then click ‘Install’; otherwise, select
another drive and click ‘Install’. If the installation was successful, a
dialog box will appear. Click ‘Quit’ to leave the installer or click
‘Continue’ to perform additional installations.
The Presto Installer will install the following items:
• ‘Presto’ will be placed into the Extensions Folder.
• ‘Presto 7 Enabler’ will be placed into the System Folder.
• ‘Presto 8 Enabler’ will be placed into the System Folder.
• ‘Metronome’ will be placed into the Apple Menu Items Folder.
2. Shut down your Macintosh. If the computer has been on for any
length of time, wait a few minutes for it to cool before beginning
the installation.
3. Open your Macintosh by first unscrewing the two security screws on the
back of the case (Figure 1) with a medium head Philips screwdriver.
4. Unlatch the back panel (Figure 2) from the rear of the computer.
5. Remove the PDS access cover port from the back panel (Figure 3).
6. Unpack everything you will need from the packaging box that contains
the Presto Plus card. Close the box. The box will be used as a relatively
soft installation surface to protect the components underneath the
logic board.
7. Slide the logic board out of the computer (Figure 4).
8. Place the logic board on top of the packaging box. Locate the PDS slot
(Figure 5). If there is a PDS card already installed, remove it.
Figure 1: Remove security screws
Installation Instructions for Macintosh Color Classic
and Color Classic II
Figure 2: Unlatch and remove back panel
Figure 3: Remove PDS access port cover
Figure 4: Slide logic board out of computer
Software updates and links are available from the Sonnet web site at www.sonnettech.com.
Sonnet Technologies Customer Service hours are Monday-Friday,8am-5pm PT.
Customer Service Phone: 1-949-472-2772 • E-mail: support@sonnettech.com
Sonnet Technologies, Inc., 15 Whatney, Irvine, California 92618-2808 USA • Tel: 1-949-587-3500 • Fax: 1-949-457-6350
© 1999 Sonnet Technologies,Inc. Revised 2000.All rights reserved. Sonnet, the Sonnet logotype, Simply Fast,the Simply Fast logotype, and Presto are trademarks of Sonnet Technologies, Inc.Macintosh, Mac, and the
Mac logo are trademarks of Apple Computer, Inc., registered in the U.S. and other countries.The PowerPC name and the PowerPC logotype are trademarks of International Business Machines Corporation, used
under license therefrom. Other product names are trademarks of their respective owners.Product specifications are subject to change without notice. Printed in the U.S.A.PPCC-090500
Figure 5: Location of PDS slot
PDS slot
Page 9

9. Remove the Presto Plus card from the anti-static package, making
sure to handle the card by the edges.
10. Orient the Presto Plus card directly over the PDS slot so the rear of
the card aligns flush with the rear of the logic board (Figure 6).
Gently press down until the Presto Plus card is firmly seated in the
PDS slot (Figure 7). If you encounter any resistance, lift the card out of
the PDS slot, check for bent pins, and reinstall the card.
11. Slide the logic board into the computer by first aligning it with the
inner guides of the computer’s case and then pushing it back until it is
fully in place (Figure 8).
12. Replace the back panel and two security screws.
13. Return your Macintosh to your computing area and reconnect the
power and peripheral cables to the computer.
14. Affix the Powered by Sonnet label (Figure 9) to the front of your
computer.
15. Turn on your Macintosh. You should see the Presto extension icon load
during startup.
16. The Presto Plus processor upgrade card has an onboard RAM expansion
SIMM slot with a 32 MB SIMM that adds additional RAM to your
system. For example, if your computer has 10 MB of RAM the Presto
Plus adds an additional 32 MB for a total of 42 MB. To determine the
amount of RAM available to your system, select “About this Macintosh”
or “About This Computer” (depending on the installed System software)
from under the Apple Menu.
17. The Presto Plus features 10BaseT Ethernet via a RJ45 Ethernet port. If
you intend to connect your Macintosh to an Ethernet network, you will
require an unshielded twisted-pair (CAT 3-5 UTP) cable. You will also
need to configure the system software (via AppleTalk and TCP/IP control
panels) to recognize proper Ethernet settings.
Two LED indicators on the Presto Plus provide status information for
verification and diagnostic purposes:
• The LED Link indicator (Figure 10) indicates a valid connection to
a network. When a connection is established, the LED is on; if a
connection is not detected, the LED should be off.
• The LED Transmit indicator (Figure 10) indicates the transmission of
data. When on, the LED should blink on as data is being transmitted.
When no data is being sent, the LED should be off.
Presto Plus Installation Instructions for Color Classic and Color Classic II
2
Figure 6: Gently press Presto Plus card into PDS slot
Figure 7: Side view of Presto Plus card in PDS slot
Figure 9: Powered by Sonnet label
Figure 8: Slide logic board into computer
guide
Figure 10: Ethernet LED indicators
Link
Transmit
Page 10

Items Packaged with the Sonnet Presto Plus Processor Upgrade Card:
• Presto Plus
™
processor upgrade card
• Presto diskette
• Powered by Sonnet label
• Mac OS 8 Installation Boot diskette
• Mac OS 8 installation instructions
If your Macintosh will be connected to an Ethernet network, you will require:
• An unshielded twisted-pair (CAT 3-5 UTP) cable
System Software Compatibility:
• Compatible with System 7.1–Mac
™
OS 8.1.
Note: We r ecommend you make a backup of important information on your
hard drive prior to installing new hardware or software. When handling computer
products, you must take care to prevent components from being damaged by static
electricity. Avoid carpeted areas, handle cards only by their edges, and avoid touching
connector traces and component pins.
If you plan to upgrade to Mac OS 8, you will need to first install the Presto Plus.
For instructions on the installation of Mac OS 8, please refer to the separate
Mac OS 8 software installation instructions packaged with the Presto Plus.
1. Insert the Presto diskette into the floppy disk drive. Double-click
the Presto Installer icon. By default the software will be installed
on the boot drive. If this is ok then click ‘Install’; otherwise, select
another drive and click ‘Install’. If the installation was successful, a
dialog box will appear. Click ‘Quit’ to leave the installer or click
‘Continue’ to perform additional installations.
The Presto Installer will install the following items:
• ‘Presto’ will be placed into the Extensions Folder.
• ‘Presto 7 Enabler’ will be placed into the System Folder.
• ‘Presto 8 Enabler’ will be placed into the System Folder.
• ‘Metronome’ will be placed into the Apple Menu Items Folder.
2. Shut down your Macintosh. If the computer has been on for any
length of time, wait a few minutes for it to cool before beginning
the installation.
3. Disconnect the power and peripheral cables from the back of the
computer and move it to an area where you can freely work.
4. Open your computer by unlatching the cover (Figure 1) and set it aside.
5. Remove the PDS access cover port from the back panel (Figure 2).
6. Touch the metal shielding of the internal power supply to discharge
any potential damaging static electricity.
7. Locate the PDS slot (Figure 3). If there is a PDS card already installed,
remove it.
8. Remove the Presto Plus card from the anti-static package, making
sure to handle the card by the edges. Note the small cutout in the
horizontal plate of the Presto Plus Ethernet connector (Figure 4).
9. Aligning the card flush with the rear of the computer, the small cutout
in the Ethernet connector plate should align directly over the small
plastic tab inline with the PDS slot (Figure 5).
Figure 1: Remove case cover
Installation Instructions for Macintosh LC, LC II, LC III,
LC III+, and Performa 250, 275, 400, 405, 410, 430, 450
Figure 2: Remove PDS access port cover
Figure 3: Locate PDS slot
Figure 4: Presto Plus Ethernet connector
cutout
PDS slot
Software updates and links are available from the Sonnet web site at www.sonnettech.com.
Sonnet Technologies Customer Service hours are Monday-Friday,8am-5pm PT.
Customer Service Phone: 1-949-472-2772 • E-mail: support@sonnettech.com
Sonnet Technologies, Inc., 15 Whatney, Irvine, California 92618-2808 USA • Tel: 1-949-587-3500 • Fax: 1-949-457-6350
©1999 Sonnet Technologies,Inc. Revised 2000. All rights reserved.Sonnet, the Sonnet logotype, Simply Fast,the Simply Fast logotype, and Presto are trademarks of Sonnet Technologies, Inc.Macintosh, Mac, and the
Mac logo are trademarks of Apple Computer, Inc., registered in the U.S. and other countries.The PowerPC name and the PowerPC logotype are trademarks of International Business Machines Corporation, used
under license therefrom. Other product names are trademarks of their respective owners.Product specifications are subject to change without notice. Printed in the U.S.A.PPLC-090500
Figure 5: Align Presto Plus over PDS slot
plastic tab
cutout
Page 11

10. Gently press down until the Presto Plus card is firmly seated in the PDS
slot (Figure 6). If you encounter any resistance, lift the card out of the
PDS slot, check for bent pins, and reinstall the card.
11. Replace the case cover onto your computer (Figure 7).
12. Return your Macintosh to your computing area and reconnect the
power and peripheral cables to the computer.
13. Affix the Powered by Sonnet label (Figure 8) to the front of your
computer.
14. Turn on your Macintosh. You should see the Presto extension icon load
during startup.
15. The Presto Plus processor upgrade card has an onboard RAM expansion
SIMM slot with a 32 MB SIMM that adds additional RAM to your
system. For example, if your computer has 10 MB of RAM the Presto
Plus adds an additional 32 MB for a total of 42 MB. To determine the
amount of RAM available to your system, select “About this Macintosh”
or “About This Computer” (depending on the installed System software)
from under the Apple Menu.
16. The Presto Plus features 10BaseT Ethernet via a RJ45 Ethernet port. If
you intend to connect your Macintosh to an Ethernet network, you will
require an unshielded twisted-pair (CAT 3-5 UTP) cable. You will also
need to configure the system software (via AppleTalk and TCP/IP control
panels) to recognize proper Ethernet settings.
Two LED indicators on the Presto Plus provide status information for
verification and diagnostic purposes:
• The LED Link indicator (Figure 9) indicates a valid connection to
a network. When a connection is established, the LED is on; if a
connection is not detected, the LED should be off.
• The LED Transmit indicator (Figure 9) indicates the transmission of
data. When on, the LED should blink on as data is being transmitted.
When no data is being sent, the LED should be off.
Presto Plus Installation Instructions for Macintosh LC, LC II, LC III; and Performa 250-450
2
Figure 6: Gently press Presto Plus card into PDS slot
Figure 7: Replace case cover
Figure 8: Powered by Sonnet label
Figure 9: Ethernet LED indicators
Link
Transmit
 Loading...