

Page 1
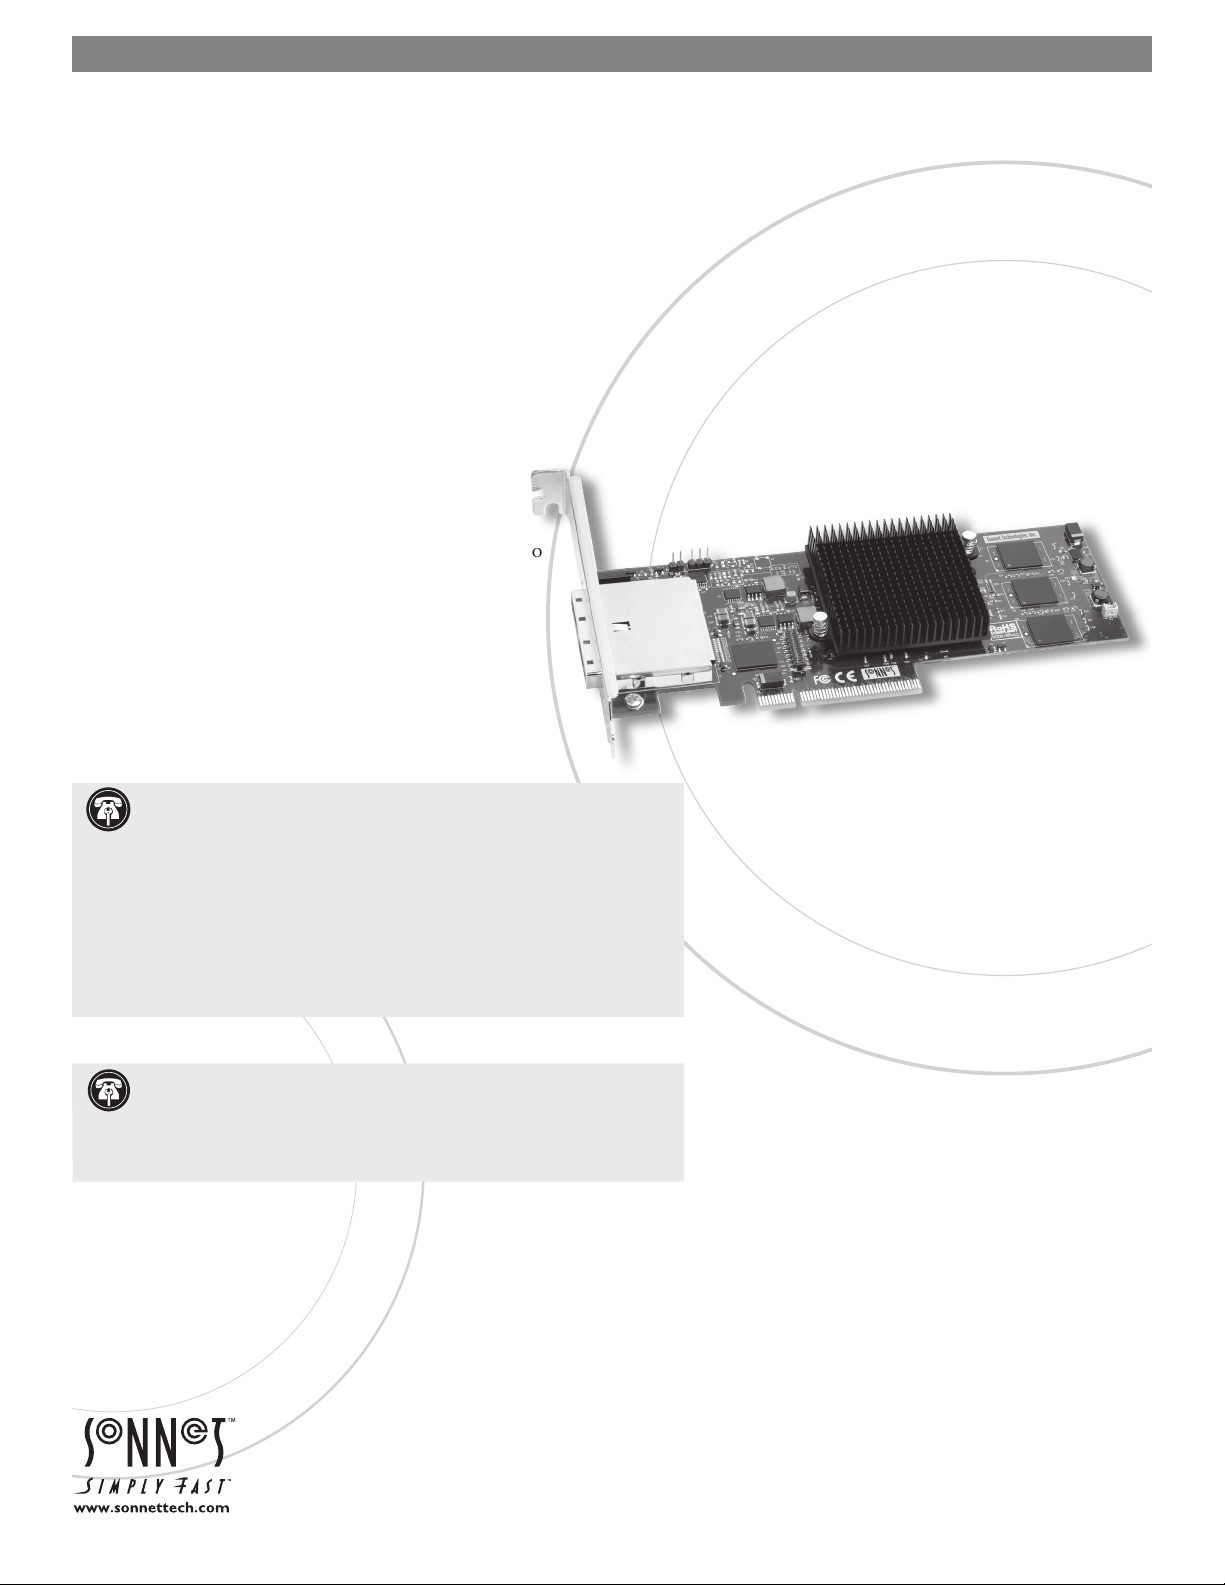
Installation Manual for Sonnet RAID Controller
System Requirements - Mac® Users
The Sonnet RAID controller requires the following in order to operate in your
system:
• One available PCI Express (PCIe) 1.1 or 2.0 x8 or x16 slot*
• Mac OS® X Version 10.4 or later
• Java 1.5 or later
System Requirements - Windows® Users
The Sonnet RAID controller requires the following in order to operate in your
system:
• One available PCI Express (PCIe) 1.1 or 2.0 x8 or x16 slot*
• Windows Vista, Server 2003, or XP with SP2 installed
• Java 1.5 or later
System Requirements - Linux® Users
The Sonnet RAID controller requires the following in order to
operate in your system:
• One available PCI Express (PCIe) 1.1 or 2.0 x8 or x16 slot*
RedHat ES 3, 4; Suse Linux 9, 9.1, 9.2, 9.3, 10, 10.1 and the
•
following architectures: i386 (with or without
CONFIG_REGPARM); x86_64 (AMD64, Intel EM64T).
• Java 1.5 or later
Support Notes: We recommend that you make a backup of important
information on your system’s current hard drives prior to installing new
hardware or software.
When handling computer products, you must take care to prevent components
from being damaged by static electricity. Before opening your computer or
removing parts from their packages, always ground yourself first by touching
a metal part of the computer, such as a port access cover, and work in an area
free of static electricity; avoid carpeted areas. Handle all electronic components
only by their edges, and avoid touching connector traces and component pins.
Also, avoid touching the logic board and any of its components.
Support Note: The software on the Installer CD included in the
product package may not be the latest version available. Before using
this product, check the version numbers of the software on the CD and what’s
available at w ww.sonnettech.com/suppor t/downloads/computercards.html.
Download and install the newer version, if available.
* (x4 slot compatible with decreased performance)
Remember to register your product online at http://registration.sonnettech.com to be informed of future upgrades and product releases.
Software updates and links are available from the Sonnet web site at www.sonnettech.com. • Online support form available at http://supportform.sonnettech.com.
Sonnet Technologies Customer Service hours are Mon.-Fri., 7 a.m.–4 p.m. Pacific Time • Customer Service Phone: 1-949-472-2772 • E-mail: support@sonnettech.com
Sonnet Technologies, Inc., California USA • Tel: 1-949-587-3500 Fax: 1-949-457-6350
©2009 Sonnet Technologies, Inc. All rights reserved. Sonnet, the Sonnet logotype, Simply Fast, the Simply Fast logotype , and Fusion are trademarks of Sonnet Technologies, Inc. Macintosh and Mac are trademarks
of Apple Inc., registered in the United States and other countries. Other product names are trademarks of their respective owners. Product specifications subject to change without notice. Printed in the USA.
QS-RAID-HBA-E-H-062509
Page 2

Software Installation Steps
Mac OS X Driver and Software Installation
This section describes the installation of drivers and software to
support the Sonnet RAID controller in systems running Mac OS
X Version 10.4 and later.
1. Insert the Sonnet RAID Controller Installer CD into the CD-
ROM drive. Double-click the Sonnet RAID CD icon. When
the Sonnet RAID x.xx window appears, double-click the
Drivers folder.
2. Double-click the ATTOExpressSASRAID_xxx.pkg icon to
launch the installer (xxx is the version).
3. When the Welcome to the ATTO ExpressSAS RAID Driver
Installer window appears, click Continue.
4. When the Software License Agreement window appears, read
the agreement, click Continue, and then click Agree.
5. When the Installation Type window appears, accept the
default location or choose a different one, and then click
Install.
6. When the Easy Install window appears, click Install.
17. When the Install Complete window appears, click Done to
quit the installer.
18. Shut down your computer, and proceed to Hardware
Installation on page 6.
7. When the Authenticate window appears, enter the
Administrator password, and then click OK.
8. When the Summary window appears, click Restart to restart
your system and finish the driver installation.
9. If necessary, double-click the Sonnet RAID CD icon. In the
Sonnet RAID x.xx window, double-click the Configuration
Tool folder.
10. Double-click the ConfigTool icon to launch the
Configuration Tool installer.
11. When the Authenticate window appears, enter the
Administrator password, and then click OK.
12. When the Introduction window appears, click Next.
13. When the License Agreement window appears, read the
agreement, click the I accept the terms of the License
Agreement radio button, and then click Next.
14. When the Choose Install Folder window appears, accept the
default location or choose a different one, and then click
Next.
15. When the Choose Install Set window appears, click the icon
next to Full Installation, and then click Next.
16. When the Pre-Installation Summary window appears, click
Install.
2
Page 3

Software Installation Steps
Windows Vista Driver and Software Installation
This section describes the installation of drivers to support the
Sonnet RAID controller in systems running Windows Vista. If
your system is running Windows XP or Windows Server 2003,
skip to page 4.
1. Start Windows and log on as System Administrator.
2. Insert the included software CD. If an Internet Explorer
window appears, proceed to the next step. Otherwise,
perform one of the following:
• If an
• If a Windows Explorer window appears displaying the
3. In the Internet Explorer window, click the Windows Drivers
4. Click the link for the drivers that apply to your computer.
5. Under the Windows Vista heading, click the Install Storport
6. If an Internet Explorer warning window appears, check or
7. When the next window appears, click Run. If you have not
8. When the ATTO Windows Driver Installer window appears,
9. When the Windows Security window appears, click the
10. After the driver installation is complete, a window will
11. Back in the browser window click the Windows
12. Click the Install Configuration Tool link.
Autoplay window appears, click the Run autorun.bat
link to launch Internet Explorer.
CD-ROM’s contents, double-click the icon for the Autorun
batch file to launch Internet Explorer.
link in the upper left corner.
Driver link.
uncheck the checkbox per your needs, and then click Yes.
Otherwise, go to the next step.
disabled User Account Control (UAC), a UAC window will
appear; click Continue.
click Install.
Always trust software from “ATTO Technology, Inc.”
checkbox, and then click Install.
appear with a message stating no adapter was detected; click
No to close the window and continue with the software
installation.
Applications link on the left.
15. If the installer window is hidden, click the Configuration
Tool button in the taskbar to bring the window to the front.
Click Next.
16. When the next window appears, click the radio button next
to the option to accept the license agreement, and then click
Next.
17. When the Choose Install Folder window appears, click Next
to accept the default installation location.
18. When the Choose Install Set window appears, click the Full
Installation icon, and then click Next.
19. When the Choose Java Virtual Machine window appears, click
the radio button next to the Choose a Java VM specifically
for this application option, and then click Next.
20. When the Pre-Installation Summary window appears, click
Install.
21. When the Install Complete window appears, click Done.
22. Back in the browser window, click the Install Windows
Utilities link.
23. If an Internet Explorer warning window appears, check or
uncheck the checkbox per your needs, and then click Yes.
Otherwise, go to the next step.
24. When the File Download - Security Warning window appears,
click Run. If you have not disabled User Account Control
(UAC), a UAC window will appear; click Continue.
25. When the Welcome to the ATTO HBA Utilities Setup Wizard
window appears, click Next.
26. When the Select Installation Folder window appears, either
accept the default location or choose a new one, and then
click Next.
27. When the Confirm Installation window appears, click Next.
28. After the utilities have been installed, an Installation
Complete window appears; click Close to exit.
29. Shut down your computer, and proceed to Hardware
Installation on page 6.
13. When the File Download - Security Warning window appears,
click Run.
14. When the Internet Explorer - Security Warning window
appears, click Run. If you have not disabled User Account
Control (UAC), a UAC window will appear; click Allow.
3
Page 4

Software Installation Steps
Windows XP/Server 2003 Driver and Software
Installation
This section describes the installation of drivers to support the
Sonnet RAID controller in systems running Windows XP or
Windows Server 2003.
1. Start Windows and log on as System Administrator.
2. Insert the included software CD; an Internet Explorer
window will appear.
3. Click the Windows Drivers link in the upper left corner.
4. Click the link for the drivers that apply to your computer.
5. If you are using a 32-bit version of Windows XP, click the
Install Scsiport Driver link under the Windows XP heading.
If you are using a 64-bit version of Windows XP, or any
version of Windows Server 2003, click the Install Storport
Driver link under the appropriate heading.
6. When the Internet Explorer warning window appears,
check or uncheck the checkbox per your needs, and then
click Yes.
7. When the File Download - Security Warning window appears,
click Run.
8. When the Internet Explorer - Security Warning window
appears, click Run and the installer will launch.
9. When the ATTO Windows Driver Installer window appears,
click Install.
10. When the Setup window appears, click OK.
11. When the Software Installation window appears, click
Continue Anyway.
17. If the installer window is hidden, click the Configuration
Tool button in the taskbar to bring the window to the front.
Click Next.
18. When the next window appears, click the radio button next
to the option to accept the license agreement, and then click
Next.
19. When the Choose Install Folder window appears, click Next
to accept the default installation location.
20. When the Choose Install Set window appears, click the Full
Installation icon, and then click Next.
21. When the Choose Java Virtual Machine window appears, click
the radio button next to the Choose a Java VM specifically
for this application option, and then click Next.
22. When the Pre-Installation Summary window appears, click
Install.
23. When the Install Complete window appears, click Done.
24. Back in the browser window, click the Install Windows
Utilities link.
25. When the File Download - Security Warning window appears,
click Run.
26. When the Internet Explorer - Security Warning window
appears, click Run.
27. When the Welcome to the ATTO HBA Utilities Setup Wizard
window appears, click Next.
28. When the Select Installation Folder window appears, either
accept the default location or choose a new one, and then
click Next.
12. After the driver installation is complete, a window will
appear with a message stating no adapter was detected; click
No to close the window and continue with the software
installation.
13. Back in the browser window click the Windows Applications
link on the left.
14. Click the Install Configuration Tool link.
15. When the File Download - Security Warning window appears,
click Run.
16. When the Internet Explorer - Security Warning window
appears, click Run and the installer will launch.
29. When the Confirm Installation window appears, click Next.
30. After the utilities have been installed, an Installation
Complete window appears; click Close to exit.
31. Shut down your computer, and proceed to Hardware
Installation on page 6.
4
Page 5

Software Installation Steps
Linux Driver and Software Installation
The Sonnet RAID controller supports Linux operating systems
RedHat ES 3, 4; Suse Linux 9, 9.1, 9.2, 9.3, 10, 10.1 and the
following architectures: i386 (with or without CONFIG_
REGPARM); x86_64 (AMD64, Intel EM64T). Note: The Sonnet
RAID controller is not supported under Linux 2.4.
1. Power on your system, and log in as root.
2. Verify that the kernel header files, usually included with the
Linux kernel development package, are installed.
3. Insert the Installation CD, and mount it to your chosen
mount point such as /mnt/cdrom.
4. Open your File Browser and browse to /mnt/cdrom/Linux/
Drivers.
5. Click on the driver; the driver filename appears as lnx_drv_
esasraid_XXX.tgz where XXX is the driver’s current version
number.
6. Copy the driver file to a directory such as /usr/src.
7. Open a Terminal session, and then change to the directory
where you stored the driver.
Loading drivers
If drivers load automatically, continue to Hardware Installation on
page 6. Otherwise, refer to the steps below.
• To load a driver manually, type $ modprobe esasraid You may
receive a warning that the module will taint the kernel.
• Red Hat Hardware Discovery Utility may ask you to Configure
the Device, Ignore, or Do Nothing after loading the driver
for the first time. Select Configure and follow the utility’s
configuration prompts.
To load a driver at boot if your system does not do so automatically:
• Red Hat 4. Add the following line to
installing the driver: alias scsi_hostadapterX esasraid where X
is the next available number.
• Red Hat 3. Add the following line to
installing the driver modprobe esasraid
You may need to create /etc/rc.modules and make it executable
with chmod +x /etc/rc.modules
• SUSE 9
1. Run the yast utility by selecting it in the GUI under System
in the application menu or running it from a command line.
/etc/modprobe.conf after
/etc/rc. modules after
8. Extract the driver source tar xfz lnx_drv_esasraid_XXX.tgz.
9. Navigate to the lnx_drv_esasraid_XXX directory.
10. Compile and install the driver using ./install.sh; the driver is
now installed and ready to use.
11. Add the following line to /etc/modprobe.conf after installing
the driver: alias scsi_hostadapterX esasraid where X is the
next available adapter number.
2. Select Hardware
3. Select Disk Controller
4. Under Disk Controller Configuration, select the ATTO
device.
5. Under the Module to Use heading, select the esasraid module
6. In the box next to Load Module in initrd, put an X
7. Select Finish to complete the configuration.
• SUSE 10. Add the following line to
installing the driver: modprobe esasraid
/etc/init.d/boot.local after
5
Page 6

Hardware Installation
Installation Preparation
Sonnet strongly recommends that you read the section in your computer’s
user manual that addresses PCI Express card installation, prior to installing the
Sonnet card into your system.
1. Figure 1 shows the RAID controller card’s mini-SAS ports, as well as the
status LEDs.
Installation Steps
This section covers the installation of the Sonnet RAID controller card into
your system.
1. Shut down your computer, and then open it to access the expansion card
area (PCI Express slots); refer to your computer’s user manual for specific
information.
2. Locate an available x8 (8-lane) or x16 (16-lane) PCI Express slot* inside
your computer and remove its access cover.
3. Remove the Sonnet card from its packaging, and then install it into the
PCI Express slot; make sure the card is firmly seated and secured.
mini-SAS por ts
Figure 1
4. Close your computer.
Turn on your computer; depending on the computer and operating system
5.
used:
• If you installed the card into a Mac Pro (Early 2009) or Mac Pro (Early
2008), your installation is complete.
• If you installed the card into a pre-2008 Mac Pro, depending on which
version of Mac OS X your computer is running, Expansion Slot Utility will
open automatically. If it does not open by itself, you must do so manually
(Expansion Slot Utility is located in the /System/Library/CoreServices
folder). Select the configuration appropriate for your setup (your Sonnet
card is an x8 card, and should be assigned to at least a x4 slot), and then
click Quit if the default configuration was appropriate, or click Save and
Restart if you changed the configuration. Your installation is complete.
• If you installed the card into a Power Mac G5, your installation is
complete.
• If you installed the card into a computer running Windows, various pop-
ups will appear during startup as the card is “installed”; your installation
is complete.
* (x4 slot compatible with decreased performance)
6
 Loading...