

Page 1
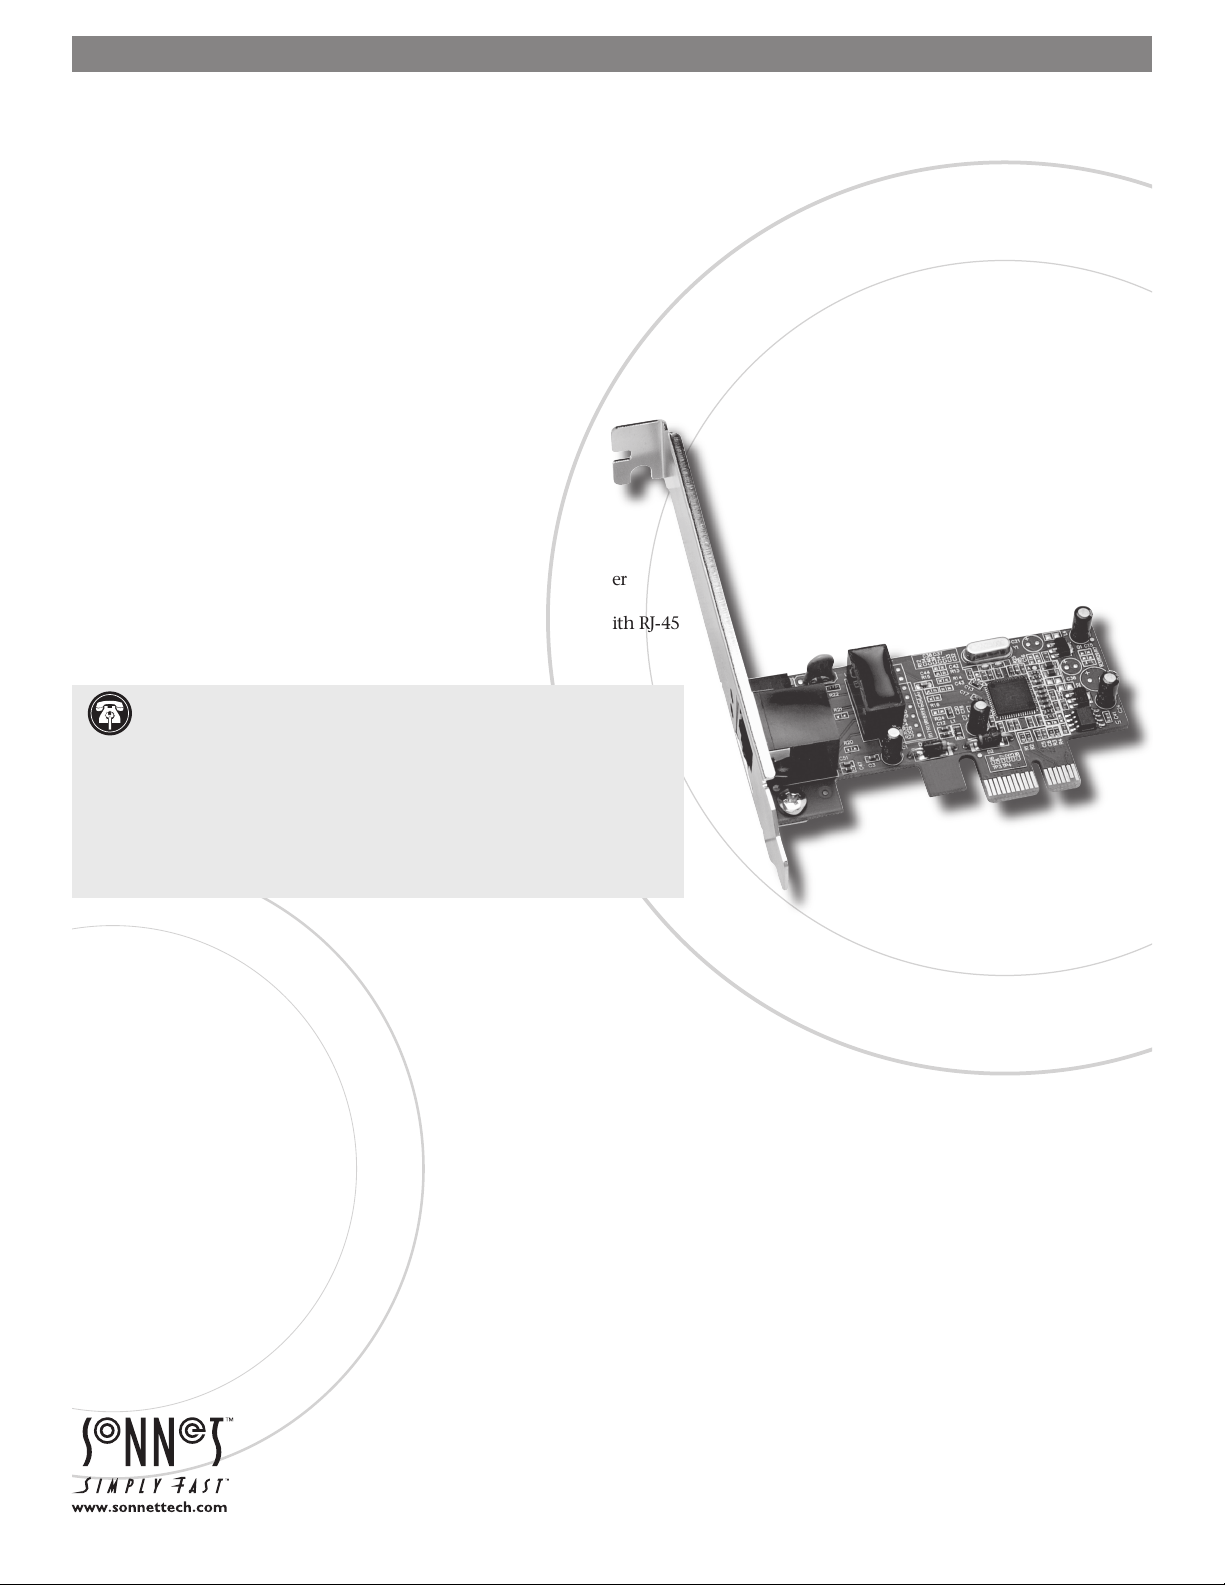
PRESTO™ GIGABIT PCIe BASIC
GIGABIT ETHERNET ADAPTER CARD FOR PCI EXPRESS
Quick Start Guide for Presto Gigabit PCIe Basic
You Should Have
The following items should be included in your product package:
• One Presto Gigabit PCIe Basic adapter card for PCI Express
The following items may be required for installation:
• Medium Phillips screwdriver
System Requirements
Presto Gigabit PCIe Basic requires the following in order to operate
in your system:
• One available PCI Express (PCIe) slot
• Mac OS X Version 10.4.11 or later, or Windows® Vista, Windows Server
2003, or Windows XP with SP2 installed
• One standard Unshielded Twisted Pair (UTP) Category 5 or 6 cable with RJ-45
connectors (to network through a hub)
Support Notes: We recommend you make a backup of important
information on your system’s current hard drive(s) prior to installing new
hardware or software.
When handling computer products, you must take care to prevent components
from being damaged by static electricity. Before opening your computer or
removing parts from their packages, always ground yourself first by touching
a metal part of the computer, such as a port access cover, and work in an area
free of static electricity; avoid carpeted areas. Handle all electronic components
by their edges, and avoid touching connector traces and component pins.
Remember to register your product online at http://registration.sonnettech.com to be informed of future upgrades and product releases.
Software updates and links are available from the Sonnet web site at www.sonnettech.com. • Online support form available at http://supportform.sonnettech.com.
Sonnet Technologies Customer Service hours are Mon.-Fri., 7 a.m.–4 p.m. Pacific Time • Customer Service Phone: 1-949-472-2772 • E-mail: support@sonnettech.com
Sonnet Technologies, Inc., Irvine, California 92618 USA • Tel: 1-949-587-3500 Fax: 1-949-457-6350
©2008 Sonnet Technologies, All rights reserved. Sonnet, the Sonnet logotype, Simply Fast, the Simply Fast logotype, and Presto are trademarks of Sonnet Technologies, Inc. Macintosh and Mac are trademarks of Apple Inc.,
registered in the United States and other countries. Other product names are trademarks of their respective owners. Product specifications subject to change without notice. Printed in the USA. QS-GE1000-E-E-B-101608
Page 2
Installation Steps
INSTALLATION STEPS FOR MAC USERS
The following section covers installation and configuration steps
for the Presto Gigabit PCIe Basic card in a Mac computer. If you
are installing the Presto Gigabit PCIe Basic into a Windows PC,
skip to INSTALLATION STEPS FOR WINDOWS USERS on the
next page.
Installation Preparation
Sonnet strongly recommends that you read the section in your
computer’s user manual that addresses PCIe (PCI Express) card
installation, prior to installing the Presto Gigabit PCIe Basic into
your system.
Card Installation Steps
1. Shut down your computer, and then open it to access
the expansion card area (PCI Express slots); refer to your
computer’s user manual for specific information.
2. Locate an available PCI Express slot inside your computer
and remove its access cover:
• Power Mac G5 users should use slot 2 or slot 4 if possible, or
slot 3 if necessary.
• Pre-2008 Mac Pro users may install the card into any
available slot.
• Mac Pro (Early 2008) users should only use slot 3 or slot 4.
WARNING: The PCI Express 2.0 slot (slot 2) in Mac Pro
(Early 2008) computers does not currently support the
Presto Gigabit PCIe Basic card. Until this issue is resolved, Mac
Pro (Early 2008) system owners should install the Presto Gigabit
PCIe Basic card in slot 3 or slot 4. Check Sonnet’s Website for
updated information.
3. Remove the Sonnet card from its packaging, and then
install it into the PCI Express slot; make sure the card is
firmly seated and secured.
4. Close your computer, reconnect its cables, and plug in a
twisted pair Ethernet cable to the Presto Gigabit PCIe Basic
card.
5. Turn on your computer; depending on the computer and
operating system used:
• If you installed the card into a Mac Pro (Early 2008) or
Power Mac G5, proceed to Software Installation Steps.
• If you installed the card into a pre-2008 Mac Pro, depending
on which version of Mac OS X your computer is running,
Expansion Slot Utility will open automatically. If it does
not open by itself, you must do so manually (Expansion
Slot Utility is located in the /System/Library/CoreServices
folder). Select the configuration appropriate for your setup
(your Sonnet card is an x1 card), and then click Quit if the
default configuration was appropriate, or click Save and
Restart if you changed the configuration.
System Configuration Steps—Mac OS X Version 10.5
(Leopard) Users
Listed below are the steps necessary to configure the Presto
Gigabit PCIe Basic for use in your computer.
1. On startup, a window will appear stating a new network
interface has been detected. Click the Network Preferences
button; System Preferences will open with Network
preferences selected.
2. If it is not already selected, click on the Presto Gigabit PCIe
Basic (identified as a PCI Ethernet card) in the left panel, and
then configure the settings, if necessary. If your computer
was connected to a network using built-in Ethernet, you
may not have to enter new settings; click the Apply button.
3. If you created new settings, or edited existing settings, click
the Apply button.
4. Close System Preferences; if you used existing settings,
your installation is complete. For additional information
on configuring settings, refer to Mac Help (Help > Mac
Help from the Finder) and www.apple.com/support; type
“network, ethernet” to display various articles.
System Configuration Steps—Mac OS X Version 10.4
(Tiger) Users
Listed below are the steps necessary to configure the Presto
Gigabit PCIe Basic for use in your computer.
1. From the Apple menu, select System Preferences.
2. Click the Network icon; a window will appear stating that a
new port is detected. Click OK.
2
Page 3

Installation Steps
System Configuration Steps—Mac OS X Version 10.4
(Tiger) Users (continued)
3. From the Show: drop-down menu, select the Presto Gigabit
PCIe Basic (identified as a PCI card), and then configure the
settings, if necessary. If your computer was connected to a
network using built-in Ethernet, you may not have to enter
new settings; click the Apply Now button.
4. If you created new settings, or edited existing settings, click
the Apply Now button.
5. Close System Preferences; if you used existing settings,
your installation is complete. For additional information
on configuring settings, refer to Mac Help (Help > Mac
Help from the Finder) and www.apple.com/support; type
“network, ethernet” to display various articles.
INSTALLATION STEPS FOR WINDOWS USERS
The following sections cover installation and configuration steps
for the Presto Gigabit PCIe Basic card in a Windows PC.
Installation Preparation
Sonnet strongly recommends that you read the section in your
computer’s user manual that addresses PCI card installation, prior
to installing the Presto Gigabit PCIe Basic into your system.
Card Installation Steps
1. Shut down your computer, and then open it to access the
expansion card area (PCI slots); refer to your computer’s user
manual for specific information.
2. Locate an available PCI Express slot inside your computer
and remove its access cover.
3. Remove the Sonnet card from its packaging, and then
install it into the PCI Express slot; make sure the card is
firmly seated and secured.
4. Close your computer.
5. Plug in a twisted pair Ethernet cable to the Presto Gigabit
PCIe Basic card, and then turn on your computer.
System Configuration Steps—Windows Users
Listed below are the steps necessary to select the Presto Gigabit
for use as your computer’s Ethernet networking port.
1. During startup, Found New Hardware and Installing New
Driver pop-ups may appear.
2. Depending on your setup, Windows may configure itself
to automatically enable Internet usage; launch your Internet
browser application of choice and browse a Web site to verify.
3. If your system did not configure itself (or if you need to
make changes to your network settings), you will have to do
so manually.
. For Windows Vista users: Click the Start button, and then
select Control Panel > Network and Internet > Network and
Sharing Center.
. For Windows XP and Server 2003 users: Click the Start button,
and then select Control Panel > Network Connections >
New Connection Wizard.
About the Presto Gigabit Card
1000/ACT Indicator - This LED displays
the Gigabit Ethernet (1000BaseT) connection
status.
• When the
link between the Presto card and the
network.
• When the
established, but there is no traffic on the
network.
• When the
there is traffic on the network to which
the Presto card is connected.
100/ACT Indicator - This LED
displays 100BaseT and 10BaseT
connection status.
• When the
100BaseT or 10BaseT link between the
Presto card and the network.
• When the LED is on, a 100BaseT or
10BaseT link is established, but there is
no traffic on the network.
• When the
there is traffic on the network to
which the Presto card is connected.
Ethernet Port
5 or 6 unshielded twisted pair (UTP)
cable with RJ-45 connectors.
• Use standard cables when you are
connecting your computer through a
hub.
LED is off, there is no Gigabit
LED is on, a Gigabit link is
LED is flashing, it indicates
LED is off, there is no
LED is flashing, it indicates
- Plug in any Category
1000/ACT
indicator
100/ACT
indicator
Ethernet port
3
 Loading...