

Page 1
Quick Start Guide
For
Windows
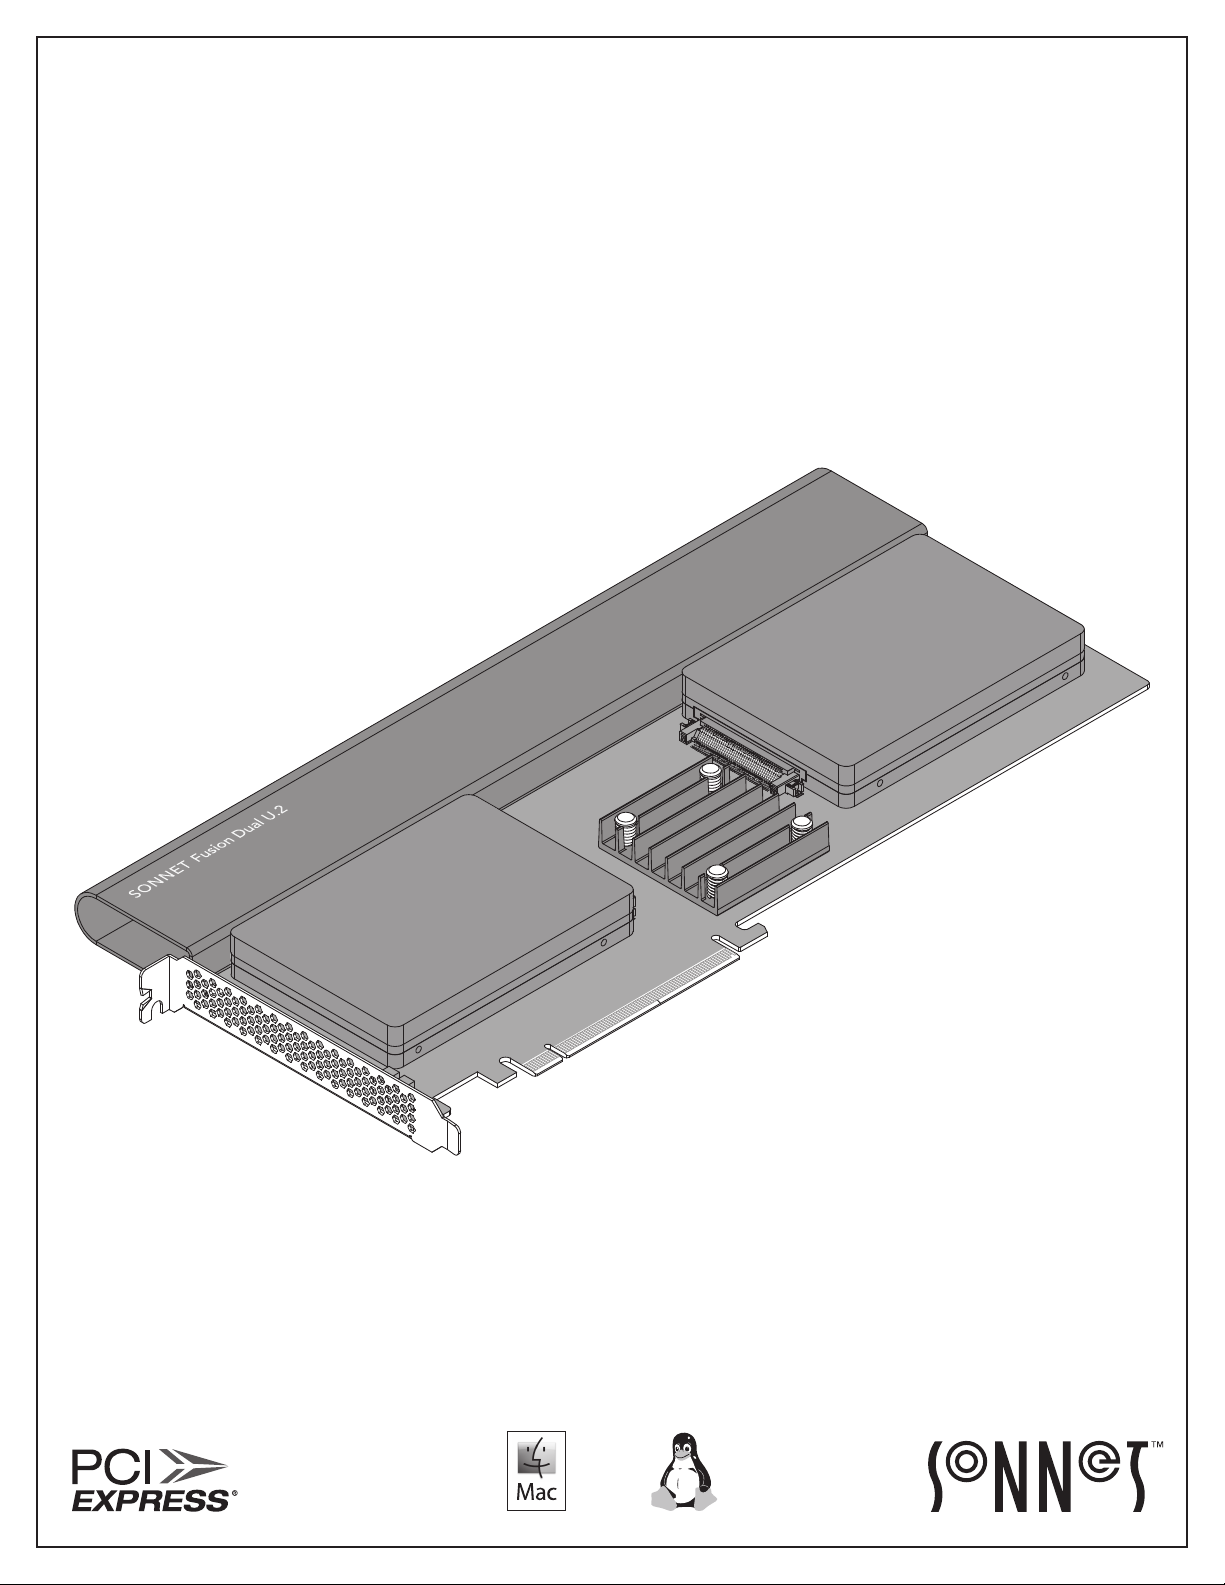
for Fusion™ Dual U.2 SSD PCIe Card
Fusion Dual U.2 SSD PCIe Card
illustrated with SSDs attached; SSDs
not included.
Page 2

Introduction, Package Contents, Compatibility Information
Congratulations on your purchase! The Fusion™ Dual U.2 SSD
PCIe Card provides a handy way to install one or two U.2 NVMe
SSDs into a single PCIe card slot.
You Should Have
The following items should be included in your product package:
• One Fusion Dual U.2 SSD PCIe Card
• Eight SSD mounting screws
• Quick Start Guide
The following items are required for installation:
• Medium Phillips screwdriver
• Torx T8 screwdriver or key (only needed when removing the
top extension bracket)
Mac® Compatibility
• Mac Pro® 5,1 (Mid 2010 & Mid 2012)
• Mac Pro 7,1 (2019)
®
• macOS
10.13.6+
Windows® Compatibility
• Computer with available full-length, full-height x16 PCIe slot
• Windows 10 (64-bit Edition Version 1809 or greater)
Linux® Compatibility
• Computer with available full-length, full-height x16 PCIe slot
• Linux Kernel 5.0+
Support Note: This document was up to date at the
time of printing. However, changes to the hardware or
software may have occurred since then. Please check the Sonnet
Web site for the latest documentation.
1. Go to www.sonnettech.com/support/kb/kb.php
2. Click the Computer Cards link.
3. Click the PCIe Cards link.
4. Click the Fusion Dual U.2 SSD PCIe Card link, and then click
the Manual link.
5. Click the Fusion Dual U.2 SSD PCIe Card Quick Start Guide
[English] link, and then check the Document Version
information. If the version listed is later than this document
(revision C), click the Download Now button for the latest
version.
Thunderbolt Compatibility
• Mac computer with Thunderbolt 3 or Thunderbolt 2 ports
via a Thunderbolt 3 or 2 to PCIe card expansion system with
available full-length x16 PCIe slot
• Windows computer with Thunderbolt 3 ports via a
Thunderbolt 3 to PCIe card expansion system with available
full-length x16 PCIe slot
• Linux computer with Thunderbolt 3 ports via a Thunderbolt 3
to PCIe card expansion system with available full-length x16
PCIe slot
U.2 SSD Compatibilty
To view a list of compatible SSDs, please visit the Sonnet website
at: https://www.sonnettech.com/support/downloads/manuals/
U2_SSDs.pdf
2
Page 3

Card Description and Package Contents
SSD 2 indic ator
SSD 1 indic ator
1 – SSD Connector 1
Plug in a U.2 SSD to this connector.
2 – SSD Connector 2
Plug in a U.2 SSD to this connector.
3 – SSD Presence and Activity LEDs
The LEDs light steadily to indicate drives are attached and
recognized, flash to indicate read and write activity, and
remain off when no drive is attached. The top indicator is
linked to SSD connector 2, while the bottom indicator is
linked to SSD connector 1.
4 – Top Extension Bracket
Grasping this bracket enables easier installation of the card
in a Mac Pro (2019). In computers where there isn’t enough
room to install the card with it attached, the bracket may be
removed; Torx T8 screwdriver or key required.
5 – SSD Mounting Screws
Eight screws are provided to secure U.2 SSDs to the card.
3
Page 4

SSD Installation and Card Installation Steps
Support Notes: When handling
computer products, you must take care to
prevent components from being damaged by
static electricity. Before opening your computer
or removing parts from their packages, always
ground yourself first by touching a metal part of
the computer, such as a port access cover, and
work in an area free of static electricity; avoid
carpeted areas. Handle all electronic components
by their edges, and avoid touching connector
traces and component pins.
1. Remove and set aside the SSD connector
covers (Figure 1).
2. Remove your SSDs from their packaging.
3. Place an SSD on top of the Fusion Dual
U.2 SSD PCIe Card with the SSD’s and
card’s connectors aligned with each other
(Figure 2).
Figure 1
4. Push the SSD’s connector into the Fusion
card’s connector until the SSD is completely
seated (Figure 2).
5. Holding the SSD firmly against the card, flip
the Fusion card over again.
6. Using four of the eight screws provided, secure
the SSD to the Fusion card; do not overtighten
the screws (Figure 3).
Figure 2
Figure 3
4
Page 5

SSD Installation and Card Installation Steps
7. Flip the Fusion card over again, and then
place the second SSD on top of the card with
the SSD’s and card’s connectors aligned with
each other (Figure 4).
8. Push the SSD’s connector into the Fusion
card’s connector until the SSD is completely
seated (Figure 4).
9. Holding the SSD firmly against the card, flip
the Fusion card over again.
Figure 4
10. Using the remaining four screws, secure the
SSD to the card; do not overtighten the screws
(Figure 5).
11. If the Fusion Dual U.2 SSD PCIe Card is too
tall to fit in your computer or PCIe card
expansion system without removing the
top extension bracket, go to the next step.
Otherwise, go to the next page; the card is
ready for installation.
12. Optional Step: Using a Torx T8 screwdriver
or key, remove and set aside the four screws
securing the top extension bracket to the
card. Remove the bracket from the card and
set it aside (Figure 6); the card is ready for
installation.
Figure 5
Figure 6
5
Page 6

Card Installation Steps, SSD Formatting, and Support Information
Card Installation Steps
1. Shut down your computer or expansion chassis, disconnect
its power cable, and then open it to access the expansion
card area (PCI Express slots); refer to the users’ manual for
specific information.
2. Locate an available PCI Express card slot and remove its
access cover if necessary. (If possible, leave open the slot next
to the U.2 SSDs for better cooling):
• Mac Pro (2019) users may install the card into any
available PCIe slot except slot 8.
• Mac Pro (Mid 2012 and Mid 2010), Windows, and Linux
computer users, and Thunderbolt expansion chassis users
may install the card into an available PCIe slot. For Mac
Pro users, better RAID performance will be achieved if you
use the x16 slot just above the video card.
Support Note: If you have a Mac Pro 5,1 (Mid 2010 or
2012) computer, you will need to move what Apple refers to
as the “PCIe slider” in order to install the Sonnet card. Simply press
the indicated button and then move the slider to the left. After
installing the card, move the slider back to the right.
PCIe slider
RAID Configuration Support Information
Fusion Dual U.2 SSD PCIe Card supports RAID 0, RAID 1, and
concatenated disk set configurations of SSDs under macOS,
Windows, and Linux.
Booting From Attached SSDs
macOS:
Fusion Dual U.2 SSD PCIe Card supports booting from individual
(non-RAIDed) SSDs when the card is installed in Mid 2010, Mid
2012, and 2019 Mac Pro computers, plus Thunderbolt-to-PCIe
card expansion systems. Please note that in some cases it may be
necessary for you to hold the option key during a start, and then
select the startup disk attached to the Sonnet card.
If the Fusion card is installed in a Thunderbolt chassis, and you
are using a Mac with the Apple T2 Security Chip, then you must
enable External Boot in the Startup Security Utility.
Windows and Linux:
Fusion Dual U.2 SSD PCIe Card does not support booting in computers
running Windows or Linux.
Contacting Customer Service
The Sonnet Web site (www.sonnettech.com) has the most
current support information and technical updates. Before
contacting Customer Service, please check our Web site for the
latest updates and online support files.
button
3. Install the Fusion card with attached SSDs into the slot;
make sure the card is firmly seated and secured (use the
computer’s PCIe card retaining latch if present).
4. Close your computer or expansion chassis, and then
reconnect the computer’s or expansion chassis’ power cable
and other cables if necessary.
Formatting SSDs
macOS:
Use Disk Utility (found in the Utilities folder within the
Applications folder) to format installed SSDs.
Windows:
If you intend to format SSDs connected to the Sonnet card using
Windows drive formatting tools (Disk Management), you may
locate instructions by using “format volume”, and “create striped
volume” as search items in Windows Help.
Linux
Use the tools or utilities you would normally use to format
internal drives.
Email support requests generally receive the fastest responses, and
are usually processed within a 24-hour period during normal
business hours, excluding holidays. When you contact Customer
Service, have the following information available:
• Product name
• SSD model(s)
• Computer model
• OS version
• A System Report (macOS), or a Microsoft System Information
MSINFO32 (Windows) report (Windows), along with a
description of the issue(s) you are encountering with your device
If further assistance is needed, please contact Sonnet Customer
Service at:
E-mail: support@sonnettech.com
Tel : 1-949-472-2772
(Monday–Friday, 9 a.m.–5 p.m. Pacific Time, excluding holidays)
Japan Customers
Contact Sonnet Customer Service Japan at:
E-mail: jp.support@sonnettech.com
©2020 Sonnet Technologies, Inc. All rights reserved. Sonnet, the Sonnet logotype, and Fusion are trademarks of Sonnet Technologies, Inc. Mac, the Mac logo, Mac
Pro, and macOS are trademarks of Apple Inc., registered in the United States and other countries. Thunderbolt and the Thunderbolt logo are trademarks of Intel
Corporation in the U.S. and/or other countries. Other product names are trademarks of their respective owners. Product specifications subject to change without notice.
QS-FUS-U2-2X4-E3-E-C-080620
 Loading...