

SONiVOX Big Bang Cinematic Percussion User Manual
Introduction
Whether you're looking for that extra bit of rhythmic flavor, or looking to create the most epic
battle cue, Big Bang Cinematic Percussion 2.0 packs the punch you need to get the job done
in minutes.
In addition to a semi-truckload-ful of epic-sounding percussion and SONiVOX's Intelligent
Rhythm Control Technology (IRC), Big Bang Cinematic Percussion is also compatible with
almost any kind of hardware MIDI controller, electronic drum kit, MPC, pad controller, or
keyboard.
All are instantly sync-able via the "MIDI Learn" functionality. Sit down at your keyboard or bang
it out on a pad controller or electronic drum kit—it all works perfectly.
Credits
Jack O’Donnell, Executive Producer
Jennifer Hruska Ryan Pietras Scott Stepenuck Ishaan Chhabra
Colman O’Reilly Bobby Zlatkov Feuler Tovar David Szebeda
Jason Jordan Jeremy Bridge John Teele Andrew Tomasello
Erik Pearson Chris Rudzinski Jamie Billings Aaron Hachen
Samara Winterfeld Bryce Kanzer Katy Cone
System Requirements and Product Support
For complete system requirements, compatibility information, and product registration, visit the
SONiVOX website: sonivoxmi.com.
For technical support, please contact us through the Support page of our website:
sonivoxmi.com/support.
2
Installation
Important: If you are using a version of Big Bang Cinematic Percussion that is older than
Version 2.0, this installation will not overwrite or uninstall that version. Also, any files you use or
save with either version are neither backward-compatible nor forward-compatible—you cannot
use files from Big Bang Cinematic Percussion 1.0 with Big Bang Cinematic Percussion 2.0 and
vice versa.
Windows
1. Place all of the installer's parts in the same location (we recommend a folder on your
Desktop).
2. Double-click the part1 file.
3. Follow the on-screen instructions.
Tip: You do not need the installer files after the installation is complete, but we recommend
saving them or backing them up instead of deleting them.
Note: Big Bang Cinematic Percussion uses PACE copy protection, so it will install the PACE
InterLok driver on your system if you do not already have it. As most audio software uses PACE
copy protection, though, this is probably already installed on your system.
Mac OS X
1. Place all of the installer's parts in the same location (we recommend a folder on your
Desktop).
2. Double-click the BigBang 2.dmg file.
3. Double-click the drive that appears on your Desktop or in your Finder to open it.
4. Double-click the .pkg installer file.
5. Follow the on-screen instructions.
Tip: You do not need the installer files after the installation is complete, but we recommend
saving them or backing them up instead of deleting them.
3

Getting Started
The Big Bang Cinematic Percussion graphical interface is depicted below.
1
2a
3
1. The menu bar shows the output level of Big Bang Cinematic Percussion (at the far left) as
well as icons (at the far right) that allow you to load and save your sounds. The output
meters display the real-time level of the stereo output. Use these meters to gauge how
"hot" your signal is. Change the volume knob in the main editing window to adjust the
output level. This section also displays the name of the currently loaded Instrument as well
as buttons to load and save Instruments.
2. The main editing window is where you will modify your sounds.
a. The window's left half contains controls affecting overall performance: IRC, the Learn
function, Note Repeat, plus volume and pan knobs on either side of the center of the
window.
b. The window's right half changes depending on the selected tab (on the right side of
the window). The Amp Page, Filter Page, Delay Page, and EQ Page each contain
important—and editable—elements of your Instruments' sounds.
3. The pads are what trigger the samples of each Instrument. For familiarity, they are laid
out like a piano keyboard.
4
2b
Using Instruments
An Instrument is simply a multi-sample—a collection of samples programmed into a Big Bang
Cinematic Percussion Instrument. Over 200 Instruments are included for you to play with, and
any of these can be edited using the knobs and sliders and saved as new Instruments. Any Big
Bang Cinematic Percussion file with the extension .svx is an Instrument file.
Loading an Instrument
To play Instruments, you must first load one into the interface.
To load an Instrument:
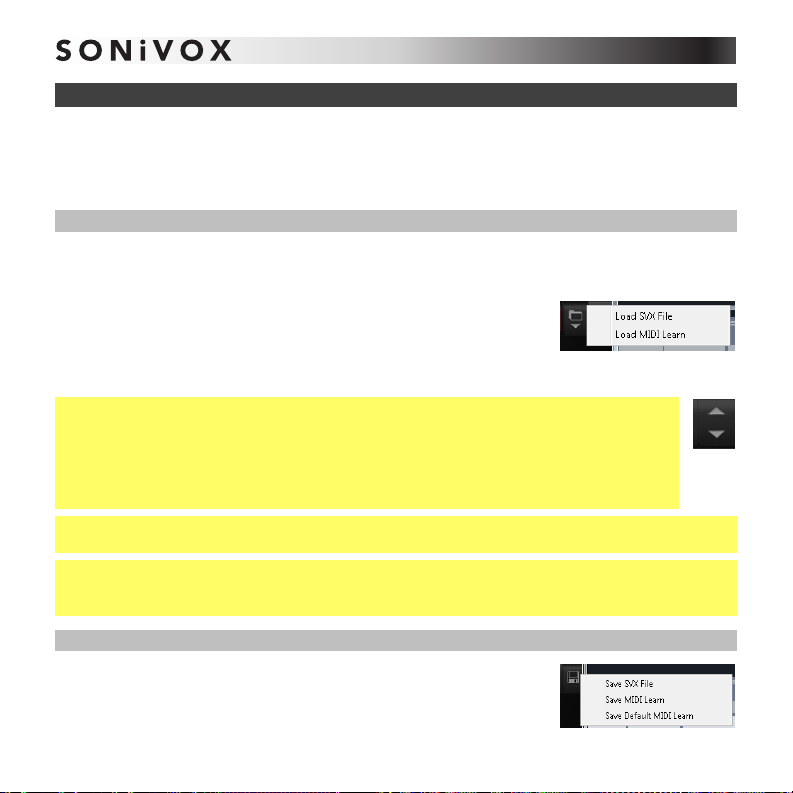
1. Click the Load button (folder icon).
2. Choose Load SVX File.
3. Locate and select the Patch file (.svx) you want to play (in the Ensembles and Drums
folders in the BigBang 2 folder), and click Open.
Tip: You can also use the up and down arrows ( and ) to the left of the Folder
button to move between all the Instruments in your content folder. These buttons will
scroll up and down through Instruments alphabetically in the content folder, including
any custom Instruments you have saved as well. This is useful when you are exploring
different Instruments for the first time or if you are "auditioning" Instruments for a
session.
Tip: You can also select Instruments from the Browser. Please see the Browser section for
more information.
Tip: Each instance of the plugin can have one Instrument loaded at a time. If you want to use
more than one Instrument in a project, simply open another instance of Big Bang Cinematic
Percussion on another track in your software.
Saving an Instrument
To save your own custom Instruments, click the Save button (disk
icon), and select Save SVX File. This will open a dialog asking you
where and with what name you would like to save your Instrument.
5
MIDI Learn
Learn
The MIDI Learn feature lets you to assign or "map" its controls to any hardware MIDI controller.
To do this:
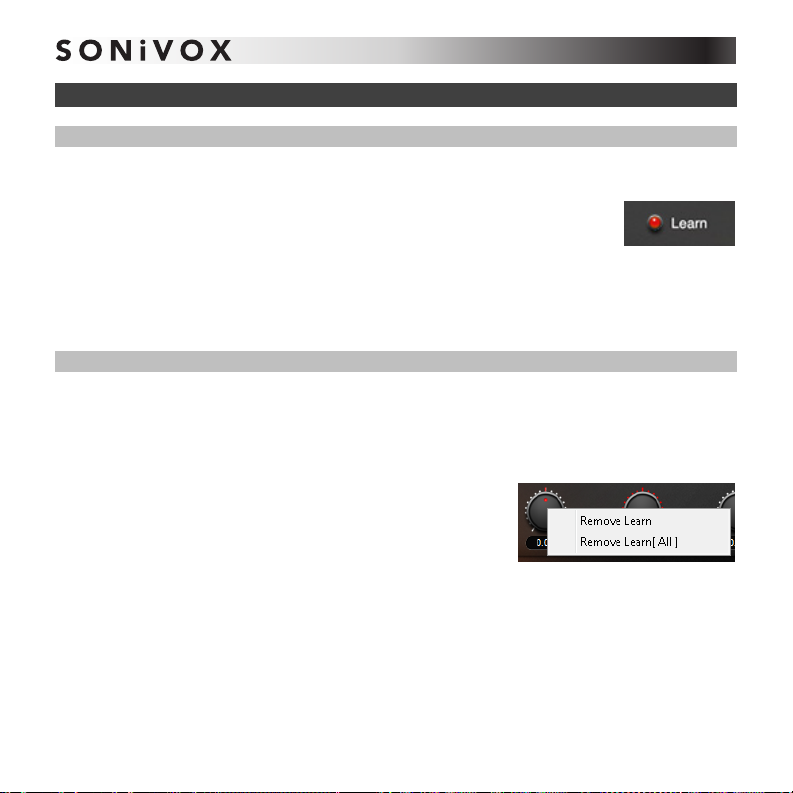
1. Click the Learn button to enter Learn Mode, which lets you to assign
hardware MIDI controls to the parameters.
2. While in Learn Mode, adjust a parameter in Big Bang Cinematic Percussion and then
move a knob or slider on your hardware MIDI controller. That knob or slider will now
control that parameter.
3. Click the Learn button again to exit Learn Mode.
Remove
If you want to change or clear a MIDI assignment, you will need to "remove" it. To do that,
follow these steps:
1. Right-click the knob you wish to reassign or unlearn.
2. Select one of the two options:
• Remove Learn: Clears the hardware control
assignment for the selected parameter only.
• Remove Learn [All]: Clears the hardware control
assignments for all parameters.
You can now assign that knob to any other MIDI hardware control (described above in the
Learn section).
6
Operation
This section describes the controls and different sections of Big Bang Cinematic Percussion.
Adjusting the Controls
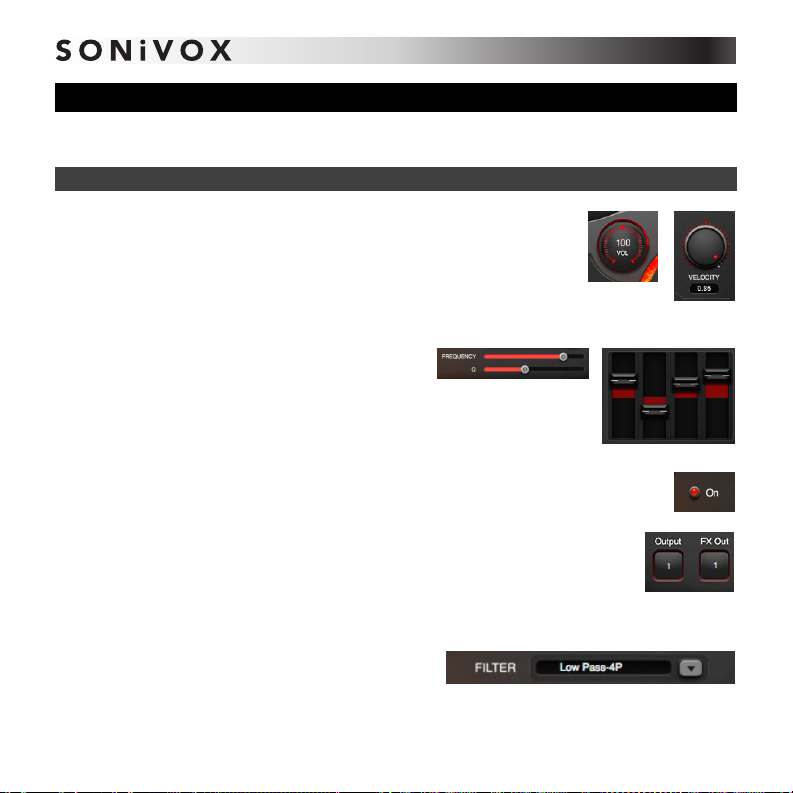
Knobs: Change the position of a knob (e.g., Vol, Velocity, Depth, etc.)
by clicking and dragging it up or down. Release it when you reach the
desired position. Double-clicking the knob sets it to the 12 o'clock
position.
If the knob's numerical value is displayed under the knob, you can
double-click the value, enter it, and press your keyboard's Enter button.
Sliders: Change the position of a slider (e.g.,
Frequency, Q, EQ faders, etc.) by clicking and
dragging it. Release it when you reach the desired
position. You can also simply click anywhere along
the slider's track, and the slider will "jump" to that
position.
Buttons: Enable or disable a function with an on-off light (e.g., Learn, Note Repeat,
On, etc.) by clicking it.
Fields (available in multi-output version of Big Bang Cinematic Percussion
only): Change the number in a field (e.g., Output, FX Out, etc.) by clicking it
and dragging up or down. Release it when you reach the desired value.
The exception is the Active Pad field whose number represents the most
recently triggered pad.
Drop-Down Menus: Open an available drop-down
menu by clicking the button next to the field (e.g.,
Filter, L, R, etc.). Click an option to select it.
7
Menu Bar
Level Meters
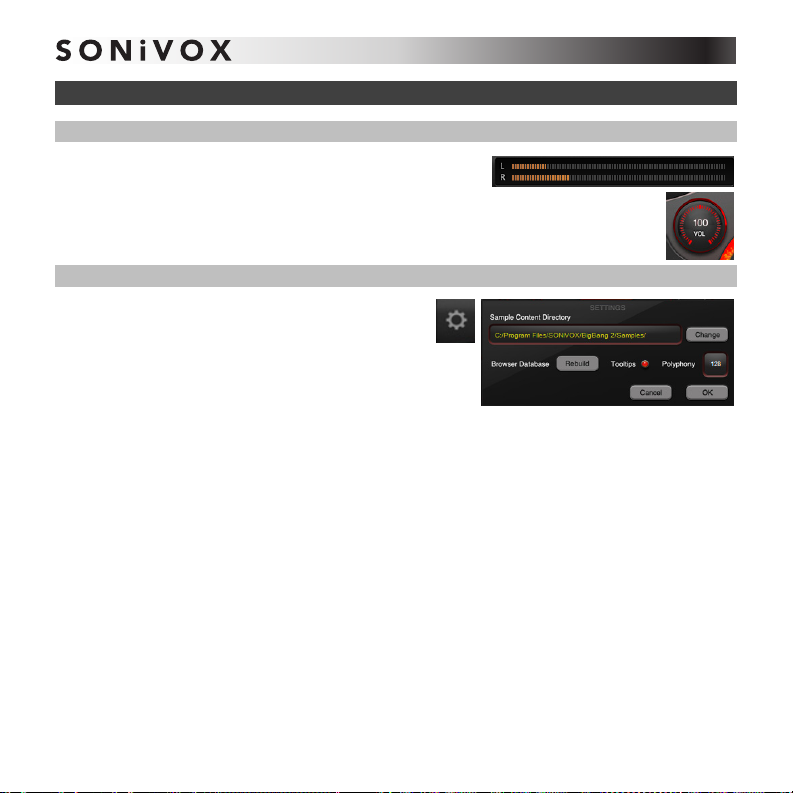
The level meters in the window's upper left corner indicate
the audio output volume—both left and right channels.
Adjust the audio output level with the Volume knob in the main editing window.
Settings
This window lets you configure various settings
related to the application itself. Click the Settings
button (gear icon) in the upper left corner of the
main window to open it.
• Sample Content Directory: This is the file
path for your audio samples. Click Change to set a new file path.
• Rebuild Browser Database: Click this button to rescan your Instruments.
• Tooltips: Set this button to On to activate Tooltips, information boxes that appear when
you "mouse-over" (hover the cursor over) an element of Big Bang Cinematic Percussion's
interface.
• Polyphony: Set the number of voices (notes) that can be sounding simultaneously, from 4
to 128. If Big Bang Cinematic Percussion triggers a voice beyond this limit, it will sound,
but another voice (usually the one triggered first) will be muted to "make room" for the new
voice within the polyphonic limit.
Click OK to save your changes and close the Settings Window, or click Cancel to close the
Settings Window without saving your changes.
8
 Loading...