

Page 1

M102K
M102W
-AU
-AU
Clock Radio
Instruction Manual
Page 2
Page 3
CONTENTS
The carton should contain:
1xClock Radio with Mirror Finishing
1xInstruction Manual
1xWarranty card
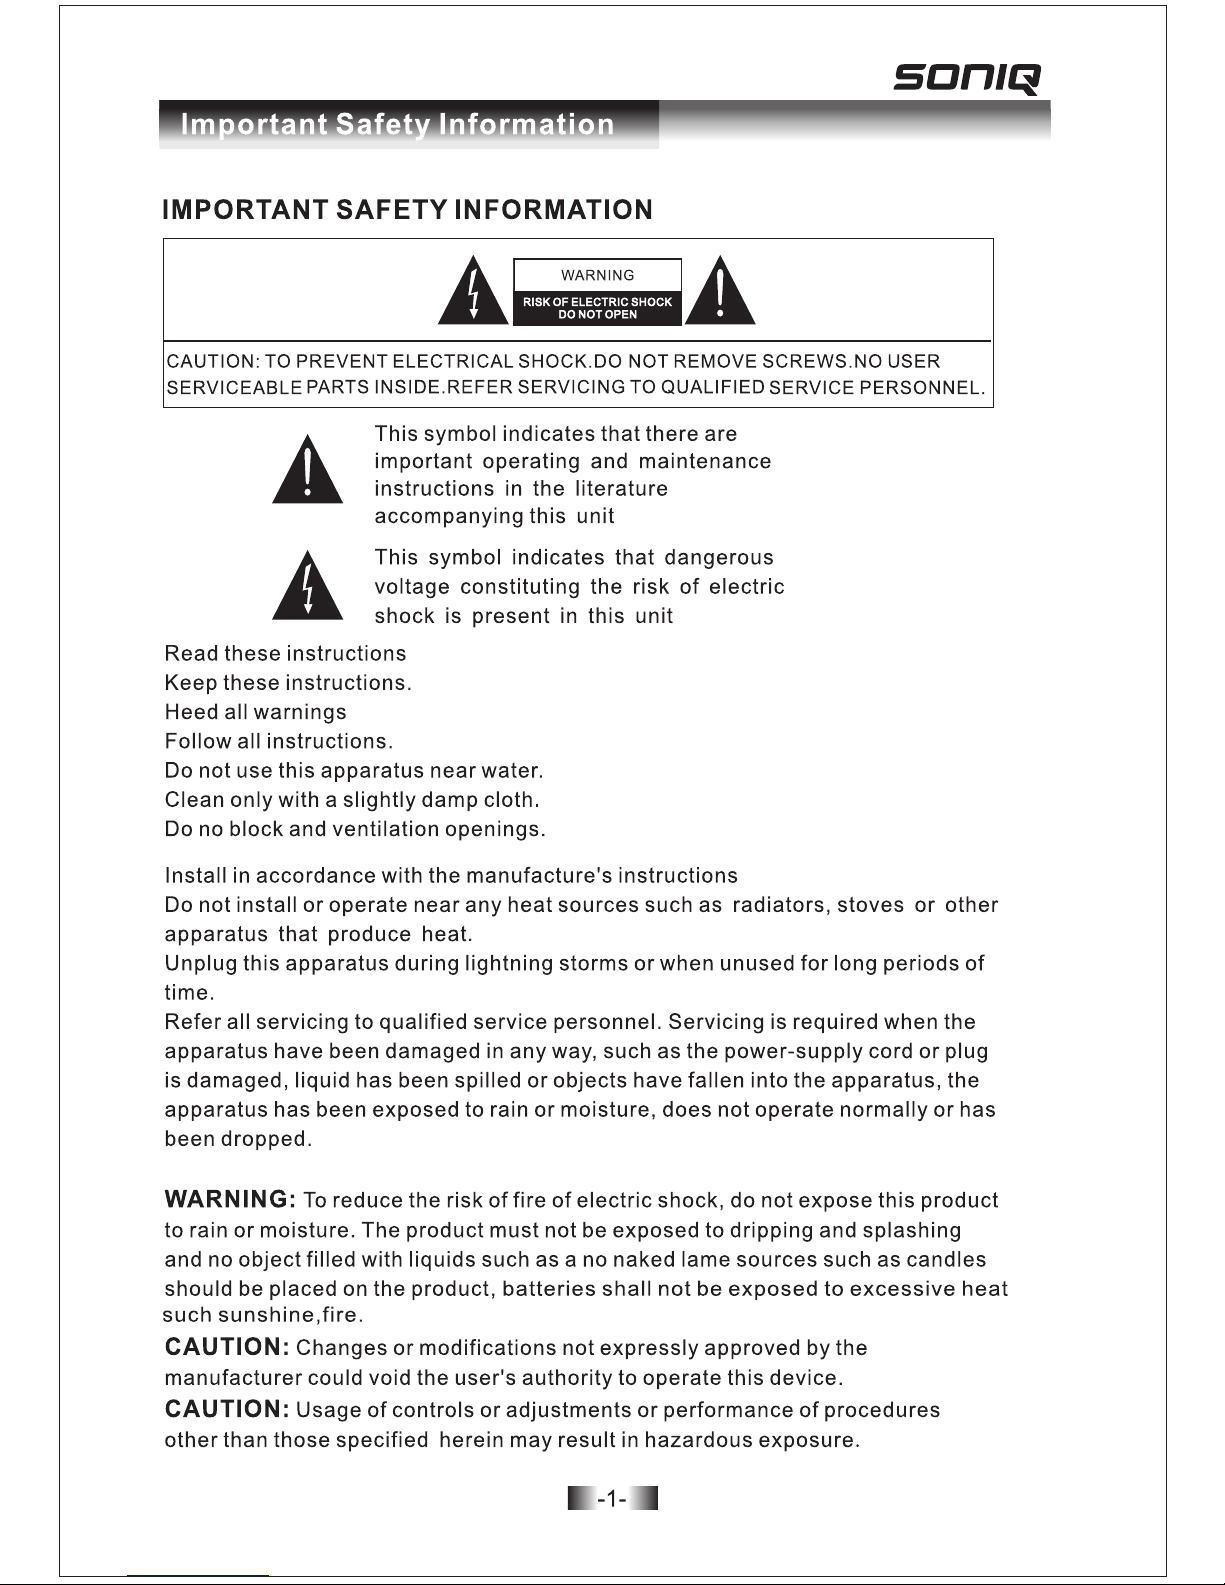
SAFETY INFORMATION CONTINUED
LOCATION
.
.
.
Page 4

3
10.Tune Down/adjust Down Button
11.Power Cord
12.Radio Button
13.Sleep Button
14.Snooze Button
15.Alarm Mode Switch
16.Volume Control
9.Tune Up/adjust Up Button
1.PM
2.FM
3.ALARM2
4.ALARM1
5.FM Aerial
6.Clock Set Button
7.Alarm Set Button
8.Reset Hole
1
2
3
4
5 6
7
8 9 10
12
13
14
15 16
Display and Controls
LED DISPLAY
CONTROLS AND CONNECTION
PM
FM
ALARM1
ALARM2
Page 5

4
You can insert a battery(not supplied) into your clock radio to retain clock and alarm
settings in the event of a power cut. If the radio loses the time setting during a power
cut ,the battery may need to be replaced.
1. Press the catch on the battery cover.
2. While holding the catch , lift the cover of the battery compartment.
3. If a battery is fitted, remove the battery from the battery compartment
and unclip the connector from the top of the battery.
4. Replace the battery with the same type 6F22 006P,observing polarity when fitting
the connector.
5. Re-fit the cover.
Dispose of used batteries with regard to the recycling regulations in your area. Do not
Short circuit batteries or throw them into water, the general rubbish or in a fire.
Weak batteries can leak and damage the unit.
Replace them in good time!
Fitting/replacing a battery:
BATTER DISPOSAL
Carefully unpack the unit. If it is damaged, please return it to your nearest store for
replacement. Remember to take your purchase receipt with you. Retain the User
Handbook. If you pass the unit on to a third party make sure you pass on the handbook.
We suggest you retain the packaging for any recycling regulations in your area.
Basic Operation
FITTING BACKUP BATTERY
Page 6

5
Before connecting the power, check that the main voltage on the rating plate under
the radio is the same as the voltage in your area. Plug the AC power cord into the
wall socket and switch the main power on ,The unit is now ready for use.
The clock is set manually.
The clock displays the time in 24 hour format (for example,2a.m.is displayed as
2:00,2p.m.is displayed as 14:00). When setting the time or alarm, ensure that you
are setting times in this format.
1.Press the set button, the hour digits will flash.
2.Press the or button to set the hour digits to the correct time.
4.Now press the or button to set the minutes digits to the correct timer.
5.Press the set button again ,the clock is now set.
NOTE: If you prefer, you can hold down the or button when setting
the time. Then hour or minute setting will automatically change.
If a backup battery is fitted, the clock and alarm settings will be retained
in the event of a power cut.
3.Press the set button again, the minute digit will flash.
Before using your clock radio for FM reception, unwrap and fully
extend the aerial wire. You may need to adjust the position of the
aerial wire for maximum signal strength.
1.Press the radio button, the radio will be switched on and the tuning frequency
will be displayed.
2.Press the radio button, the radio will be switched off.
3.Press and hold the or button for three seconds to search up or down the band
for a station.
4.Tuning will stop when the next station is reached and the station will play.
Adjust the aerial wire for the clearest reception.
5.Press the or button to tune up or down the band manually
in 0.1MHz steps.
6.Turn the volume control to set the volume you want.
SETTING THE CLOCK
LISTENING TO THE RADIO
Basic Operation
GETTING STARTED
Page 7

6
The clock provide dual alarm setting ,set the Alarm mode switch to the Buzzer or
Radio position, depending on your wake-up preference, the alarm indicator will light.
NOTE: It is not possible to set the alarm when the Alarm mode switch is
set to alarm off.
1.Press the alarm button, the hour digits will flash.
2.Press the or button to set the hour digits to the correct time.
3.Press the alarm button again, the minute digit will flash.
4.Now press the or button to set the minutes digits to the correct time.
5.Press the alarm button again, the alarm1 is now set.
6.Alarm2 can be set after alarm1 setting finish .
NOTE: If you have set the radio to wake you up, check that a station is tuned before
going to bed and that you have set your preferred wake-up volume.
The radio will play or the buzzer will sound and the alarm indicator will flash,
The alarm will sound for 60 minutes. To stop the alarm sounding, switch the alarm
button to off position.
Press the SNOOZE button to set snooze mode.
The alarm will stop sounding and will sound again after a 9 minute period.
In the unlikely event that your clock is not operating correctly, try resetting it to clear
the problem. Use the end of a paper-clip or similar to press the reset button
inside the reset hole.
The clock will reset.
Set the time and alarm etc.
When listening to the radio, you can select Sleep mode to play for a set period of
time while you are going to sleep.
press the Sleep button repeatedly to choose your preferred sleep time in the range
of 15-120minutes.
The radio will switch off automatically after playing for the sleep
time you set.
Press the Sleep button repeatedly until the sleep time not display.
Power supply:................AC 240V~,50Hz
Power consumption........4W
Backup battery...............9V (6F22 006P)
Frequency range(FM):....87.5-108MHz
Weight:..........................330g
Class ll construction double insulated.
This product must not be connected to earth.
WHEN ALARM SOUNDS
SETTING THE ALARM TIME
SNOOZE MODE
RESET
SLEEP
SPECIFICATION
Basic Operation
Page 8

MD120702-01
 Loading...