

Page 1

Page 2
Output Power: Subwoofer: 15W
Satellite: 3Wx5
Speaker Unit: Subwoofer: 5"
Satellite: 2"x5
Impedance: Subwoofer: 6Ω
Center: 2Ω
Front: 4Ω
Rear: 4Ω
Frequency Response: Subwoofer:80Hz-250Hz
Satellite:180Hz-18KHz
Power Source: AC240V,50 Hz
Signal-to-Noise Ratio: ≥75dB
Dissociation: ≥40dB
Control: Volume, Bass, Front, Rear, Center, Power on/off ,
Mute on/off , He ad ph on e ou tp ut .
Dimension:
Subwoofer: 220x250x235mm(WxDxH)
Center: 185x76x95mm(WxDxH)
Front: 87x85x175mm(WxDxH)
Rear: 87x85x175mm(WxDxH)
Packing Size: 333x310x358mm(WxDxH)
Gross Wei gh t: 5 .7 kg
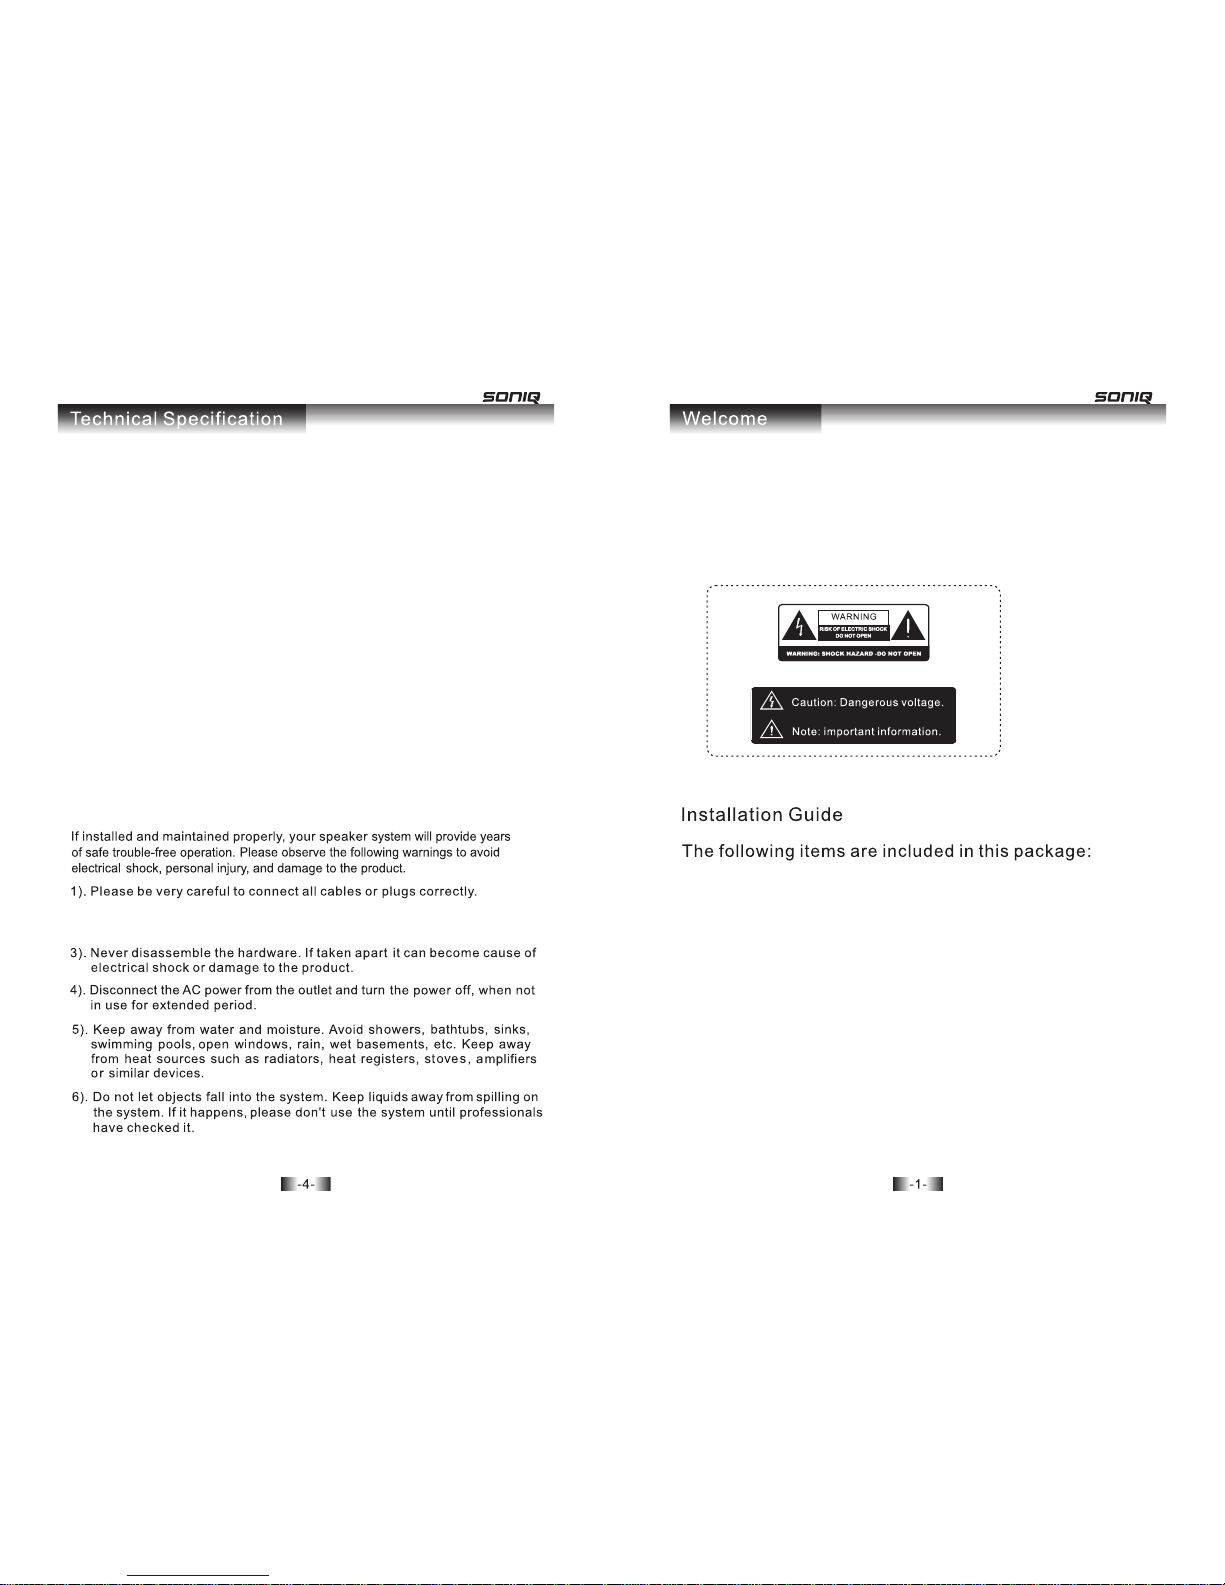
Congratulations on your purchase of this quality product. Multimedia
speaker systems will bring an exciting new sonic dimension to computer
games, music, movies and multimedia presentations. Before installation,
please read this manual carefully to avoid electrical shock, personal
injury, an d da ma ge t o th e pr od uc t.
War nin gs an d Pre cau tio ns
The technical specifications are subject to change without notice.
2). Don't set the volume too high or to the maximum for daily use, otherwise
it will make damage to the system.
1. One subwoofer
2. Five satellite units (two front units, two rear units, one center unit)
3. Signal line (3pcs)
4. One controller
5. Instruction manual (this booklet).
6. Wa rr an ty C ar d
Please refer to figure 1 and be sure you have all these items. Please
contact the retailer if any of these items are missing. Save this manual
for future reference.
Page 3

Layout of the back panel
This often happens on newly set up computers. The re i s so un d fr om o ne
side when plugging the 3.5mm stereo mini-plug into the headphone jack
of CD-ROM. Because there is only one track of audio signal transmitted
from the audio equipment, please check the audio system carefully.
This system is magnetically shielded and it’s f re e fr om m ag ne ti c in te rf er ence even located near to the monitor or TV. But the amplifier magnetism
will cause magnetic interference or magnetization if the speakers are
located too close to the monitor or TV. Please locate the speakers at
least 30cm away from the monitor or TV.
1. Signal input terminal
(3.5mm plug)
2. White RCA plug for left
front satellite unit
3. White RCA plug for left
rear satellite unit (5M)
4. Red RCA plug for right
front satellite unit
5. Red RCA plug for right
rear satellite unit (5M)
6. Yellow RCA plug for center
satellite unit
7. VGA terminal for controller
8. AC power cord
9. Power on/off s wi tc h
10. 2.1/5.1 ST
2. No super bass
Adjust the bass control on the controller, and check if the audio signal
has frequency under 200Hz.
(Figure 2)
(Figure 3)
Tro ubl esh oot ing
1. Connect the wire of the left satellite unit into the RCA socket on the back
panel of the subwoofer marked “FRONT LE FT ” (s ee f ig ur e 2)
2. Connect the wire of the right satellite unit into the S terminal socket on
the back panel of the subwoofer marked “FRONT RIG HT ”( se e fi gu re 2 )
3. Connect the wire of the left satellite unit (5M) into the RCA socket on the
back panel of the subwoofer marked “REAR LEFT” (see figure 2)
4. Connect the wire of the right satellite unit (5M) into the RCA socket on the
back panel of the subwoofer marked “REAR RIGHT” (see figure 2)
5. Connect the wire of the center satellite unit into the RCA socket on the
back panel of the subwoofer marked “CENTER” (see figure 2)
6. Connect the wire of the controller into the VGA socket on the back panel
of the subwoofer marked “CONTROLLER” (see figure 2)
7. Connect the signal wire to the LINE OUT te rm in al ( or t he h ea dp ho ne j ac k
if a LINE OUT is un av ai la bl e) o f th e PC o r ot he r au di o eq ui pm en t.
(see figure 2)
8. Connect the AC power cord to an electrical outlet. Press the power switch
to turn on the speaker system, and turn your PC on, then play music with
the audio equipment. Adjust the volume control, bass control of the
speaker system, along with the controls of your PC or stereo system to
your liking. You could now enjoy your new Multimedia speaker system.
Tur n off your computer and turn down all volume control before you start
setup procedure.
Check all the connections to ensure proper contact, and then choose
another PC or stereo system. If it can work well, it means there is no
problem with the multimedia speaker system; please check the audio
signal output system carefully.
4. There i s so un d fr om o ne s ide when plug gi ng t he 3 .5 mm s tereo
mini-p lu g in to t he h ea dphone jack o f CD -R OM .
Layout of the side panel
1. Front control
2. Rear control
3. Center control
4. Power inciator
Head phone s ocket
Volum e contr ol
Bass c ontro l
Powe r indic ator li ght
Rig ht fron t unit
Cen ter uni t
Rig ht rear u nit
(Fi gure 1)
Sub -woof er
Lef t front u nit
Lef t rear un it
Mute s witch
2.1/5.1 ST TRANSFER SWITCH USE:
In stereo input status, press the switch to set the speakers in 5.1 channel
audio output; bounce up the switch to set the speakers in 2.1 channel audio
output.
In 5.1 channel audio input status, press the switch to set the speakers in 2.1
channel audio output; bounce up the switch to set the speakers in real 5.1
channel audio output.
 Loading...