

Page 1
Electronic Distance Measuring
Tool With Laser Targeting
Pocket Reference Guide
- 1 -
KEYS AND THEIR FUNCTIONS:
ON/OFF Applies power to unit.
To use with laser reference, move to [
]
position. To use without laser reference,
move to [ ON ] position. Unit will not turn
on until a measurement button is pressed.
Measures from bottom of unit
icon will appear in the lower right
corner of the display.
Measures from top of unit
icon will appear in the lower right
corner of the display.
Using either button: Press and HOLD
to track measurements - for continuous
readings while moving. Fastest way to
measure but no reading validation. Useful
for locating correct surfaces when there
are obstacles in the way.
Press and RELEASE to validate measurement only when unit is held absolutely still.
Most accurate mode. Useful in environments when obtaining a stable reading
can be difficult. Validates all measurement
before displaying. Filters out noise from
machinery and other sources.
Turns on Memory. Cycles through memory
registers.
Stores data displayed into blinking memory
registers.
Recalls memory from blinking memory
registers.
Multiplies measurements for area and
volume. Stores and recalls
memory.
- 2 -
Adds linear distances, areas and volumes.
Stores and recalls
memory.
Subtracts linear distances, areas and
volumes.
Clear/Convert/Off Button. Press and
immediately release to clear display. Press
and hold for two seconds to change display
units. Press twice to turn unit off.
Press and Hold key for more than
2 seconds to change display units. The
display will cycle between m, ft:in, ft:ft
and yd. Release
key to select desired
mode.
TAKING A MEASUREMENT /
Getting Started:
1) Install a fresh 9V alkaline battery in rear of
unit. Push contacts firmly in place.
2) Aim cone at a hard, flat, unobstructed
surface such as a wall or mirror.
3) Make certain you have a clear path to the
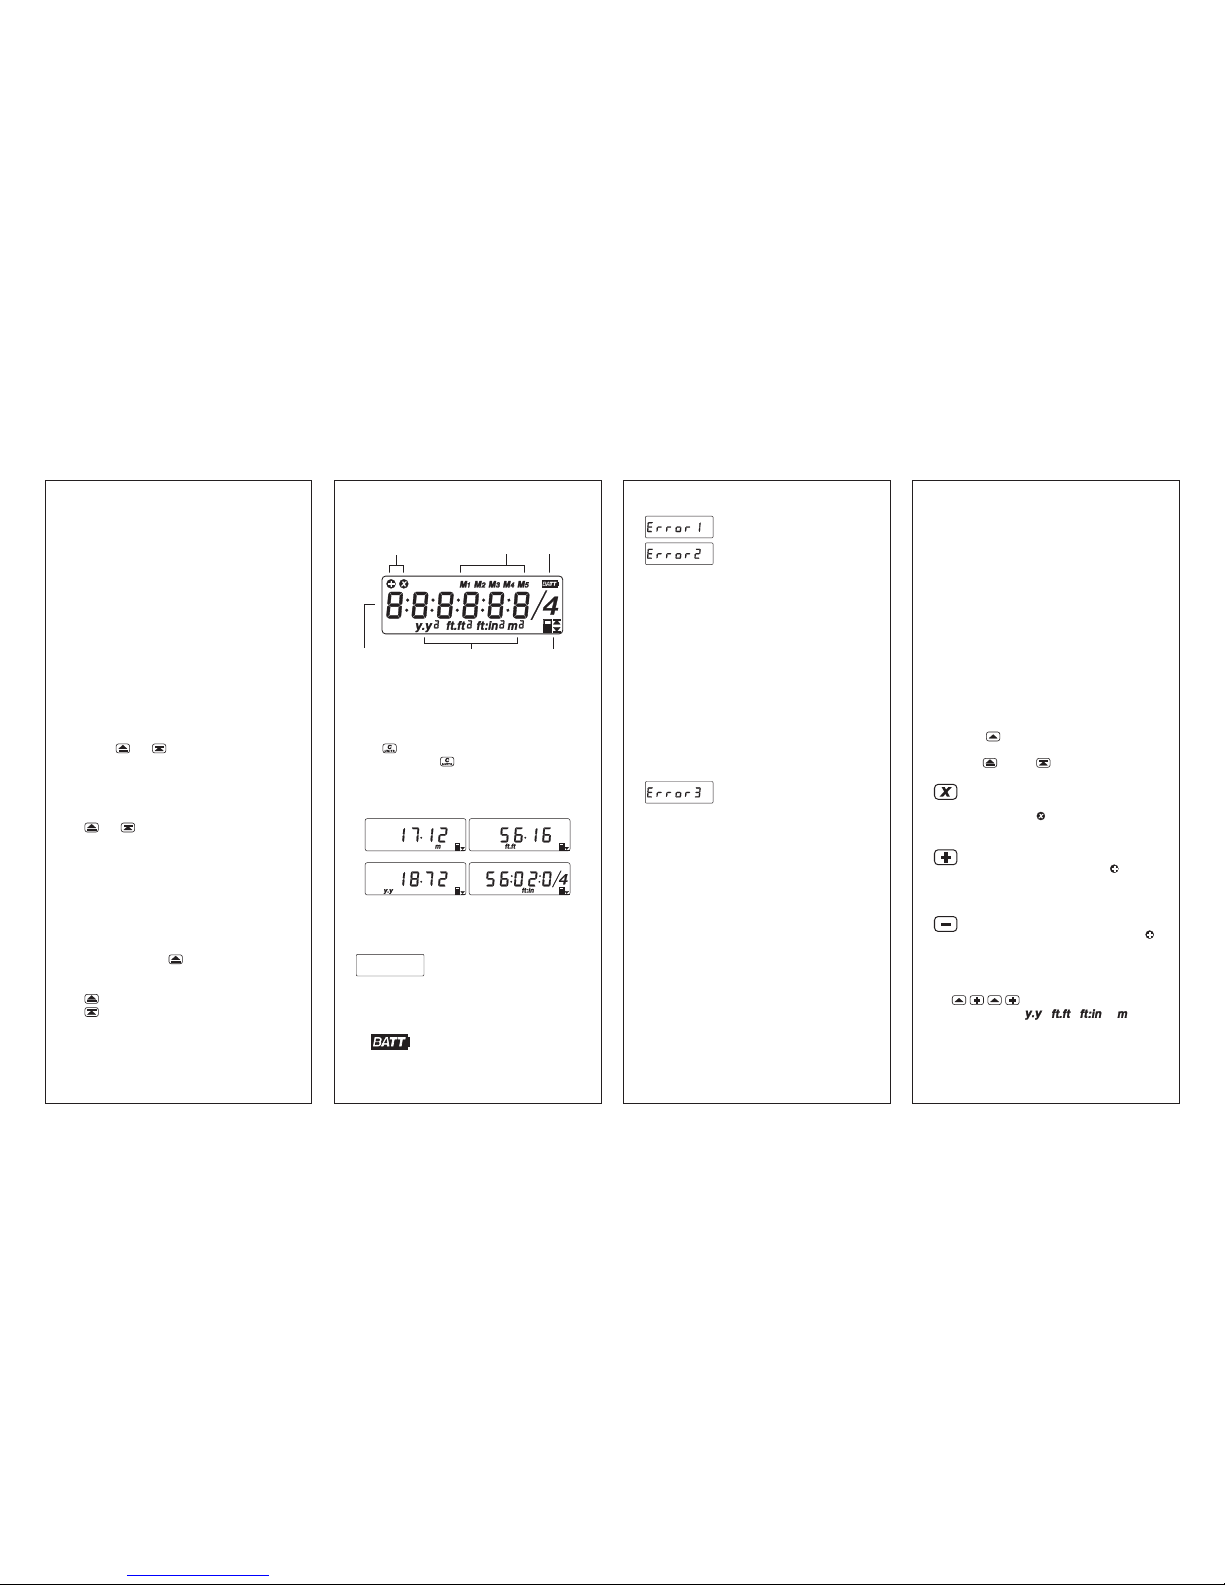
surface (wall). (See FIG. 1)
4) Hold Receiver perpendicular to the surface.
(See FIG. 2)
- 3 -
5 Your Laser Targeting Range Finder can be
used with or without the integrated laser
pointer reference and incorporates a "laser
auto off" feature. The laser pointer indicates
the approximate center of the target area
to which measured.
To use with laser reference:
Move switch to top [ ] position. The laser
will not activate until you press the measurement
button. When you press either measuring
button
or , the laser will activate
and point to the approximate center of your
target area. When the unit has finished taking
the measurement and appears on the LCD,
the laser will automatically turn off until the
measurement button is depressed again. The
laser light will only stay on for approximately
6 seconds (the time it takes to complete a
measurement) If you continue to depress the
measuring button, (tracking mode) the laser
will remain on until you release.
To use without laser reference:
Move switch to [ ON ] position. The laser will
NOT be activated when you press the measuring button. Press and release or to
validate measurement.
6) Your unit is factory preset to display metric. To
set your display to desired mode (m, ft:in,ft:ft
or yds) Press and hold
button until
desired mode displays, then release.
NOTE: Unit will now default to your preset
mode even after unit is turned off.
FIG. 1 - The sound waves emitted from this unit
spread 1 ft (30 cm) for every 10 ft (3m) measured.
Laser is for reference only.
SONIN INC.
Phone: 800-223-7511 Website: www.sonin.com
© 2003 Sonin Inc. All Rights Reserved
Printed in China
057-1400-0070 Rev.2
#10075
Laser Targeting
Range Finder
Laser Targeting
Range Finder
YES NO YES NO
(FIG. 2)
Laser Radiation
Do Not Stare Into Beam
CAUTION
1mW MAX. @650 nm
Class II LASER PRODUCT Complies
with 21CFR 1040.10 & 1040.11
As of date of Manufacture
Made in China
SONIN Inc., 2345 Route 52, Hopewell Junction, NY 12533, USA
Page 2
HELPFUL MEASURING HINTS:
1) Measurements cannot be taken through glass
or off of soft or padded surfaces.
2) The SONIN Model 10075 range and ability
to measure in tight spaces can be increased.
Stand in the middle of the distance to be
measured and add measurements taken in
opposite directions.
3) When measuring in confined spaces (hallways),
try to measure down the center line and midway
between the floor and ceiling.
4) To find a specific distance from a wall, walk
toward or away from the wall while holding
down
or .
5) When the surface being measured to has
protrusions and recesses, you can determine
where the beam is hitting. Move sideways,
parallel to the target, while holding down
or . You will see the distance
increase for recesses and decrease for
protrusions.
6) Be sure the surface you are measuring to is
hard, flat and uniform. Some surfaces such
as stucco or clapboard may scatter signals.
7) When tracking, the unit may lock on to a
stronger (usually closer) measurement. If this
happens, release
and try again.
8) Remember:
Measures from bottom of unit.
Measures from top of unit.
- 6 -
Out of Range or No Return Signal.
No Valid Reading.
Possible causes for Error 1 and Error 2 include:
a) Measurement out of range [0.46m to 18m
(1 ft 6 ins to 60 ft)]. See Specification
Section on Range.
b) Unit is not perpendicular to the surface.
c) Surface is not hard and flat.
d) Interference from external noise sources
(see section on Environmental
Conditions).
e) Unit was moved during the measurement.
When using the validate mode, the unit
must be held stationary.
Math error - square or cube
result overflow.
2) If you get readings which are excessively long
or short, the likely causes are:
a) The unit is not being held parallel to the
floor. Hold the unit parallel to the floor
and at 90° to the surface being measured
to.
b) Measuring path is not clear of obstructions
or it is not wide enough. (See FIG. 1.)
c) The surface you are measuring to not
sufficiently flat and the sound waves are
continuing to rebound. Place a flat object,
such as a board or mirror against the
surface and measure to the object.
d) Environmental factors such as noise from
machinery or close proximity to an air
conditioner or computer screen.
- 7 -
3) If you get readings that are too short for the
distance being measured, make sure there is
a clear and sufficiently wide path to the surface.
Remove any objects in the way or select a
different surface to measure to. (See HINT #2
for help.)
4) Range and accuracy can be affected by
environmental factors such as wind,
temperature, humidity and altitude (see section
on Environmental Conditions).
COMPUTATION FUNCTIONS:
To make the computations in the descriptions
below, the button symbol indicates taking an
actual measurement (length, width or height) with
either the or the button.
Multiplying: The unit multiplies linear
measurements to compute areas and
volumes. The
symbol will appear in
the upper left corner of the display.
Adding: The unit adds linear measurements, areas or volumes. The
symbol
will appear in the upper left corner of
display.
Subtracting: The unit subtracts linear
meaurements, areas or volumes. The
symbol will appear in upper left corner of
display.
Adding distances:
(Display shows , , or )
(Continue until you are done adding
distances.)
- 4 - - 5 -
READING THE DISPLAY:
The SONIN Model 10075 can display
measurements in 4 modes.
To change the display units or convert a displayed
value from one set of units to another, press and
hold
. The displayed value will change with
the units. Release
when the desired units are
displayed. If you release before the reading changes
units, the display will clear and the reading will be
erased.
1) If the unit is unable to take a "good" measure-
ment the display will show one of the following:
BLANK SCREEN Make certain
the ON/OFF switch is in the ON
position. Check/replace battery.
If unit still doesn't work, call
your SONIN Dealer.
When the BATT symbol appears
on the display, replace the
battery.
meter decimal feet
yard foot:inch
Battery Low
Indicator
Bottom & Top
Measuring Icon
Units / Sq / Cu
Icon
Memories
Register
Six Digits & Fraction
Data Display Line
Multiply & Add
Memory Register
Page 3
- 8 -
Subtracting distances:
(Display shows , , or )
(Continue until you are done subtracting
distances.)
Multiplying to compute areas:
(Display shows , or )
Multiplying to compute volumes:
(Display shows , or )
To add areas:
(Display shows total area)
(Continue until you are done adding areas.)
To add Volumes:
(Display shows total volume)
(Continue until you are done adding volumes.)
Note: The SONIN Model 10075 can only add
like units of measure.
MEMORIES:
SONIN Model 10075 has SEVEN Memories total.
5 Memory Registers - M1, M2, M3, M4 and M5
and two mathematical memories in
and .
To Access M1-M5 Memory Registers:
Press
key once to Turn On Memory. If any
memory is already stored, the icon will appear
on the LCD showing where there is stored data,
otherwise it remains blank indicating all memory
registers are empty.
- 9 -
Continue to press and release the key to
access the memory registers. The icons will blink
when accessible. (i.e. , , , and/or
blinking)
NOTE:
1) When M1 - M5 icons are blinking and the
key is pressed, it will clear the memory
in that register.
2) If you plan to store a new measurement, you
must first take the measurement before entering
into memory.
3) To exit Memory, continuously press the
key until Memory Registers no longer appear
on the LCD. NOTE: the unit will automatically
exit memory mode when you clear the memory,
store to memory or recall the memory.
To Store Memory:
Take a measurement. Press and release the
key until you reach the desired memory register.
Then, while blinking, press the
key once to
store the displayed reading. The memory symbol
will now turn off to indicate that it has data stored
to that register and back to measuring mode.
Example: To store in M3
Press
once, and press 4 times -
(the
icon will blink)
Then press
, your measurement will be
stored in M3.
To Recall Memory:
Press and release the
key until you reach the
desired memory register. Then, while blinking,
press the
key. This will recall the data stored
in that memory register.
Example: To recall from M3
Press
until is blinking.
- 10 -
While blinking press key.
Memory stored in M3 will display on LCD.
To Clear All Stored Memory - Press
key
until all 5 Memory icons are blinking. Then press
key. All memory stored will be erased and
your unit will automatically go back to measuring
mode.
To store in :
Press or , then (the " " symbol
will appear in the upper left corner of the
display)
To store in :
Press or , then (the " " symbol
will appear in the upper left corner of the
display)
NOTES:
1) Turning the unit off will erase both and
memories.
2) If memory is empty (no symbol in upper
left corner of display) a measurement can be
stored by pressing button.
3) If
memory is empty (no symbol in upper
left corner of display) a measurement can be
stored by pressing button.
4) Subsequent measurements can be added to
or subtracted from measurement in by
pressing
or button, respectively. The
resulting value (sum or difference) is displayed.
5) Subsequent measurements can be multiplied
by the stored value (measurement or area) in
by pressing button. The resulting
value (area or volume) is displayed.
- 11 -
6) Other operations such as computing the area
formed by the sum of two distances multiplied
by a third distance are also possible.
For example:
7) The SONIN Model 10075 can only add like
units of measure. If contains a distance
and the display shows an area, pressing the
button will cause the area to be stored
in
and the previously stored distance to
be lost.
TO RETRIEVE A STORED VALUE
IN
AND :
1) Clear the display by pressing and immediately
releasing the button.
2) Once you have cleared the display, press the
or button to retrieve the reading
stored in that memory.
TECHNICAL ASSISTANCE
If you have any questions or need technical
assistance, e-mail to:
CUSTOMER SERVICE
SONIN takes pride in offering unmatched
customer service to owners of SONIN
products. If you have any questions or would
like additional information, please call:
1 - 800 - 223 - 7511 (USA)
or e-mail to:
Page 4
TEMPERATURE COMPENSATION:
Because temperature affects the speed of sound,
the SONIN Model 10075 has automatic temperature compensation for greater accuracy. In order
to make the most of this feature, wait 1 minute for
each 1°F (2 minutes for each 1°C) of temperature
difference between cool and warm locations.
DISPLAYING TEMPERATURE TO IMPROVE
ACCURACY: Since temperature affects accuracy,
the SONIN Model 10075 is most accurate when
its internal temperature matches the air temperature.
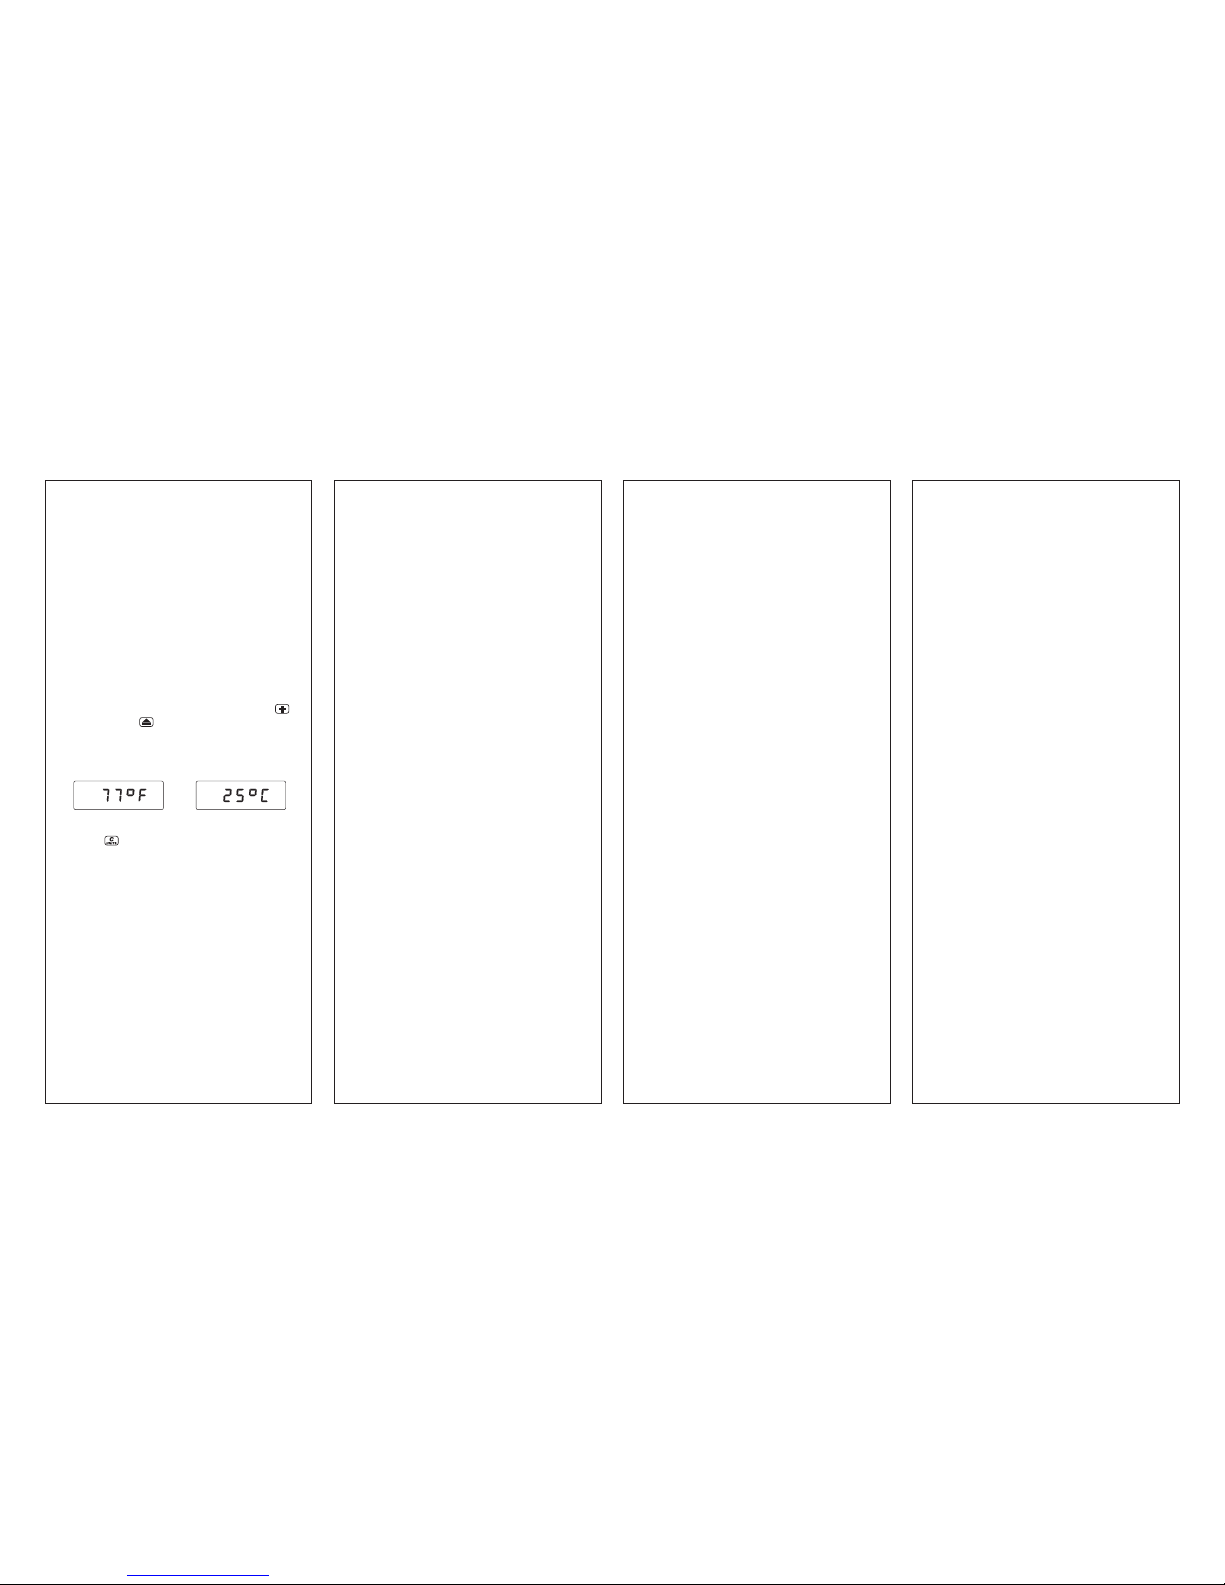
To display temperature: press and hold
key, then press key, the internal temperature
will appear on the display immediately (in °C when
m display units are selected or in °F if selected
display units are ft:in, ft:ft, yds).
To go back to measurement mode, press and
release
key or press the measure key directly.
HINT: To speed equalization of the SONIN Model
10075's internal temperature versus air temperature, wave the unit back and forth in the air to
circulate room temperature air through the unit.
For additional information, see "Temperature" in
the section on Environmental Conditions.
LOW BATTERY INDICATOR:
Replace the battery when the BATT symbol appears
on the LCD.
- 12 -
SPECIFICATIONS:
Range:
Min: 1.5 ft (0.46 m)
Max: 60 ft (18.2 m)
Actual: Will vary depending on
environmental conditions.
Accuracy:
99.5% ±1/4 in (or 99.5% ±1 cm)
when environmental conditions are as follows:
Temperature: 32 to 86°F (0 to 30°C)
Relative Humidity: 30 to 70%
Altitude: -328 to +328 ft (-0.1 to +0.1 km )
Wind Speed: Still Air
Examples:
At 15 ft (4.57 m) your reading will be within
1 1/4 ins (3 cm), And at 60 ft (18.2 m) your
reading will be within 3 3/4 ins (10 cm).
Resolution: 1/4 in (1 cm, 0.01 ft or 0.01 yd)
Ultrasonic Frequency: 40 kHz
Laser: 650nm, Semiconductor
Safety Class: Class II, visible, non- hazardous
Safety precautions: Do Not Stare Into Beam
Battery: 9 volt (alkaline recommended)
Current Consumption: 8 - 13 mA
(Approximately 50 hours continuous use with
a new 9 volt, alkaline battery)
With Laser: 35-40 mA /15 hours
Operating Temperature:
32 to 100°F (0 to 38°C)
Auto Shutoff:
Approximately 7 minutes after last key press.
Size: 5 7/8 x 2 7/8 x 1 3/4 ins
(147 x 75 x 45mm)
Weight: 6.2 oz (175 gm) without battery
- 13 -
or
- 14 -
ENVIRONMENTAL CONDITIONS
THAT COULD AFFECT
PERFORMANCE:
IMPORTANT: Ultrasonic Distance Measuring,
Tools work best for quick and easy measuring and
estimating. They are not intended for precision
work, although they can be very accurate under
optimal conditions.
Humidity - Humidity and temperature can affect
the range and accuracy of all ultrasonic distance
measuring tools. They may give measurements
that are longer or shorter than their specifications
(depending on atmospheric conditions). The range
is longest in high temperature/high humidity and
low temperature/low humidity and range is shortest
in high temperature/low humidity and low
temperature/high humidity.
Humidity effects on accuracy are greatest at high
temperatures and negligible at low temperatures.
At 100°F (38°C) and 99% R.H., the distance
measurement will be short by 0.6%. At 100°F
(38°C) and 0% Relative Humidity, the distance
measurement will be long by 0.6%. At 32°F (0°C)
the distance measurement will essentially not be
affected.
Temperature - Your SONIN Model 10075 has
unique automatic temperature compensation to
ensure consistency of measurements between 32°F
and 100°F (0°C to 38°C). The response rate of
this circuitry enables you to move between warm
and cold areas and measure with reasonable
accuracy. However, we recommend that you do
not leave your SONIN unit in very cold or very hot
conditions (e.g. sunlight in a car), as the unit will
then require more time to adjust to air temperature.
As long as the internal temperature is equal to the
air temperature, accuracy is unaffected. Wait for
- 15 -
the unit's internal temperature to equal the air
temperature or, add 1% of the measured distance
for each 10°F (5.5°C) that the measured temperature is below the actual temperature; subtract 1%
of the measured distance for each 10°F (5.5°C)
that the internal temperature is above the air
temperature. (See section on DISPLAYING
TEMPERATURE for instructions on how to obtain
a temperature measurement from your SONIN
Model 10075.)
Altitude/Barometric Pressure - Altitude and
barometric pressure can affect the range and
accuracy of all ultrasonic distance measuring tools.
As the altitude increases (barometric pressure
decreases), the range is reduced. As altitude
decreases (barometric pressure increases), the
range is increased. To correct for altitude (pressure)
effects on accuracy, subtract 0.4% of the measured
distance for each 1000 ft/ - 0.6" Hg (0.3 km/15mm Hg) you are above sea level. Add 0.4% of
the measured distance for each 1000 ft/ +0.6"
Hg (0.3km/+15mm Hg) you are below sea level
(sea level = 760mm Hg).
Noise - High frequency noise from machinery,
engines, computers, stereos, TV sets, etc. can affect
the reading and you may get random readings.
Stand away from or shut off this type of equipment
when measuring.
Outdoor Measurements - Your SONIN Model
10075 is designed for indoor use.
Page 5
- 17 -
FCC NOTE:
This device has been tested and found to
comply with the limits for a Class B device,
pursuant to part 15 of the FCC Rules. These
limits are designed to provide reasonable
protection against harmful interference in a
residential installation. This device generates,
uses and can radiate radio frequency energy
and, if not used in accordance with the
instructions, may cause harmful interference to
radio communications. However, there is no
guarantee that interference will not occur in a
particular installation. If this equipment does
cause harmful interference to radio or television
reception, which can be determined by turning
the device off and on, the user is encouraged
to try to correct the interference by one or more
of the following measures:
- Reorient or relocate the receiving antenna
- Increase separation between the device
and receiver
This Class B Digital Apparatus meets all
requirements of the Canadian InterferenceCausing Equipment Regulations.
DISCLAIMER:
The SONIN Laser Targeting Range Finder
employs a sonar method of measurement. The
laser pointer in this unit is for reference purposes
only, and is not part of the measuring apparatus.
The laser pointer indicates the approximate
center of the target area to which measured.
The laser pointer neither measures, nor
increases the accuracy of measurement
performed by the unit using sound waves. The
accuracy of this measuring device is 99.5%
±1/4" of the distance measured.
The sound waves emitted from this unit spread
1 ft (30 cm) for every 10 ft (3m) measured.
- 16 -
FIELD CALIBRATION:
This unit was calibrated under the circumstance
of 760 mmHg atmosphere and 50% relative
humidity, if the unit is not used under such environmental conditions, it may produce an error. The
built in users calibration mode is designed for the
user working under other than standard conditions
such as high altitudes. After the unit is calibrated
all environmental errors are compensated and the
accuracy is improved.
To Field Calibrate unit -
1) Turn the On/Off switch to the ON position.
2) Place unit 10 feet (or 3 meter) from the bottom
of the unit to a flat vertical surface.
3) Press and hold both and keys then
press key, the unit will turn on and process
calibration immediately.
4) When calibration is completed 10.00 ft.ft
(or 3.00 m) will displayed on the LCD.
5) Then turn off the unit and turn on again, the
new calibrated data will now used in all
measures.
NOTE - BEFORE CALIBRATING UNIT:
1) It is imperative that the unit be exactly 10 feet
(imperial) or 3 meter (metric) from the bottom
of the unit to a flat vertical surface.
2) Verify the temperature of the unit is within
± 1°C of the ambient temperature.
TO RESET BACK TO FACTORY DEFAULT
SETTING:
1) Turn OFF unit and turn in ON again.
2) Press and hold
key then press . The
LCD will display
(RESET). the
factory default setting now restored to the unit.
3) Then turn OFF unit and turn ON again to
resume measuring.
 Loading...