

Page 1
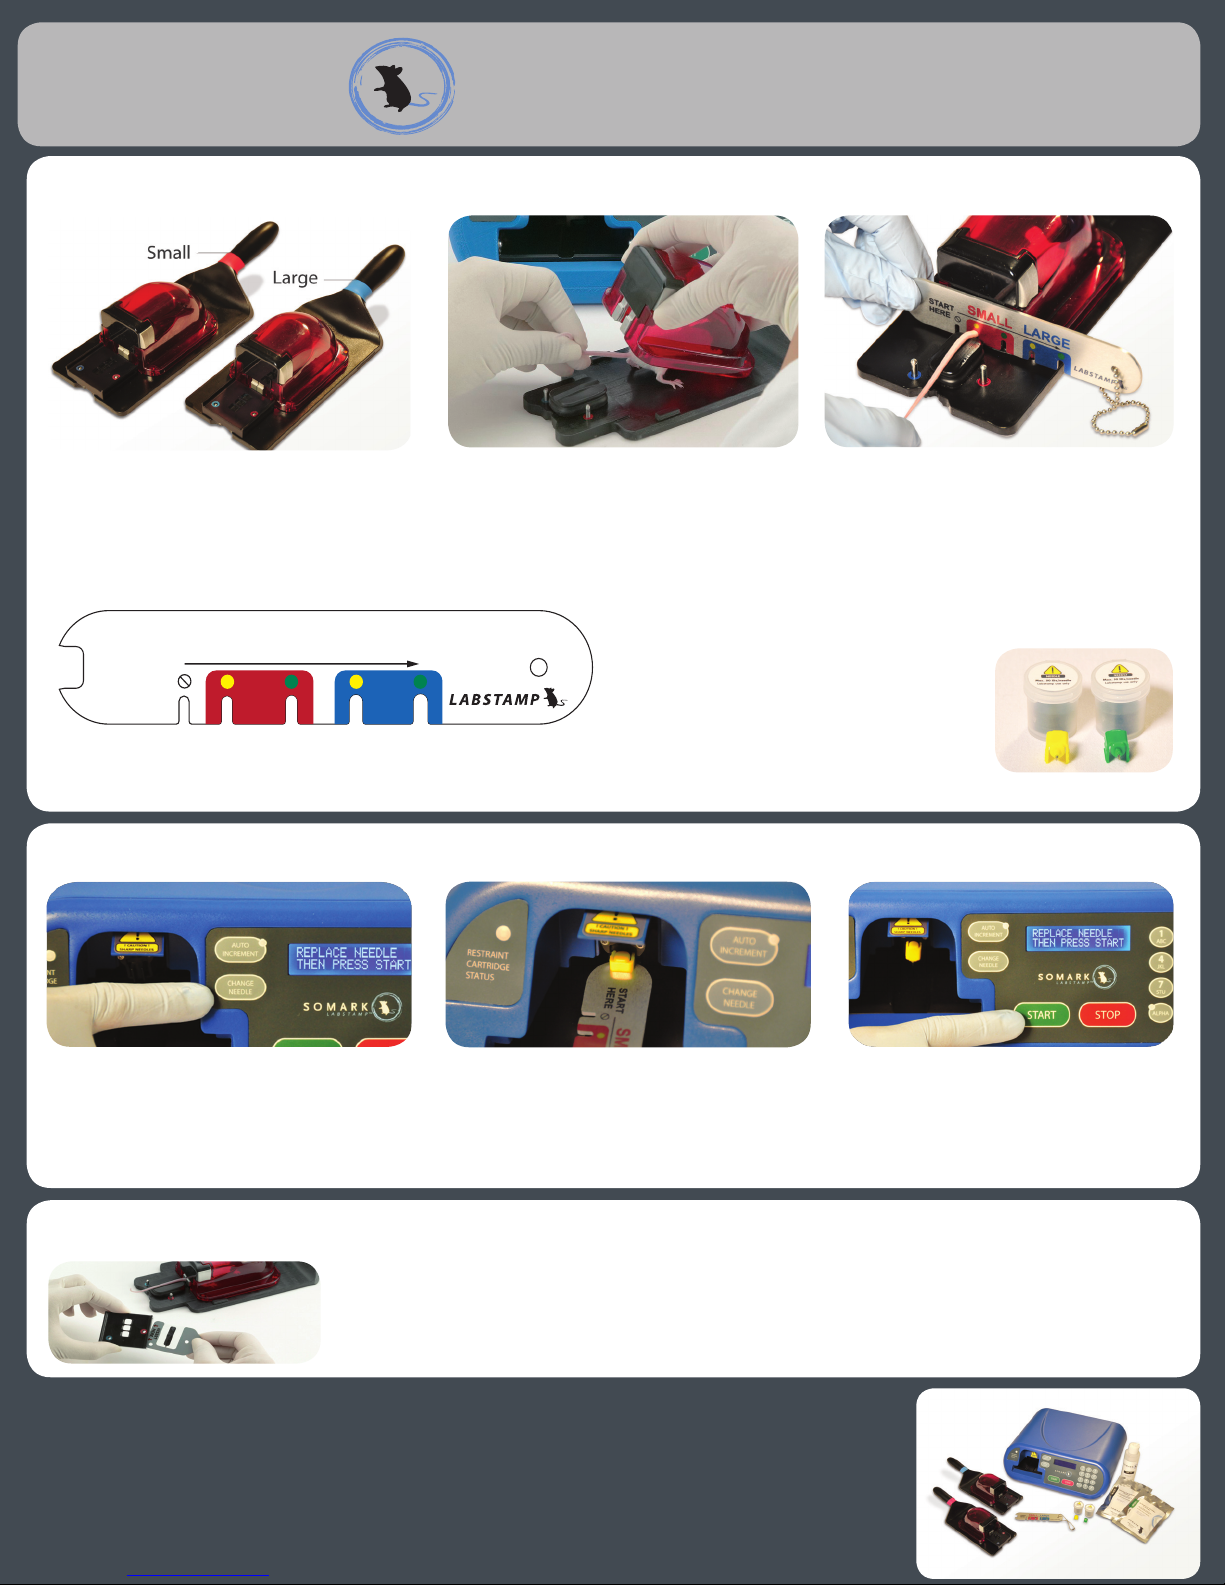
L A B S T A M P
TM
By Somark
START
HERE
SMALL LARGE
1 SELECT THE CORRECT RESTRAINT & NEEDLE CARTRIDGE
Labstamp System 1.0
QuickStart Guide
Step 1: Make an initial selection of the
Restraint Cartridge (SMALL or LARGE)
based upon whether mice are young
adult, or adult.
Important Note: The Tail Gauge is to be held vertically and square with respect to the tail. Use the Tail Gauge on each
mouse. Do not rely on age or weight to determine Restraint and Needle Cartridges.
Step 2 : Pick up a mouse by its tail and place
it on the Restraint Cartridge platform.
Depress the tail grippers on the red dome
cover, position it over the mouse tail, and
release grippers.
Step 4: Read the Tail Gauge to conrm the correct Restraint
Cartridge (SMALL OR LARGE) is used and to
select the correct Needle Cartridge
(YELLOW or GREEN dot).
Step 3 : Hold the tail across the v-groove,
and starting with the smallest slot on the
left, to the largest slot on the right of the
Tail Gauge, determine the slot that ts the
tail. The t may be snug, but not tight.
Do not use force.
2 INSTALL/CHANGE THE NEEDLE CARTRIDGE (50 IDs maximum)
Step 1: With the Applicator Machine
powered ON, press the CHANGE NEEDLE
button.
Step 2: Change the Needle Cartridge by
pressing the forked end of the Tail Gauge
onto the Needle Cartridge. (If no Needle
Cartridge is installed, proceed to Step 3.)
3 INSTALL INK SLIDE INTO TAIL COVER (Note: Ink Slides are single-use only.)
Step 1: Clean the Tail Cover bottom of any debris that would prevent the bottom surface from
fully contacting the Restraint Cartridge platform.
Step 2: Insert a new Ink Slide into the Tail Cover, ensuring that the two (2) positioning holes align.
A complete User Guide is available online in PDF and usable
formats. Visit www.labstamp.com. For support call
1-800-430-1243 or email at [email protected]
Step 3: Install the appropriate Needle
Cartridge on the gun-head.
Step 4: Press the CHANGE NEEDLE or
START button to retract the Needle
Cartridge.
Page 2
4 APPLY TAIL OIL & POSITION TAIL COVER
IMPORTANT NOTE:
Clean the Restraint Cartridge
platform of any debris that
would prevent the Tail Cover
from mounting at onto it.
Step 1: Apply a thin layer of Tail Oil onto
the tail and align the tail within the
v-groove of the rubber tail bed.
5 APPLY ID
Step 1: Insert the Restraint Cartridge into
the Applicator Machine.
Step 4: Slide the Restraint Cartridge out of the Applicator Machine.
Step 2: Once the Restraint Cartridge STATUS
light turns green, enter the desired alphanumeric characters
(up to 3) to be tattooed.
Step 2: Align the color-coded Tail Cover holes
over the matching alignment posts of the
Restraint Cartridge platform, and lower the
Tail Cover over the tail allowing the magnets
to securely seat it in place.
Step 3: Press START to begin tattooing.
(The STATUS light will begin ashing RED).
Upon completion of the tattooing, the
STATUS light will turn green again.
Step 5: Remove Tail Cover and gently wipe excess ink from the newly tattooed tail using
gauze or cotton-tipped applicator and Tail Oil.
Step 6: Holding the mouse by its tail, depress the tail grippers on the dome to release the
mouse from the Restraint Cartridge.
Step 7: Remove used Ink Slide from Tail Cover and discard it.
Step 8: Using alcohol or disinfectant, clean the Restraint Cartridge components as needed
to tattoo the next mouse, or clean and store for the next session. See Cleaning below.
6 CLEANING
For best results and to preserve the life of the Needle Cartridge, inspect the Needle Cartridge after tattooing at least every 5 mice and clean the Needle Cartridge
as necessary using a cotton-tipped applicator and Tail Oil. At the completion of the session, wipe down the Applicator Machine, all Restraint Cartridge(s)
components, and Tail Gauge thoroughly according to your laboratory guidelines. Do not spray into the Applicator Machine port or the vents on the back.
Chlorine
dioxide gas
Applicator machine
Restraint cartridge
Ink slide (single-use)
Needle
Tail oil
ETO Irradiate Autoclave VHP Spray/wipe
• • • •
• • • • • •
• • • •
• • • • •
• • • • • •
For all Safety, Troubleshooting and other Labstamp System details, please refer to the
Labstamp User Guide.
© Copyright 2011. Somark Innovations Inc.
All rights reserved. PN: 1200.A
 Loading...