

Page 1

COM Port Redirector
User Manual
Ver 2.3
Dec. 20, 2011
Page 2

Revision Date
Document
Version
Pages
Description
Oct. 17. 2009
2.0
All
Written by skkim
Jan. 31. 2008
2.0a
Partial
Added by khheo
Dec. 20. 2011
2.3
Partial
Added by ysjung
Revision History
Copyright 2007 SystemBase Co., Ltd. All rights reserved.
Internet Homepage http://www.sysbas.com/
Tel 82-2-855-0501
FAX 82-2-855-0580
16F Daerung Post Tower-1, Guro-dong, Seoul, Korea
For any inquiries or comments, contact tech@sysbas.com
Page 3

COM Port Redirector Contents
Chapter 1. Overview
Software
Environment
Hardware
Technical Support
Chapter 2. COM Port Redirector Installation
Install Guide
Uninstall Guide
Chapter 3. Adding / Removing Ports
Adding Virtual COM ports
Device Driver Installation
Deleting Redirector Port
Chapter 4. Using Redirector Control
View or Modify Port Info
Port Status Monitor
I I
Page 4
COM Port Redirector Chapter 1. Overview
Chapter 1. Overview
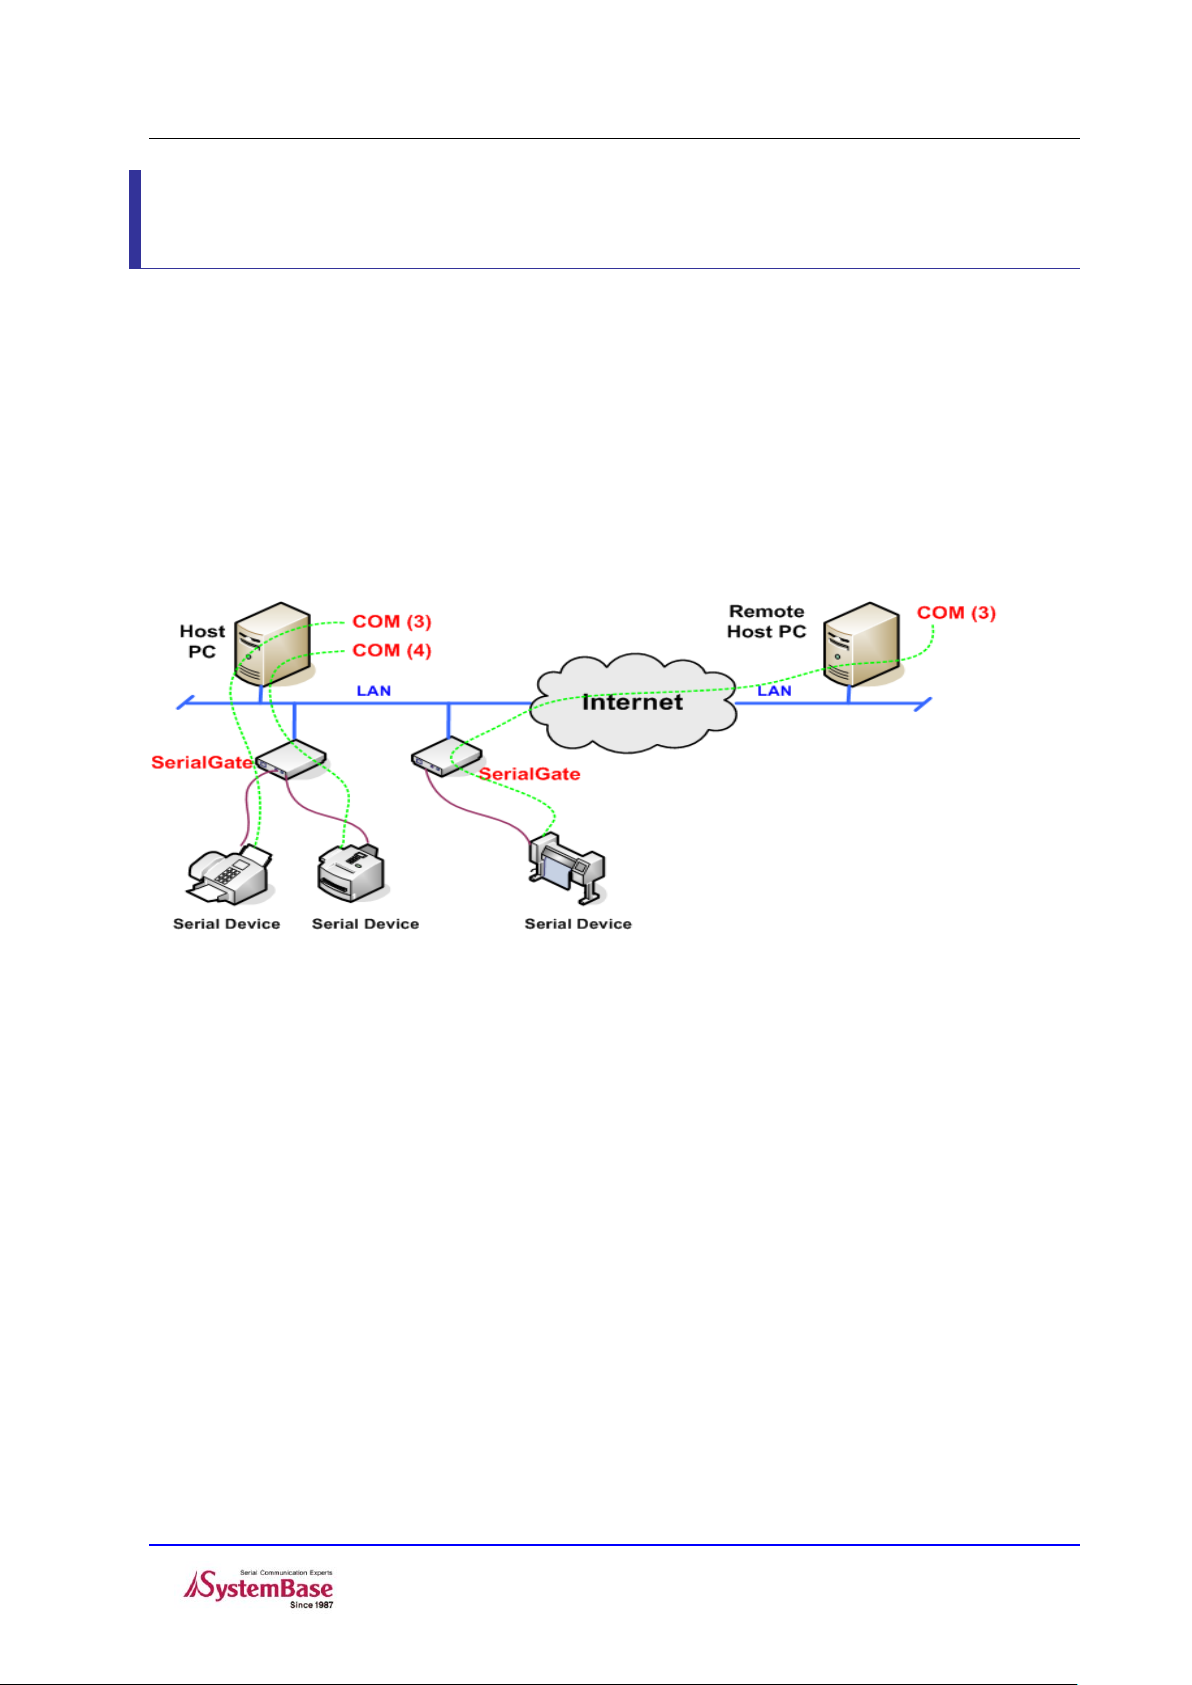
COM Port Redirector includes network COM port driver and redirector control, and they allow using serial ports
in the device server in the same manner as local COM ports on the PC. Up to 255 COM ports can be added to
one PC using the redirector. Remote serial ports in device servers connected via network can be utilized as
COMx ports installed in the local PC.
The following diagram depicts how the PC with COM Port Redirector installed can communicate with the serial
devices connected to network.
Software
COM Port Redirector driver: System driver is compatible with Windows 2000/XP/2003/Vista/7/2008
creating virtual serial ports that are detected just like real COM ports. When the driver is installed,
Redirectorctl.exe is executed to connect COM ports to network.
Redirector Control: It is an application responsible for adding and removing virtual COM ports and
providing user interface for port configuration and control. It operates with COM Port Redirector
driver to establish connection under the TCP/IP network. The following is an executable file to run
on Windows.
File name: Redirectorctl.exe
Installer: This Windows application either installs or uninstalls COM Port Redirector.
File name: install.exe
1-1 1-1
Page 5

COM Port Redirector Chapter 1. Overview
Environment
More port installations require more CPU power and high memory usage.
CPU : Pentium 1Ghz or better
Memory : 512Mb or higher
O/S : Windows 2000/XP/2003/Vista/7/2008(64bit)
Network : 10M Ethernet or faster
Hardware
Redirector is compatible with the following SystemBase products.
Portbase Series
SerialGate Series
Eddy Module Series
Technical Support
SystemBase provides technical support as follows.
1. Please visit the Technical Support page in SystemBase website, http://www.sysbas.com/ FAQ page is
available and a user can post a question on the board.
2. E-mail at tech@sysbas.com and the response will be sent as soon as possible.
3. For more immediate assistance, please contact us via telephone. (+82-2-855-0501)
1-2 1-2
Page 6
COM Port Redirector Chapter 3. Adding / Removing Ports
Chapter 2. COM Port Redirector Installation
Install Guide
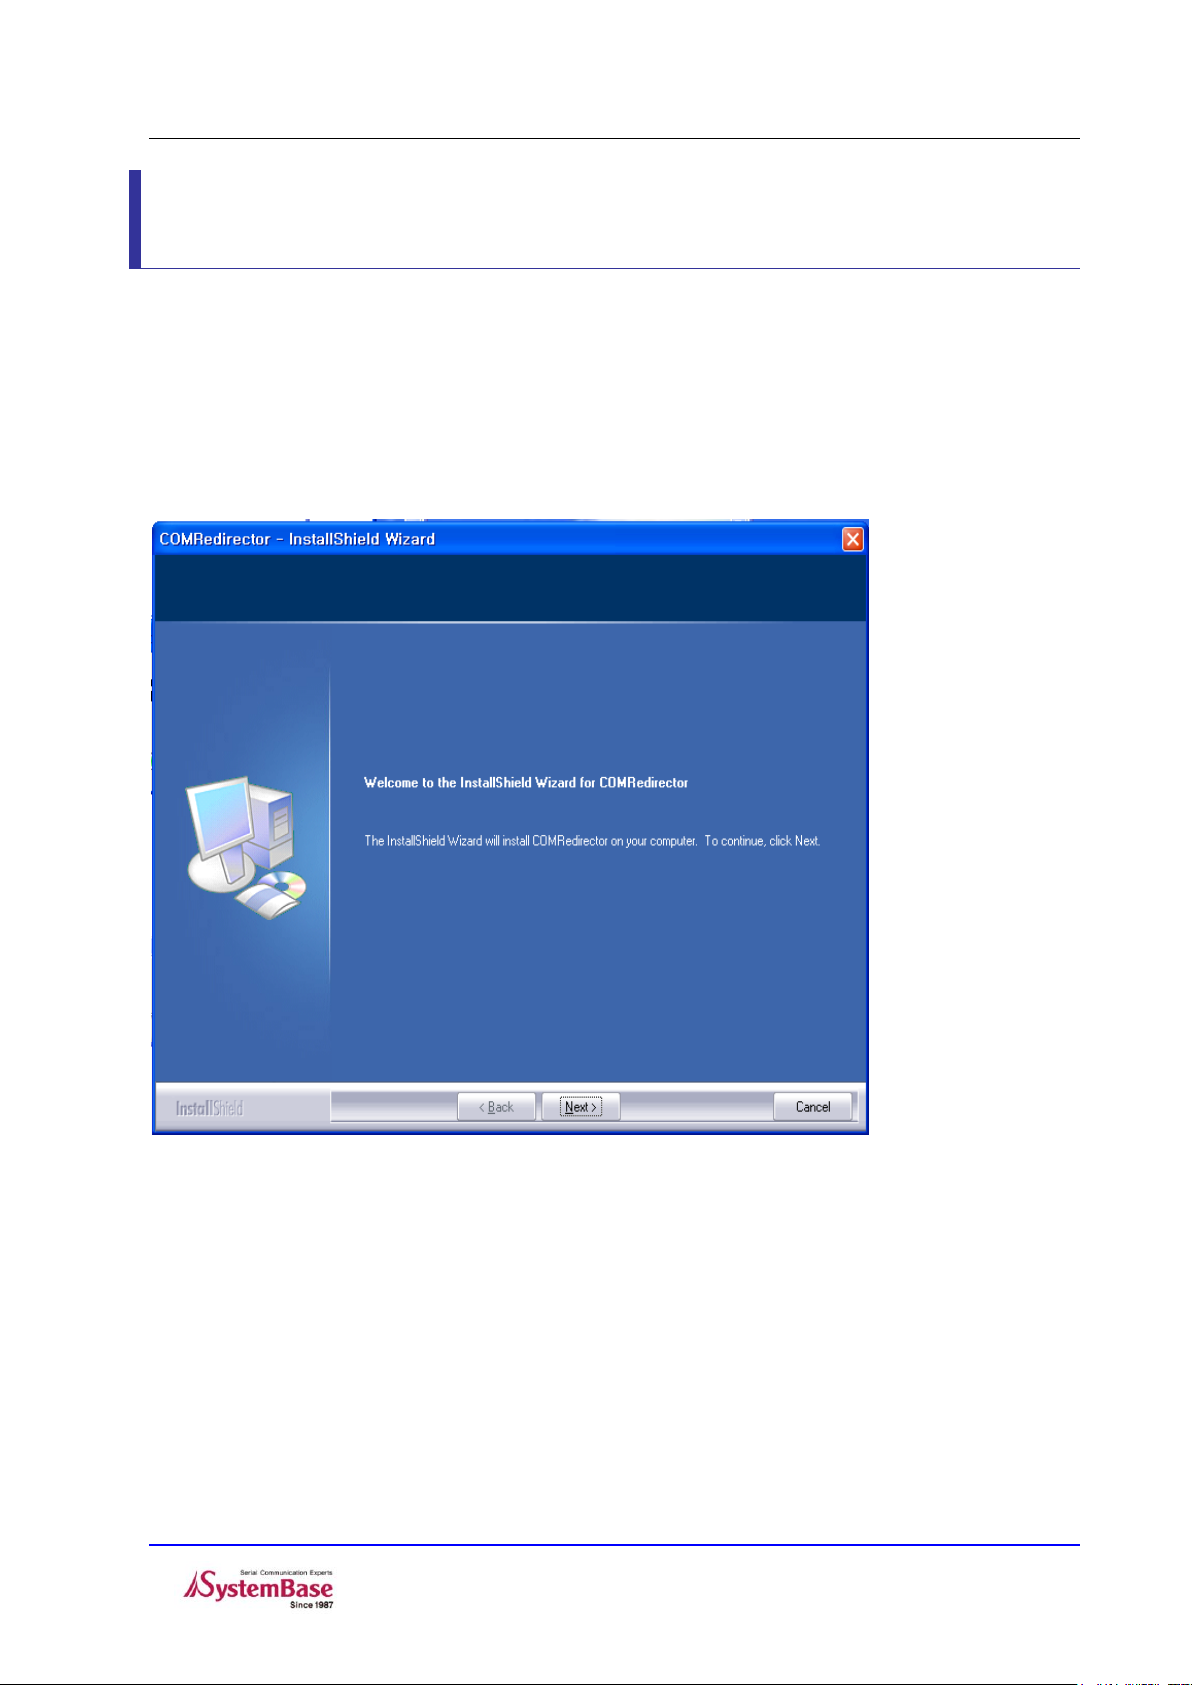
Insert the install CD into the CD-ROM drive.
Run Com Redirector Setup V2.3.exe
Redirector installer starts and provides installation details. Click “Next” to continue.
2-1 2-1
Page 7
COM Port Redirector Chapter 3. Adding / Removing Ports
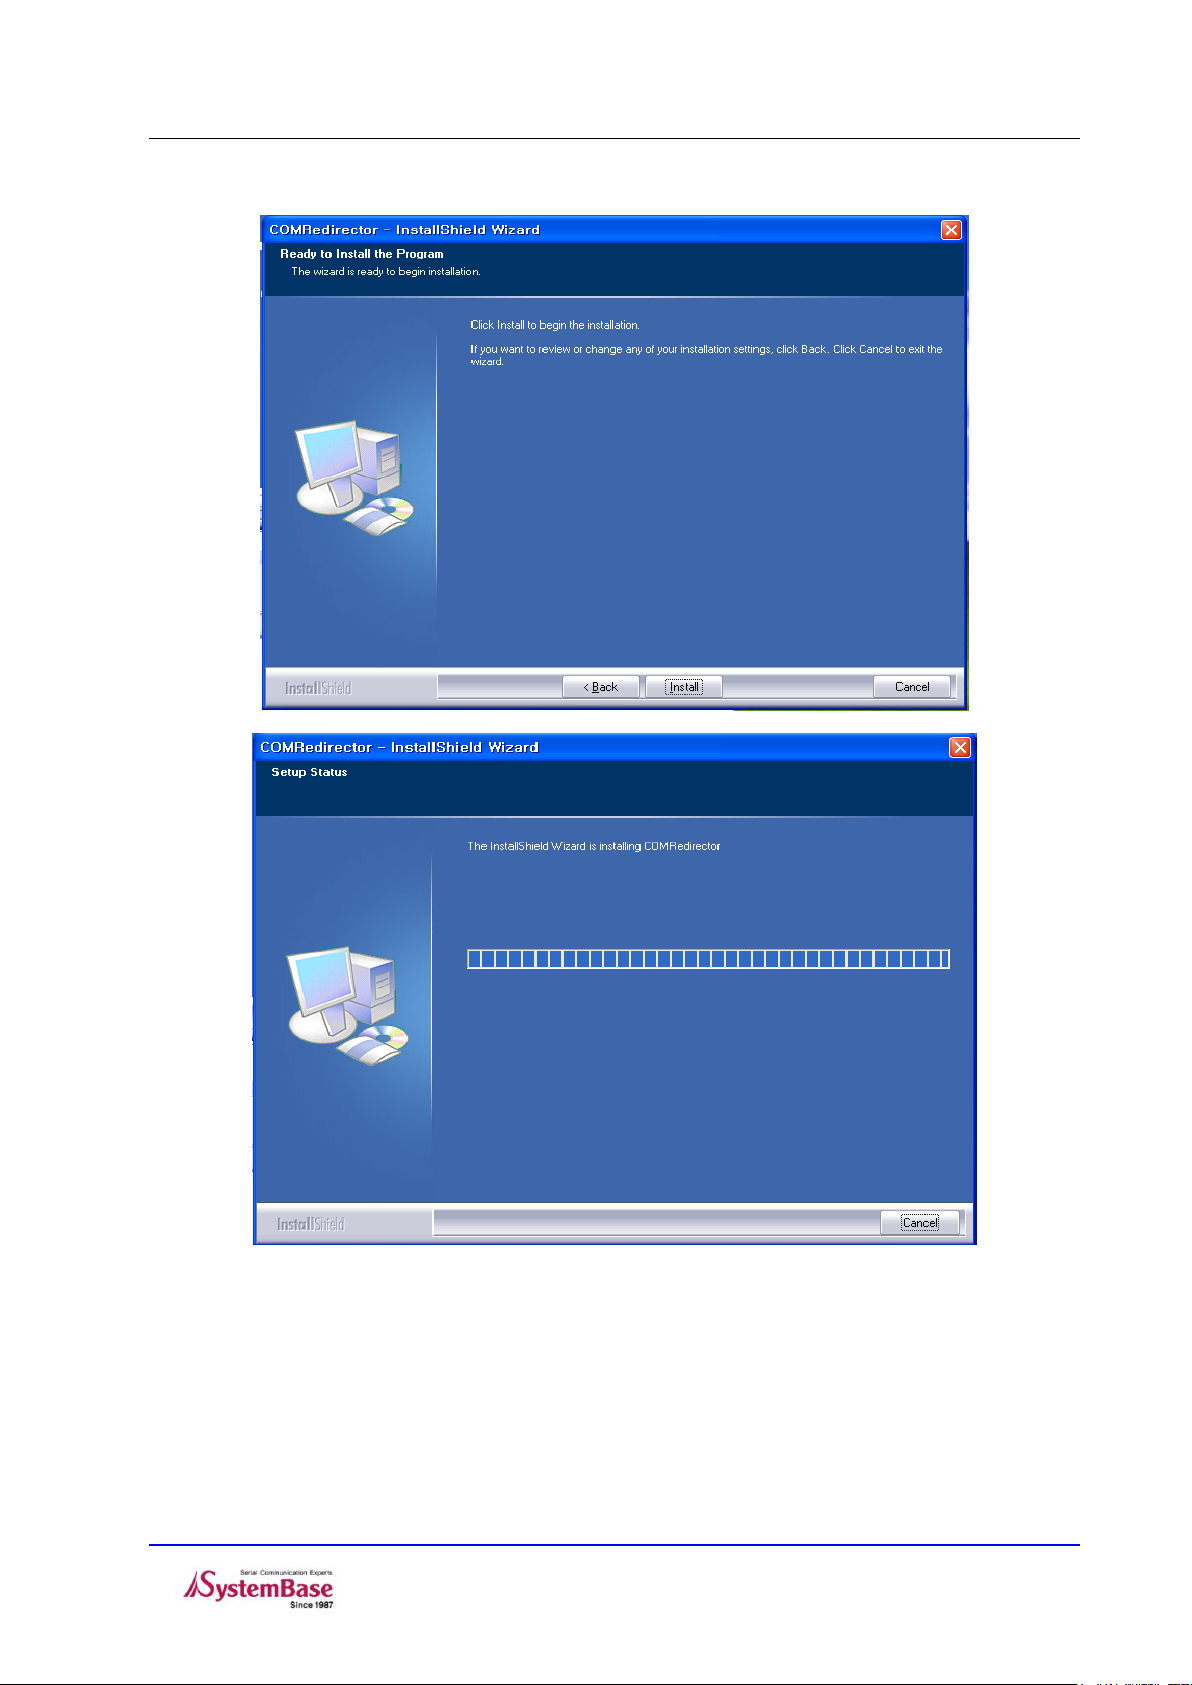
Click “Install”
2-2 2-2
Page 8

COM Port Redirector Chapter 3. Adding / Removing Ports
(Note)
Since RedirectorCtl.exe is responsible for basic functions of COM Port Redirector, it should
be running before starting any applications using virtual COM ports. In Windows
Vista/7/2008 64bit, a user should run Redirector
Click “Finish” to complete the setup.
A shortcut will be created under Start All Programs SystemBase Redirector.
Redirector Control starts automatically after the setup is complete, and by default it automatically
starts when Windows starts.
With the Redirector Control, you can add or remove ports, view or modify port information, and
monitor ports in real-time.
2-3 2-3
Page 9

COM Port Redirector Chapter 3. Adding / Removing Ports
Uninstall Guide
When you uninstall COM Port Redirector, all virtual COM ports are removed as well.
In a directory that Redirector install CD or Redirector is installed, click COM Redirector Setup V2.3.exe or click
“Start All Programs SystemBase Redirector Uninstall” as follows.
Click “Remove” and click “Next”
Click “Yes”
Click “Finish” to complete the uninstallation.
2-4 2-4
Page 10

COM Port Redirector Chapter 3. Adding / Removing Ports
2-5 2-5
Page 11

COM Port Redirector Chapter 3. Adding / Removing Ports
Chapter 3. Adding / Removing Ports
A user can install, add, or remove up to 256 virtual COM ports. The process of adding ports is identical to
installing ports.
How to run panel
As shown in the figure below, System tray icon can be found. If a user double-clicks it to
add/remove/monitor a port, control panel display will be shown.
3-6 3-6
Page 12

COM Port Redirector Chapter 3. Adding / Removing Ports
Start COM
This option defines the first port to be displayed on the panel. 256 ports starting from the ’Start COM’ are
displayed. You can change this port any time.
Install Checked
Install all ports checked from the panel.
Auto Configuration
If checked, all ports are automatically assigned the IP address and port number of the device server.
If unchecked, you can manually configure ports form the “Port Info” tab.
Install Multiports
When there are a number of ports to install, manually checking each of them is a tedious job. In this
case, click “Install Multiports” to assign only the Start COM number and the number of ports to install.
The port number will be automatically added from the specified number to 4016.
Controller Setup
Set up the starting COM number and Tray icon feature in the control panel display.
Refresh
Update all 256 checkboxes from starting number and COM port number information on the panel.
How to finish panel
If a user right-click on Tray icon, the following menu will be shown.
- Show Window: Click close button and reactivate Redirector Control Window
- Stop Redirector Service: Finish Redirector Control and it refers that a user is not able to use a
virtual COM Port.
Reference
If Redirector COM port is in use by some application, Redirector Control does not quit. In order to do so,
close all the application programs that use virtual COM ports, and select “Stop Redirector Service” in
Tray icon menu.
Note
Please be advised that all the virtual COM ports can not be used when a user is not running Redirector
Control. If a user wants to use Redirector COM port again, go to “Start Program SystemBase
Redirector” and select RedirectorCtl.
3-7 3-7
Page 13

COM Port Redirector Chapter 3. Adding / Removing Ports
IP Address: The IP address of Portbase. All new ports are assigned the value in this
option.
Port: The port number of Portbase. Port numbers increase by 1.
Protocol: Communication method used in communicating with Portbase. All new ports are
assigned the value in this option.
COM: Normal COM port operation (Selected by default)
Encryption: Select this option when you want data encrypted.
(SEED encryption method, a symmetric key type 128-bit block encryption algorithm, is used.)
Raw: Only data is transmitted in ordinary COM modes.
Adding Virtual COM ports
Adding virtual COM ports is performed by Redirector Control.
1. Install Checked
Create a port if its corresponding box is checked.
- Choose the ports that a user would like to install and click “Install Checked”
- Set up IP Address, port, protocol in “Multiport Configuration” and click “OK” button.
3-8 3-8
Page 14

COM Port Redirector Chapter 3. Adding / Removing Ports
COM port number that can be installed is listed in “Start Port”, and the number of ports as
assigned in “Port Num” will be installed from the Start Port.
2. Install Multiports
- A user can create up to 32 ports from the start port
- Click “Install Multiports”
- Set up IP Address, port, protocol in “Multiport Configuration” and click “OK” button.
Device Driver Installation
When installation starts by selecting either “Install Checked” or “Install Multiport”, the following
message is displayed until installation is complete.
When the installation is complete, verify the port installed in “Port Info” tab.
3-9 3-9
Page 15

COM Port Redirector Chapter 3. Adding / Removing Ports
Deleting Redirector Port
Deleting virtual COM ports is performed by Redirector Control.
1. Install Checked
Delete a port if its corresponding box is checked.
3-10 3-10
Page 16

COM Port Redirector Chapter 3. Adding / Removing Ports
- When you select “Uninstall Checked”, ports are removed. Ports currently in use, however, are not
removed.
2. Uninstall Multiports
- A user can delete up to 32 ports from the start port
3-11 3-11
Page 17

COM Port Redirector Chapter 4. Using Redirector Control
Chapter 4. Using Redirector Control
Overview
After COM Port Redirector driver is installed from the Redirector Control, you need to make use of these ports
and make appropriate configurations.
View or Modify Port Info
You can view or modify COM port configurations in the “Port Info” tab.
All COM ports are displayed in the panel, along with settings and status.
1. Single Port Configuration Changes
When you want to change port settings, click COM port that you wish to change, and make changes to
IP address, port number, or protocol. Click “Apply Settings” to apply these changes.
3-1 3-1
Page 18

COM Port Redirector Chapter 4. Using Redirector Control
2. Multiple Port Changes (Config Multiports)
“Config Multiports” option allows changing IP address, port number, and protocol settings of multiple
ports at once.
Force Port Close
“Force Port Close” closes any COM port that fails to close in normal operation.
When you click open COM ports, “Force Port Close” button is activated.
Click “Force Port Close”
3-2 3-2
Page 19

COM Port Redirector Chapter 4. Using Redirector Control
Click “OK”
Warning:
If you perform “ Force Port Close” on ports that are operating normally, system might hang or
unexpected errors are prone to occur. Use this option at your own risk, only in emergency when
applications fail to close ports.
Port Status Monitor
Select “Monitor” tab to monitor port status in real-time.
3-3 3-3
Page 20

COM Port Redirector Chapter 4. Using Redirector Control
ACT : Blue when application is using this COM port.
CON : Blue when this port is connected to Portbase.
ERR : Red when connection with Portbase has errors.
TX : Green when transmitting data
RX : Yellow when receiving data
RTS, …, DCD : Modem signals for each port. Blue when on.
“Refresh” button
When you changed COM port numbers or installed serial ports manually from external applications, click
“Refresh” or reactivate tabs to update changes. Remember to use this button when changes are made in
“Device Manager”.
“Controller Setup” button
Configure functions related to Com Port Redirector or initialize ComDB.
If a user clicks “Controller Setup”button, the following windows will be shown.
3-4 3-4
Page 21

COM Port Redirector Chapter 4. Using Redirector Control
Show Type: A mode that only shows tray and another showing both tray and taskbar are available
for Show Type.
ComDB CleanUP: Check Star Com Number and Clean UP, and click ‘OK’ button.
Old Version Registry CleanUP: This is used to organize Registry for older version. Select the
related checkbox and version, and click ‘OK’ button.
3-5 3-5
 Loading...