

Page 1
Water Level Meter Operating Instructions
Model 101 P7
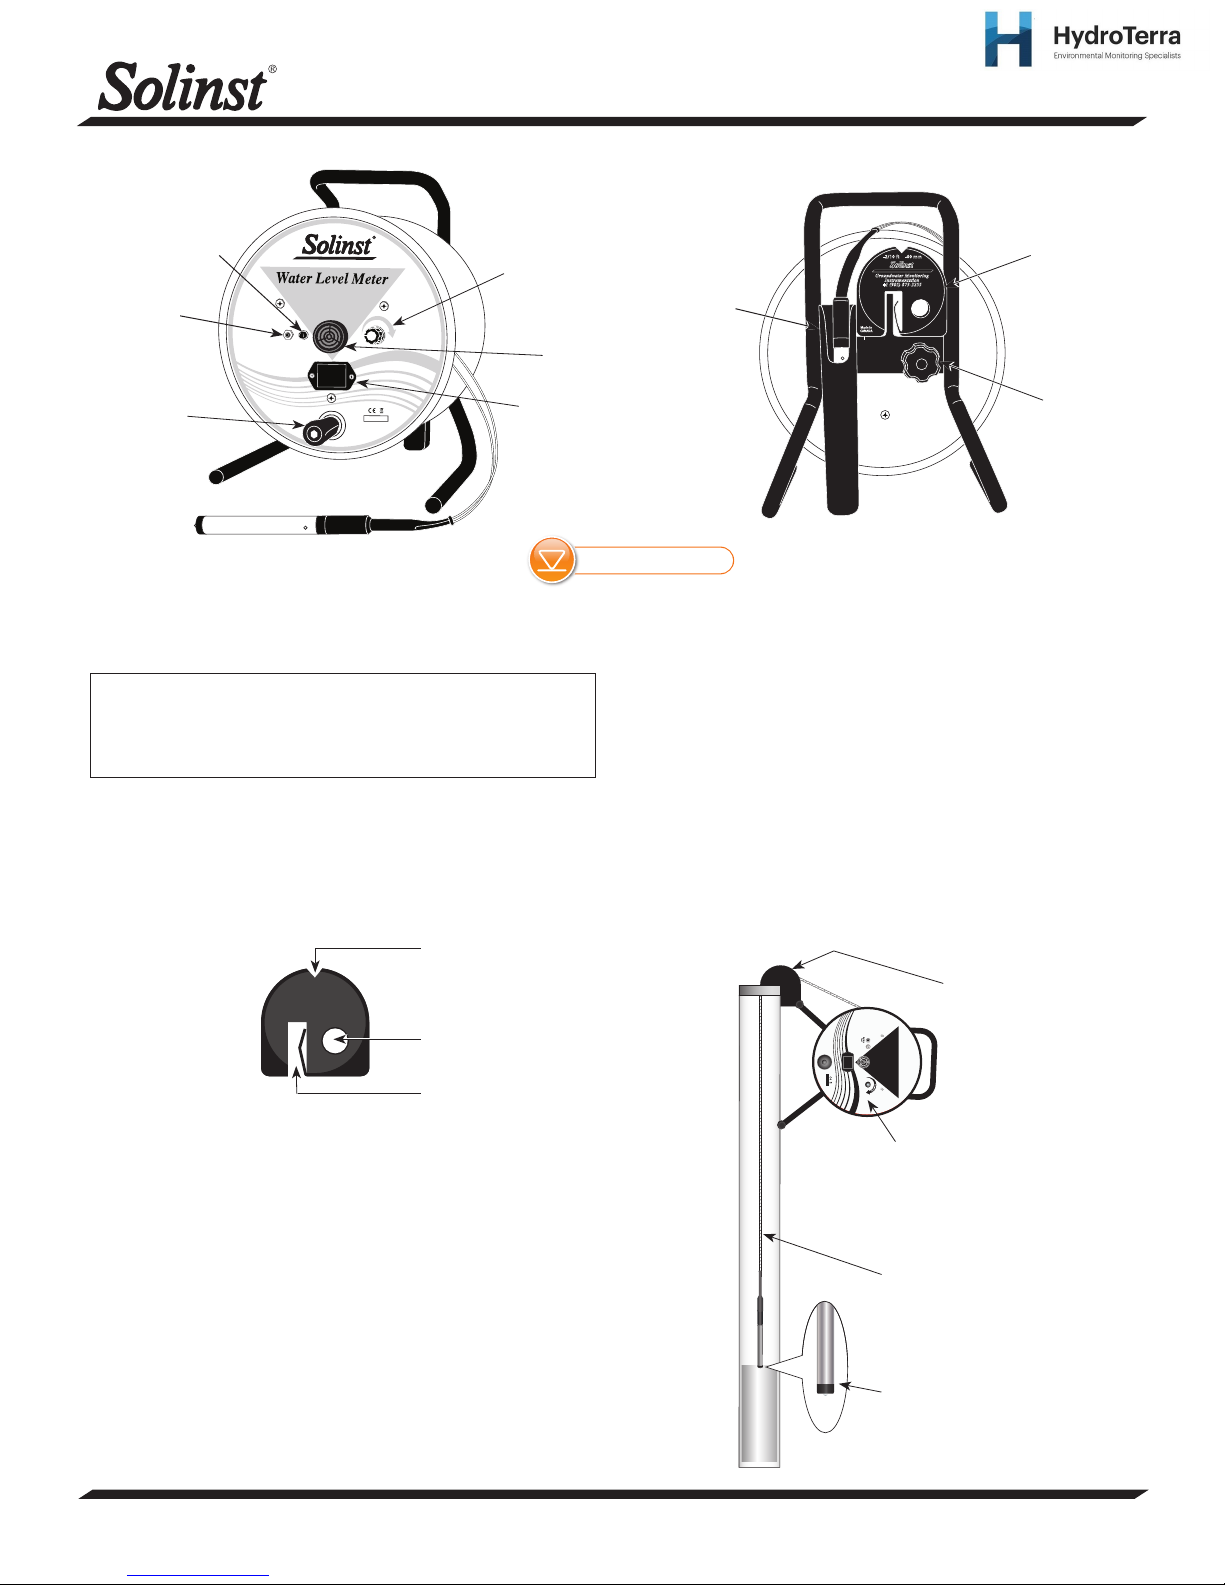
Indicator Light
On/Off
Sensitivity Dial
Model 101
Battery Test
Button
Handle
Solinst Canada Ltd.
www.solinst.com
Tel: +1(905) 873-2255
(800) 661-2023
Battery
Test
Off
Made In Canada
S
e
n
s
i
t
i
v
i
t
y
Sonalert
210288
Battery Drawer
101 P7 Probe
Front View Back View
Equipment Check
1. Turn sensitivity dial fully clockwise.
Notes: 1. Clockwise rotation of sensitivity dial turns meter on and
increases sensitivity.
2. Always set switch to highest sensitivity position, then
decrease if necessary.
2. Depress the Battery Test button to test the battery and main
circuitry (does not test the tape or probe).
3. Submerse the probe in tap water. This completes the circuit
and activates the buzzer and light.
The Tape Guide
Measurement Point
Tape Guide
Probe Holder
Brake
Get Quote | More Info
Water Level Measurements
1. The P7 Probe zero measurement point is located near the tip
of the probe.
2. For ease of operation the Tape Guide can be used to support
the Water Level Meter. (See diagram above).
3. Feed the tape into and out of the well using the groove in
the top of the Tape Guide. The light and buzzer activate
when the black Delrin tip is submerged and the zero point
is reached. To ensure accuracy, lower and raise the probe a
few times and then record the depth measurement from the
tape at the top of the well.
4. When using the Tape Guide, the measuring point is offset
from the top of casing. To adjust your measurements to the
top of the casing, simply subtract the amount indicated on
the front of the Tape Guide (i.e. 6 cm or 2/10 ft).
The Tape Guide has been designed to:
• Improve accuracy when reading water levels,
• Easily obtain repeatable measurements,
• Prevent tape being cut by well casing,
• Allow the tape and probe to hang straight from the side
of the well.
1. Fit the small end of the Tape Guide onto the edge of well casing
2" (50 mm) diameter or larger.
2. For small reels only, insert the leg of the Water Level Meter
into the hole on the Tape Guide and rest the Water Level
Meter on the side of the well casing. (See diagram above).
3. To store the Tape Guide, simply clip it onto the support
bracket located on the back of the Water Level Meter.
(Page 1 of 2)
High Quality Groundwater and Surface Water Monitoring Instrumentation
Insert Water Level
Meter leg through
hole
Fit onto well casing
Tape Guide:
Water Level Meter
prevents tape
from scraping
the top edge
of well casing
Solinst Canada Ltd.
Tel: +1(905) 873-2255
www.solinst.com
(800) 661-2023
Battery
Battery
Test
Test
Model 101
Made In Canada
Off
Off
Water Level Meter:
anchored to the well casing with the
tape guide for stable operation.
Only for small reels. Medium
and large reels should be
placed on the ground.
High quality
PVDF tape: hangs
straight in the well for
accurate water level
measurements.
P7 Probe:
zero measurement
point located here.
Page 2
(Page 2 of 2)
Routine Care
1. After the depth to water has been recorded, the tape should
be carefully rewound onto the reel, the probe wiped dry and
placed into the probe holder.
2. The probe, tape and reel can be wiped clean with phosphate
free (non-abrasive) detergent and warm water. Do not
submerge the reel.
3. Use of a Water Level Meter Carrying Bag adds to the service
life of the meter.
4. Use of the Tape Guide adds to the life of the tape.
Probe Care and Cleaning
1. The P7 Probe should be wiped clean after each use.
2. Remove any dirt or water from around the central sensor
pin.
3. If the central sensor pin is corroded or coated, use emery
cloth to polish it.
4. After cleaning, place probe back in its holder.
Battery Replacement
• Battery type - alkaline, 9 volt.
1. The battery is housed in a convenient battery drawer located
in the faceplate of the Water Level Meter.
2. To replace the battery, simply press the drawer in, lift then
pull.
3. The battery drawer should slide out of the faceplate enough
to pull it out.
4. Note the polarity (positive (+) terminal should be towards
the small notch in the end of the drawer) and place new
battery in the drawer and slide it back into the faceplate.
Replacement Parts
The following parts can be provided should they become lost
or damaged.
1. Probes
2. Tape with Tape Seal Plug
3. Tape Seal Plug on shorter lengths of tape (3 ft or 1 m) and
splice kit
4. Lights, switches, etc.
5. Reels
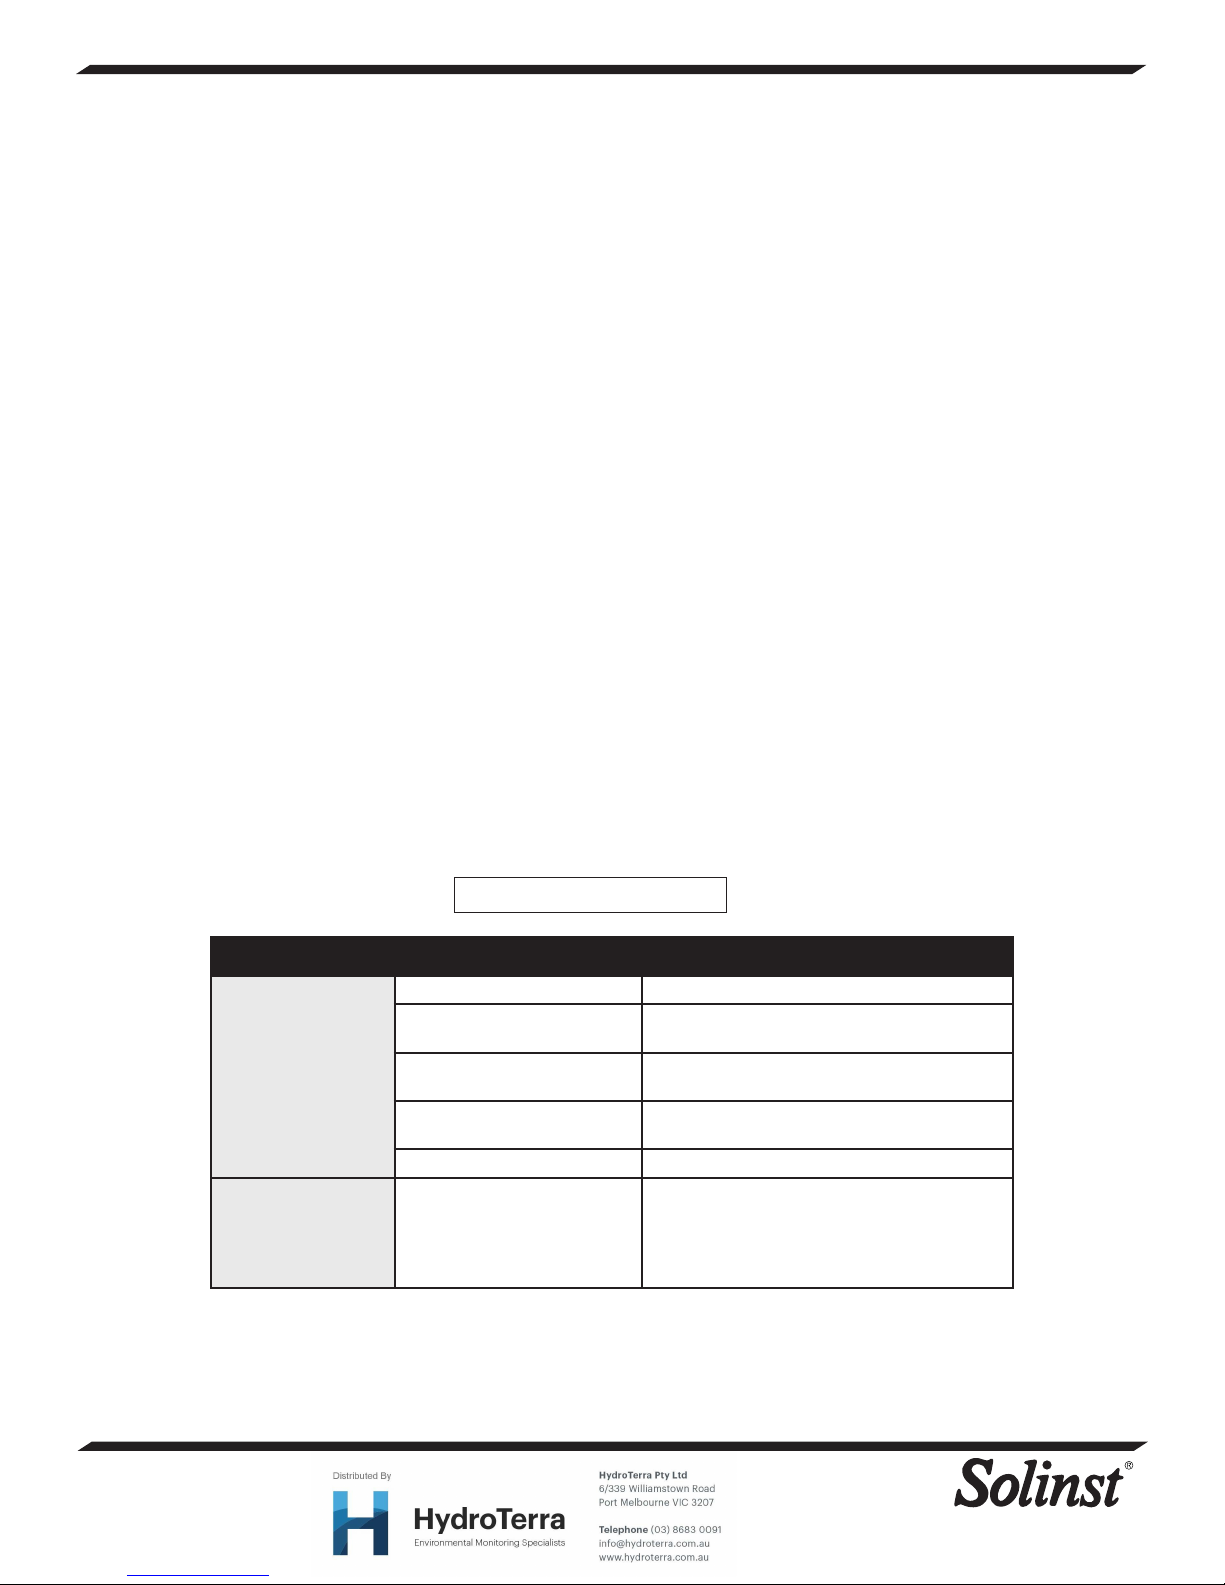
SYMPTOM CAUSE
No sound when probe
immersed in water.
Instrument
continuously sounds
after being immersed
in water.
Dead battery. Replace with 9V Alkaline.
Water Conductivity is very low. Increase sensitivity switch setting (turn clockwise)
Disconnected wires on circuit
board.
Broken wire in tape. Locate break in tape - splice and seal, or replace.
Disconnected wire inside probe. Contact Solinst to obtain parts/repair instructions.
Water in probe. Probe may be
dirty which could interfere with
the circuit connection.
Troubleshooting
REMEDY
or call Solinst for assistance.
Check all connections inside hub of reel for
loose/disconnected wires - solder or reconnect.
(Contact Solinst)
Remove P7 Probe. If sounding stops, check/
replace o-ring. If sounding continues, check connection of electronics and wiring in reel.
If sounding continues, contact Solinst for
assessment or replace probe with new P7 probe.
 Loading...