


SOLIDRUN LTD
SolidRun Ltd.
CuBox-i series
P.O Box 75
Migdal-Tefen, 2495900
ISRAEL
http://www.solid-run.com/
Quick User’s Guide
Contents of package
• One CuBox-i Miniature Computer.
• Optionally, one microSD card – inserted in the CuBox-i with Android OS installed.
• Optionally, one power supply adapter ( input: 110V-220V AC ; output 5V DC )
• One Warranty note.
• One User Manual
Models covered by this User Manual:
I1-300-D, I1W-300-D, I2-300-D, I2W-300-D, I2eX-300-D, I2eXw-300-D and I4P-300-D
Setting up the system
1. The CuBox-i boots from the microSD. If you purchased a microSD from SolidRun then skip to
step #3.
2. When using your own micro SD device, we recommend a 4GB micro SD class4 or higher.
3. Skip to step #7 if you are using a SolidRun supplied power adapter.
4. Power Adapter: you may choose your own power adapter, make sure to use a power adapter
with the following specification:
Regulated 5V supply with 2A source capacity (3A for I4P-300-D model).
2.1mm internal diameter and 5.5mm external diameter. At least 10.5mm long.
Use only limited power source (LPS) power adapter with adequate protections.
Power adapter should meet local safety regulations.
DO NOT USE 9V or 12V adapters or any other adapters with output voltage higher
than 5V. These adapters will damage the CuBox-i and possibly other connected USB
devices.
5. To run applications or distributions on your CuBox-i, you must install them on the microSD
card. Visit this link for more details: http://cubox-i.com/install-os-on-micro-sd-flash-card/
6. Once you have your CuBox-i, microSD and power adapter ready, insert the micro SD in the
microSD slot with the microSD pins facing up.
7. Internet: If you have purchased I1-300-D, I1W-300-D, I2-300-D, I2W-300-D- first connect an
Ethernet cable to your CuBox-i device. Models I2eX-300-D, I2eXw-300-D and I4P-300-D, can be
connected via wireless or wired connection.
8. Connect the CuBox-i to a display screen via an HDMI cable.
9. Connect your power adapter to the DC jack, and then connect the adapter to mains supply.
A red LED in the front should light, indicating that the system is booting. The system should be up and
running in few moments, and Android graphical interface should be displayed on the monitor:
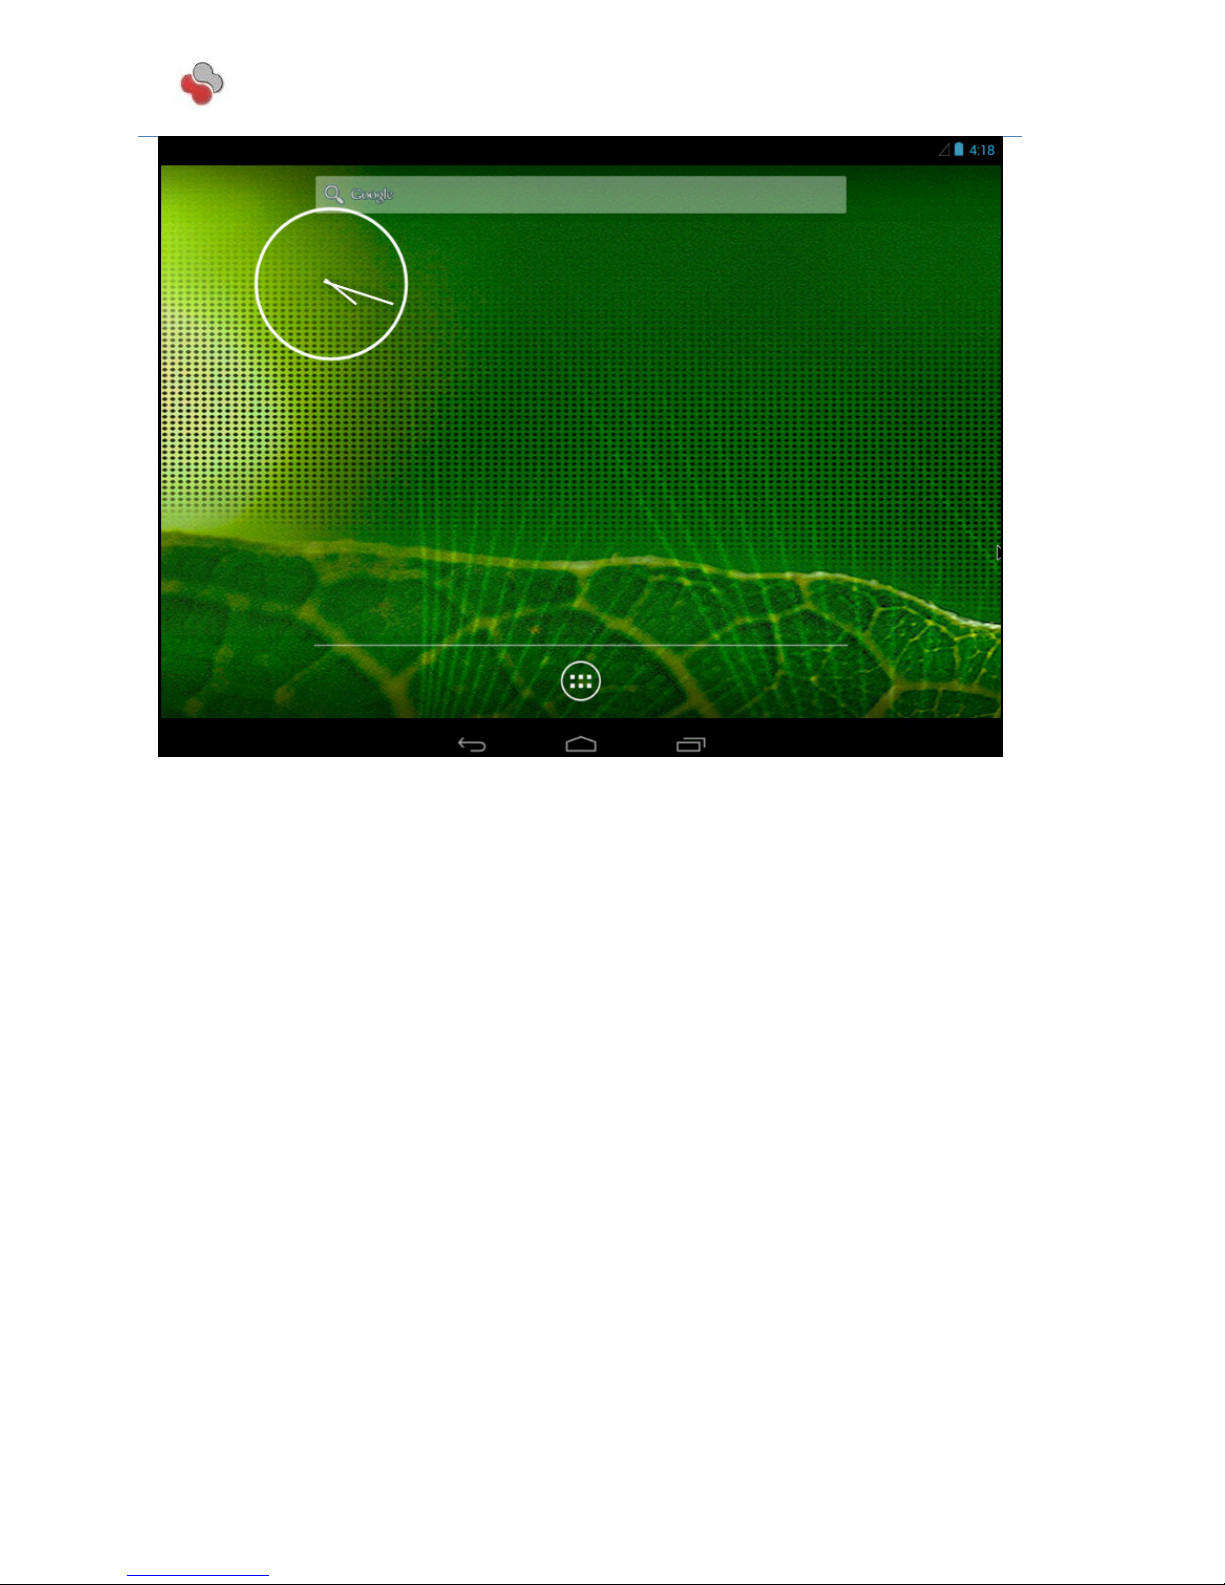
It is recommended to visit
the “Getting Started” page in order to learn how to use alternative
Figure
1 Default Operating System
operating systems and/or upgrade to recent ones:
http://cubox-i.com/getting-started/
PRODUCT INFORMATION
1. Overview
CuBox-i family of products are low cost, highly energy efficient and small form-factor open source
based miniature computer that can be used for different applications such as smart TV box, media
center, gaming machine, set-top-box, NAS (Network Attached Storage) Server, digital signage and
many other applications.
2. Interfaces

Connect to your Ethernet switch or router for
wired networking (LAN).
Power inputs. User must connect a 5V limited
. See
further safety instructions.
defined push button. User
application defines its functionality.
Full HD HDMI output. Connect to your TV set.
MicroSD MUST be
operating system and application for proper
operation of the device.
Indicates No link was established
Indicates link is established
The indicator LED shares the IR receiver window .
:
note
I2W-300-D
I2eX
I2eXw
I4P
Gigabit
Ethernet
Use 5V/3A for
I4P
model
Supported
Supported
Supported
Supported
Id Interface Description
I1-300-D,
I1W-300-D,
I2-300-D,
-300-D,
-300-D,
-300-D
1 Ethernet
local
2 DC Jack
power supply
3 Push Button This is a user
4 HDMI
5 MicroSD
6 Ethernet
indication LED
Off:
Always on:
below safety notices for
installed with proper
Fast Ethernet
Use 5V/2A
Supported
Supported
Supported
Supported
-300-D

application must support this functionality.
Model
I1-
300-D
I2-300-D
I2eX-300-D
I4P-300-D
Commercial name
CuBox
-i1
CuBox
-i2
CuBox
-
i2eX
CuBox
-
i4Pro
Chipset
i.MX6 Solo
i.MX6 Dual
i.MX6 Dual
i.MX6 Quad
Core Count
1 @ 1 GHz
2 @ 1 GHz
2 @ 1 GHz
4 @ 1 GHz
Memory Size
512MByte
1GByte DDR3
1GByte DDR3
2GByte DDR3
Memory Config
32 bit @
64 bit @
64 bit @
64 bit @
3D GPU
GC880
GC880
GC2000
GC2000
Blinking:
7 USB0 First powered USB port. Connect your USB
device such as Keyboard, Mouse, HD, etc… Do
not overload with more than 0.5A current
consumption.
8 USB1 First powered USB port. Connect your USB
device such as Keyboard, Mouse, HD, etc… Do
not overload with more than 0.5A current
consumption.
9 eSATA External SATA Hard Drive connection. Not
10 MicroUSB MicroUSB for serial port connection. Use this
port for service and debug if you are using the
device for lab and development.
11 SPDIF Output SPDIF Optical Output. Mechanical dimensions of
the optical output connector are small due to
device size. It is recommended to purchase and
use the SPDIF cable available from SolidRun and
distributors, or an equivalent cable.
12/a Infra RED Rx Infra Red receiver for remote control support.
Running application must support this
functionality.
12/b Infra RED Rx Infra Red transmitter for controlling devices in
vicinity such as TV set, STB box, etc... Running
Supported Supported
Supported Supported
Supported
supported
Not
supported
Supported Supported
Supported Supported
Not
Supported
Supported
Supported
3. System Specifications Hardware:
Below is a table summarizing CuBox-i features for all models.
I1W-300-D
CuBox-i1w
I2W-300-D
CuBox-i2w
Lite
DDR3
I2eXw-300-D
CuBox-i2eXw
800Mbps
800Mbps
1066Mbps
1066Mbps

3D GPU Type
OpenGL|ES
OpenGL|ES
OpenGL|ES
OpenGL|ES
HDMI 1080p
1.4, 3D
1.4, 3D
1.4, 3D
support
1.4, 3D support
10/100/1000
10/100/1000
WiFi 11n/BlueTooth
X
Optional
Optional
V
RTC
With Backup
Optical S/PDIFAudio
InfraRed for Remote
Receiver &
Receiver &
1.1/2.0
1.1/2.0
1.1/2.0,OpenCL
1.1/2.0,OpenCL
1.1E
HW Video Dec/Enc Multi Format Multi Format Multi Format Multi Format
support
support
Ethernet 10/100 Mbps 10/100 Mbps
Mbps (*)
Mbps (*)
USB 2.0 Host 2 x Hosts 2 x Hosts 2 x Hosts 2 x Hosts
Micro SD Interface V V V V
eSata II 3Gbps X X V V
X X V V
Battery
V V V V
Out
1.1E
Micro USB to RS-232 X X V V
Receiver Receiver
Control
Transmitter
Software:
•
Android (Default)
Optional installations :
•
UBUNTU
•
XBMC
•
freeBSD
•
Debian
•
GeexBox
•
And much more …
4. Operating environment
Operating temperature: 0°C to 40°C
Relative humidity: 5% to 90%
Transmitter

COMPLIANCE AND SAFETY INFORMATION
1. For USA - Federal Communication Commission Statement
This device complies with Part 15 of the FCC Rules. Operation is subject to the following two conditions:
(1) this device may not cause harmful interference, and (2) this device must accept any interference
received, including interference that may cause undesired operation.
This equipment has been tested and found to comply with the limits for a Class A digital device, pursuant
to Part 15 of the FCC Rules. These limits are designed to provide reasonable protection. This equipment
generates, uses, and can emit radio frequency energy and, if not installed and used in accordance with the
instructions, may cause harmful interference to radio communications. However, there is no guarantee
that interference will not occur in a particular installation. If this equipment does cause harmful
interference to radio or television reception, which can be determined by turning the equipment off and
on, the user is encouraged to try to correct the interference by one or more of the following measures:
• Reorient or relocate the receiving antenna.
• Increase the separation between the equipment and receiver.
• Connect the equipment into an outlet on a circuit different from that to which the receiver is connected.
• Consult the dealer or an experienced radio/TV technician for help.
2. For EU - CE compliance
This device complies with the EMC Directive 2004/108/EC and Low Voltage Directive 2006/95/EC.
Note: Shielded Ethernet cable must be used in order to comply with emission limits.
3. Safety notice
a) This device is to be used with Certified Power adaptor with output rated 5VDC, 3A for I4P-300-D
model and 5VDC, 2A for all other models. Power adapter must meet Limited power source (LPS)
requirements.
b) Power adapter must meet local safety standards and requirements based on product intended use.
c) Power adapter must meet Operating environment conditions as specified in section 4 above.
4. Disposal
Follow local regulations regarding disposal of the product. Dispose of your product in accordance with
local regulations. In some areas, the disposal of these items in household or business trash may be
prohibited. Help us protect the environment - recycle!
COPYRIGHT NOTICE
Copyright © 2014 SolidRun ltd | All rights reserved
 Loading...