

SolidDrive
INSTALLATION & USE GUIDE
for SolidDrive SD1sm to wood, laminate,
and composite surfaces
8005 W. 110th St., Suite 208 • Overland Park, KS 66210
TEL: 913-663-5600 • FAX: 913-663-3200 • www.SolidDrive.com
WARRANTY
SolidDrives, SolidDrive subwoofers, and A4 amplifiers are guaranteed for 7 years
from date of purchase. Any misuses or modifications to this equipment in any way will
void the warranty.
WARNING
Read instructions prior to operating. To reduce the risk of fire or electric shock, do not
expose this product to rain or moisture. Unplug prior to cleaning and clean with a
damp cloth. There are no user-serviceable parts in this product, please refer all
servicing to qualified personnel.
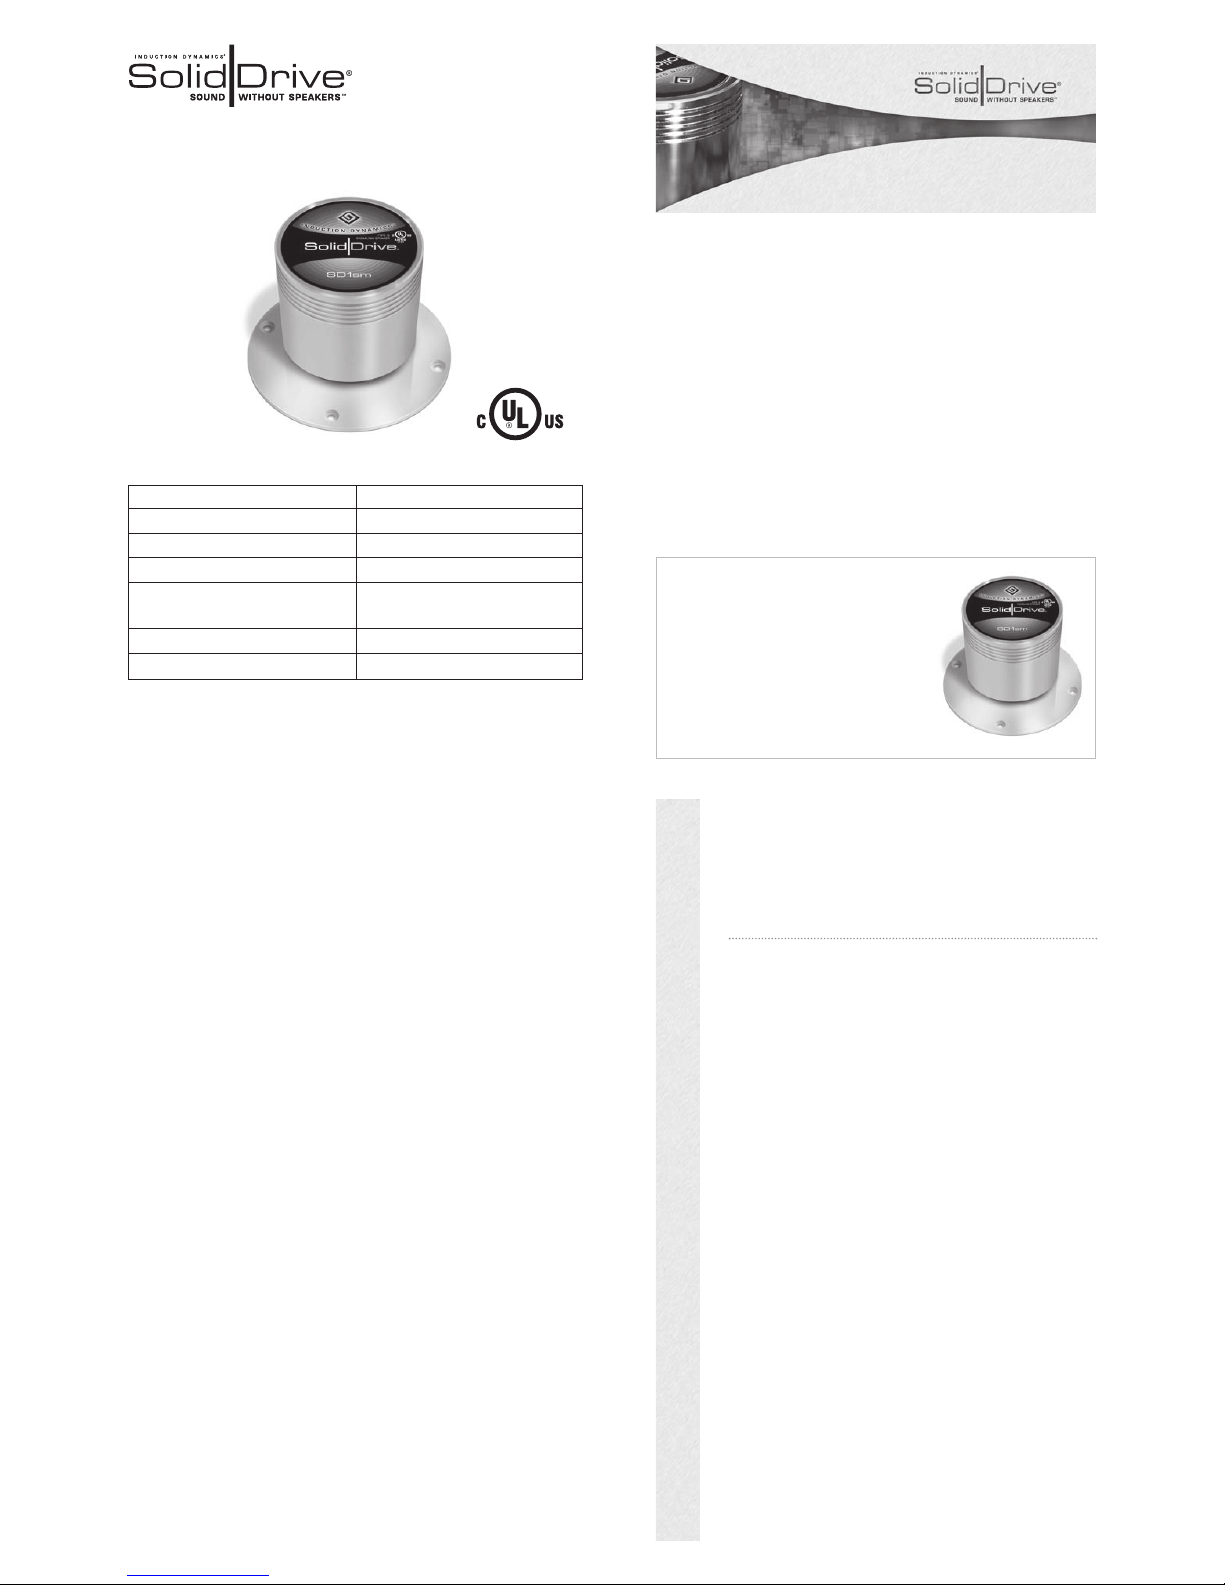
SolidDrive SD1sm Specifications
NOTE: When installed in Canada, this product must be installed in accordance
with the Canadian Electrical Code, C22.1, Part1.
Type
Impedance
Frequency Response (Hz)
Recommended Amplifier Power
Dimensions
Weight
UL Listing
Full Range Transducer
8 Ohm
70 Hz to 15 kHz
10 – 100 Watts
2.28'' Diameter x 2.08'' Height
Mounting Plate 3.5'' Diameter
1.2 lb / .54 kg
1480 & 2043
Experience Audio Perfection
Induction Dynamics extensive line of audio
products makes it easy to create the ultimate
audio system, regardless of installation
requirements. Induction Dynamics builds
these products with only the most select
components and materials; and utilizes
numerous unique and proven technologies.
INSTALLATION OF SOLIDDRIVE SD1G TO WOOD
SURFACES
By utilizing these basic installation steps, you can install the
SolidDrive SD1sm on wood, laminate, composites, and other
porous surfaces. The SD1sm is commonly used on desks,
conference tables, cabinetry, and other furniture.
GETTING STARTED WITH SOLIDDRIVE
What’s included with the SolidDrive SD1sm for
installation to wood surfaces —
A SolidDrive SD1sm consists of: One (1) SolidDrive SD1sm
unit and attached wiring harness with Eurostyle connector.
Installation requires four (4) wood screws up to #9 (supplied
by installer).
For wooden surfaces: The SolidDrive SD1sm is designed
with an oversized mounting base which is pre-drilled for
mounting to wood surfaces.
REV - 3 / 3 / 11

Figure 3
SolidDrive
SD1sm’s
wired in
series for
high output
installations
STEP 1
Mount the SolidDrive SD1sm to wood, laminate, and composite
surfaces
The SolidDrive SD1sm can be installed directly to wooden surfaces to deliver
high-quality sound. Even if your existing offices or conference rooms aren’t
wired for audio, the SolidDrive SD1sm provides a convenient solution and
installs underneath desks, counter tops and conference room tables so the
sound source is not visible.
The oversized mounting base on the SolidDrive SD1sm allows it to be screwed
directly to the underside of furniture. For maximum output each SolidDrive
channel should have available at least 20 square feet of surface area.
The SolidDrive SD1sm should be surface mounted with the oversized mounting
base facing the mounting area. The mounting base is the audio output side
oppos
ite the label. For surfaces made of wood, laminates, and composites the
SolidDrive SD1sm should be screwed directly to the surface.
Once you have determined where to mount the SolidDrive SD1sm use the
appropriate length wood screws to attach it securely to the surface.The best
mounting location is typically out of sight on the underside or back of desks,
counter tops, conference tables or other office/home furniture. Make sure to
install the SolidDrive SD1sm in a location where it will not be jostled or
bumped easily. For example, if installing the SolidDrive SD1sm on the
underside of a table, mount it in the middle away from where people’s legs
will be. The four pre-drilled mounting holes on the SolidDrive SD1sm oversized
mounting base will hold wood screws as large as #9.
Some installations may require that pilot holes be drilled into the surface material
due to it’s hardness especially if larger, course thread screws are used.
STEP 2
Make the electrical connections
Make the electrical connection between the SolidDrive SD1sm and the
speaker cable using the Eurostyle connector attached to the end of the
SolidDrive SD1sm audio cable. The polarity of the wiring is clearly indicated
(Figure 2). NOTE:When installed in Canada, this product must be
installed in accordance with the Canadian Electrical Code, C22.1,
Part1.
NOTE: If installing the SD1sm using the optional heat sink, slide it over
the SD1sm housing body and tighten with the included mini hex key.
DO NOT OVERTIGHTEN as this could strip the screw.
STEP 3
Equalize the SolidDrive SD1sm sound system
The surface material plays a key role in the system’s sound performance. To
ensure an optimal listening experience the installer MUST equalize the
SolidDrive SD1sm system. Equalization is accomplished by using the
optional SolidDrive Drywall Passive Equalization Module (not UL approved)
or using the auto equalization feature available on some receivers.
INSTALLATION NOW COMPLETE – ENJOY THE
SOLIDDRIVE SD1SM SOUND SYSTEM
Now that you’ve completed the installation process and equalization, you can
enjoy the audio perfection of the Induction Dynamics SolidDrive SD1sm
sound system.
HIGH OUTPUT INSTALLATIONS
For installations requiring high output, such as a large conference table or
other high output type application, two SolidDrive SD1sm’s should be used
for each of the high output channels (for example the left, right, and center
channels of a home theater or the left and right channels of a high output
stereo system). The two SD1sm’s should be wired in series for each of the
high output channels (Figure 3). For maximum output each SolidDrive
SD1sm should have at least 20 square feet of surface area.
HOW THE SOLIDDRIVE SD1G WORKS ON WOOD
With the SolidDrive SD1sm you can make any desk, conference table,
cabinetry, and other furniture into a speaker.
Figure 1
Mounting
the
SolidDrive
SD1sm to
a table
Figure 4
SolidDrive
SD1sm
making a
table into
a speaker
Figure 2
Eurostyle
connector
 Loading...