

Page 1
INSTALLATION INSTRUCTIONS
PORCELAIN TOP MOUNT BATHROOM SINKS
Page 2
CAUTION:
Risk of personal injury or product damage. Handle with care.
Product can break, chip, cause injury or product damage.
CAUTION
WARNING:
This product can expose you to chemicals, including lead, which is
known to the state of California to cause cancer and birth defects or
other reproductive harm.
For more information go to
p65warnings.ca.gov
IMPORTANT INFORMATION
Read these instructions carefully before you begin this installation.
Observe all applicable local plumbing and building codes.
Soleil Sinks recommends all sinks are installed by experienced and professional installers. To ensure safety and
damage-free installation, this sink should be installed by two people. Soleil Sinks reserves the right to revise the
design of products without notice.
BEFORE YOU BEGIN
Soleil Sinks recommends that all porcelain sinks be installed by an experienced, professional installer.
IMPORTANT: The enclosed cutout template is only for reference. It is recommended that you discuss with your
installer and agree that the finished appearance is the desired effect. Soleil Sinks is not responsible for improper
sink or countertop installations.
IMPORTANT: The cabinet must be installed, secured, plumb, and level. Failure of this step can lead to product
damage.
Soleil Sinks porcelain sinks should only be fastened to a solid surface countertop (i.e. granite, Corian® or
Silestone®).
Soleil Sinks is not responsible for sink or countertop if damaged during installation. Be sure to inspect the sink
for damage prior to beginning installation.
Follow all local plumbing and building codes.
Page 3
RECOMMENDED TOOLS
□ Tape Measure
□ Safety Glasses
□ Painter’s Tape
□ Level
□ Ear Protecon
□ Hacksaw/Jigsaw
□ Pencil (Not permanent marker)
□ Shims or Cabinet Fillers
□ Denatured Alcohol
□ Clamps
□ Construcon Adhesive
□ Silicone Adhesive Sealant
□ Support Framing Material (1 ¼” (32mm) Max Thickness)
□ Screws (recommended by countertop manufacturer)
PORCELAIN SINK INSTALLATION INSTRUCTIONS
STEP1: COUNTERTOP PREPARATION
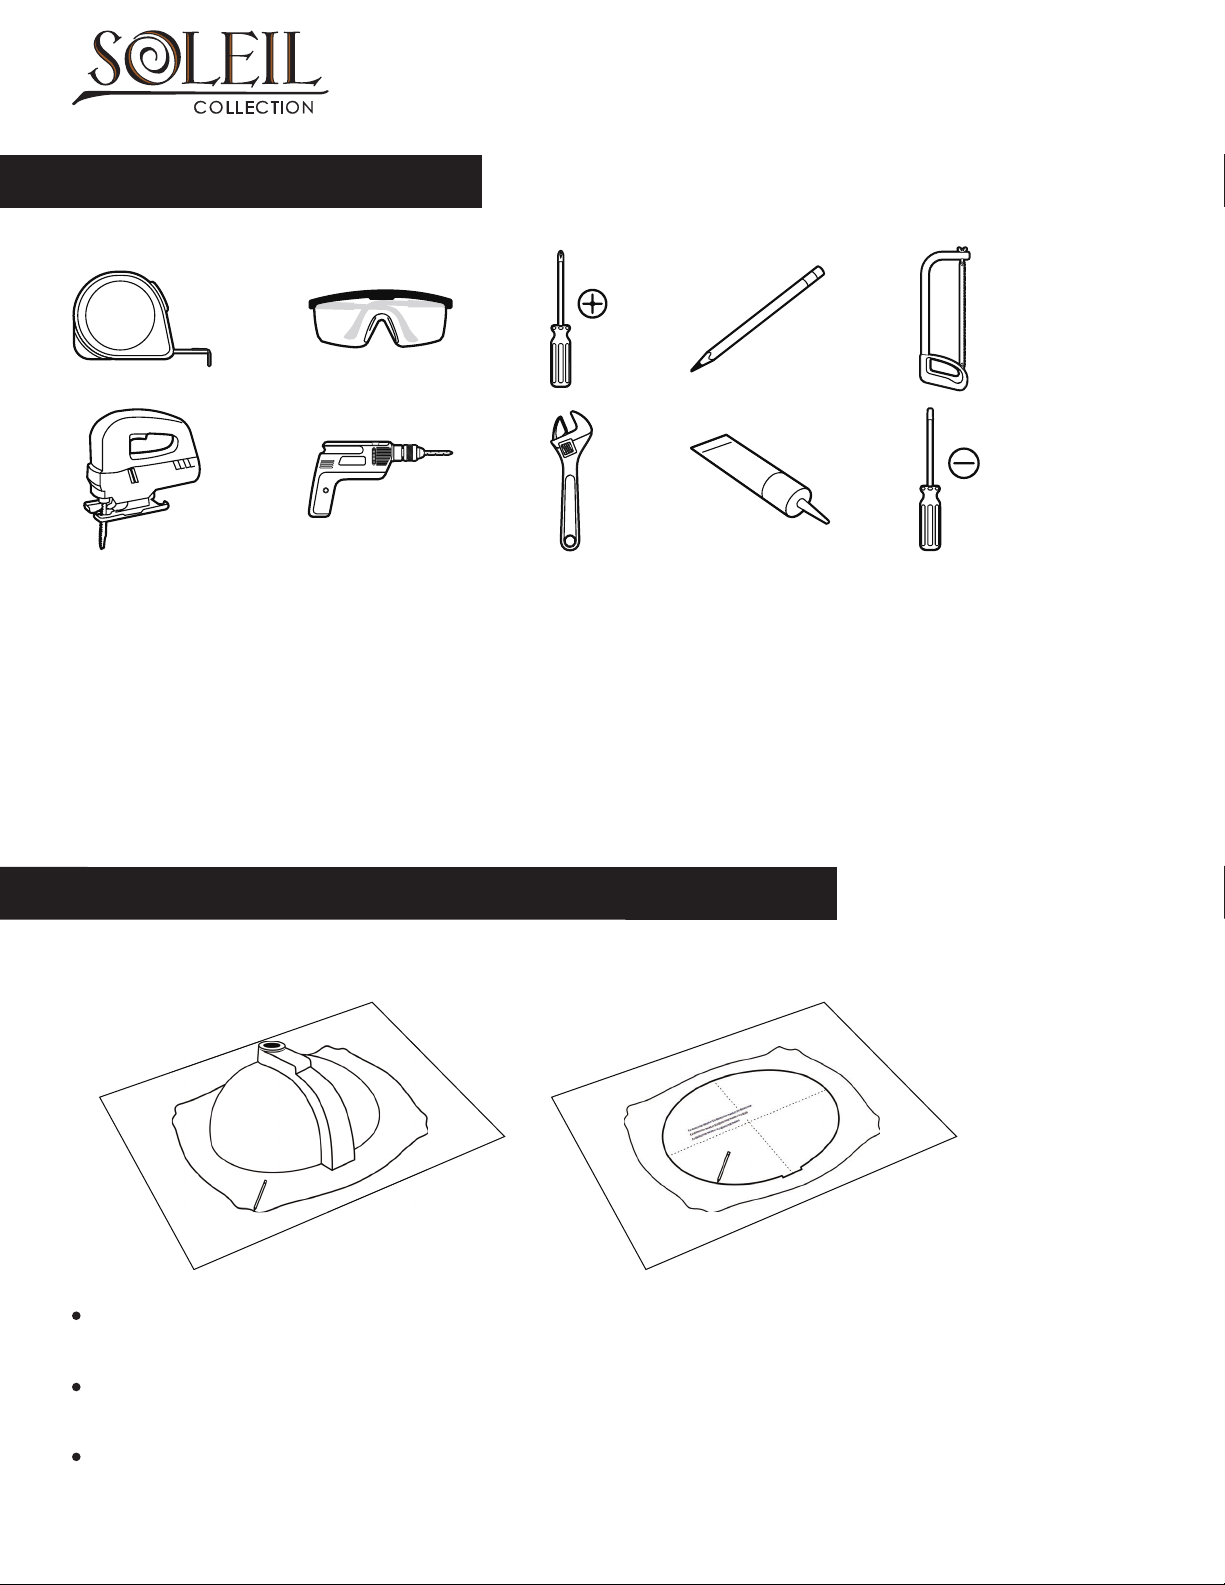
Unpack the new sink and check the contents of the materials supplied: sink, mounting
brackets and cutout template.
Place the sink upside down in desired position on the countertop and trace completely
around the edge of the sink.
Use the cutout template as reference. Posion it to the proper place that in
between the sink edge line and trace around the edge of the template.
Page 4
STEP2: SINK INSTALLATION
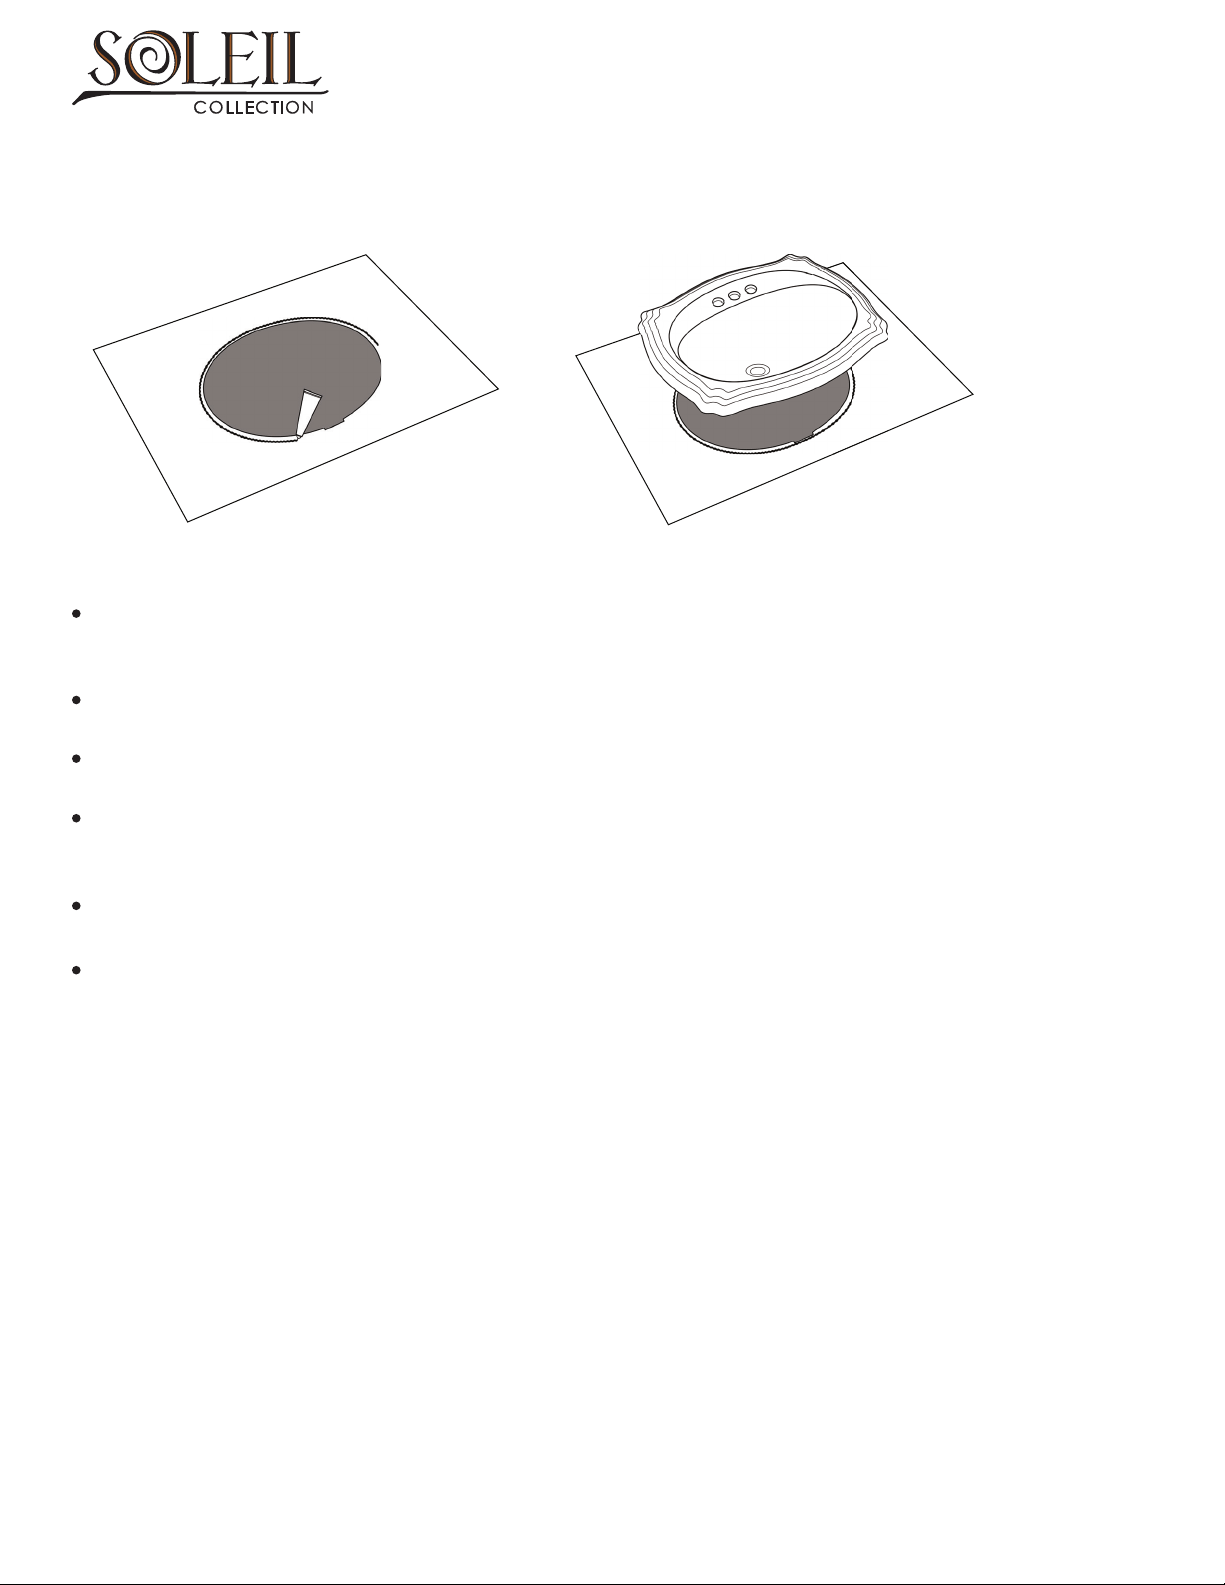
Drill a pilot hole in all four corners of the inside line. Use a saber saw or jig saw to cut on the inside line. (Note:
Place a support underneath the cutout poron of the countertop to prevent it from falling during cung.)
Apply silicone sealant (not included) around the cutout on the countertop surface.
Carefully lower the sink into the cutout in the countertop.
Posion and align sink over the countertop opening and press sink onto countertop. Turn the bent end of the
mounng bracket so that it ts snugly over the sink rim.
Check alignment of the sink again and ghten fasteners to secure the sink.
Wipe away any excess sealant with a rag. (Note: It is recommended that keep sealant dry for several hours
before install the drain and other supplement in case of moving the sink.)
Copyright ©2021. All rights reserved
 Loading...