

Page 1
Quick Start Guide
Socket® Go Wi-Fi!™
Versions E300, E500, P300 and P500
Featuring Socket Wi-Fi® Companion Software
© 2006-2007 Socket Communications, Inc. All rights reserved. Reproduction of the contents of this manual without the
permission of Socket Communications, Inc. is expressly prohibited. Socket Communications, Socket, Go Wi-Fi!, and Wi-Fi
Companion are registered trademarks or trademarks of Socket Communications, Inc. Wi-Fi is a registered trademark of the
Wi-Fi Alliance. All other brand and prod uct names are trademarks of their respective holders.
INTRODUCTION
Thank you for purchasing Socket Go Wi-Fi! If your Pocket PC doesn’t have built-in
Wi-Fi, Socket Go Wi-Fi! is the perfect tool to connect to enterprise and public Wi-Fi
systems to access email, the Internet, and corporate servers.You can also use the card
to create peer-to-peer networks, connect to other Wi-Fi users, and share files.
Available in both Secure Digital (SD) and CompactFlash
(CF) form factors, Socket Go Wi-Fi! uses Direct Sequence
Spread Spectrum technology to provide a high-capacity
network and is Wi-Fi Certified to interoperate with other WiFi products. The E300 and E500 conform to IEEE 802.11b
specifications with data rates up to 11 Mbps. The P300 and
P500 comply with IEEE 802.11b/g specifications with data
rates up to 54 Mbps.
The cards work with these types of WLAN security:
• Open systems
• 40/64-bit or 128-bit WEP encryption
• 802.1x with EAP-TLS or PEAP
• WPA and WPA-PSK
(Windows Mobile 2003SE and 5.0 only)
Go Wi-Fi! P300 and P500 also support AES and WPA2-Enterprise. Juniper Networks
Odyssey Client is required: www.juniper.net/customers/support/products/oac.jsp
Socket Wi-Fi
®
Companion
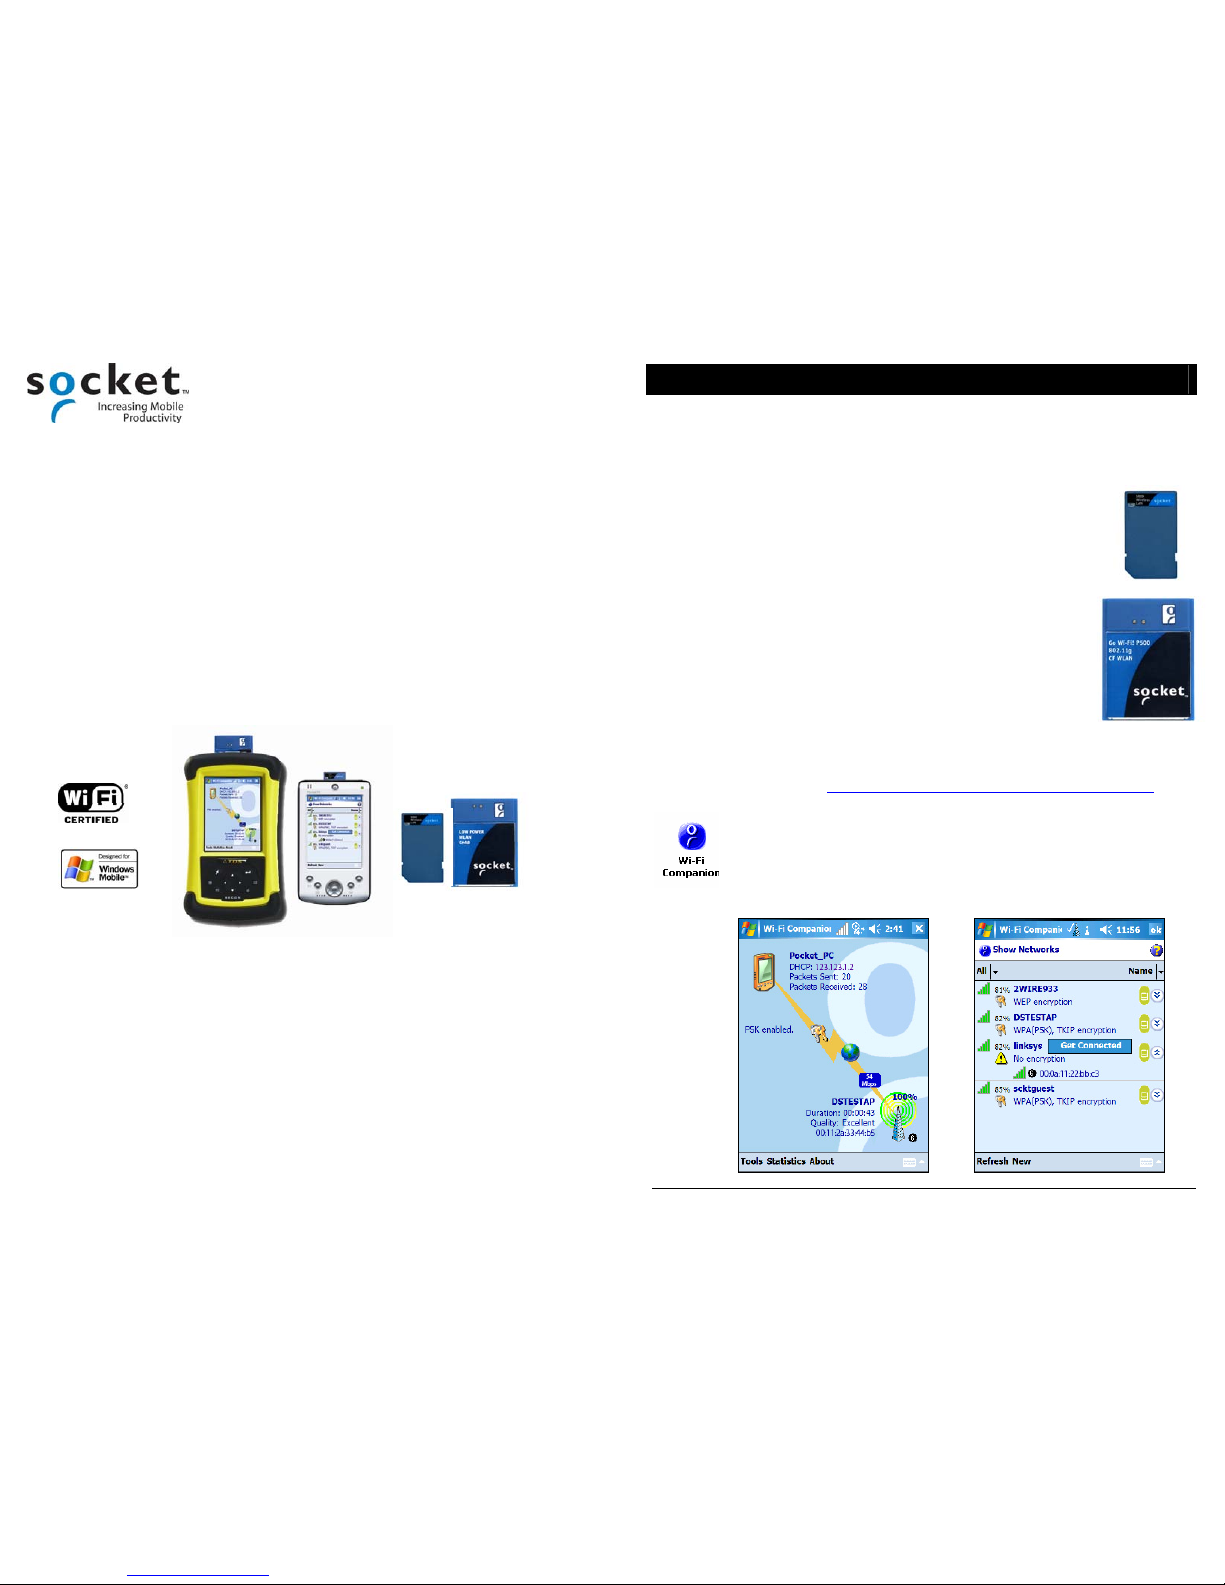
Socket Wi-Fi Companion is an intuitive and graphical utility designed to
complement the Socket Go Wi-Fi! cards. Find WLANs in range and
view their properties. Connect when your favorite networks are available.
Manage power settings. Diagnostic tools and statistics are also provided.
SD
CF
Page 2
3
System Requirements
Minimum device requirements for E300 or P300 (SD cards):
• Pocket PC running Windows Mobile 2003, 2003SE or 5.0
• Available SDIO slot
• For Windows Mobile 2003/2003SE, SDIO Now! software from BSQUARE in ROM
• Software installation via ActiveSync requires ActiveSync 4.0 or greater.
Alternatively, advanced users can install a CAB file.
Minimum device requirements for E500 or P500 (CF cards):
• Pocket PC running Windows Mobile 2003, 2003SE or 5.0
• Available CF or PC Card slot (PC Card adapter required for PC slot)
• Software installation via ActiveSync requires ActiveSync 4.0 or greater.
Alternatively, advanced users can install a CAB file.
• The E500 only connects to access points or radios that use long preamble. Every
802.11b/g access point supports long preamble, and most use it by default.
Additional Documentation
This guide only provides basic setup instructions. For more detailed instructions,
including instructions on using the Socket certificate utility for AES, WPA and 802.1x
networks, refer to the User’s Guide in the installation CD. Software and manuals are
also available online at: www.socketcom.com/support/support_wlan.asp
Product Registration
Socket highly recommends that all customers register their Socket products.
Registered users receive the following benefits:
• Priority for technical support
• Special offers for future products and product upgrades
• The latest new product information.
Register at: www.socketcom.com/prodreg
Technical Support
Socket Online Support (SOS): This interactive program provides
immediate service and is the best place to start for technical support.
To access SOS, please visit: www.socketcom.com/support
. Click on
the SOS icon.
Live Technical Support
: Register your product at www.socketcom.com/prodreg.
Afterwards, log in. Click on the Technical Support tab. Click Trouble Ticket to submit
an online request for support. You can log in anytime to check the status of your
request.
Product Disposal
Your device should not be placed in municipal waste. Please check local
regulations for disposal of electronic products.
4
SETUP FOR POCKET PCS
Setup Summary
STEP 1: Install the software.
STEP 2: Insert Go Wi-Fi! into your Pocket PC.
STEP 3: Start Wi-Fi Companion.
STEP 4: Find a WLAN and create a profile.
STEP 5: Connect automatically to your network.
Note: Socket does not recommend using Shared
authentication due to its inherent insecurity.
STEP 1: Install the Software
The Socket Go Wi-Fi! software includes two components, which must be installed
separately: the card drivers and Socket Wi-Fi Companion.
1. If your Pocket PC already has an older version of Socket WLAN software, you must
remove it before you install the new software. Remove the utility and card drivers.
• Make sure the WLAN card is not in the Pocket PC.
• Tap Start | Settings | System tab | Remove Programs.
• Select the WLAN card drivers and tap Remove.
• Repeat to remove the WLAN utility.
• Soft reset the Pocket PC by pressing the reset button.
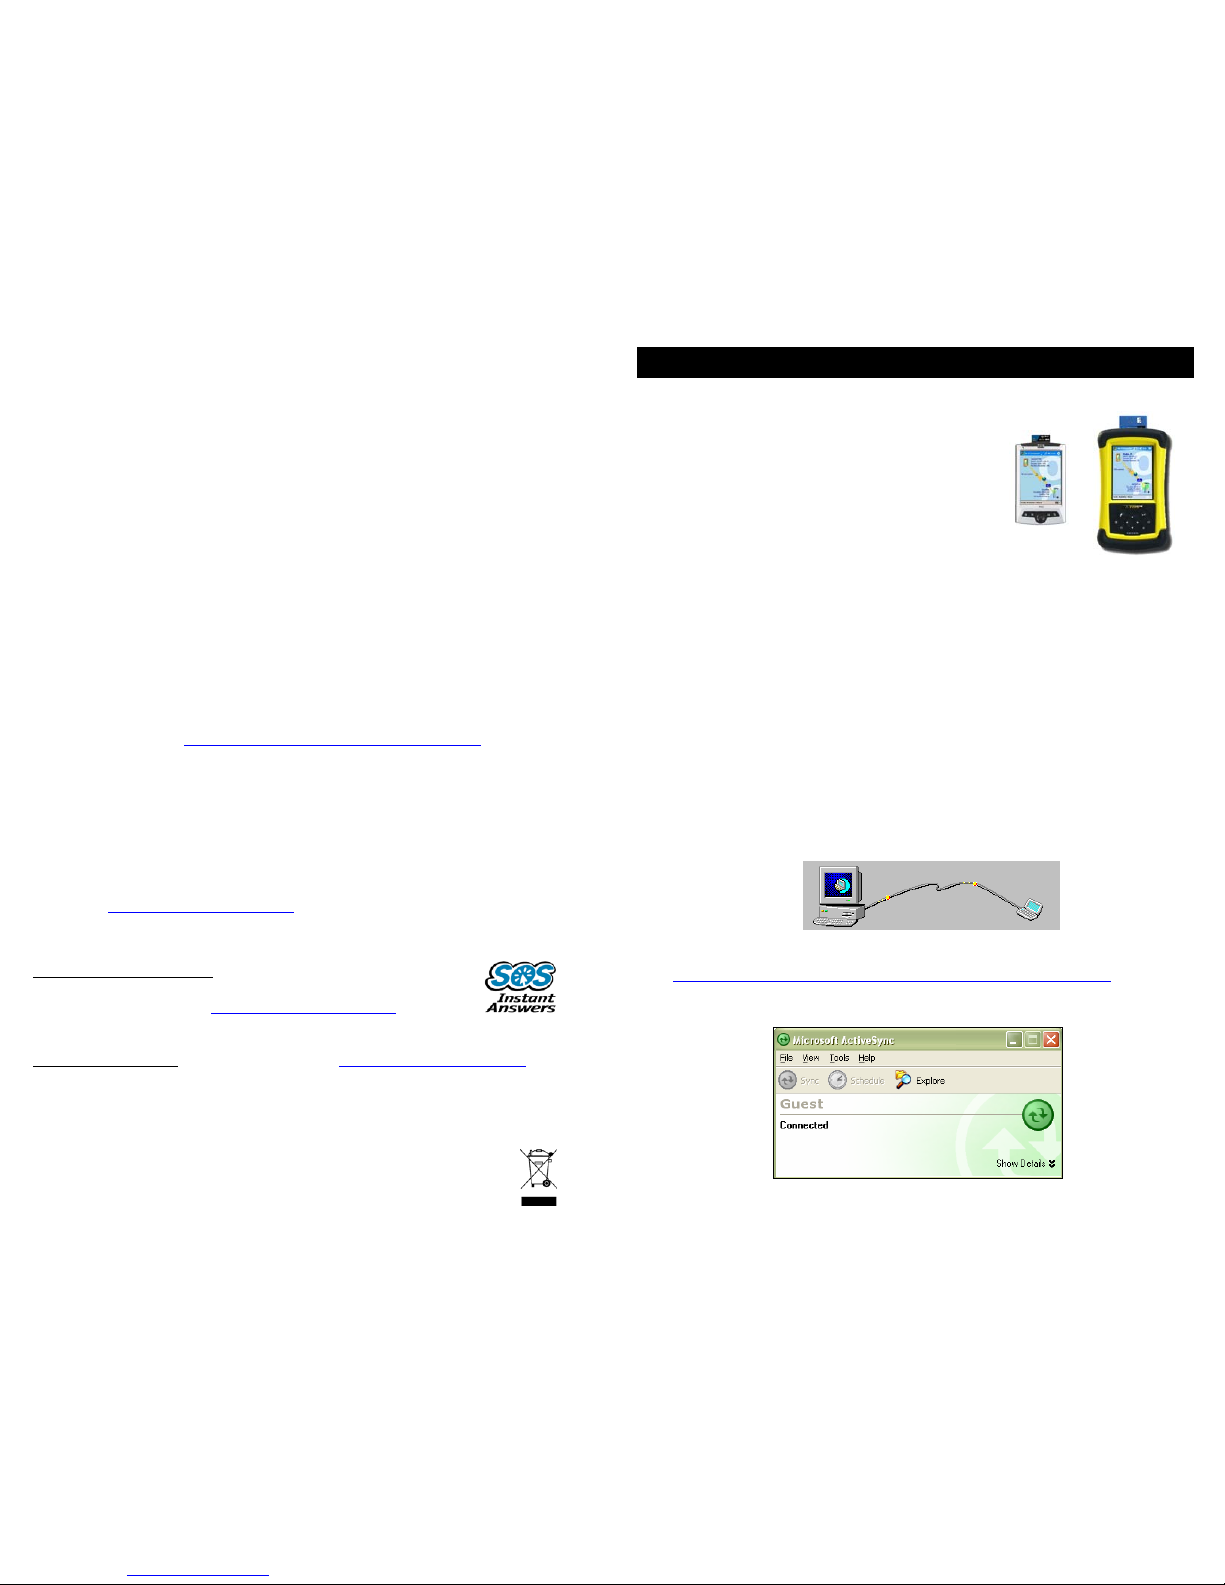
2. Make an active connection between your Pocket PC and a host PC. Use ActiveSync
and a serial/USB/Ethernet connection cable or cradle.
Make sure you have ActiveSync 4.0 or greater. Download it free online from:
msdn.microsoft.com/mobility/windowsmobile/downloads/default.aspx
ActiveSync should report Connected, and the ActiveSync icon should turn green.
Note: For CAB file installation instructions, refer to the README file on the CD.
Page 3

5
3. Insert the installation CD into the CD-ROM drive of the host PC.
4. Use My Computer or Windows Explorer to access your CD-ROM drive.
5. In the CD contents, click on the correct DriverSetup.exe file for your version of
Socket Go Wi-Fi!
6. The InstallShield wizard will begin. Follow the wizard to install the software.
7. After installing the appropriate card drivers, install Wi-Fi Companion. Return to the
CD contents and click on WIFISoftwareSetup.exe. Follow the wizard to install the
software
8. After installing Wi-Fi Companion, disconnect your Pocket PC from the host PC.
9. Soft reset your Pocket PC by pressing the reset button.
Note: Software registration is not required to use Socket Wi-Fi Companion software
with a Socket Go Wi-Fi! card.
6
STEP 2: Insert the Socket Go Wi-Fi! Card into Your Pocket PC
Insert the Socket Go Wi-Fi! card into your Pocket PC. In most cases, the card should be
inserted right-side up. Do not use excessive force, or damage may occur.
Note: To remove an SD card, press it into the slot. A spring will push the card out. Do
not remove by simply pulling, or damage may occur.
Status Indicator LEDs
E300/P300 Link LED
LED LED Behavior Meaning
Off Radio disabled/cannot transmit.
Slow flash Radio on, not connected.
Link
On Connected
E500 LEDs
LED LED Behavior Meaning
Off Radio disabled/cannot transmit.
Flashing Radio on, using Power Save Mode
Power
Green
On Radio on, not using Power Save Mode
Off Radio disabled/cannot transmit.
Slow flash Radio on, no data traffic.
Activity
Amber
Rapid flash
Connected. Faster flash denotes
greater network activity.
P500 LEDs:
LED LED Behavior Meaning
Off Card power off
Power
Green
On Card power on.
Off Not connected.
Flashing Transmitting/receiving data.
Activity
Blue
On
Connected.
Page 4

7
STEP 3: Start Wi-Fi Companion
1. After you insert the card into your Pocket PC, Wi-Fi
Companion will automatically launch, indicated by the
Socket status icon at the top of the screen. Tap on the icon.
The icon varies depending on your connection status.
Windows Mobile 5.0: You can also tap Notification at the
bottom of the screen to access the Wi-Fi Companion
main screen.
Alternatively, start the program by manually tapping:
Start | Programs | Wi-Fi Companion.
Note: Icons for Wi-Fi Ping and Wi-Fi TraceRoute will
also appear.
2. The main screen of Wi-Fi Companion will appear.
Socket status icon,
search mode.
8
STEP 4: Find a WLAN and Create a Profile
Ask your network administrator for the necessary security settings. If your WLAN uses
802.1x, WPA or AES, you need to install authentication certificate(s). Refer to the
User’s Guide for instructions.
1. In the main screen of Wi-Fi Companion, tap on the large tower icon.
2. Wi-Fi Finder will appear, listing WLANs detected in range. Tap on
any WLAN in the list to view additional properties.
Signal strength of strongest
AP/ad hoc radio
Channel number
WEP encryption, WPA (PSK),
WPA (TKIP) or 802.1x
Profile saved
No encryption
802.11b, 802.11g
If desired, tap on the Type or Sort by drop-down menus to
change how the list is displayed. By default, All types are
displayed, sorted by Name. If your WLAN is not listed, tap
Refresh.
3. If Wi-Fi Finder cannot find your WLAN because its SSID
is hidden, tap New to create a new profile for your network.
4. If your WLAN has a profile (indicated by a folder icon),
Wi-Fi Companion may have already connected to it,
indicated by a tower icon with a green burst on top.
To connect to a WLAN with a profile, tap and hold your
stylus on the WLAN in the list. In the menu, tap Connect.
5. If your WLAN does not
have a profile (no folder icon), tap
and hold your stylus on the WLAN in the list, then tap Get
connected to create a profile for the selected SSID.
Tap to filter the
list by type.
Tap to sort the list.
Current
connection.
Tap on the MAC
address line to view
AP Details.
Tap on any listing to
expand details.
Tap and hold stylus
on any listing to
manage profiles
and/or connect.
Page 5

9
STEP 5: Connect Automatically to Your Network
1. After you enter the settings and tap ok, your device will automatically
try to connect. You may see the Socket status icon at the top of your
screen change from “networks available” to “networks out of range but
configured.”
2. When your Pocket PC has connected, the following will occur:
• The Socket status icon will change to 1-5 bars.
• The “x” will vanish from the connection icon.
• In Wi-Fi Finder, the WLAN will appear first in the list, showing a
signal tower with a green burst on top.
Note: After you save a profile for a WLAN, Wi-Fi Companion will
automatically try to connect to it whenever you insert the WLAN card.
3. Tap ok to return to the main screen of Wi-Fi Companion.
The screen content varies depending on your connection status.
Socket Status Icons
Associated or Connected.
Number of bars indicates
signal strength.
Searching for networks.
Networks available.
Networks out of range but
configured.
Your device properties.
• Device name
• IP address
• Packets transferred
The device icon always
appears regardless
of connection status.
Tap to view more
IP addresses.
Encryption status.
Tap to access a
certificate management
utility for WPA or 802.1x
if needed.
Data rate.
Tap to view signal
strength and data
rate distribution.
Socket status icon. Tap to access
this screen from outside the utility.
Access point/remote device properties.
• SSID
• Connection duration
• Signal quality rating and percentage
• MAC address (also known as BSSID)
• Channel number (in black circle)
Tap for Wi-Fi Finder.
}
Internet ready.
Tap to access email,
the Internet, ping or
trace route. Icon
appears only when
Internet access is
ready.
10
WI-FI COMPANION SPECIAL FEATURES
Power Save
Wi-Fi Companion’s Power Save utility allows both automatic and manual adjustment
of the Go Wi-Fi! power settings.
1. In the main screen of Wi-Fi Companion,
tap Tools | Power save.
2. The Power Save utility will appear.
If desired, check Manage the radio power automatically
for automatic power management. Wi-Fi Companion
will enable best performance when charging and best
power savings when running on batteries.
Otherwise, uncheck the box and use the slider to
manually choose your power setting.
3. Tap ok.
Statistical Graphs and Tables
Graphs and tables display information about your connection, including data rate
distribution, signal properties, error counts, and more.
1. In the main screen of Wi-Fi Companion, tap Statistics,
then select Rates, Graphs or Tables.
To view the Rates, you an also tap on the Data Rate
icon.
2. A graph or table will appear, showing statistical
information.
00:a1:b2:33:cd:ef
Page 6

11
Ping
Use Ping to perform an ICMP ping to another address on the network. Ping is useful to
verify Layer 3 connectivity to another network node. In continuous mode, it can be
used as a site survey tool to find dead spots or the edge of WLAN range.
1.
In the main screen, tap on the globe icon and in the
menu, tap Ping.
Alternatively, you can tap Tools | Utilities | Ping.
2. Tap Tools | Configure. Enter the settings:
• Address: Enter a target address in the form of an IP
address or a URL that can be resolved by a DNS.
• Size: Select a size, 32-65550 bytes.
• Content: Select the packet payload data: either All 00,
All FF (hex), or Random.
• Repeat: Select a repeat number of pings, from 5 to a
maximum of Continuous.
• Verify Data: Select either Yes or No.
• Tap ok.
3. In the main Ping screen, tap Start. The ping test will
begin. For each good ping, the Roundtrip Time (RTT) is
shown. A line graph displays the RTTs for the last 24
pings. If a ping is not successful in 2 seconds, a timeout
is displayed.
4. To stop the test, tap Stop. Statistics are shown.
5. Tap Tools | Exit to close the utility.
© Socket Communications, Inc. 4/2006 Printed in U.S.A.
Trace Route
The Trace Route tool traces a packet from the Pocket PC to an Internet host,
showing each hop and how long it takes to reach the destination. This helps you
locate the longest delays if performance seems slow.
1. In the main screen, tap on the globe icon and in the
menu, tap Trace Route; or tap Tools | Utilities |
Trace Route.
2. In the next screen, tap Tools | Configure. Enter the
appropriate settings:
• Address: Enter a target address in the form of an IP
address or a URL that can be resolved by a DNS.
• Max hops: Select the maximum hop number
• Resolve IP: Indicate whether you want to resolve the
IP address from a URL.
• Tap ok.
3. In the main Trace Route screen, tap Start. The Trace
Route test will begin. For each good hop, the hop time,
host name and IP address are shown. Tap Stop to stop
the trace at any time, or let the trace run until it is
complete.
4. When the trace is complete, statistics are reported. Tap
ok to close the box. To view the full host name for any
of the hops, tap on the hop in the list. Tap Tools | Exit to
close the utility.
 Loading...