


EJ-600/EJ-1200
Model: EJ
Precision Balances
EJ02SR
Operating Manual
You have purchased a quality precision weighing instrument that requires handling with care.
Read entire contents of this Operating Manual prior to operating your new instrument.
Disclaimer Notice
Calibrate your instrument using reference weights of the appropriate tolerance (class).
An instrument can be no more accurate than the standard to which it has been compared.
For assistance in the selection of reference weights, please contact the factory.
Caution: Changes or modifications not expressly approved by the manufacturer
could void the user's authority to operate this equipment.
Introduction
Thank you for choosing one of our instruments. Your instrument is designed and
manufactured to the most rigorous standards in order to give you years of service.
First, check the contents of the shipping carton. You should find the following :
* Manual * Instrument * AC Adapter
Next, follow the instructions for installing your instrument.
Now you are ready to begin using your instrument. To take advantage of its many features,
carefully read your operating manual.
It contains step-by-step procedures, examples, and other vital information.
Warning: Use of this product in a manner not specified by the manufacturer may impair any
safety protection provided by the equipment!
1
10
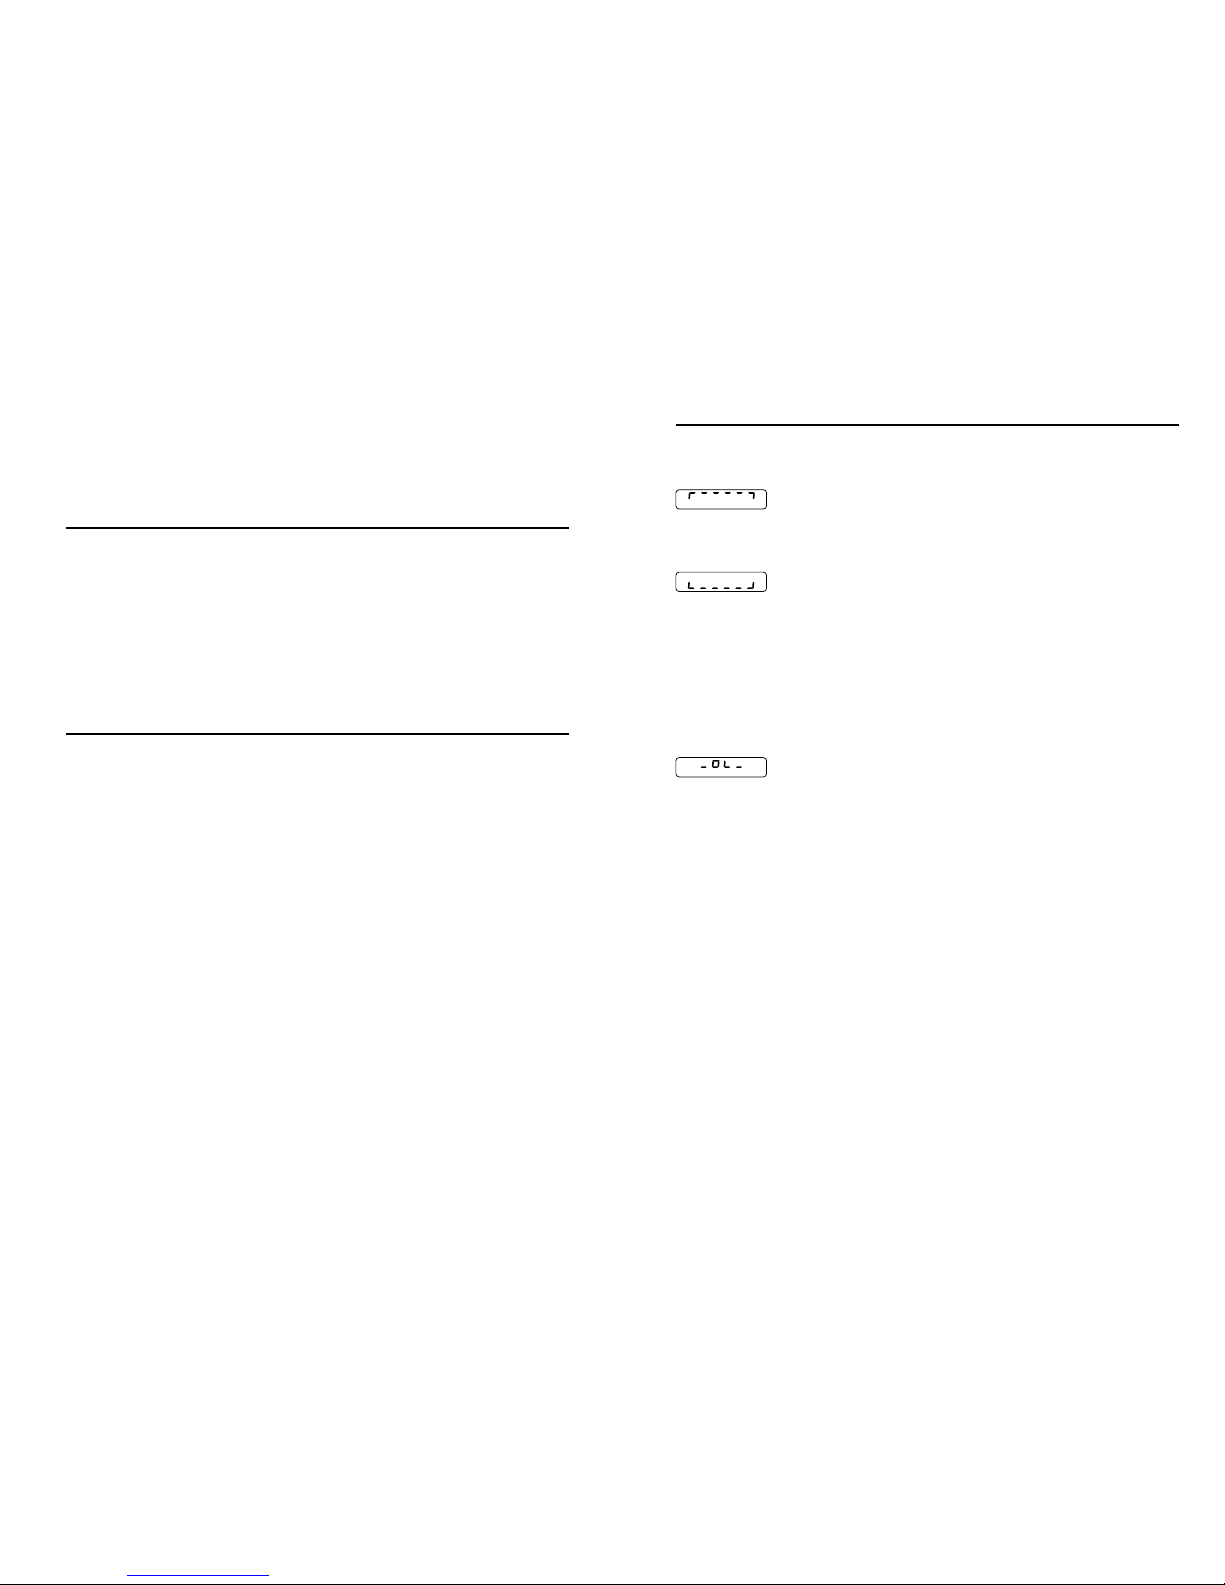
Error message
Symptom Cause Solution
Over load :
* Weighing range exceed > Unload scale or reduce preload
Under load :
* Weighing pan not in place > Ensure the weighing pan is correctly
installed and surrounding parts are
not touching
* Weighing range zero below > Set scale to zero
* Contact between weighing > Apply pre-load
Zeroing not possible :
* Zeroing outside the zero > Ensure that zeroing is performed
setting range in the admissible range
( 20% of Cap.)

Specifications
Common Specifications : Unit dimensions ( L x W x H ) 211 x 185 x 59 mm.
Net Weight : 1.7 kg.
Electrical Requirements : 9V/500mA, AC adapter included.
Installation
Remove balance and accessories from the carton.
Save packing material for transportation purposes.
* If using the AC adapter, insert power cord into the receptacle located on the side panel
of the balance (behind On/Off switch). Firmly push in the plug.
* Allow the balance to warm up for 30 minutes prior to use.
* Your balance features a numeric display that continuously shows your weighing results.
Model EJ-600 EJ-1200
Range 600g 1200g
Readability 0.01g 0.02g
Linearity +/-0.01g +/-0.02g
Pan size f120 f120
Preparation
This product is intended for indoor use.
* Select a suitable work area.
* Work area should be relatively free from drafts and vibrations.
* Work surface should be level and rigid.
* Do not locate near magnetic materials or equipment/instruments which use magnets in
their design.
* Avoid areas which have variations in room temperatures or have excessive room
Instrument operation and accuracy.
temperatures. Room temperatures above 40 or below 15 could be affect
2
9
RS232C Specifications
A. Specification :
B. Data format :
Baud rate : 2400 / 9600
Parity : none
Data bit : 8
Stop bit : 1
1
0
0 1 2 3 4 5 6 7
LSB MSB
^ ^
Start bit Stop bit
no. 1 2 3 4 5 6 7 8 9 10
SP/- X X X X X X X CR LF
C. Connections : ( DB-09 male )
Pin no. 2 5 others
TXD GND NC

HIOKLO
R1
R2
R3
0
NET
g
GN
ct
dwt
mm
lb
%
oz
tl
J
H
M
A
SAMPLE
PRINT
On/ZER O
TAREMODE
Off
CHARGE
Outline descriptions
1. Turns balance On.
2. Captures a new center of zero.
Reduce gross weight on pan as tare weight.
1. Long press for selecting various units of weight.
1. Short press for parts counting and percentage weighing.
2. Short press to toggle switch for display total weight,
quantity or percentage.
Print out.
Function keys
Weighing Pan
Leveling Adjust
Adaptor Port
AC
Numeric Display
Function
SAMP LE
PRINT
On/ZE RO
TARE
MODE
Off
Turns balance Off.
3
8
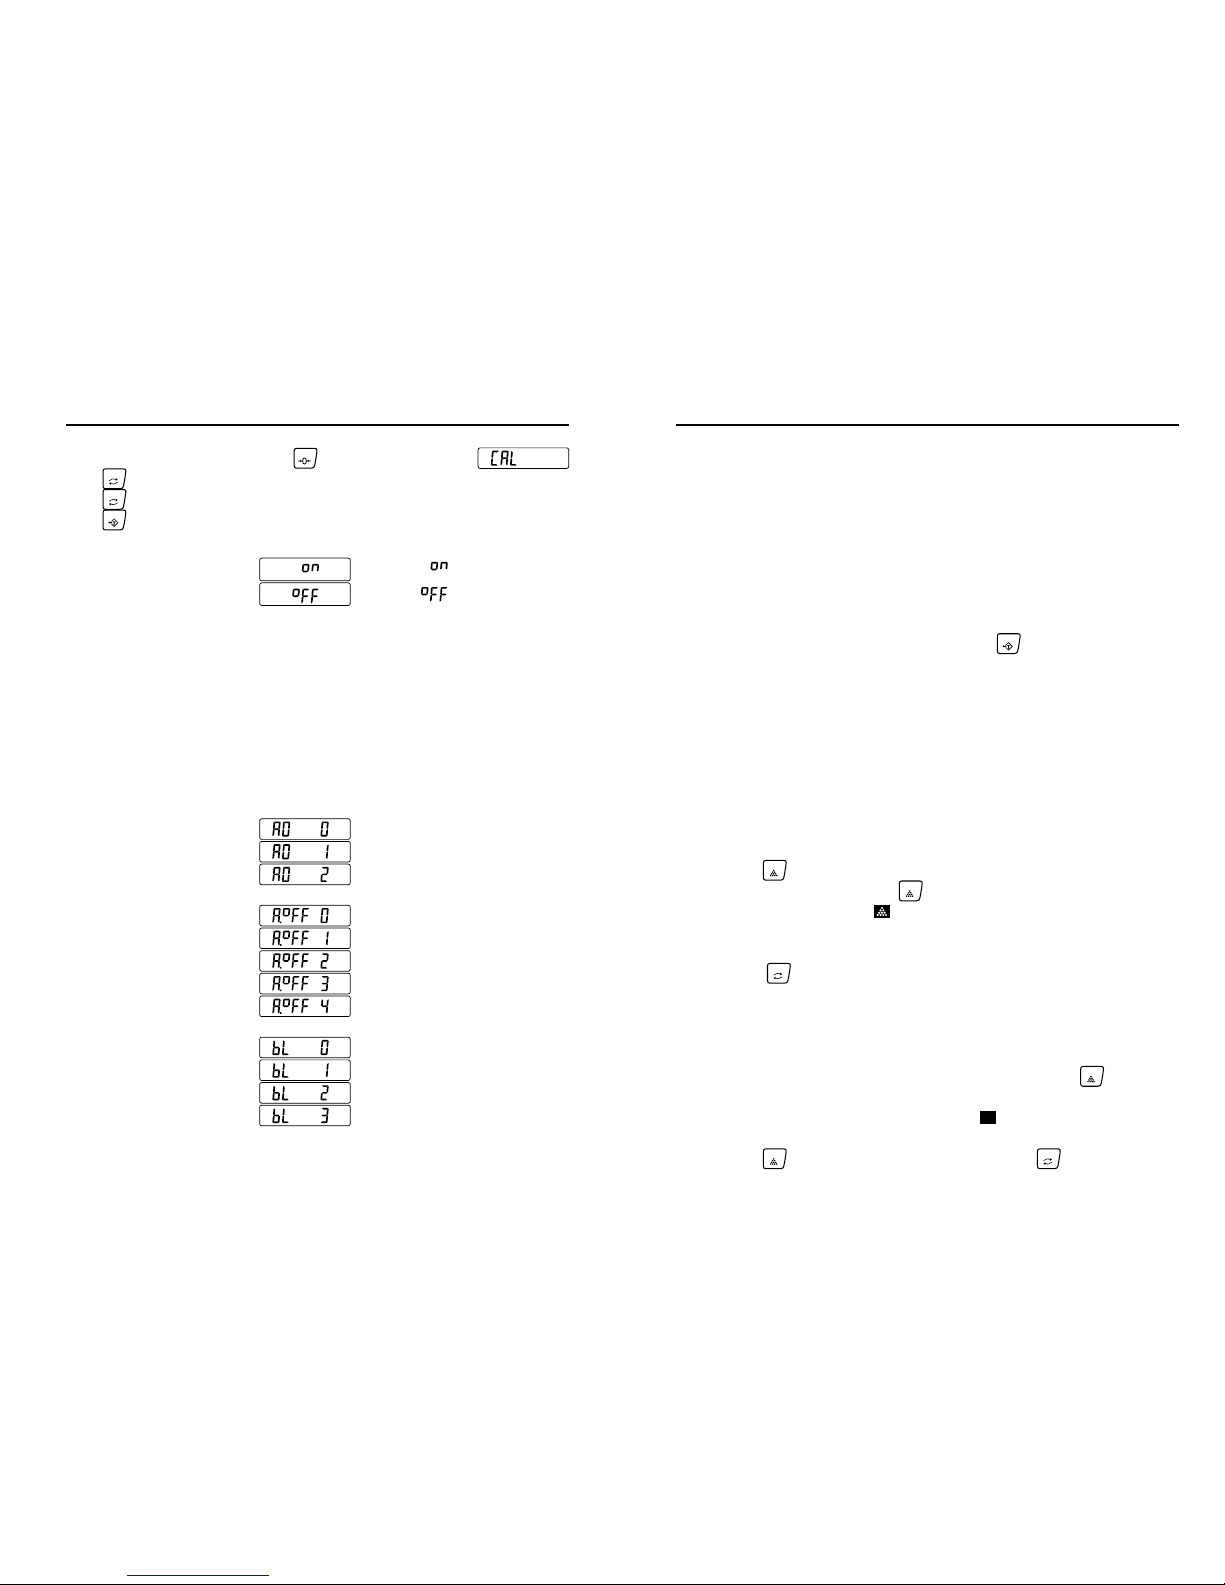
Calibration
The window display:
PRINT
2. Long press the key around 5 seconds.
The calibration process will run step by step automatically.
a._ The setting weight value appears.
b._ Put on the Calibration weights on the pan.
1. Keep empty on the pan.
3. If the different weight is used for this calibration,
The displayed weight should be within the range of Calibration weights +/- 0.05% of Max.
The error message appears and the balance
4. Check the weight and retry the weight calibration.
Then weight calibration can be work.
g._ The weight calibration to be done.
e._ Unloading Calibration weights on the pan.
d._ Span calibrate done and go Zero calibration.
c._ Span calibrating.
f._ Zero calibrating.
returns to weight display.
0
g
0
g
0
g
E. Print out
Manual
Auto
F. Baud rate
2400
9600
Off
G. Cal. Weight setting
Calibrate done
Programme
200 g
1200 g
.
.
.
.
2. Long press for comparison mode setting.
4
7
Operation
Your new balance weighs in different units and can perform parts counting and percent
of weight functions.
A. Taring ( Zeroing )
All models have taring ( zeroing ) capabilities up to their total weight capacity.
To weigh a sample in it's container with the display showing the weight of the
1. Place sample container on pan and then press the .
2. Now place sample in it's container.
3. When the balance is stable, the display shows the weight of the sample.
B. Counting Function
1. Count the desired amount sample pieces (10, 20, 50, 100, or 200 total pieces )
and place on the pan.
2. Press the to display total count numbers of 10, 20, 50, 100, or 200.
This number will cycle, press the again to select sample size once
it is displayed. And an icon " " will be displayed.
3. You are now ready to perform parts counting of those specific pieces.
Press the for the total weight.
Repeat step 1 through 3 for each type of piece to be counted.
C. Percentage Function
1. Count the desired sample pieces and place on the pan, press the .
2. When the display shows " 100.0 ", and an icon " " will be displayed.
3. Press the If you want to know total weight, press the .
sample use the following Tare procedure.
SAMPLE
MODE
TARE
SAMPLE
SAMPLE
SAMPLE
MODE
%
Programme
Press key repeatedly to cycle through different weigh modes available.
Press key for parameter selecting. When desired mode appears,
Press key for setting. The programme sequence as follows:
Press and hold any key and then press , and display shows
On/ZERO
MODE
MODE
TARE
A. Weighing Units
B. Auto zero
C. Sleep mode
Off
5 minutes after
10 minutes after
20 minutes after
30 minutes after
D. Backlit
Off
: Disable
: Enable
Gram
Tael(HK)
Oz(av)
Troy oz
Penny weight
Carat
Grain
Tola(Anna)
+/- 1d
+/- 2d
g
lb
oz
oz
t
tl
tl
H
dwt
GN
ct
mm
Pound(av)
Tael(TW)
Tael(HK-Jewelry)
Tola(Masha)
tl
A
tl
M
tl
J
H
Momme
g
GN
ct
dwt
mm
lb
oz
tl
J
H
M
A
g
GN
ct
dwt
mm
lb
oz
tl
J
H
M
A
Auto lighting while loading.
Active lighting
Off
Auto lighting when the weight
value changed or any key
operation is done.
Auto turn off when the weight
data becomes and stays
stable for some moment.

5
6
Off
Hi-Lo setting
Compares all data
Beep sounds
setting at HI
Off
Long sounds bi--bi--bi--
Short sounds bi.bi.bi....
Beep sounds
setting at LO
Short sounds bi.bi.bi....
Off
Long sounds bi--bi--bi--
Long sounds bi--bi--bi--
Beep sounds
setting at OK
Off
Short sounds bi.bi.bi....
TARE
Long press key around 5 seconds and entering progamme sequence.
SAMPLE
Press key to exit programming and restarting the balance.
>> >> >> > >
>> >> >> > >
and to select the digit blinking to change.
SAMPLE
Press key to set the value of the digit selected.
Press key to store the value, appears and proceed to the next step.
MODE
PRINT
TARE
Press key to cancel the value and proceed to the next step.
Hi
>> >> >> > >
Press key repeatedly to cycle through different modes available,
Compares all stable data
Programme
Operation
D. Comparator (Hi/Lo) Function
Lo
>> >> >> > >
1.
2.
3.
4.
The results of the comparison are indicated by HI, OK or LO on the display.
The comparison is as follows:
The upper limit and lower limit numerical values are common to each of the
WEIGHING, COUNTING and PERCENT mode. The example as follows.
Upper limit value “ 002010 ”: “ 20.10 g ” “ 2010 pcs ” “ 201.0% ”
Lower limit value “ 000660 ”: “ 6.60 g ” “ 660 pcs ” “ 66.0% ”
LO < Lower limit value OK Upper limit value < HI
≦≦ ≦≦
Selecting a comparison mode
1. Press and hold key to display
2. Press the key, then the balance displays
( If the comparison mode is already set, press the key
to go to “ Entering the upper and lower limit values”. )
SAMPLE
PRINT
3. Press the key several times to display
MODE
4. Press the key to store the settings.
PRINT
SAMPLE
Entering the upper and lower limit values
5. With displayed. Press the key.
7. Press the key to return to weighing mode.
PRINT
Hi
Entering the upper and lower limit values using the following keys.
Key To select the digit blinking to change.
SAMPLE
Key To set the value of the digit selected.
Key To store the value and proceed to next step.
PRINT
MODE
Hi
Hi
6. With displayed. Press the key.
PRINT
Entering the upper and lower limit values using the following keys.
Lo
Key To select the digit blinking to change.
SAMPLE
Key To set the value of the digit selected.
Key To store the value and proceed to next step.
PRINT
MODE
Lo
Lo
TARE
TARE
Key To cancel the value and proceed to the next step.
TARE
Key To cancel the value and proceed to the next step.
>> > >
>> > >
>> > >
>> > >
Lo
0
g
 Loading...