


Owner’s Manual
This Manual Must Be Read Before Operating The Equipment
Madison Heights, Michigan 48071
800-SALTERS
www.snowexproducts.com
© TrynEx International 2014
F51537 REV-A141205
SP-7000
Serial No. 140410300001SP-7000 and higher
CUSTOMER COPY
1

Table of Contents
Introduction .................................................................................................................................................................................................... 3
Safety ............................................................................................................................................................................................................. 4
Operating Instructions ..................................................................................................................................................................................4-8
Towing ....................................................................................................................................................................................................... 5
Loading ..................................................................................................................................................................................................... 5
Operating Control ....................................................................................................................................................................................... 6
Spreading Tips ........................................................................................................................................................................................... 7
Adjustable Spinner ..................................................................................................................................................................................... 8
Maintenance Instructions ................................................................................................................................................................................ 9
Maintenance .............................................................................................................................................................................................. 9
Cleaning .................................................................................................................................................................................................... 9
Preventing Corrosion.................................................................................................................................................................................. 9
Storage ...................................................................................................................................................................................................... 9
Troubleshooting .......................................................................................................................................................................................10-11
Spreader .................................................................................................................................................................................................. 10
Control ..................................................................................................................................................................................................... 11
Notes .......................................................................................................................................................................................................12-15
Have a question or need assistance?
SnowEx Customer Support
(800) SALTERS
Monday trough Friday 8:00 AM to 4:30 PM EST
E-mail: customercare@trynexfactory.com
Website: www.snowexproducts.com
2 © TrynEx International 2014 F51537 REV-A141205
Introduction
This manual is intended to help you to get to know your SP-7000 Tow Pro spreader and how to operate it safely, correctly and economically.
If you observe these instructions, you will prevent hazards, reduce repair costs and breakdown times, and increase the reliability and service
life of the machine.
The manual must be read and used by every person who will be working with or on the machine for:
• Operation (including preparation, repair during operation, & clean-up)
• Repairs (maintenance, inspection, overhaul), and/or
• Transport.
All regulations for safety and proper working practice must be observed in addition to this manual and any applicable regulations for the
prevention of accidents. Should you lose your Owner’s Manual or would like extra copies, they can be obtained from your SnowEx dealer or
retrieved from the SnowEx website – www. snowexproducts.com.
SAFETY ALERT DEFINITION
This Safety Alert Symbol is used to pinpoint characteristics that, if not carefully followed, can create a safety hazard. When you
see this symbol in this manual or on the machine itself, BE ALERT – your safety and the safety of others is involved.
An accident will occur, resulting in Serious Injury or Death if the instructions are not followed.
An accident may occur, resulting in Serious Injury, perhaps Death, if the instructions are not followed.
An accident may occur, resulting in Minor or Moderate Injury if the instructions are not followed.
Important Information; Property or Equipment Damage may result if not followed.
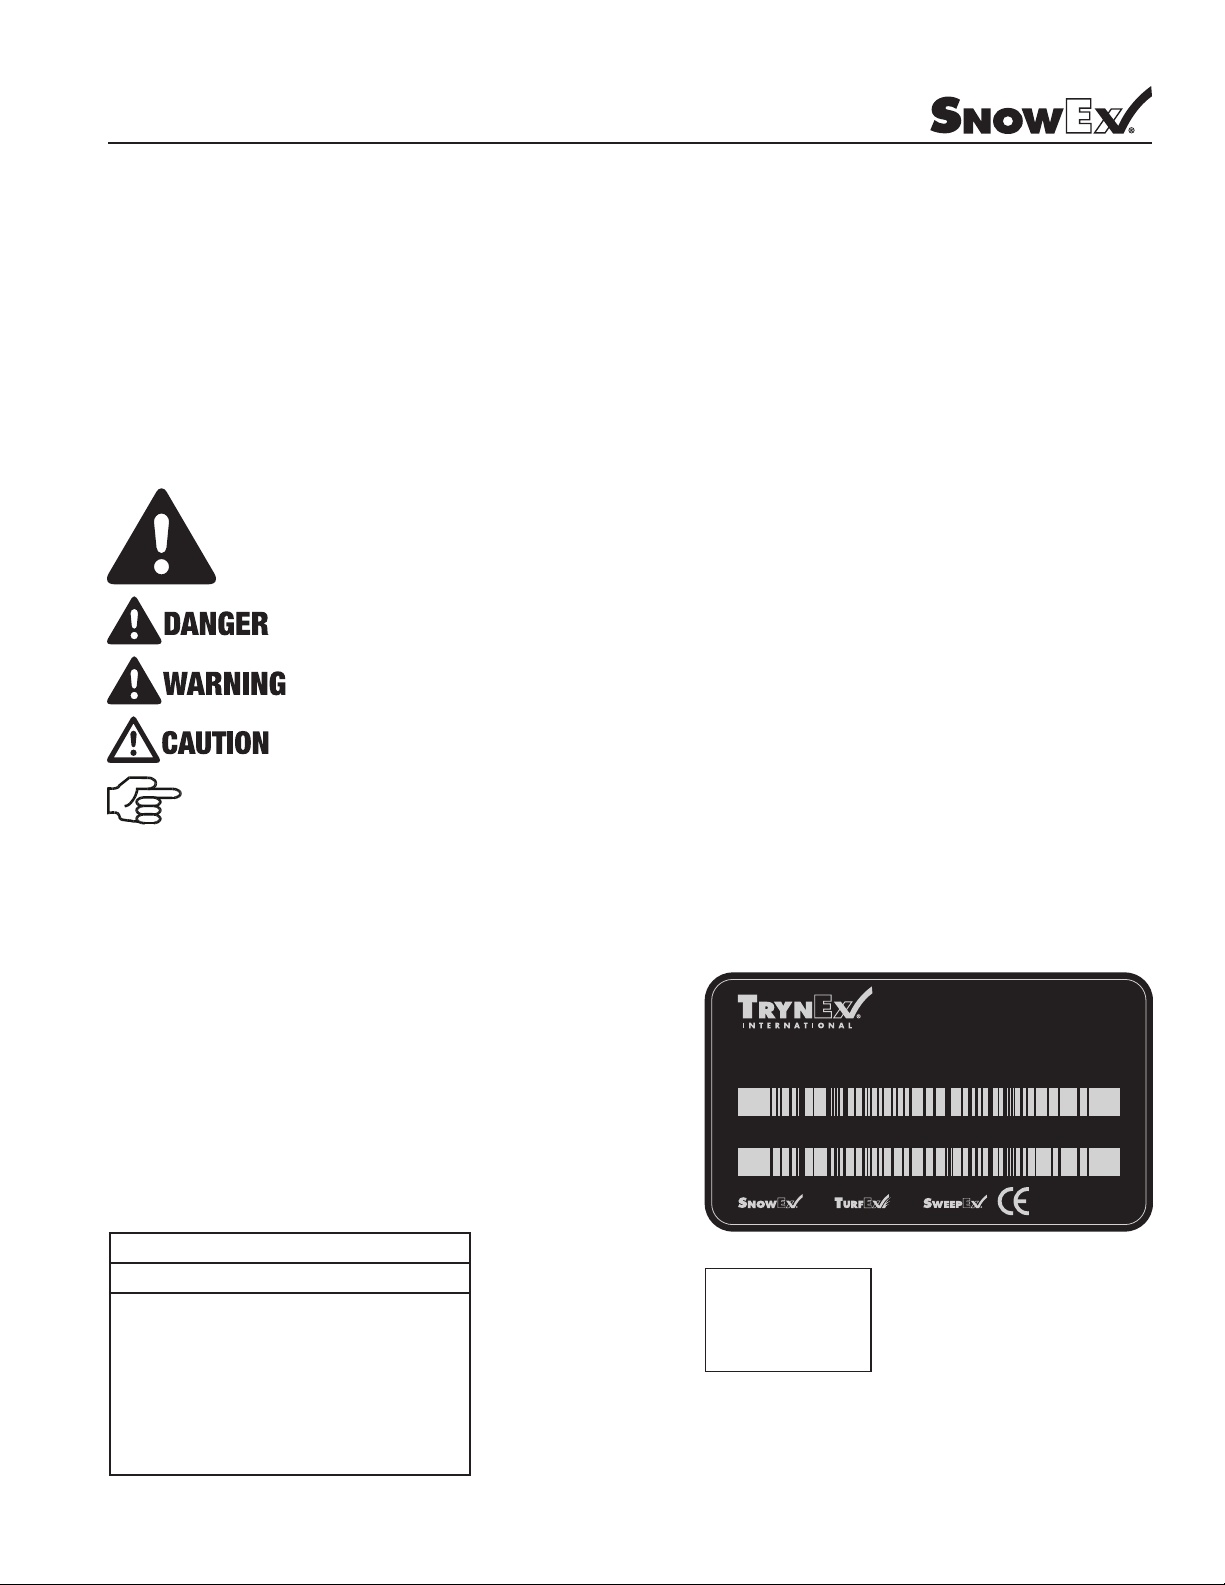
IMPORTANT EQUIPMENT INFORMATION
Record important machine information here for quick reference. The SP-7000 Serial Number is found on the Serial Number Plate, located
on the frame at the rear of the machine. The Control Serial Number is found on the bottom of the control pendant, by the plug; the Control
Module Serial Number is found on the surface of the circuit board.
Example
Model ____________________________________________
Spreader Serial # _____________________________________
Madison Heights, MI 48071 U.S.A.
1-800-725-8377 trynexfactory.com
Control Serial # _____________________________________
Control Module Serial # ______________________________
Model No. SP-7000
Date Purchased _____________________________________
Dealer where purchased
Serial No. 140410300001SP-7000
____________________________________________________
Manuf. 2014
SERIAL NUMBER DEFINITION
CODE DEFINITION
YY 2-Digit Year
MM 2-Digit Month
Model # D5587
Serial # 1234
TRYNEX INTERNATIONAL
1-800-725-8377
DD 2-Digit Date
LL 2-Digit Location Code
#### 4-Digit Sequential Number
PPPPP 5-Digit Assembly PN
3© TrynEx International 2014 F51537 REV-A141205

Safety
Before attempting any procedure in this book, the safety information in this manual must be read and understood by all personnel who have
any part in the installation, preparation, transport, service, repair or use of this equipment.
For your protection, safety and information decals have been placed on the spreader to remind the operator of safety precautions and particular hazards.
Never exceed the Gross Vehicle Weight Rating, Hitch Capacity, or Towing Capacity. Failure to do so will result
in unpredictable and unsafe vehicle handling.
Never operate equipment when under the inuence of alcohol, drugs, or medications. These substances alter
your judgement and slow your reactions.
Always keep hands, feet, clothing, jewelry, and hair away from moving parts. These items will catch and be
pulled in by moving parts, causing serious personal injury.
Always shut off vehicle before attempting to attach, detach, or service the spreader. Be sure vehicle is properly braked, chocked, and on level ground.
Use caution when driving and drive at a sensible speed, where braking distances are safe and safe handling
characteristics are maintained.
The tires on this equipment are not highway rated. Do not exceed 15 MPH.
Before working with the spreader, secure all loose clothing and hair. Clothing and hair could get caught in
moving parts.
Always wear safety glasses with side protection when servicing spreader or near where salt/ice melter is
being spread.
Never allow children to operate or climb/play on or around equipment.
Always make sure people are clear of where you will be using equipment. Always check areas to be spread
to ensure no hazardous conditions or substances are in the area.
Inspect the spreader before and after operating for defects. Parts that are broken, missing or worn out must
be replaced before operating.
Do not modify the spreader without written permission from SnowEx. Modifying the spreader or its mount
can affect performance and safety.
Remember most accidents are preventable and caused by human error. Exercise care and observe precautions to prevent injury to yourself and others.
Never use wet materials or materials with foreign debris with the spreader. The spreader is designed to
spread dry, clean, free-owing material.
Never leave material in hopper between storms, or when storing. Ice melters are hygroscopic and will attract
moisture and harden up.
Empty the spreader and clean it after each use to prevent ice melter from building up and covering metal
parts, causing corrosion.
4 © TrynEx International 2014 F51537 REV-A141205

Operating Instructions
Towing/Loading
TOWING
Back up the tow vehicle to the SP-7000 so the vehicle’s drawbar and the clevis hitch are aligned. Pin the clevis to the drawbar.
Connect the Spreader and Vehicle plugs.
Adjust the jack; pivot out of the way and lock.
LOADING SPREADER
Do not overload vehicle. Use the chart below to calculate the weight of spreader and material to comply with Vehicle Weight Ratings and
Towing Capacities.
This spreader is compatible with the following materials:
50/50 sand/salt mix
Bagged ice melters
Bagged rock salt
Bulk salt
Calcium akes
Calcium chloride pellets
Sand
Empty weight of spreader:
985 lbs.
Approximate capacity:
37.8 cu.ft./1.4 cu.yd.
Use this chart when estimating the net weight of the spreader.
MATERIAL DENSITY CHART
MATERIAL DENSITY
Rock Salt 80-90 lbs./cu. ft.
2160-2430 lbs./cu. yd.
Calcium Chloride 75-85 lbs./cu. ft.
2025-2295 lbs./cu. yd.
Sand 95-120 lbs./cu.ft.
2565-3240 lbs./cu.yd.
50/50 Sand/Salt Mix 90-110 lbs./cu.ft.
2430-2970 lbs./cu.yd.
This chart is only intended for estimating Gross Vehicle
Weight. It is not intended for calibration. To calibrate, you must
measure and weigh your specic material.
Leave the screen in the hopper when loading to prevent large chunks, debris, and foreign objects from entering the hopper and damaging the
spreader.
5© TrynEx International 2014 F51537 REV-A141205

Operating Instructions
Operating Control
Use the ON and OFF buttons to control the main power to the spreader.
Use START/STOP to turn the spinner and auger on and off. Use this as a pause button between passes or jobs.
Adjust SPINNER and AUGER speeds with the two sets of arrows. Speed will be displayed on the screens. Adjust to get your desired spread
width and application rate – ‘Spread Pattern.’
Use the Vibrator to loosen ‘bridged’ material and improve ow to the auger with the VIBRATE button. The vibrator does not have to be on
continuously.
BLAST turns both spinner and auger to max for as long as the button is held.
Turn the spreader OFF when you are done spreading and the machine is parked. The settings will remain for next time the spreader is used.
6 © TrynEx International 2014 F51537 REV-A141205

Operating Instructions
Spreading Tips
The application rate, which is the amount of material spread on a given area, depends on three variables – Vehicle Speed, Spinner Speed and
Auger Speed.
For consistency in spreading results, it is best to drive at a constant speed.
The Spinner Speed changes the spread width. This determines how much area the same material fed by the auger will cover.
Auger Speed changes how much material is fed to the spinner. Changing this will change the amount of material being spread in the same
area.
Wider Spread Patterns will spread the same material over a larger area, so the application rate will be decreased unless you increase your
Auger Speed or drive slower. A Narrower Spread Pattern requires the opposite action: a slower Auger Speed or drive faster.
To maintain your application rate with a wider spread pattern, you can increase your auger speed, drive slower, or spread the area twice.
To maintain your application rate with a narrower spread pattern, you can decrease your auger speed or drive faster.
EXAMPLES:
Key
1. Constant Speed. Desired application
rate is set.
2. Increase Spinner and Auger speeds to
maintain application rate with a wider
spread pattern.
1
2, 4, or 5
3
3. Decrease Spinner and Auger speeds
to maintain application rate with a
narrower spread pattern.
4. Increase Spinner Speed and drive
slower.
5. Increase Spread Width and spread
second pass on the way out of the
parking lot.
1
7© TrynEx International 2014 F51537 REV-A141205

Operating Instructions
Adjustable Spinner
Your spreader is equipped with an adjustable spinner to assist in precise material application. The spinner plate gives the operator control of
whether the material spreads toward the right, left, or is centered. Before operating the spreader, spread some material in a clear area where
you can easily observe the spread pattern and how it changes with n adjustment. Use the instructions below as a guide to get the spread
pattern you desire. The position of the ns may need changed when using different materials or spreader settings.
When the ns are in their center adjustment position, the spread
pattern will be centered (with most materials).
When looking down at the spinner, moving the ns clockwise will
adjust the spread pattern toward the left side of the spreader.
When looking down at the spinner, moving the ns counter-clockwise will adjust the spread pattern toward the right side of the
spreader.
8 © TrynEx International 2014 F51537 REV-A141205

Maintenance Instructions
Maintenance/Cleaning/Preventing Corrosion/Storage
Perform service indoors or in a sheltered area.
Avoid Electric Shock. Do not use power tools in rain or snow.
Disconnect electricity to spreader before servicing.
Do not attempt to service controls, motors, or transmissions.
Use Genuine TrynEx Parts.
MAINTENANCE
• Recharge batteries after each use.
• Use dielectric grease on all electrical connections. Apply at the beginning and end of each season; and after washing the spreader.
• Wash equipment after each use. Do not use pressure washers near bearings, transmissions, and motors.
• Paint or oil all bare metal at the end of the season, and periodically throughout the season.
• Lubricate bearings and pivots every twenty hours of use.
• Tighten hardware after rst use.
CLEANING
To protect your spreader from corrosion and to increase its useful life, clean it after each storm. By cleaning after each storm, salt build-up
will be less and the salt will be easier to remove. More importantly, it can prevent corrosion.
After each snow storm:
1. Run the spreader to empty the hopper. Either back up to your salt pile and spread into the pile; or put your spinner on the lowest setting
and your auger on the highest setting until the hopper is empty (this way, the material will come out faster and the spinner will spread it in
a smaller area) and clean up the salt into a bucket or Salt Box.
2. Turn the spreader control off and unplug the spreader before cleaning. Use water to rinse all of the salt residue away. Pay special attention to tight areas, enclosures and hard-to reach areas where salt build-up is likely to be a problem. Rinse these areas thoroughly. Avoid
directly rinsing openings in transmissions/motors, such as where a shaft might come out of the housing. Use a car wash brush to clean
salt and dirt that is stuck. Consider using a salt-removal product or spraying your spreader with a cleaning solution before rinsing. Rinse all
cleaning solutions off thoroughly with water.
3. Sweep puddles of water from surfaces of the spreader. Make sure to remove water from the bottom of the hopper so the auger isn’t
frozen when you use your spreader again.
When you are done cleaning, grease bearings; put dielectric grease on plugs. Spray metal parts with a corrosion prevention product or a light
oil. Avoid getting oil on the plastic – this will cause the plastic to degrade.
PREVENTING CORROSION
Corrosion/Rusting is a chemical reaction caused by presence of moisture, salt, and metal. Preventing any one of these ingredients from
coming in contact with any other ingredient will prevent corrosion.
Here are some recommended measures to take:
Store equipment indoors
Clean/Rinse thoroughly after each use (especially areas where salt builds up)
Lubricate moving parts
Touch-Up/Oil chipped paint
Use a spray-on car wash wax
Use rust inhibitor
STORAGE
How you store your spreader can have a lot to do with how long it lasts and how well it performs. Store your spreader in a sheltered area,
preferably indoors. If it must be stored outside, cover with a tarp. Before putting your spreader away, perform a very thorough cleaning,
lubricate bearings, and spray oil on metal parts. Apply a protective plastic conditioner to the hopper and vinyl conditioner to the hopper cover.
Instead of oil on the frame, you can use a rust inhibitor spray (read the label before using to make sure it is not damaging to paint). Put
Dielectric Grease on all plugs and connections prior to storage.
9© TrynEx International 2014 F51537 REV-A141205

Troubleshooting
Spreader
PROBLEM POSSIBLE CAUSE SOLUTION
Motor doesn't run Loose electrical connections Check all connections
Motor seized Replace motor
Material not owing from hopper Hopper is empty Fill hopper
Material is wet Replace with clean, dry, free-owing mate-
rial
Frozen material Replace with clean, dry, free-owing mate-
rial
Coarse material Replace with clean, dry, free-owing mate-
rial
Auger loose on shaft Align/Tighten Coupler
Tighten bearing
Vibrator not working Check connections
Replace vibrator
Chute in up position Check/repair mechanical connection
Check/repair electrical connection
Bad actuator. Replace
Material free ows Chute in down position Check/repair mechanical connection
Check/repair electrical connection
Bad actuator. Replace
Poor spread pattern Spinner ns Adjust spinner ns
10 © TrynEx International 2014 F51537 REV-A141205

Troubleshooting
Control
PROBLEM POSSIBLE CAUSE SOLUTION
Control shut down Jammed auger Clear jammed auger. Use caution
Poor electrical connections Clean/replace connectors
Use dielectric grease
Electrical short Check all connections
Check for bare wires
Control failure Replace Control Module
OL/OH Jammed auger Switch off, then on (for Auto-Reverse)
If it continues. Turn off. Clear jam
Bad Connection Check connections/Dielectric grease
Clean/replace connectors
Bad motor Check with Test Kit
Bad transmission Replace
Bad Control Module Check with Test Kit
EO Motor is not getting power Turn Off. Check all connections
Break in wiring harness Repair/Replace
E1 Short in motor circuit Turn off. Do not use until short is corrected
Check/Replace connections
Check for bad motor
LB Low Battery Turn off. Charge battery
Poor connection Turn Off. Check all connections
No Display. Nothing lights up Bad Control or Bad Control Module Check with Test Kit
Bad Pendant Cord Replace
11© TrynEx International 2014 F51537 REV-A141205

Notes
12 © TrynEx International 2014 F51537 REV-A141205

Notes
13© TrynEx International 2014 F51537 REV-A141205

Notes
14 © TrynEx International 2014 F51537 REV-A141205

Notes
15© TrynEx International 2014 F51537 REV-A141205

141205
 Loading...