

Page 1
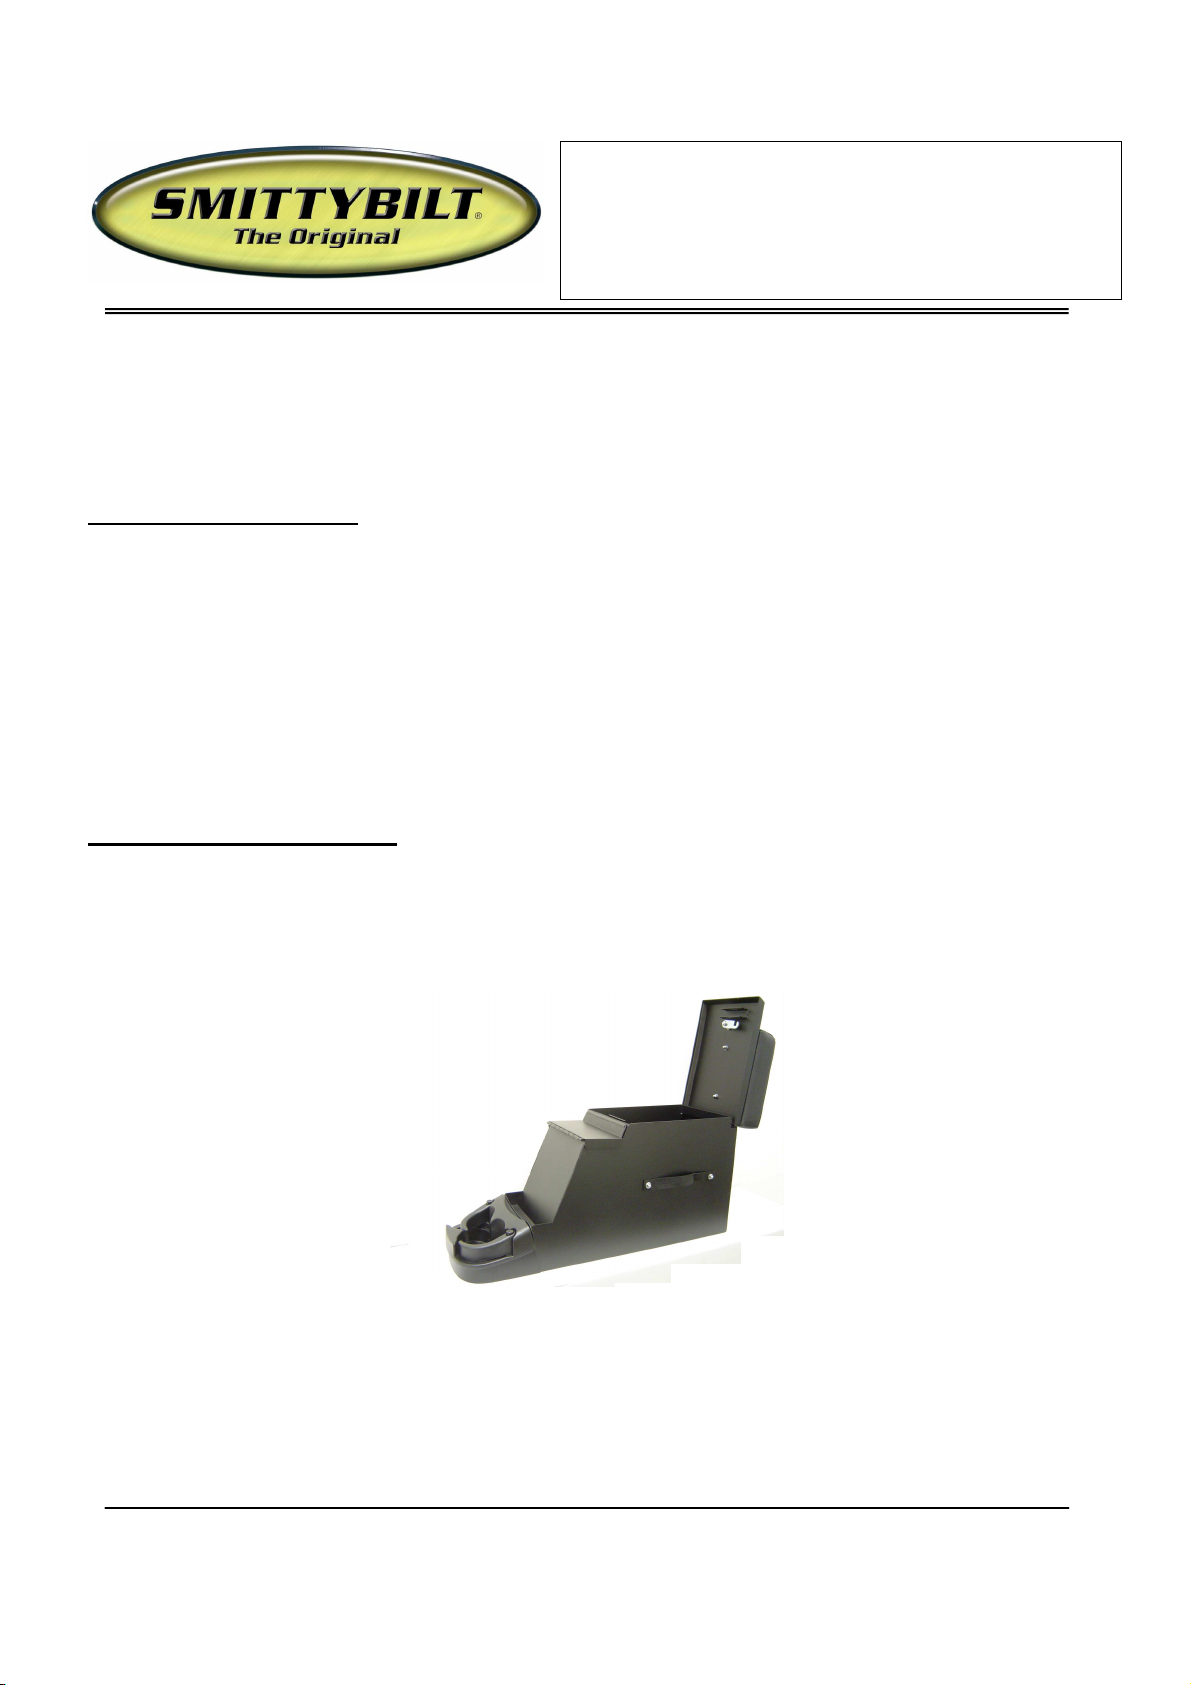
Installation Instructions
Security Stereo Floor Console
(Part # 318xx)1976-1995 CJ & Wranglers
Carefully read instructions before attempting to install this product. Smittybilt is in no way responsible for any damage to the vehicle or personal
injury that may occur during the installation or use of this product. DRILLING REQUIRED.
INCLUDED COMPONENTS
1 – Security Floor Console 1 – 5/16” x 1 ¾” Hex Head Bolt
1 – Mounting Bracket 3 – 5/16” Lock Nuts
2 – Keys 6 – 5/16” Flat Washers
1 – Neoprene Gasket 6 – 10-32 x ½” Hex Washer Phillips Screws
2 – 5/16” x 5 ½” Hex Head Bolts 4 – 10-32 Cap Nuts
2 – Seat Belt Straps 3 – 10-32 Lock Nuts
1 – Stereo Support Strap 7 – 10-32 Flat Washers
INSTALLATION INSTRUCTION
1. Apply Neoprene Gasket to the bottom of the main compartment.
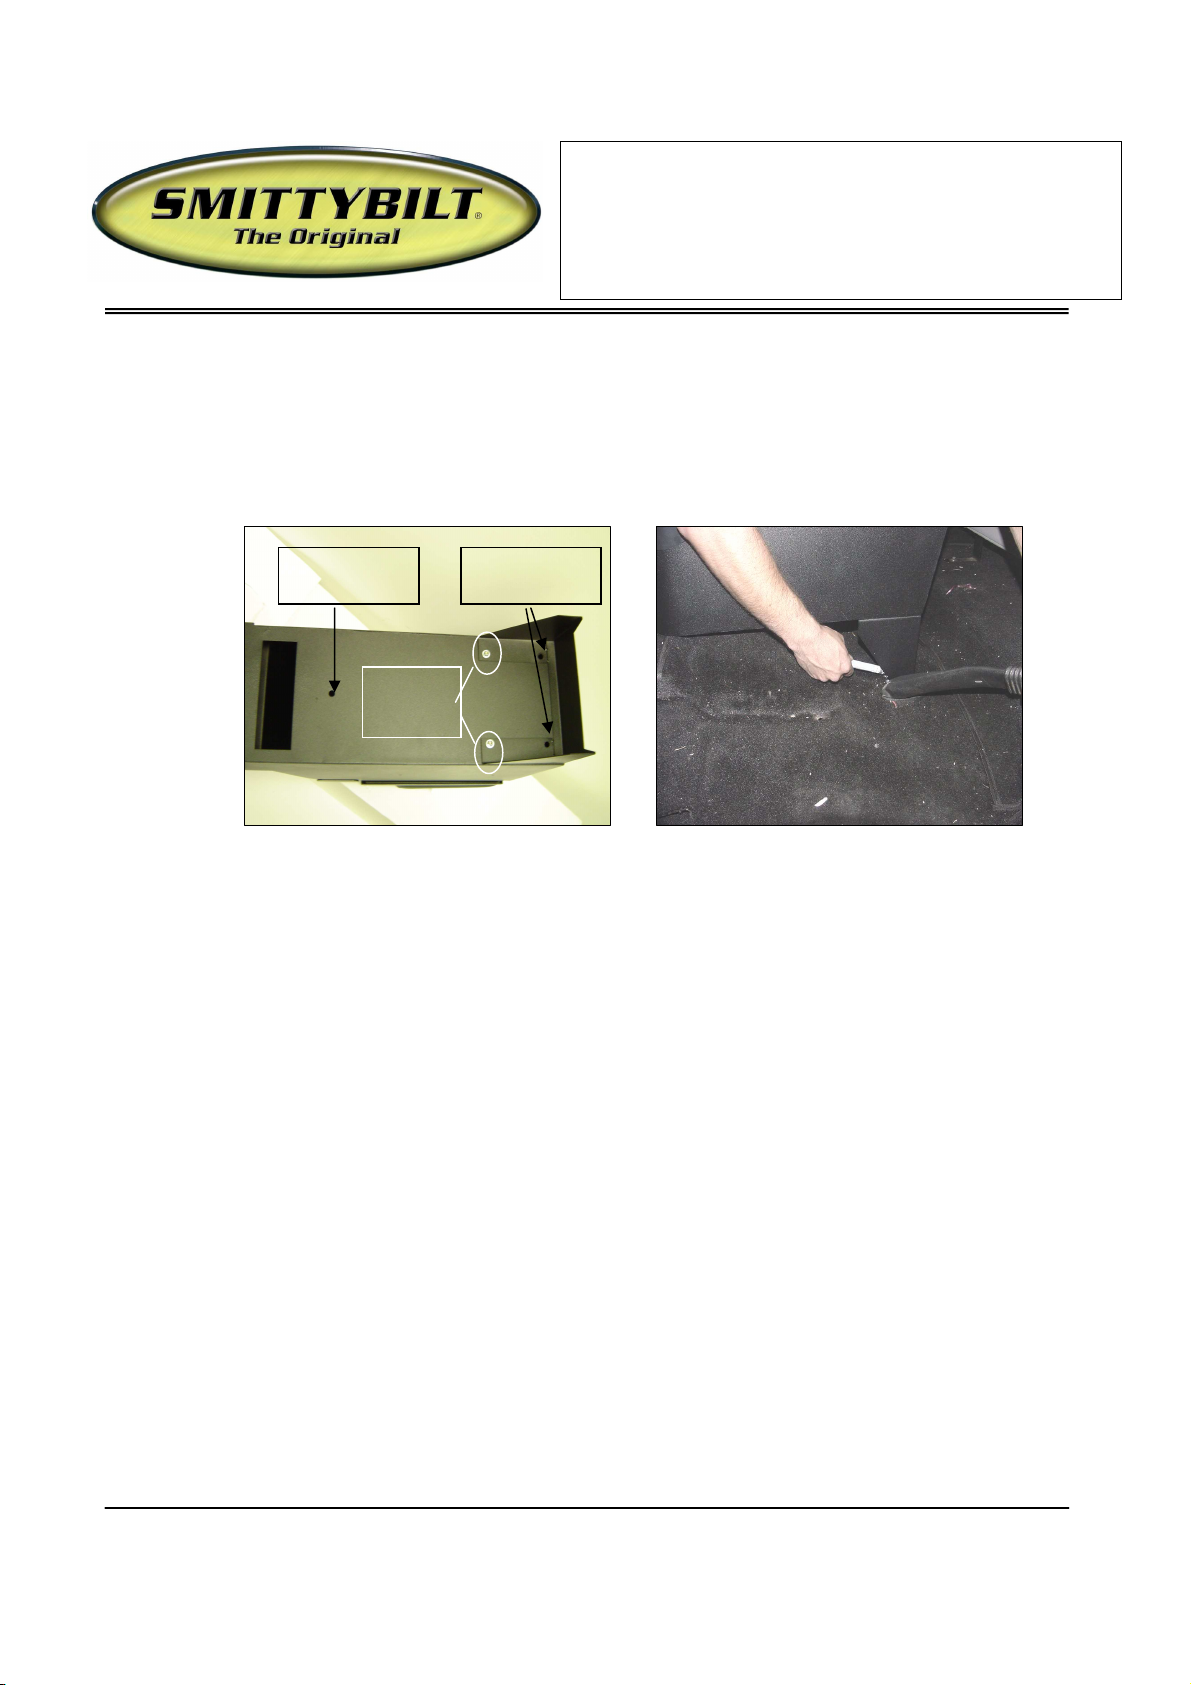
2. Locate (4)-Cap Nuts, (4)-10-32 x ½” Hex Washer Phillips Screws, (4)-10-32 Flat Washers, and (2)-Seat
Belt Straps. Attach Seat Belt Straps to the side of the Security Console by using the hardware listed in this
step (Figure 1).
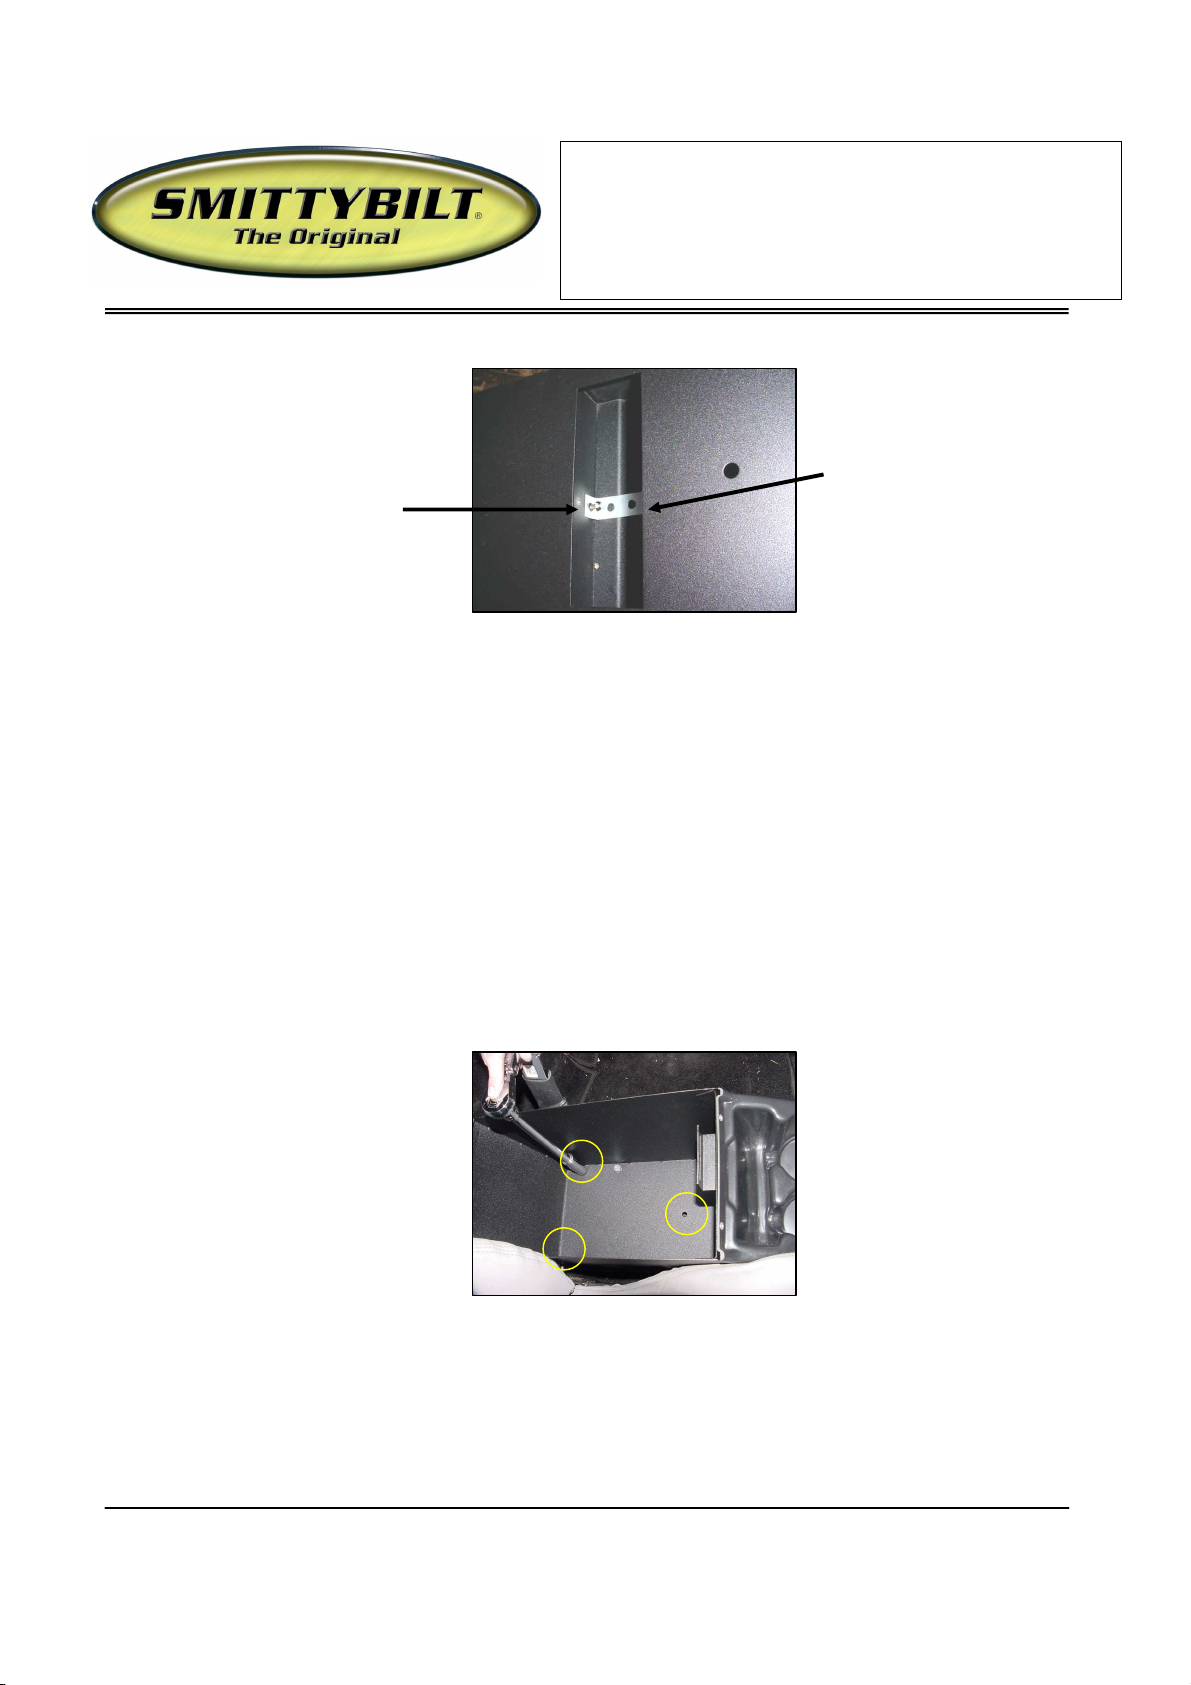
3. Locate (2)-10-32 x ½” Hex Washer Phillips Screws, (2)-10-32 Flat Washers, and (2)-10-32 Lock Nuts.
Attach Mounting Bracket to the two small center holes on the bottom of the console by using the hardware
listed in this step (Figure 2).
Figure 1
IMPORTANT NOTICE:
For Technical Support/Warranty Information please call 310-762-9944
Smittybilt, 1600 Walnut Parkway, Rancho Dominguez, CA 90220
Page 2
10-32 x ¾”
5/16” x 2 ½”
Installation Instructions
Security Stereo Floor Console
(Part # 318xx)1976-1995 CJ & Wranglers
4. Position Security Floor Console between the seats and mark the floor directly under the three mounting
holes on the bottom of the Console (Figure 3). NOTE: Check to make sure that the shift lever will not
interfere with console.
Figure 2 Figure 3
WARNING! Before you proceed to the next step, make sure that there is nothing under the vehicle that will
be damaged by the drill bit when drilling.
5/16” x 1 ¾”
Hex Bolt
Screws
Hex Bolts
5. Remove the Security Floor Console, cut holes in the carpet where the marks are and drill a 5/16” hole on
each marked spot (Figure 5). Use touch up paint or silicone sealant (not included) in any drilled holes to
prevent rusting.
NOTE: If you are not installing a stereo proceed to Step 12.
NOTE: If a stereo is to be mounted in the console, an antenna extension wire will be required and is
available at most stereo equipment stores.
6. Run all required stereo and speaker wires to the console mounting location. Smittybilt recommends
running wires in a protective wire loom and using rubber grommets when passing through any
drilled holes.
7. Fasten the included Stereo Support Strap to the back of the stereo.
8. Insert stereo into the front of the Security Console.
9. Locate (1)-10-32 Lock Nut, and (1)-10-32 Flat Washer. Attach the other end of the Stereo Support
Strap to the threaded stud located on the bottom of the console by using the hardware listed in this
step (Figure 4).
For Technical Support/Warranty Information please call 310-762-9944
Smittybilt, 1600 Walnut Parkway, Rancho Dominguez, CA 90220
Page 3
Installation Instructions
Security Stereo Floor Console
(Part # 318xx)1976-1995 CJ & Wranglers
Figure 4
10. Connect all wires to the stereo according to your stereo owner’s manual.
Threaded Stud
(pre- installed),
10-32 Lock Nut
and 10-32 Flat
Stereo Support
Strap
11. Locate (2)-5/16” x 2/12” Hex Head Bolts, (4)-5/16’” Flat Washers, and (2)-5/16” Lock Nuts. Fasten
down the rear of the console through rear holes in the Security Console and holes in mounting
Bracket by using the hardware listed in this step (Figure 5).
12. Locate (1)-5/16 x 1 ¾” Hex Head Bolt, (2)-5/16” Flat Washers, and (1)-5/16” Lock Nut. Fasten down
the front of the Security Console by using the hardware listed in this step (Figure 5).
Figure 5
For Technical Support/Warranty Information please call 310-762-9944
Smittybilt, 1600 Walnut Parkway, Rancho Dominguez, CA 90220
Page 4

Installation Instructions
Security Stereo Floor Console
(Part # 318xx)1976-1995 CJ & Wranglers
13. Installation is now complete. Note: To lock and unlock Security Console; insert key, push down
and turn.
LIMITED 90 DAY WARRANTY
Smittybilt (the Company) warrants to the original purchaser of this product that should the product or any part thereof, under normal use and
conditions, be proven defective in material or workmanship within 90 DAYS from the date of original purchase, such defect(s) will be repaired or
replaced (at the Company’s option) without charge for parts or labor.
To obtain repair or replacement within the terms of this Warranty, the product is to be delivered with proof of warranty coverage (e.g. Dated bill of
sale), specification of defect(s) to the place of purchase or, with prior approval from the Company, freight pre-paid to the Company address listed
below.
This warranty does not apply to any product or part thereof which, in the opinion of the Company, has suffered or been damaged through
alteration, improper installation, mishandling, misuse, neglect, accident or by acts of nature. THE EXTENT OF THE COMPANY’S LIABILITY
UNDER THIS WARRANTY IS LIMITED TO THE REPAIR OR REPLACEMENT PROVIDED ABOVE AND, IN NO EVENT, SHALL THE
COMPANY’S LIABILITY EXCEED THE PURCHASE PRICE PAID BY PURCHASER FOR THE PRODUCT.
This Warranty is in lieu of all express warranties or liabilities. ANY IMPLIED WARRANTIES, INCLUDING ANY IMPLIED WARRANTY OF
MERHCHANTABILITY, SHALL BE LIMITED TO THE DURATION OF THIS WRITTEN WARRANTY. ANY ACTION FOR BREACH OF
ANY WARRANTY HEREUNDER INCLUDING ANY IMPLIED WARRANTY OF MERCHANTABILITY MUST BE BROUGHT WITHIN
THE PERIOD OF 90 DAYS FROM DATE OF ORIGINAL PURCHASE.
IN NO CASE SHALL THE COMPANY BE LIABLE FOR ANY CONSEQUENTIAL OR INCIDENTAL DAMAGES FOR BREACH OF THIS
OR ANY OTHER WARRANTY, EXPRESS OR IMPLIED, WHATSOEVER. No person or representative is authorized to assume for the
Company any liability other than expressed herein in connection with the sale of this product.
Some States do not allow limitations on how long an implied warranty lasts or the exclusion or limitation of incidental or consequential damage, so
the above limitations may not apply to you. This warranty gives you specific legal rights and you may also have other rights which vary from state
to state.
For Technical Support/Warranty Information please call 310-762-9944
Smittybilt, 1600 Walnut Parkway, Rancho Dominguez, CA 90220
Page 5

Installation Instructions
Security Stereo Floor Console
(Part # 318xx)1976-1995 CJ & Wranglers
For Technical Support/Warranty Information please call 310-762-9944
Smittybilt, 1600 Walnut Parkway, Rancho Dominguez, CA 90220
Page 6

Installation Instructions
Security Stereo Floor Console
(Part # 318xx)1976-1995 CJ & Wranglers
For Technical Support/Warranty Information please call 310-762-9944
Smittybilt, 1600 Walnut Parkway, Rancho Dominguez, CA 90220
Page 7

Installation Instructions
Security Stereo Floor Console
(Part # 318xx)1976-1995 CJ & Wranglers
For Technical Support/Warranty Information please call 310-762-9944
Smittybilt, 1600 Walnut Parkway, Rancho Dominguez, CA 90220
 Loading...