

smirthwaite HIP SPICA Instructions For Use Manual
1/12
HIP SPICA CHAIR
INSTRUCTIONS FOR USE
Multi-Adjustable Hip Spica Code 5585-5587

Hip Spica
1
CONTENTS PAGE
1.0 INTRODUCTION 1
2.0 ILLUSTRATION OF YOUR CHAIR 2
3.0 FOR YOUR SAFETY 3
4.0 UNPACKING AND ASSEMBLING YOUR CHAIR 4
5.0 SETTING UP AND ADJUSTING YOUR CHAIR 5
6.0 CARE & MAINTENANCE 8
7.0 GUARANTEE & SERVICE 12
8.0 CONTINUOUS IMPROVEMENT 12
9.0 WARRANTY & AFTERSALE 13
1.0 INTRODUCTION
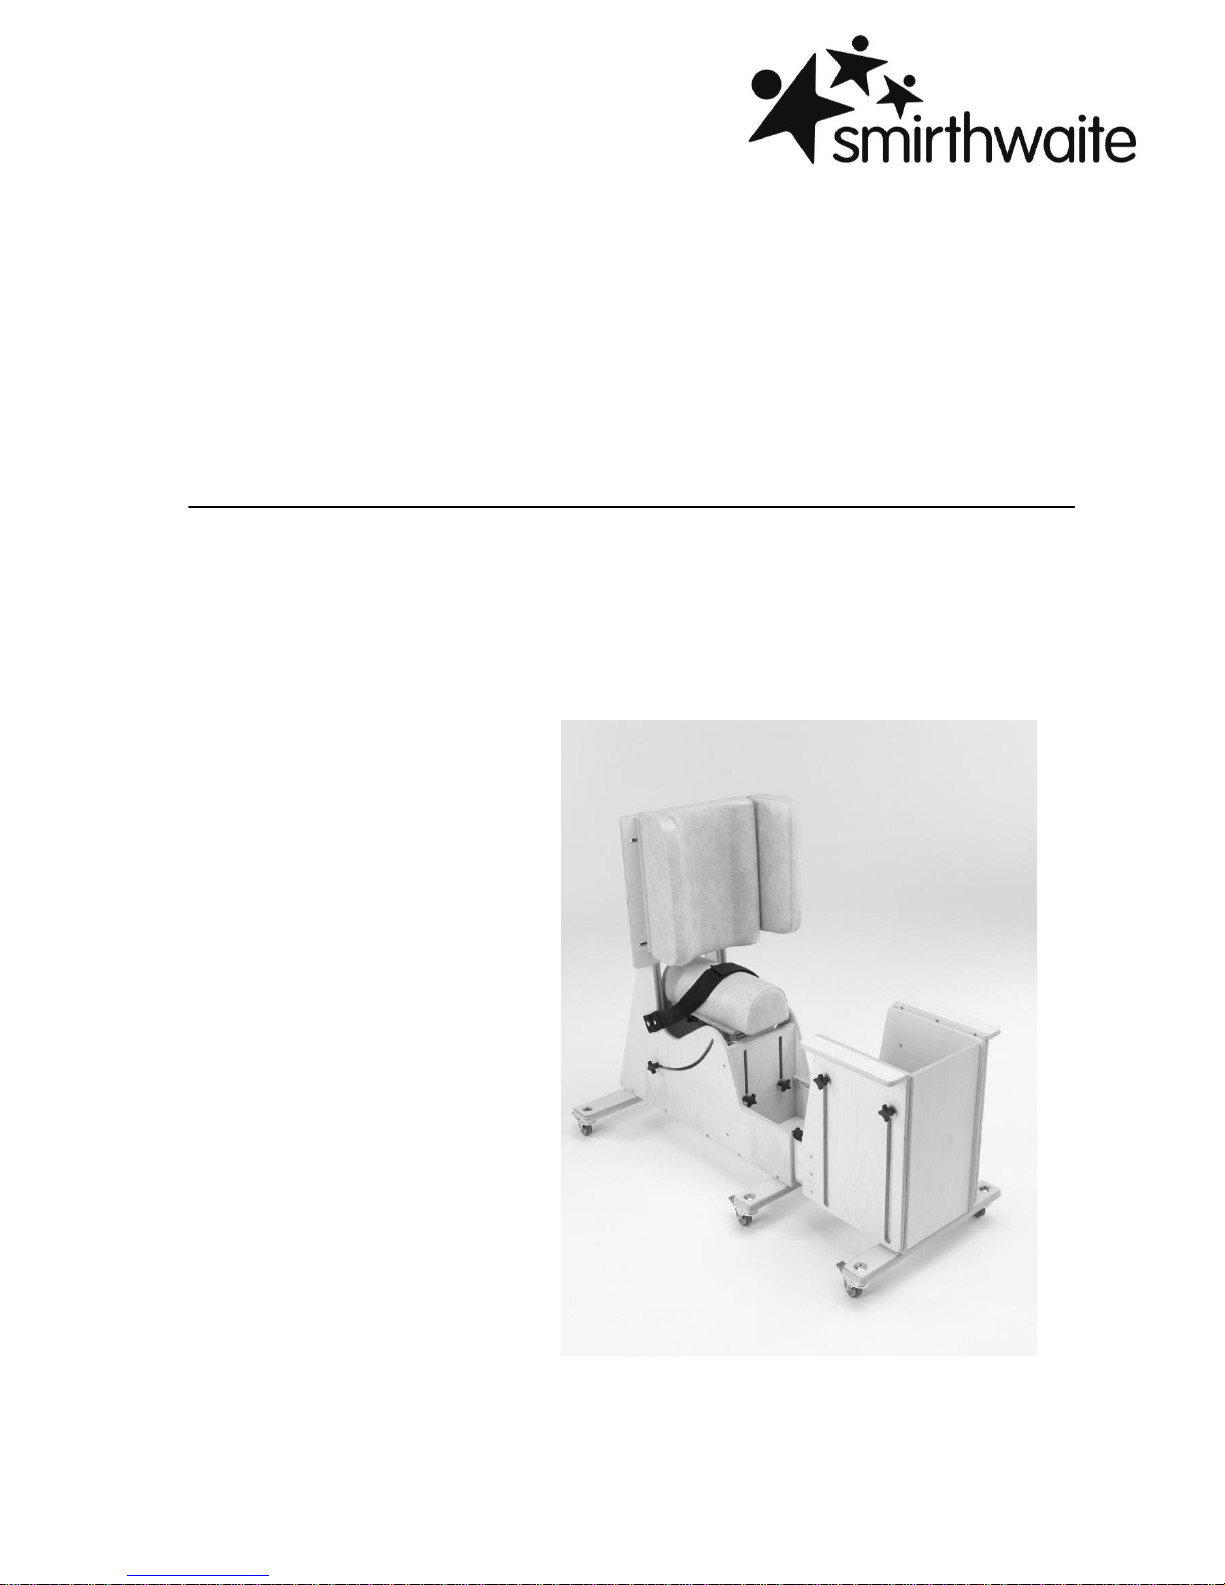
Thank you for choosing the Smirthwaite Hip Spica Chair.
The range of Hip Spica chairs have been specifically designed for children from the
age of 8 months who have congenital abnormalities of the lower limbs and require
supportive seating.
IMPORTANT!
These instructions should be read by all therapists and carers using
the equipment and should be retained for future reference. The
product should always be used under adult supervision.
Any incorrect use of the product and failure to follow the instructions
may put the user at risk or impede the function.
This product has been designed and manufactured specifically and
solely for use by clients with special needs.
Hip Spica
2
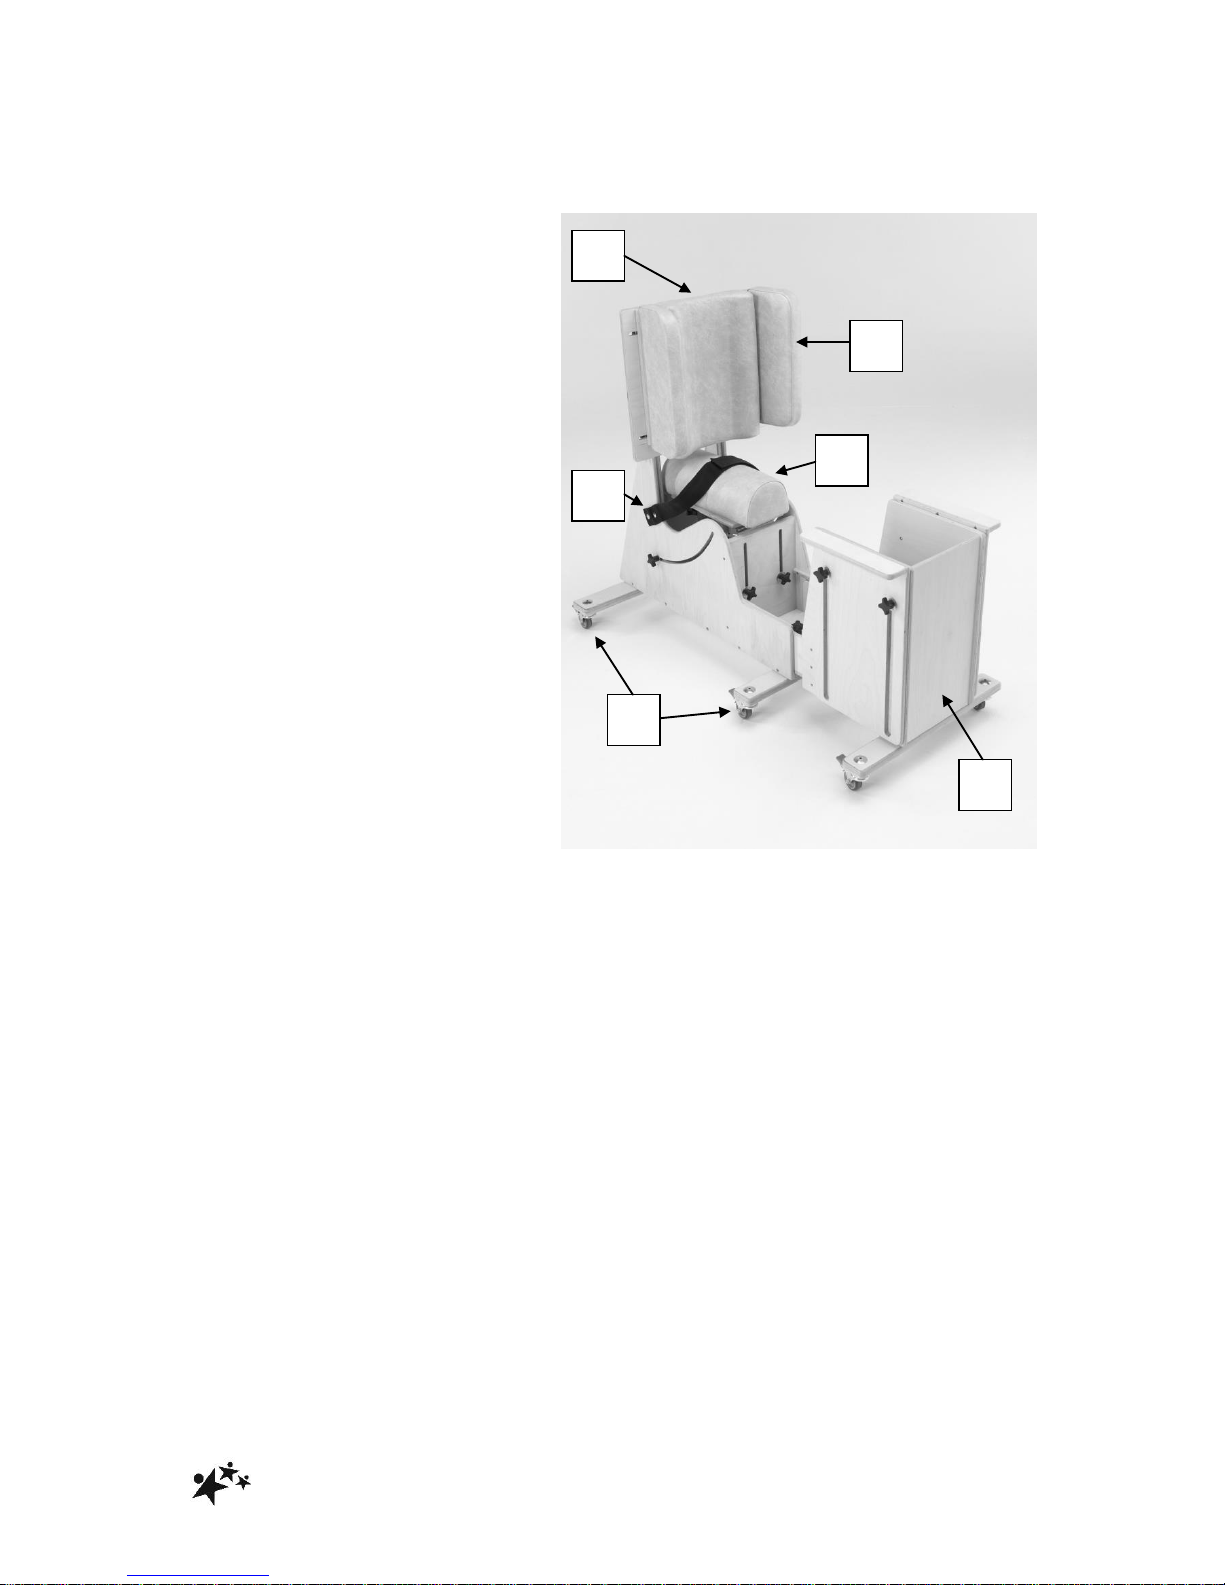
2.0 ILLUSTRATION OF YOUR CHAIR
A – Back
B – Lateral support wings
C – Seat
D – Lapstrap
E – Detachable tray support
F - Castors
A
B
C
D
E
F

Hip Spica
3
3.0 FOR YOUR SAFETY
STOP!
Please read these instructions CAREFULLY and THOROUGHLY
The user should NOT be left unattended whilst in the chair. Always ensure a
responsible therapist or carer is in attendance.
The carer should be familiar with the methods of adjustment and have completed
all adjustments appropriately to meet the needs of the child before transferring
the child onto the chair
Regular maintenance checks and cleaning are essential for the safe use of this
equipment (see care and maintenance section).
Always fasten the pelvic strap and any other straps provided with the chair.
Always lock at least two of the wheels when the chair is static
Regularly check that straps and/or harnesses are not showing signs of tearing or
fraying, and that they fasten correctly.
If any part is loose, damaged or functioning incorrectly, DO NOT use until
rectified.
Always keep this product away from naked flames, cigarettes and sources of
heat including open fireplaces, radiators, heaters.
DO NOT fit parts or accessories of other manufacturers to this product unless
authorised to do so in writing by G&S Smirthwaite Ltd. Failure to follow these
instructions will not only invalidate the guarantee but could make the chair
dangerous to use. G&S Smirthwaite Ltd will not accept liability for any injury or
damage incurred through such malpractices. Any repairs required must be
carried out by G&S Smirthwaite Ltd authorised personnel.
If you believe the chair or any fitted accessory to be faulty at any time, DO NOT
USE

Hip Spica
4
4.0 UNPACKING AND ASSEMBLING YOUR CHAIR
STOP!
If in any doubt, ALWAYS seek ADVICE.
Always turn hand wheels, levers and screws clockwise to tighten or
anti-clockwise to loosen.
When delivered, the chair will be supplied part assembled with the following
assembled sub-sections:
Back assembly: Adjustable back plate complete with upholstered cushion,
wings and (if ordered), a headrest
Seat assembly: Complete with seat cushion, adjustable seat and a pelvic
strap
Front section: Storage box and adjustable arms to take the tray.
To assemble, firstly fit the rear back cushion to the chair frame and secure using
the four handwheels provided.
Secondly, fit the tray support section to the main chair assembly by sliding the
support section into the front space of the main chair assembly and locking in
place with the handwheel provided.
Finally, fit the tray to the tray arms by rotating the toggles underneath the tray to
secure in position.
If any part is loose, damaged or functioning incorrectly – do not use until rectified.
STOP!
If you believe this product to be faulty – DO NOT USE

Hip Spica
5
5.0 SETTING UP AND ADJUSTING YOUR CHAIR
STOP!
If in any doubt, ALWAYS seek ADVICE
Always turn handwheels and screws clockwise to tighten or anticlockwise to loosen. The chair must be fully adjusted by a therapist
or trained representative before use.
IMPORTANT!
It is recommended that the chair should be used for a few days prior
to any operation so that the patient can become familiar with it.
It should then be checked in hospital after the operation, and set up
again if necessary.
The chair can normally be used from an early postoperative stage.
5.1 ADJUSTMENTS
5.1.1 SEAT DEPTH
The seat can be adjusted
forwards and backwards by
loosening the two handwheels (A)
located on the underside of the
seat plate
Adjustment range is limited by the
slot length on each side of the
chair
Ensure each handwheel is tight
after adjustment and before
placing the child into the chair
5.1.2 SEAT HEIGHT & ANGLE
The seat height can be adjusted
by loosening the four handwheels
(B) located at the front and rear of
the seat.
Adjustment range is limited by the
slot length on each side of the
chair
Ensure each handwheel is tight after adjustment and before placing the child in
the chair
By setting the front of the seat higher or lower than the rear, the seat angle can be
adjusted.
A
B
 Loading...