

Page 1
EN
Dear Customer,
Thank you for buying the Smeg Line Coffee Machine.
Our products offer you a solution in which research to create an aesthetically
pleasing object and innovative engineering provide unique items that are
decorative elements.
A Smeg appliance is always the perfect match with other products of the line
while also being a designer item for the kitchen.
We hope you fully enjoy all the features of your appliance.
For more information, please visit: www.smegusa.com
SMEG S.p.A.
Model BCC01
Bean to cup Coffee machine
EN - 1
Page 2
IMPORTANT INSTRUCTIONS
Important instructions
WARNING:
precisely, fire or explosion may result causing property damage, personal
injury or death.
READ AND SAVE THESE INSTRUCTIONS
Your safety and the safety of others are very important.
We have provided many important safety messages throughout this manual and on the appliance.
Read all the instructions before using the appliance and always obey all safety messages.
WARNING
RECOGNIZE SAFETY INFORMATION
This is a safety alert symbol. This symbol alerts you to potential hazards that can result
in severe personal injury or death.
UNDERSTAND SIGNAL WORDS
A signal word - DANGER, WARNING or CAUTION - is used with the safety alert
symbol. DANGER denotes the most serious hazards. It means you could be killed or
seriously injured if you do not immediately follow the instructions.
WARNING means you could be killed or seriously injured if the instructions are
not followed. CAUTION indicates a potentially hazardous situation, which, if not
avoided, could result in minor to moderate injury.
If the instructions contained in this manual are not followed
• To reduce the risk of fire or electric shock, do not remove the
cover (or back).
• No user-serviceable parts inside!
• Repair should be done by authorized service personnel only.
EN - 2
Page 3
EN
IMPORTANT INSTRUCTIONS
• This appliance is intended for use in the home only.
• Use this appliance only for its intended purpose. The manufacturer cannot be held liable for damage caused by improper
ATTENTION
The safety messages will inform you of potential hazards, on how to avoid the risk of injury
and what can occur if the instructions are not followed.
IMPORTANT: Observe all codes and ordinances in force.
WARNING: For your safety, the instructions contained in this manual must
be followed to minimize the risk of fire or explosion and to prevent property
damage, personal injury or death.
use of this appliance.
• This appliance complies with current safety regulations.
Improper use of this appliance can result in personal injury
and material damage.
• Read all the instructions before installing or using the appliance for the first time.
• Keep these operating instructions in a safe place and pass
them on to any future user.
Do not store or use gasoline or other flammable vapors, liquids or materials near this or
any other appliance.
NOTE: This appliance is NOT designed for installation in manufactured (mobile)
homes or in recreational vehicles (RVs).
NOTE:
GROUNDED PLUG (for product manufactured with a grounded plug)
As a safety feature, this product is equipped with grounded plug, which will only
fit into a three-prong outlet. Do not attempt to bypass this safety feature. Improper
connection of the grounding conductor may result in the risk of electric shock.
Consult a qualified electrician if you have any doubts on whether the outlet is
properly grounded.
EN - 3
Page 4

IMPORTANT SAFEGUARDS
WARNING
When using electrical appliances, basic safety precautions should
always be followed to reduce the risk of fire, electric shock, and /
or injury to person including the following:
Follow all safety precautions to ensure safe
use of the appliance.
• Before using the appliance, read this user
manual carefully.
• Do not use the appliance outdoors.
• This appliance is for household use only.
• Do not use the appliance for other than its
intended use.
• Do not allow children to use the appliance.
• Children should not play with the appliance.
Keep the appliance out of the reach of
children.
• Keep the packaging material (plastic bags,
expanded polystyrene) out of the reach of
children.
• Close supervision is necessary when any
appliance is used by or near children.
• Turn off the appliance immediately after use.
• Do not leave the appliance unattended
while it is running.
• Disconnect the appliance from the wall
outlet before assembly, disassembly,
cleaning and after each use.
• Always attach plug to appliance first, then
plug cord into the wall outlet. To disconnect,
turn any control to “off,” then remove plug
from wall outlet.
• Turn the appliance OFF, then unplug
from the outlet when not in use, before
assembling or disassembling parts and
before cleaning. To unplug, grasp the plug
and pull from the outlet. Never pull from the
power cord.
• To protect against fire, electrical shock
and personal injury, do not immerse the
appliance, the power cord or plug in water
or any other liquid.
• Do not touch the appliance or the plug with
wet hands.
• Never try to extinguish a flame/fire with
water: turn off the appliance, unplug it from
the outlet and cover the flame with a lid or
a fire blanket.
• Do not use the appliance if the power cord
or plug is damaged or if the appliance has
been dropped or damaged in any way.
• Do not let cord hang over edge of table or
counter, or touch hot surfaces.
• Do not operate any appliance with a
damaged cord or plug or after the appliance
malfunctions, or has been damaged in any
manner. Return appliance to an authorized
service facility for examination, repair or
adjustment.
• Make sure the power cord does not come
in contact with sharp edges.
• Do not pull on the cord to remove the plug
from the socket.
EN - 4
SAVE THESE INSTRUCTIONS
Page 5
EN
IMPORTANT SAFEGUARDS
• Do not place the appliance on or near
switched-on gas or electric burners, inside
an oven, or near heat sources.
• Do not touch hot surfaces. Use handles and
knobs.
• Do not place the appliance near faucets or
sinks.
• Never attempt to repair the appliance
yourself or without the help of a qualified
technician. Failing to do this will void the
warranty.
• In case of malfunction, have the appliance
repaired by a qualified technician.
• Do not make any changes to the appliance.
• Make sure that the power outlet used is
always freely accessible, because only
in this way can it be unplugged when
necessary.
• To remove the plug from the power outlet,
operate directly on the plug. Never pull the
cable, it could be damaged.
• If the appliance should break down, do not
attempt to repair it.
• Do not allow the power supply cable to
dangle over the edge of the table or other
surface or to touch hot surfaces.
• If the plug or power supply cable are
damaged, have them replaced exclusively
by the Technical After-sales centre, so as to
prevent all risks.
To avoid the risk of injury, do not open
the brew chamber during the brew
process.
• Check hopper for presence of foreign
objects before using.
For this appliance
• Only insert water into the appropriate tank.
Use fresh, clean water.
• The appliance shall not be placed in a
cabinet when in use.
• Allow the appliance to cool down before
cleaning.
• The appliance generates heat and produces
hot water and steam during operation.
Avoid contact with boiling steam or water.
• Do not fill the water container beyond the
maximum limit indicated.
• Do not use without water in the tank or
without a tank.
• Only use the appliance indoors and at a
maximum altitude of 2000 meters.
• Use only coffee beans to obtain the powder,
do not put already ground coffee in the
coffee bean hopper.
• Use the device only to prepare coffeebased drinks from grinding coffee beans
or to dispense hot water. Other uses are
improper.
• Use only original spare parts from the
manufacturer. The use of spare parts not
recommended by the manufacturer may
cause fire, electric shock or injury to
persons.
• Place the appliance on a flat, dry surface.
• Avoid wetting or spraying liquid on the
appliance. In case of contact with liquid,
immediately unplug the cord from the
electrical outlet and dry thoroughly: Risk of
electric shock!
SAVE THESE INSTRUCTIONS
EN - 5
Page 6

IMPORTANT SAFEGUARDS
• Do not use abrasive cleaners or sharp
objects to clean the appliance.
• The use of an accessory not evaluated for
use with this appliance may cause injuries.
• Do not install the appliance in an environment
that is not suitable.
• Do not place the appliance on or in
proximity of electric or gas cookers, or in
a heated oven.
• This appliance is not intended for use by
persons (including children) with reduced
physical, sensory, or mental capabilities, or
lack of experience and knowledge, unless
they are closely supervised and instructed
concerning use of the appliance by a
person responsible for their safety. Children
should be supervised to ensure that they do
not play with the appliance.
• Avoid contacting moving parts.
• This appliance has important markings
on the plug blade. Contact a qualified
technician to replace the plug with a
suitable one if damaged.
• Connect the appliance only to a power
outlet installed perfectly.
2. If the appliance is of the grounded
type, the extension cord should be a
grounding-type 3-wire cord; and
3. The longer cord should be arranged so
that it will not drape over the counter top
or table top where it can be pulled on
by children or tripped over.
Connect the appliance
Make sure that the mains voltage corresponds
with that indicated on the data plate on the
bottom of the appliance.
Connect the appliance only to a power outlet
installed perfectly.
If the plug and power outlet are incompatible,
have the power outlet replaced with a suitable
type by qualified staff.
Electrical Cord:
a) A short power-supply cord (or detachable
power-supply cord) is provided to reduce
risks resulting from becoming entangled in
or tripping over a longer cord.
b) Longer detachable power-supply cords or
extension cords are available and may be
used if care is exercised in their use.
c) If a long detachable power-supply cord or
extension cord is used:
1. The marked electrical rating of the
detachable power-supply cord or
extension cord should be at least as
great as the electrical rating of the
appliance;
SAVE THESE INSTRUCTIONS
EN - 6
Page 7

EN
IMPORTANT INSTRUCTIONS
This user’s manual
This user’s manual is an integral part of
the appliance and must be kept intact and
available to the user throughout its life cycle.
Use compliant with destination
• The appliance is intended for household
and similar use, such as:
- in the kitchen area for the staff of shops,
offices and other work environments;
- in bed and breakfast and agritourism
accommodation;
- by guests at hotels and motels, and in
residential environments.
• Other uses, in restaurants, bars and cafes
for example, are improper.
Manufacturer’s liability
The manufacturer declines all liability for
damage undergone by persons and objects
due to:
• use of the appliance different from that
envisioned;
• user manual has not been read;
• tampering of individual parts of the
appliance;
• use of non-original spare parts;
• failure to comply with safety
recommendations.
• Unplug the appliance.
• Unplug the cord from the wall outlet.
• Old electrical equipment must not
be disposed of with household
waste! In accordance with the law in
force, electrical appliances at the end
of their life should be taken to separate
collection facilities for electrical and
electronic waste. This is so that valuable
materials from old appliances can be
recycled and the environment can be
protected. For more information, please
contact your local authorities or recycling
center employees.
Note that non-polluting and recyclable materials
are used for packaging the appliance.
• Dispose of the packaging materials at
appropriate differentiated waste collection
centers.
Plastic packaging
Risk of suffocation
• Do not leave the packaging or any part of
• Do not allow children to play with the plastic
it unattended.
packaging bags.
Identification plate
The identification plate lists the technical
data, serial number and brand name. The
identification plate must never be removed.
Disposal
Power voltage
Risk of electric shock
SAVE THESE INSTRUCTIONS
EN - 7
Page 8
Description / Assembly / Controls
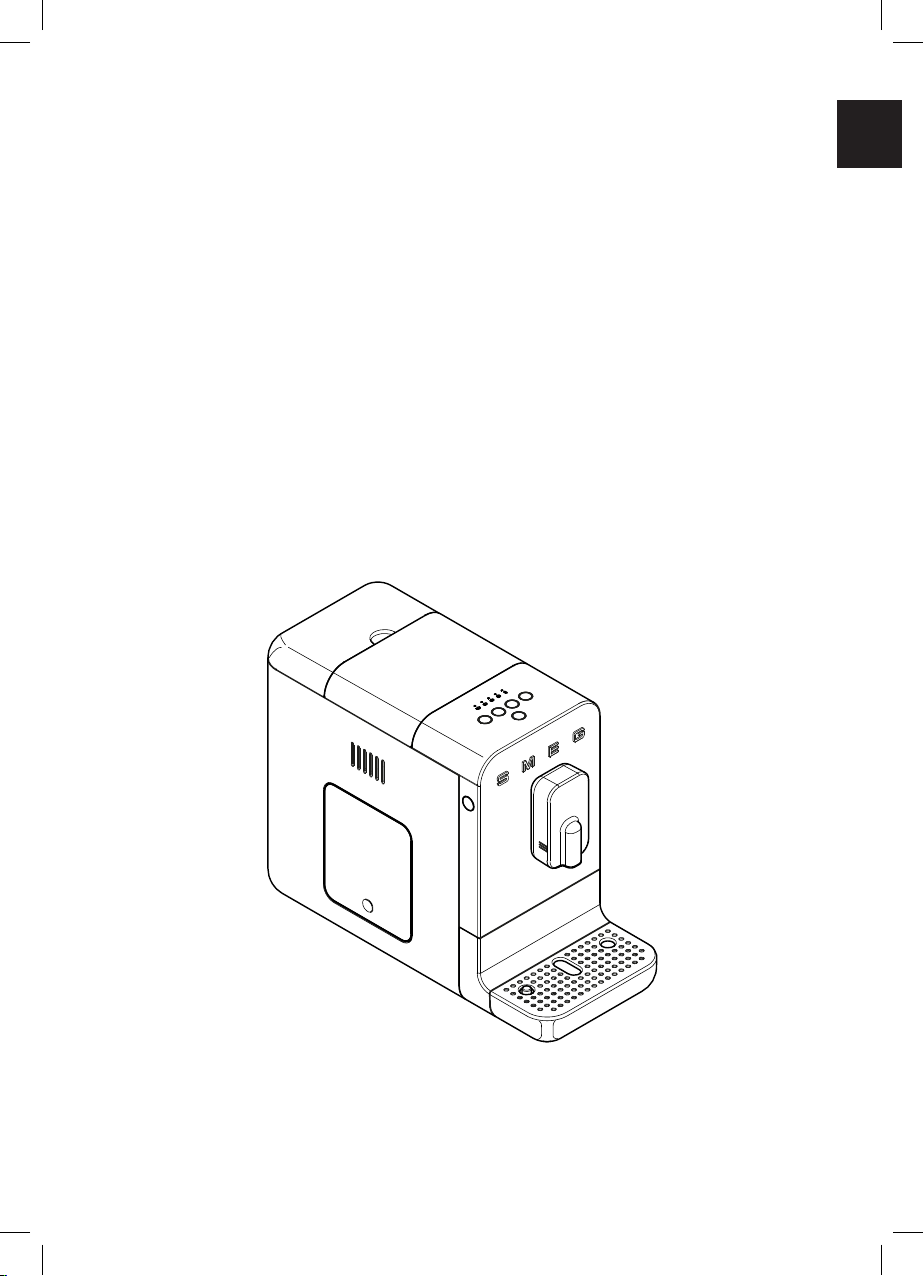
DESCRIPTION OF THE APPLIANCE
(Fig. A)
1 Machine body.
2 Coffee bean container lid.
3 Coffee bean container.
4 Water tank cover.
5 Water tank (1,4 l).
6 Grinding selection knob.
7 Grinders protection.
8 Brewing group access door.
9 ON/OFF button.
10 Control panel.
11 Height adjustable coffee dispenser.
12 Coffee grounds container.
13 Internal drip tray.
14 External drip tray with level indicator.
15 Brewing group.
IDENTIFICATION PLATE
The identification plate states the technical
data, serial number, and marking.
The identification plate must never be removed.
BEFORE FIRST USE
(Fig. A)
• Unpack the appliance carefully and remove
• Rinse the removable components with
ASSEMBLY OF COMPONENTS
(Fig. B)
• Place the machine on a flat surface and fix
• Connect the power supply cable to the
all packaging materials.
lukewarm water, such as: water tank (5)
covers (2,4), door (8) grounds container
(12) drip trays (13,14) and brewing group
(15).
Before use, check that all
components are integral and have
no cracks.
the drip tray
socket on the rear of the machine and the
other end to a power socket
(14).
.
EN - 8
DESCRIPTION OF CONTROLS
AND ALARMS (Fig. A-C-D)
ON/OFF button (9)
Pressing the button switches the machine on
or off.
Change dispensing program
button (20)
The product has 8 functions, accessible
through two menus, Primary Menu and
Secondary Menu.
By pressing this button it is possible to change
the dispensing menu from “Primary” and
“Secondary” and vice versa.
Page 9
EN
Controls
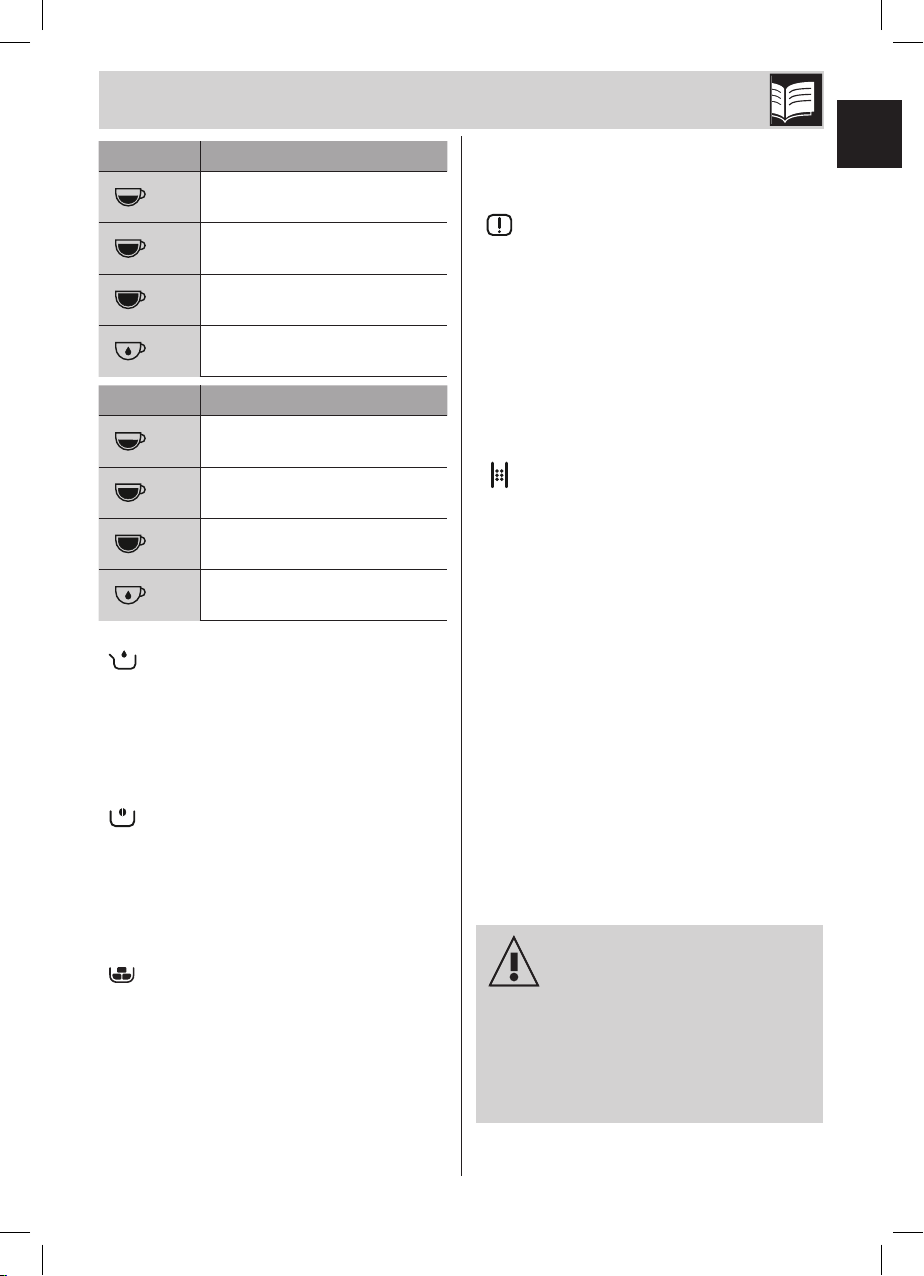
Primary Keys LED white
Ristretto coffee
16
Espresso coffee
17
Coffee
18
Hot water
19
Secondary
Empty water tank alarm (21)
Keys LED orange
Light Ristretto coffee
16
Light Espresso coffee
17
Long coffee
18
Americano
19
The related LED flashes when the tank (5) is
absent, or when the water inside it is missing
or at an insufficient level. Insert the tank or fill
it with water.
No coffee alarm (22)
The relative LED lights up steadily indicating
that the coffee beans in the container (3) have
reached the minimum level or are absent. Fill the
container with coffee beans.
Coffee grounds container alarm
(23)
Steady lit LED:
Coffee grounds container full (12); empty the
container.
Flashing LED:
Coffee grounds container (12) or internal drip
tray (13) missing or incorrectly assembled; the
machine is blocked until the components are
correctly reassembled.
Brewing group alarm (24)
Steady lit LED:
Brewing group missing or not correctly inserted;
the machine is blocked until the brewing group
(15) has been reassembled correctly (15).
Flashing LED:
Brewing group access door (8) not correctly
assembled; the machine is blocked until the
door is correctly reassembled (8).
Descaling alarm (25)
Steady lit LED:
Indicates that it is highly recommended to carry
out a descaling cycle;
Flashing LED:
The machine is blocked in all its functions,
a descaling cycle is mandatory to restore
machine operation.
Grinding adjustment knob (6) (Fig. D)
The appliance is equipped with a knob (6) that
allows you to adjust the grinding grain of the
coffee according to its uses:
Turning the knob (6) clockwise “A” increases
the grinding grain; turning the knob (6)
anticlockwise “B” decreases the grinding grain
and the ground coffee will be finer (Fig.D).
Turn the knob (6) and match the indicator (26)
with the desired grinding level.
The grinding grain adjustment must
be carried out when the grinder is
in operation or on first use when
the bean container is completely
empty; turning the knob (6) with
the grinder stopped and the beans
inside could damage the grinding
unit.
EN - 9
Page 10

Use
USE (Fig. E-F-G-H)
• Lift the lid (4) and insert cold water into the
tank (5) taking care not to exceed the ‘Max’
level indicated, then refit the lid (4).
• Lift the lid (2) and insert coffee beans into
the container (3).
• Check that the drip tray (14) is correctly
positioned.
• Press the button (9) , the machine starts
the heating phase and the keys light up
flashing in sequence.
At the end of the heating, a self-cleaning
cycle of the internal circuits is carried out
and, once the cycle is finished, the machine
is ready to be used.
At the first use it is recommended to
make at least one coffee to make a
complete break-in of all the circuits.
After 20 minutes of non-use, the
machine switches off. If it has made
at least one coffee, it performs a
self-cleaning cycle. Press the button
(9) to switch on the machine.
Change of dispensing program
The machine has two dispensing menus in
its memory: Primary and Secondary. To
switch from one program to another, press the
key(20) .
In the Primary menu all the keys are illuminated
in white, in the Secondary menu, all the keys
are illuminated in orange.
For the specific functions of each menu, refer
to the paragraph “DESCRIPTION OF
CONTROLS AND ALARMS”
Turning off the machine the setting
of the
Primary or Secondary
dispensing menu remains in the
memory at the next restart.
EN - 10
Dispensing a drink
• It is possible to adjust the position of the
dispenser (11) according to the cup used.
For very high cups it is possible to remove
the drip tray (14).
• Place a cup or large cup under the
dispenser.
• Press the key for the desired function. For
each selected function, preparation stops
automatically. For specific functions, refer
to the paragraph “DESCRIPTION OF
CONTROLS AND ALARMS”.
• At the end of dispensing, all the keys light
up fixed.
Dispensing can be stopped at any
time by pressing the dispensing
key again
Remember to reassemble the tray
(14) at the end of any dispensing.
It is completely normal that after a
prolonged inactivity of the machine
(breaks longer than 20 min) the
first coffees are not at the right
temperature. The tips to obtain a hot
coffee immediately are given in the
section “What to do if
Customization of the quantity
It is possible to customize, for each type of dispensing,
the quantity of coffee or water dispensed
• Place a cup or large cup under the
dispenser.
• Press for at least 3 seconds one of the
keys relative to the drink to be dispensed.
The selected key lights up flashing; the
machine emits a double sound to signal
the modification of the preset program.
• On reaching the desired quantity, stop
dispensing by pressing the key again; an
acoustic signal indicates the memorization
of the quantity.
.
...”
.
Page 11

EN
Use
Customisation of the amount of
dispensed Americano drink: the
drink is produced by dispensing
espresso coffee followed by hot
water. To customise this drink,
proceed as with other drinks and
stop dispensing both coffee and,
next, hot water.
Any customization of the drinks
remains saved for future dispensing.
To restore the manufacturer’s settings,
press the keys
simultaneously for at least
3 seconds.
The machine emits a single sound to
signal the restoration of the factory
settings.
Turning off the machine
• Check that the drip tray (14) is positioned
correctly.
• If there is no water, the machine remains in
the rinse position until the tank is filled.
• Press the button (9) , the keys (16), (17),
(18), (19) light up flashing in sequence and
the machine, if it has dispensed at least one
coffee, performs a self-cleaning cycle.
At the end of the self-cleaning cycle, the
machine switches off.
(9)
and (20)
MACHINE SETTINGS
(Fig. C-G)
Through a programming menu it is possible
to set the water hardness and the acoustic
signals.
Activation / deactivation of acoustic
signals
The acoustic signals can be disabled /
enabled by keeping the keys (17) and
(20) pressed for three seconds; the key
(17) flashes three times indicating the
memorization of the setting.
Setting the water hardness
To access the water hardness programming,
press the keys (16) and (20)
simultaneously for at least 3 seconds, the
LEDs (21) , (22) , (23) light
up flashing.
• Choose the water hardness, referring to the
following table, pressing the key
,
the LED relating to the selected hardness
lights up steadily, the others go off
Led Hardness
Light
21
Medium
22
Hard
23
• To memorize the selected hardness,
press keys (16) and (20)
simultaneously for at least 3 seconds or do
not press any key for 15 seconds.
To prolong the machine operation
and preserve the aroma and taste of
the coffee, it is recommended to use
the Smeg Softener Filter (optional,
not supplied). For installation and
operation, follow the instructions
that accompany the accessory.
Once installed, set the water
hardness level to ‘Light’ following
the instructions in the previous
paragraph.
(16)
.
EN - 11
Page 12

Use / Cleaning and maintenance
CLEANING AND MAINTENANCE
(Fig. C-E-G-H-I-L)
Manual rinse
• Make sure that the Primary program is
selected with keys (16), (17), (18), (19)
illuminated in white.
• With the machine ready to dispense and
the drip tray mounted, press the keys (20)
and (19) simultaneously for at
least 3 seconds: the machine will rinse the
coffee circuit (coffee dispenser 11).
• At the end of the washing cycle, the keys
light up steadily.
Cleaning of the machine body
For a good preservation of the external
surfaces it is necessary to clean them regularly
at the end of each use, after letting them cool.
Clean with a soft cloth dampened with water.
Never immerse the machine body
(1) in water or other liquids.
Allow the machine to cool down
before cleaning.
Cleaning the external drip tray (14)
The drip tray (14) is equipped with a red
float (27) which protrudes from the cup-holder
grid as soon as the maximum liquid level is
exceeded.
• Remove the tray (14) and the cup-holder
grid (28) and empty it.
• Clean the tray (14) and the grid (28) in
running water with neutral dish detergent.
• Dry the components and reassemble them
in the machine.
Cleaning the coffee grounds
container (12) and internal tray (13)
Always empty the coffee grounds
container with the appliance
switched on. This is the only way
of resetting the coffee grounds
counter.
• Remove the tray (14).
• Remove the grounds container (12) with its
tray (13) by pulling it outwards.
• Empty the coffee grounds from the container
(12).
• Clean the container (12) and the tray (13)
in running water with neutral dish detergent.
• Dry the components and reassemble them
in the machine.
Daily cleaning of the coffee grounds
container and internal tray is
recommended.
Cleaning the water tank (5)
• Remove the lid (4) and remove the tank (5)
from the machine using the appropriate
handle.
• Clean the tank (5) in running water with
neutral dish detergent and reassemble it in
the machine.
Cleaning the brewing group (15)
Before performing this cleaning
operation, ALWAYS disconnect the
plug from the power outlet.
• Press the door (8) in the lower part until it
releases then remove it from the upper part.
• Press the two release clips (29) located on
the sides of the infuser (15) and remove it
from the machine (Fig.L).
• Wash the brew group (15) with running
water, dry it and reassemble it in the
machine, making sure it is positioned
correctly.
EN - 12
Page 13

EN
Cleaning and maintenance
• Refit the service door (8) making sure it is
correctly positioned.
Do not wash the brewing group
in the dishwasher in order not to
damage it permanently.
Descaling
The coffee machine signals when it is
necessary to carry out a descaling cycle based
on the set water hardness (For the setting of the
water hardness, see the “Machine Settings”
paragraph).
If the LED (25) lights up steadily, it means
that a descaling cycle is necessary, so as not
to alter the taste of the coffee and damage the
machine. However, coffee and further drinks
may continue to be dispensed for a limited
number of cycles.
If the LED (25) flashes, it means that a
descaling cycle is mandatory to proceed with
further dispensing of drinks.
To carry out a descaling cycle, proceed as
follows:
• Place a container with a capacity of at least
1,4 l
under the dispenser
• Make sure that the
white illuminated keys is selected.
• Fill the tank (5), up to the “MAX” level, with a
solution of water and descaler in the doses
recommended by the manufacturer
• With the machine ready for use, press
the keys (20) and (18)
simultaneously for at least 3 seconds. The
key (18) flashes with an orange light
and the LED (25) has a fixed light for
the entire duration of the descaling cycle,
which has duration of several minutes.
(11).
Primary
program with
.
• The descaling cycle ends when the solution
contained in the tank (5) is finished, the key
(18) and the LEDs (21) and
(25) light up fixed.
• During the descaling cycle, the machine will
take a few breaks to allow the descaler to
act effectively. Wait for the end of the cycle.
• Pour clean water into the tank (5) up to the
“MAX” level to carry out the rinse cycle, then
press the button (18) to start the rinse
cycle, the button (18) flashes and the
LED (25) lights up steadily for the entire
duration of the washing cycle.
• When the tank (5) is empty, the rinse cycle
is finished.
• The keys light up in white.
If, at the end of the descaling
process, the LED (25)
permanently lit, it indicates that
a new descaling cycle must be
carried out since the quantity
of descaling solution that was
used was insufficient for complete
cleaning.
Any other servicing should be
performed by an authorized
service representative.
“Empty system” procedure
The ‘Empty system’ procedure is recommended
before long periods of non-use and before
consulting a maintenance manager.
• Activate the procedure by holding down
the key (16) and the key (19)
simultaneously for three seconds, the key
(17) and the key (19) flash
simultaneously.
remains
EN - 13
Page 14

Cleaning and maintenance
• The entire amount of water in the tank is
discharged through the coffee circuit.
• The pump continues to operate, even
intermittently, to also empty the internal
water circuits.
• At the end of the procedure the machine
switches off.
The empty system procedure takes
several minutes and on-off cycles.
Do not turn off the machine until the
complete procedure is complete.
EN - 14
Page 15

EN
What to do if......
Problem Possible causes Solution
Plug not inserted. Insert the plug.
The appliance does not
work.
The machine stops
during dispensing.
The coffee comes out of
the dispenser slowly.
ON/OFF button not
pressed.
Descaling alarm activated
(LED 25 flashes
Full grounds container
alarm (LED 23 ).
Infuser alarm missing or not
correctly assembled (LED
24 )
Empty or missing tank
alarm (LED 21 )
No coffee alarm (led 22
Tank not inserted or empty. Make sure that the tank is
Ground coffee too fine. Increase the coffee grain
Clogged dispenser spout. Clean the dispenser spout.
.
)
.
).
.
Press the button to start the
machine.
Perform descaling.
Empty the grounds container.
Check that the infuser
and its door are correctly
assembled.
Make sure that the tank is
correctly inserted or fill it with
water.
Pour some coffee beans into
the container.
correctly inserted or fill it with
water.
using the relative knob.
Warning: adjust the grinder
only when it is operating,
in order not to damage the
grinding unit.
The coffee comes out
of the dispenser too
quickly.
The coffee is not hot.
Ground coffee too thick. Decrease the coffee grain
using the relative knob.
Worn grinders. Contact an authorized
service centre.
Machine inactivity for a
prolonged time.
Using the same cup in which
the coffee will be prepared,
dispense hot water to heat
the cup.
EN - 15
Page 16

Problem Possible causes Solution
Locked drawer.
All the buttons are
blinking simultaneously.
If the problem has not been solved or for other types of faults, contact the local
assistance service.
Incorrect use of the
machine.
Internal water circuit error. Make sure there is water
Check lights or switch the
machine off and on.
in the tank and wait for the
circuit to reset
If the problem persists,
contact the service center.
EN - 16
 Loading...