

SMC Networks TigerStore SMCNAS04,TigerStore SMCNAS24,NAS04,NAS02 - annexe 1,NAS24 User Manual
Backup Utility
USER GUIDE

NAS Backup Master
User Guide
May 2007

TRADEMARKS
All brand and product names are trademarks or registered trademarks of thei r
respective companies.
NOTE
The information in this manual is subject to change without notice.

Table of Contents
Table of Contents................................................................................. v
Chapter 1 Setting Up the Backup Master .................................... 7
1.1 Installing the Backup Master................................................................7
1.2 Configuring the Backup Master .........................................................22
Backup Now.................................................................................26
Basic Setup..................................................................................29
Schedule Setup............................................................................32
Advanced Setup...........................................................................35
Restore.........................................................................................41
Special notice information............................................................51
7
Chapter 1 Setting Up the Backup
Master
1.1 Installing the Backup Master
IMPORTANT: Do not turn on power to your storage system and do not connect to your
computer until after you have finished installing the Backup Master.
You need to install the Backup Master before you can perform any system
configurations.
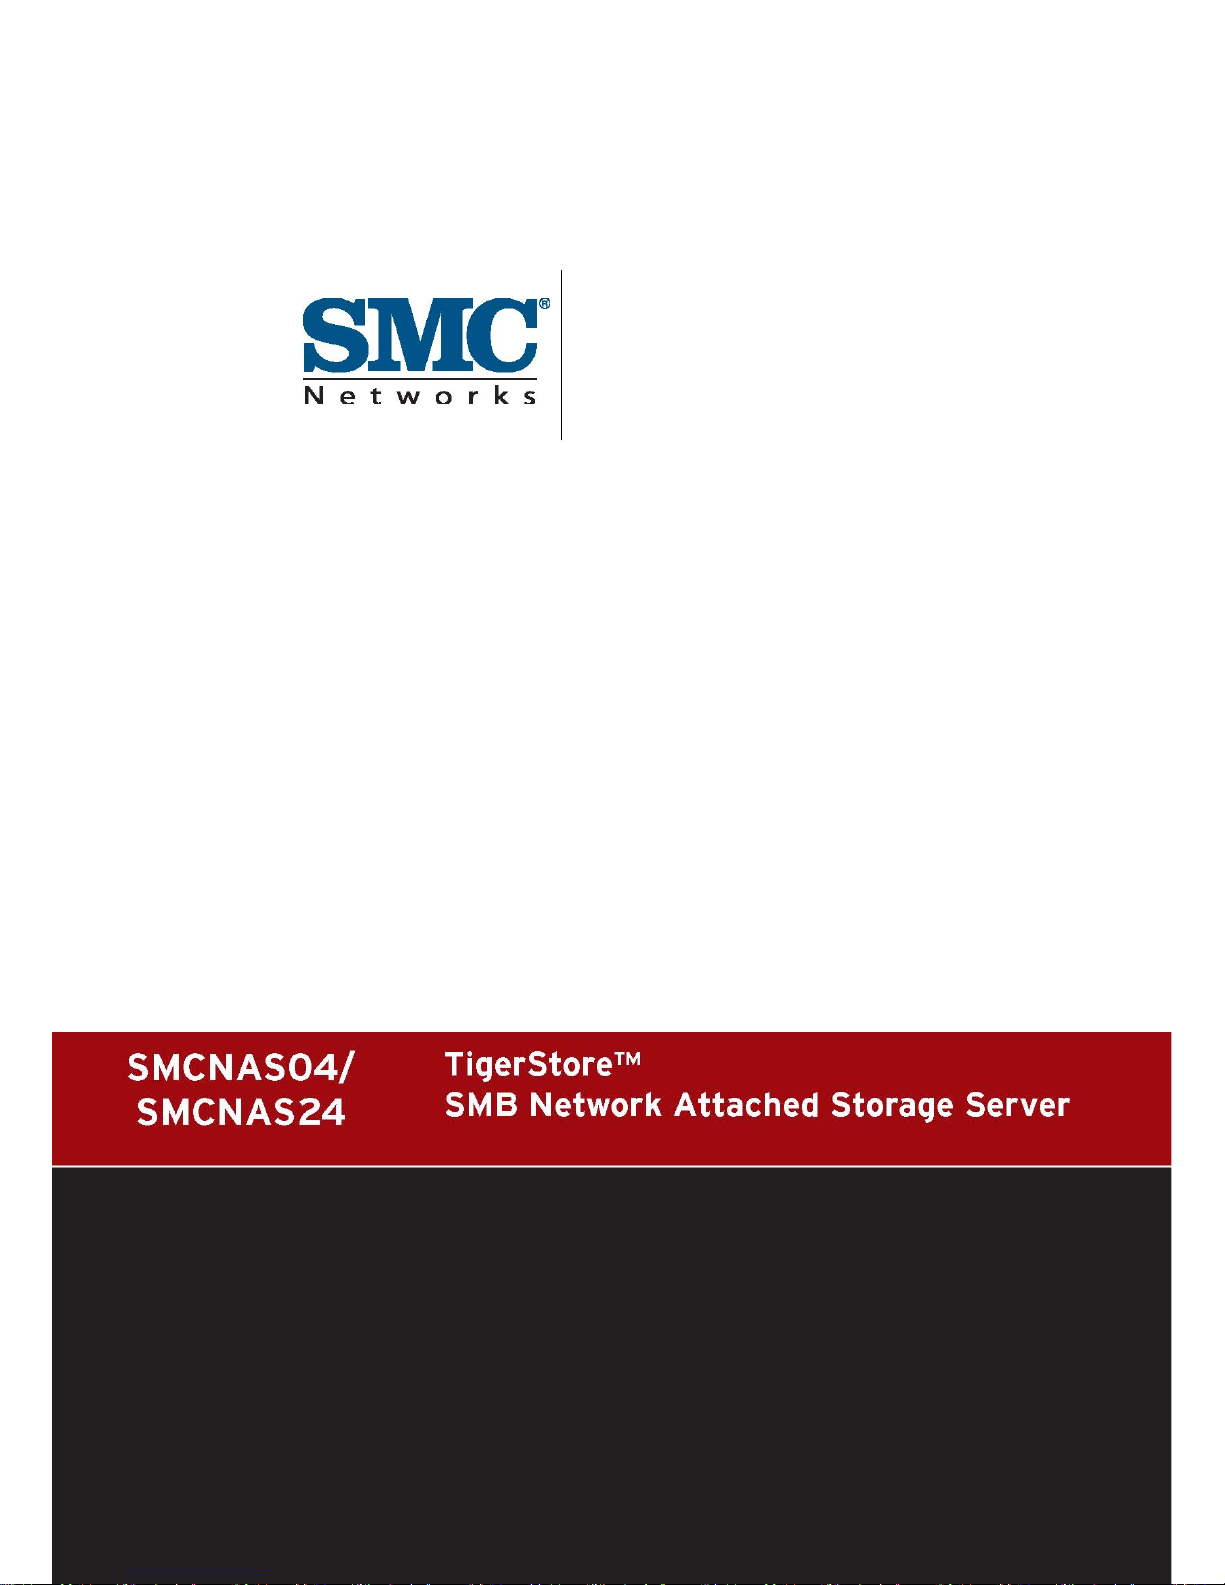
1. Make sure that your computer is turned on.
2. Insert the included Utility disc into your optical drive and the following
screen appears.
Click “Install NAS Backup Master.”
3. When the next screen appears, select the desired language (English/
Traditional Chinese/Simplified Chinese).

8
4. Click “Next” and the following screen appears.

9
5. Click “Next” to continue and the following screen appears. If you want to
select a different folder, click “Browse” and select your desired folder.
10
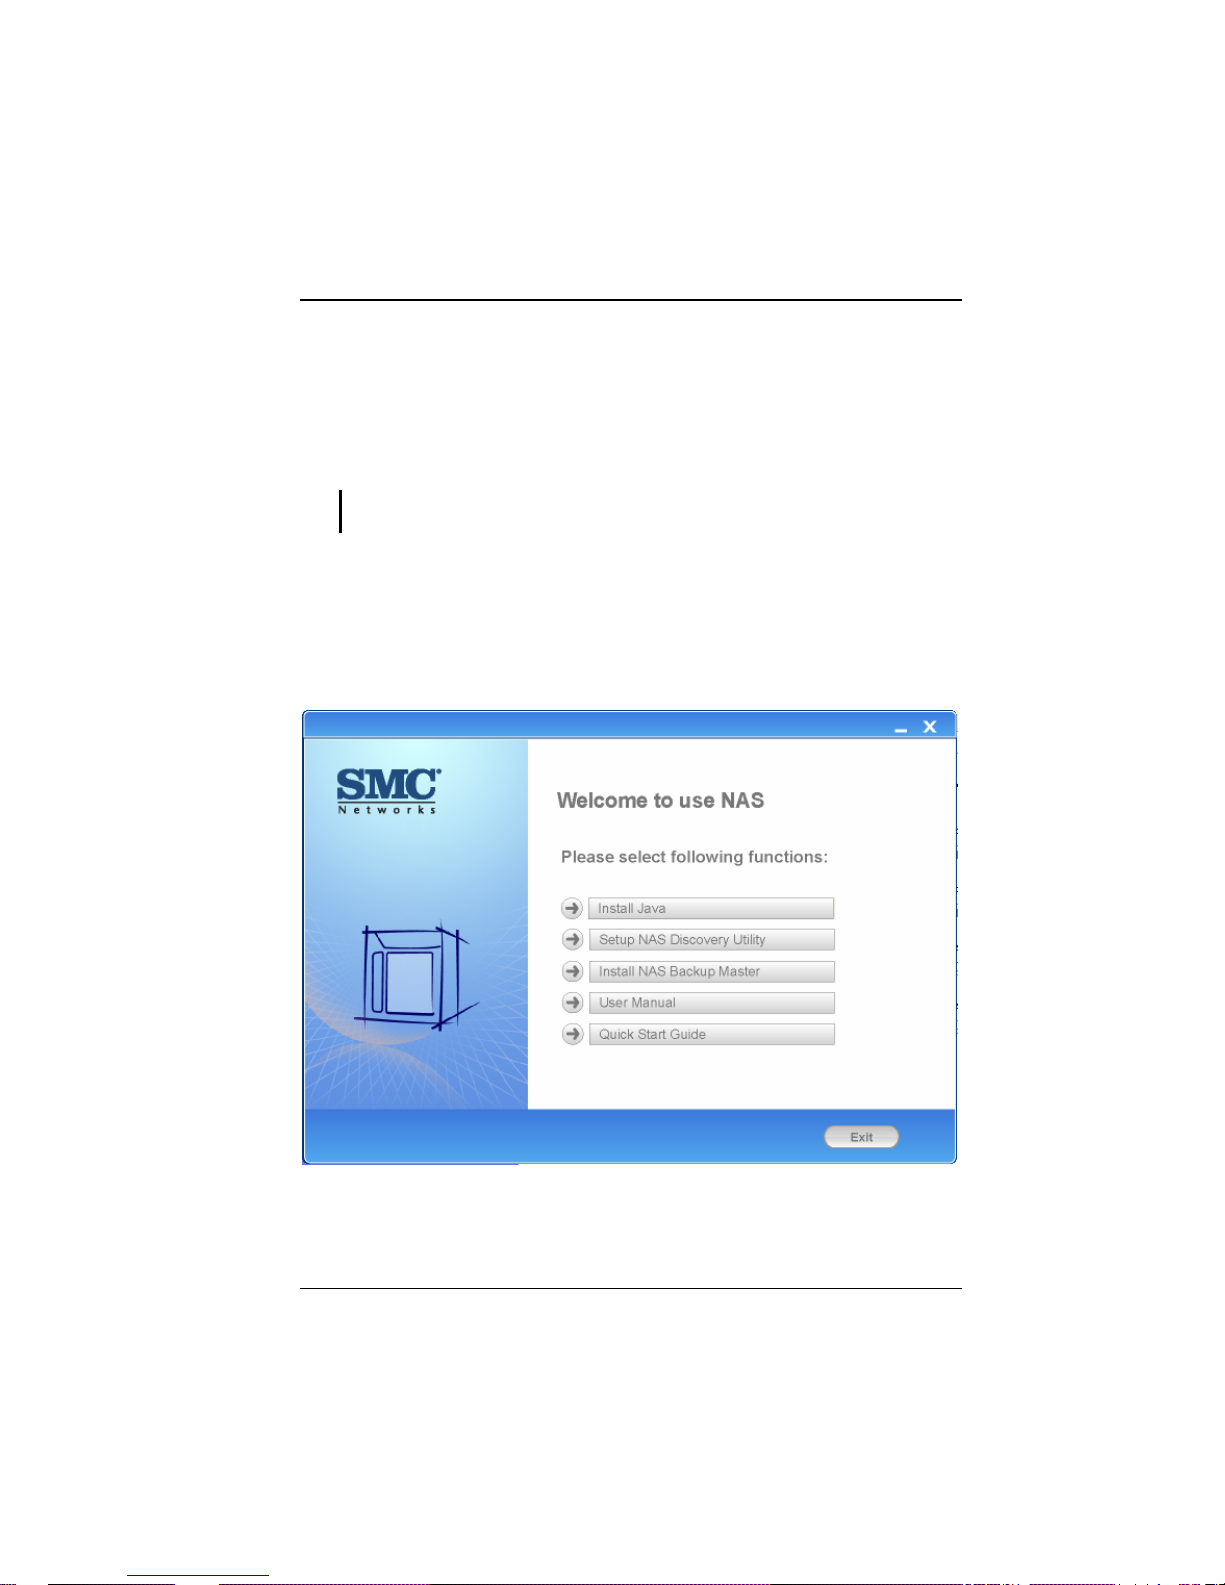
6. To continue, click “Next” and the following screen appear. If you want to
select a different Start menu folder, click “Browse” instead and select your
desired folder.
11
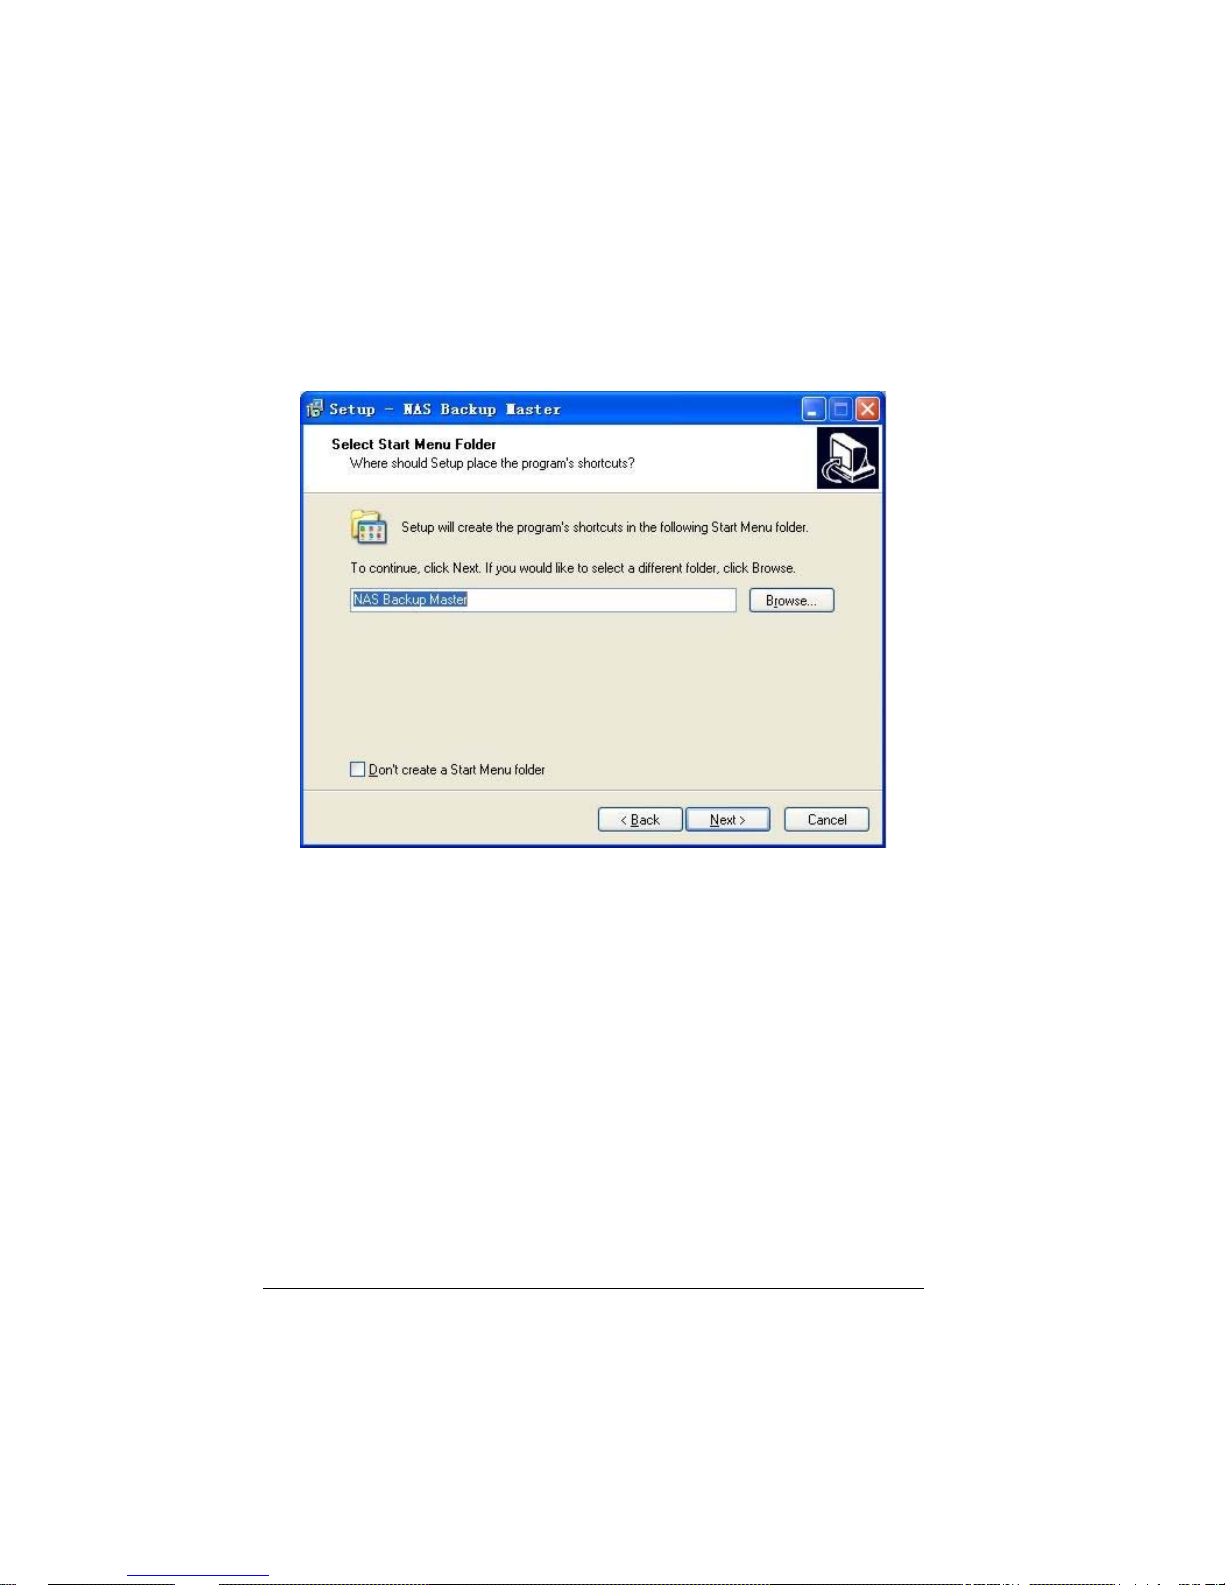
7. To continue, click “Next” and the following screen appear. Click “Create a
desktop icon” if wish to do so.
12
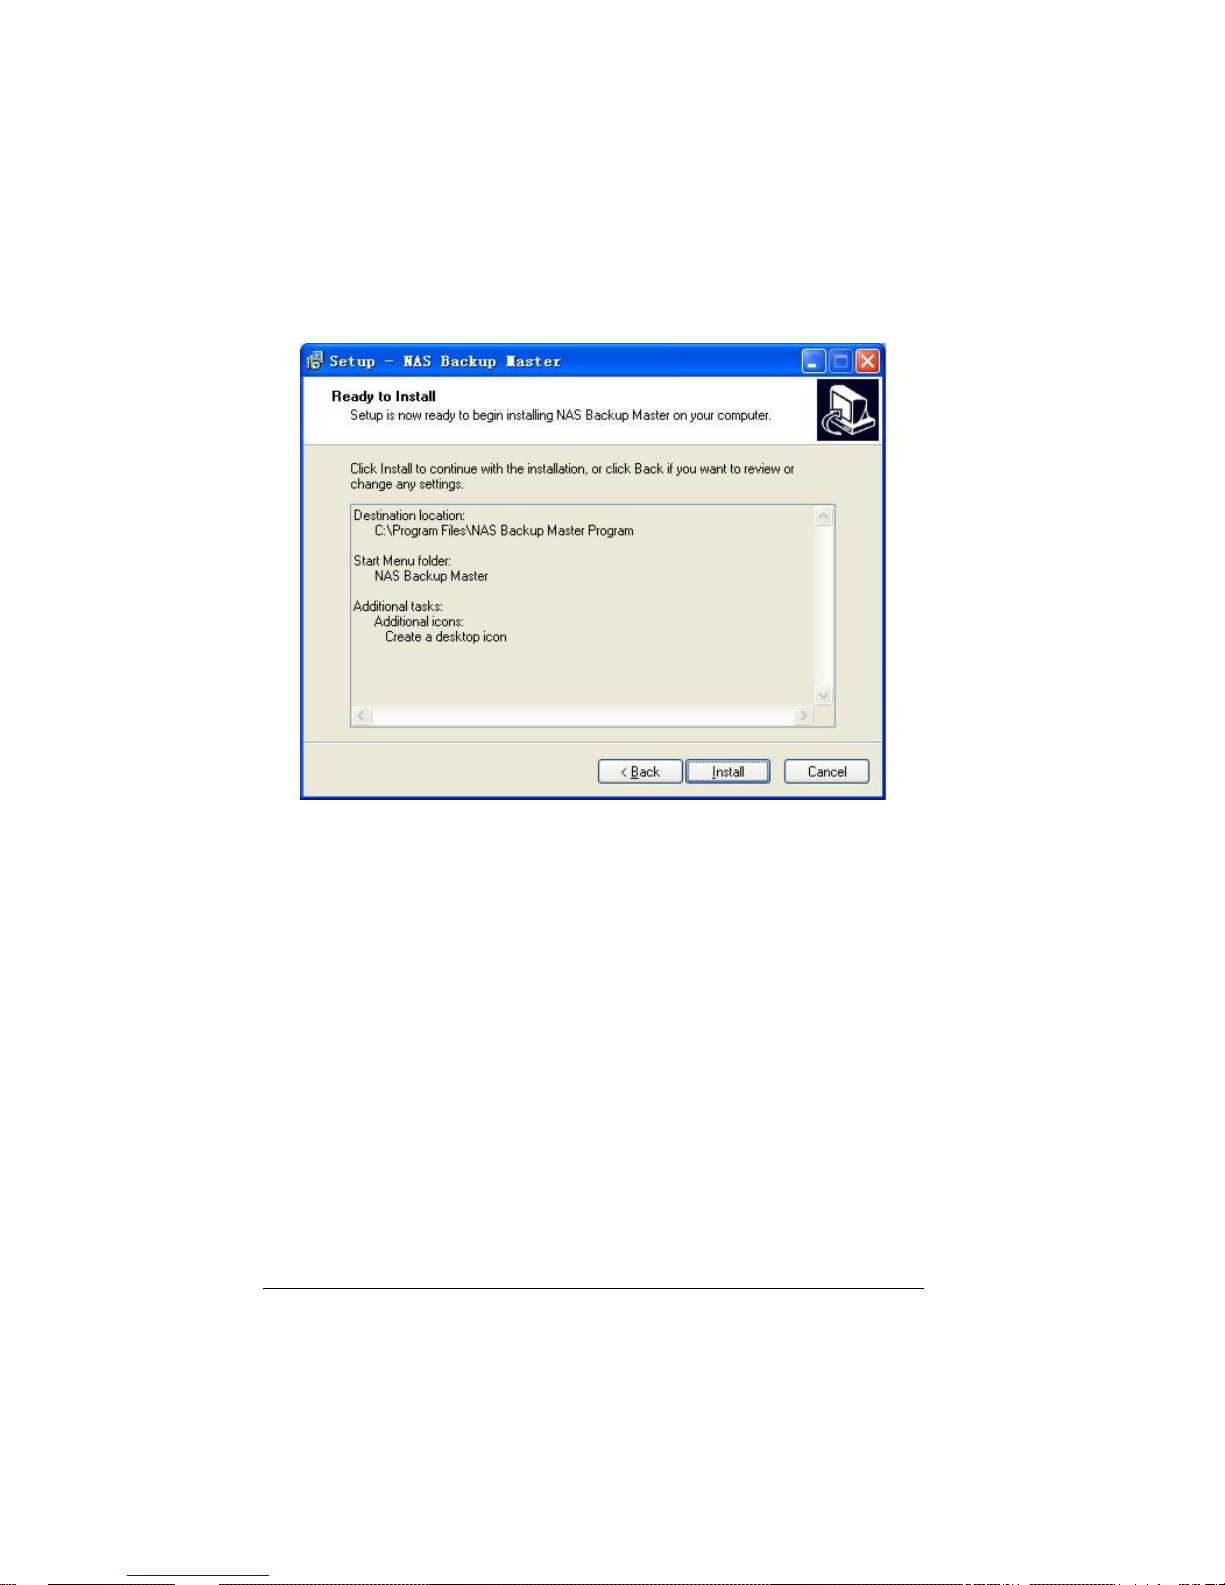
8. Click “Next” to continue and the “Ready to Install” screen appears.
13
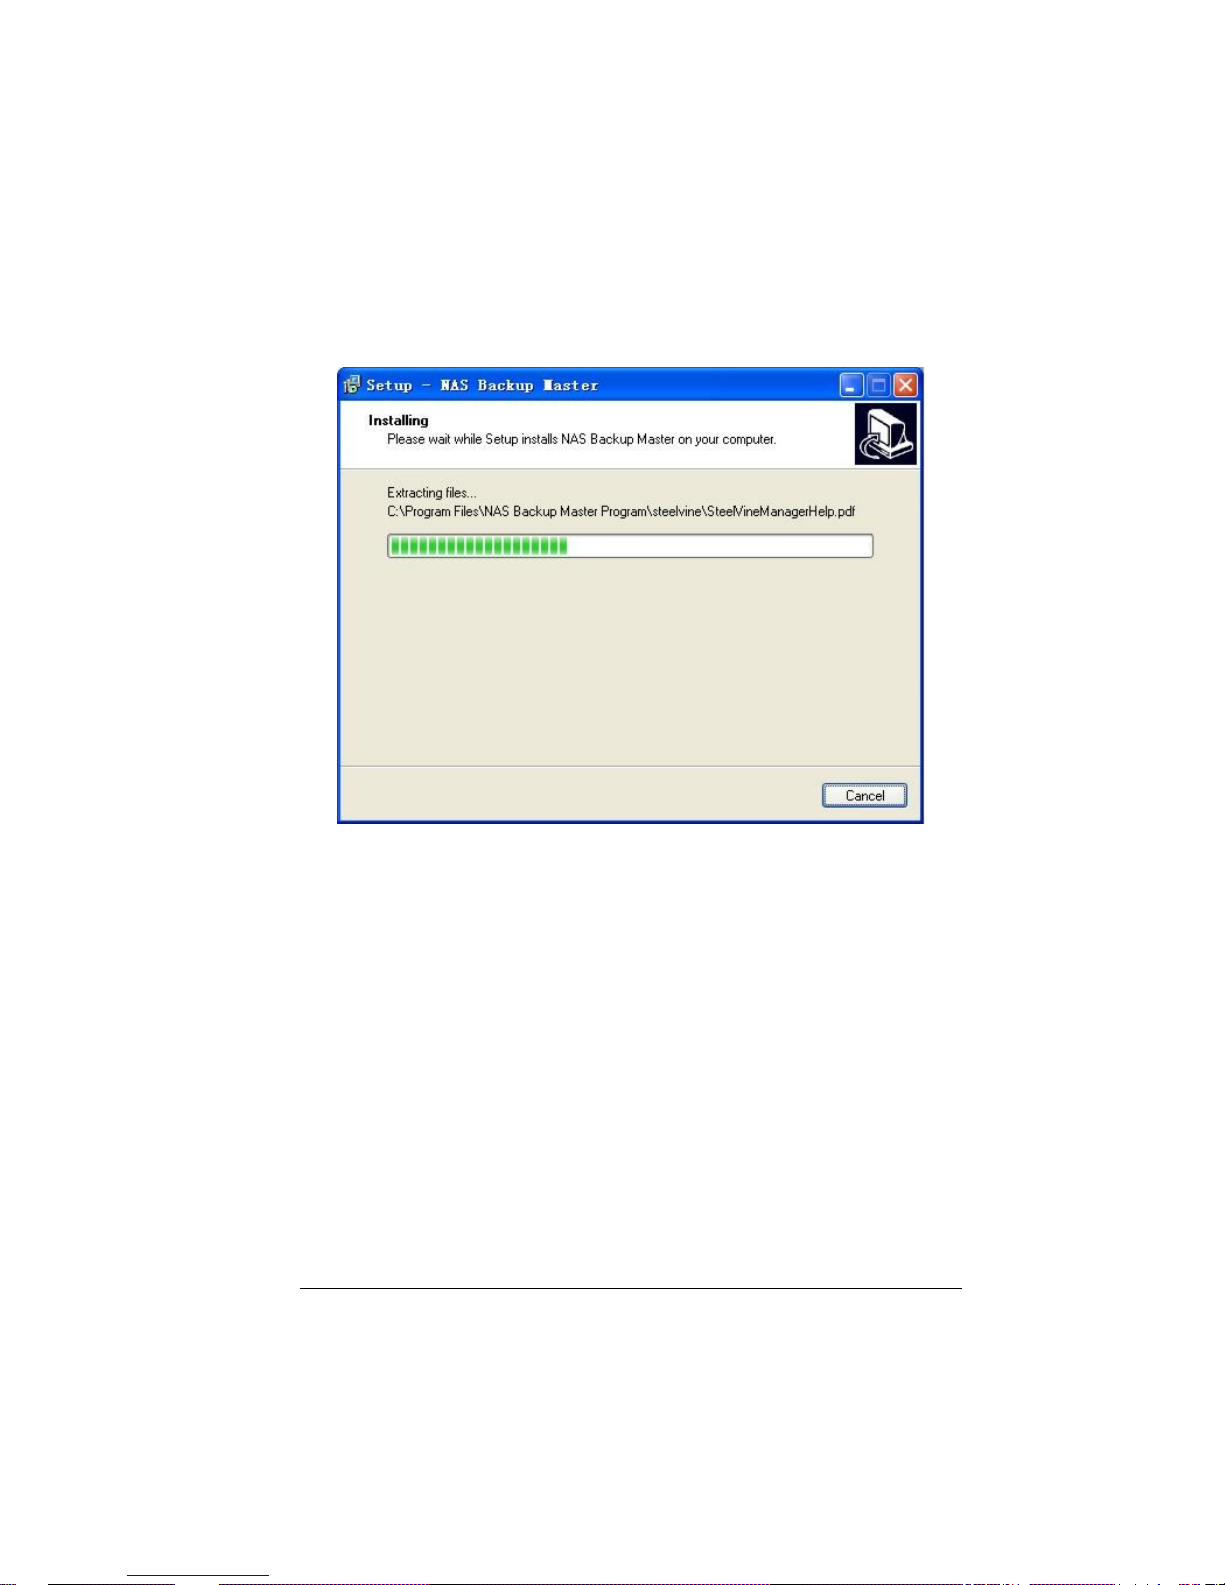
9. Click “Install” to continue and the following screen appear, showing the
progress of installation.
14
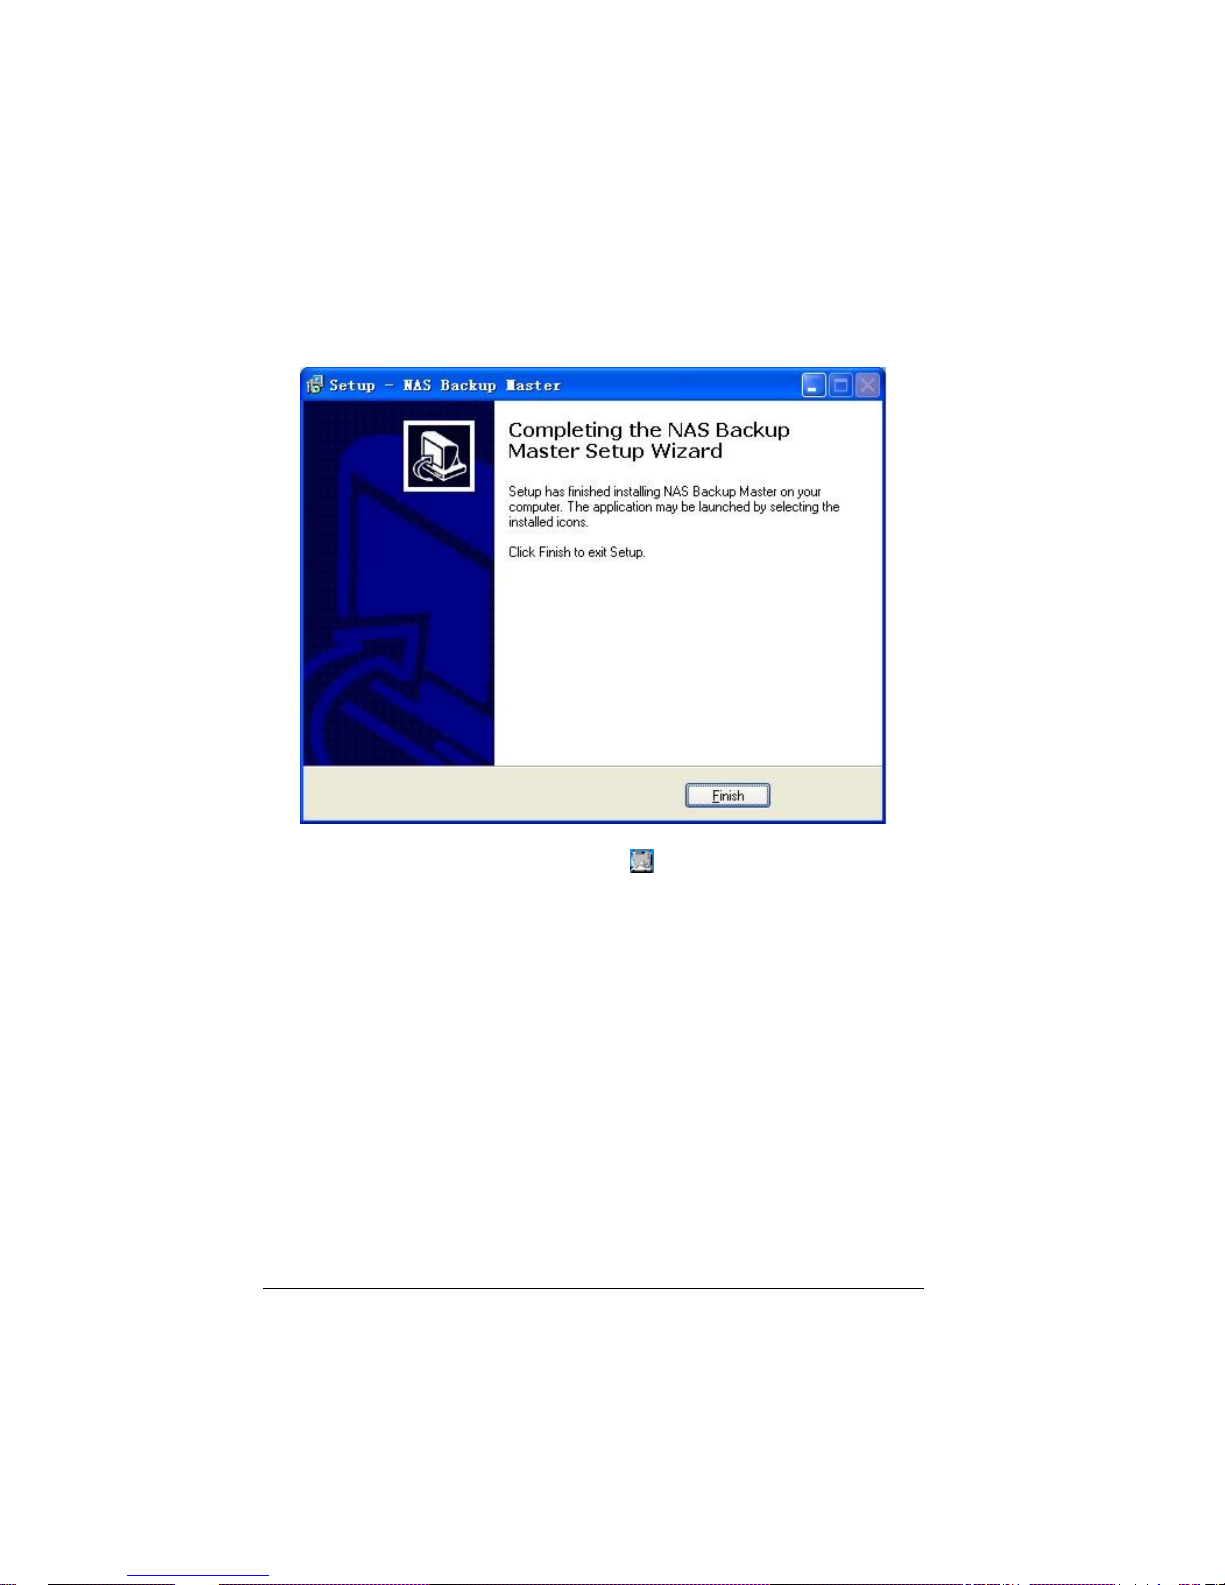
10. When the next screen appears, click “Finish” to exit the Backup Master
installation.
The “NAS Backup Master Detector” icon
would appear on your Windows
system tray to signify that the Backup Master was successfully installed.
15
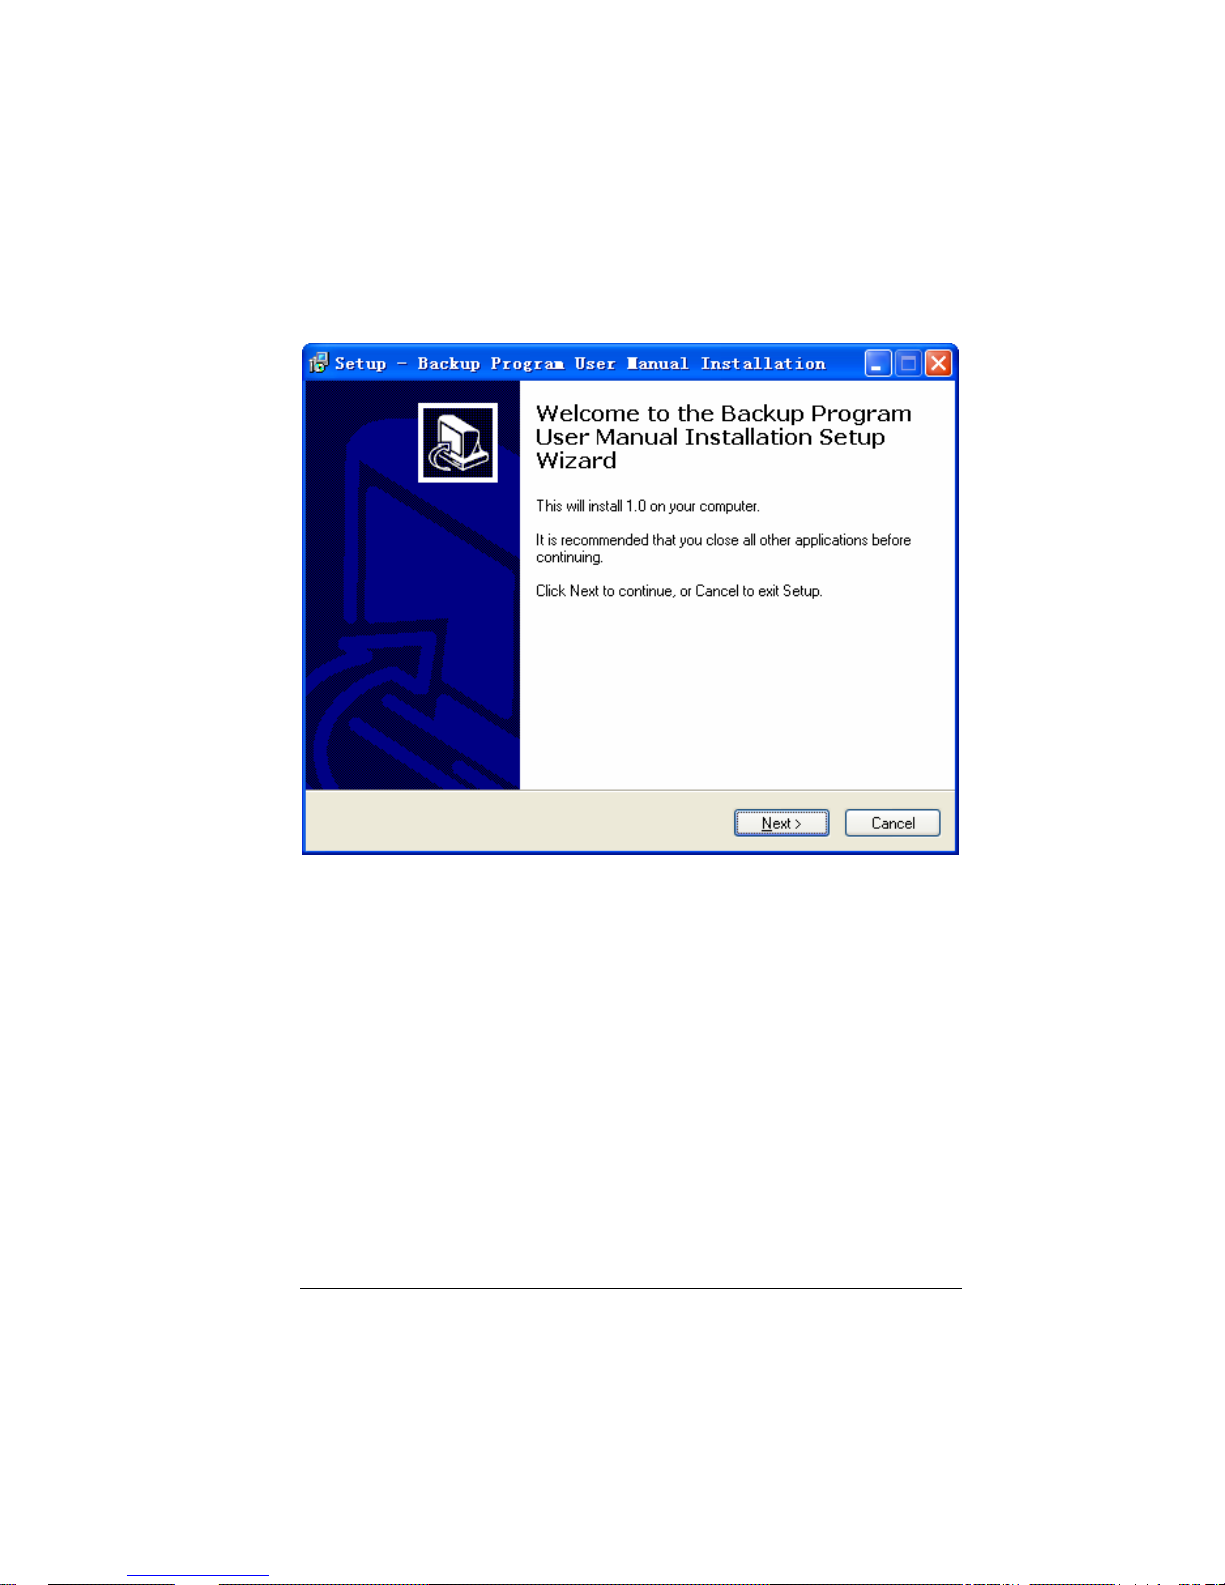
11. Install the Backup program user manual
16
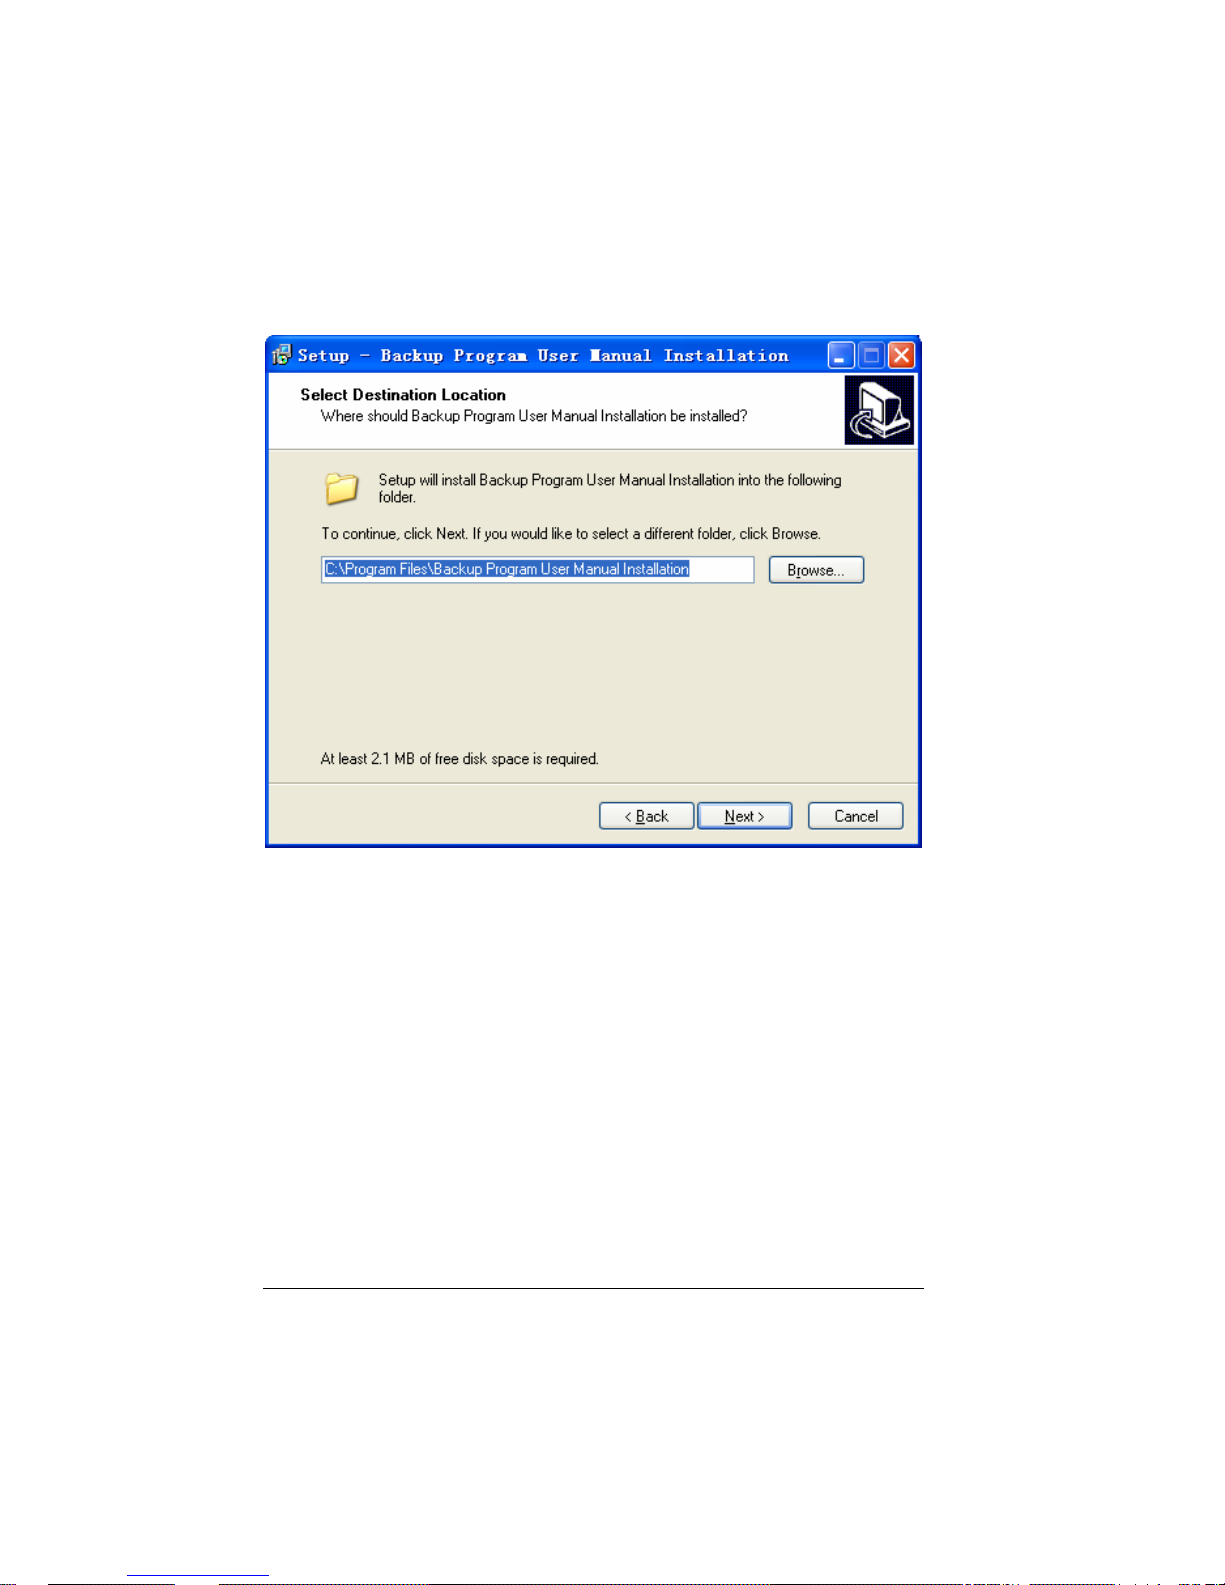
12. Click “Next” to continue and select destination location
13. Click “Next” to continue and select start menu folder

17
 Loading...