

SMC Networks 7401BRA V.2, SMC7401BRA V.2 Quick Installation Manual
SMC7401BRA V.2
2-port ADSL Router
with built-in Annex A ADSL Modem
Model Number:SMC7401BRA V.2
Quick Installation Guide
Guide d’installation rapide
Guía de inicio rápido
Beknopte installatiehandleiding
Manual de instalação rápida
2-port ADSL Router with built-in ADSL Modem
Routeur ADSL 2 ports avec modem ADSL intégré
Router ADSL de 2 puertos con módem ADSL integrado
2-poorts ADSL-router met ingebouwde ADSL-modem
Router ADSL de 2 Portas com Modem ADSL Integrado

English
2
•One ADSL Barricade
TM
•One Power adapter.
•One RJ-45 Ethernet cable.
•One RJ-11 Standard phone/DSL line cable.
•One USB Cable.
•One Installation utility and Documentation CD.
• Quick Installation Guide.
Note: ADSL splitters/microfilters are included with some models.
Package Contents
English 2 - 21
Français 22 - 41
Español 42 - 61
Nederlands 62 - 81
Português 82 - 101

Front Panel
The front panel contains lights called LEDs that indicate the status
of the unit.
English
4
Hardware Description
TM
, you must have
FUNCTION
On: the unit is powered on.
Off: the unit is powered off.
Flashing when ADSL data
activity occurs.
May be steady when data traffic
is heavy.
LED
PW
(Power)
LK
(Link)
COLOR
Green
Green
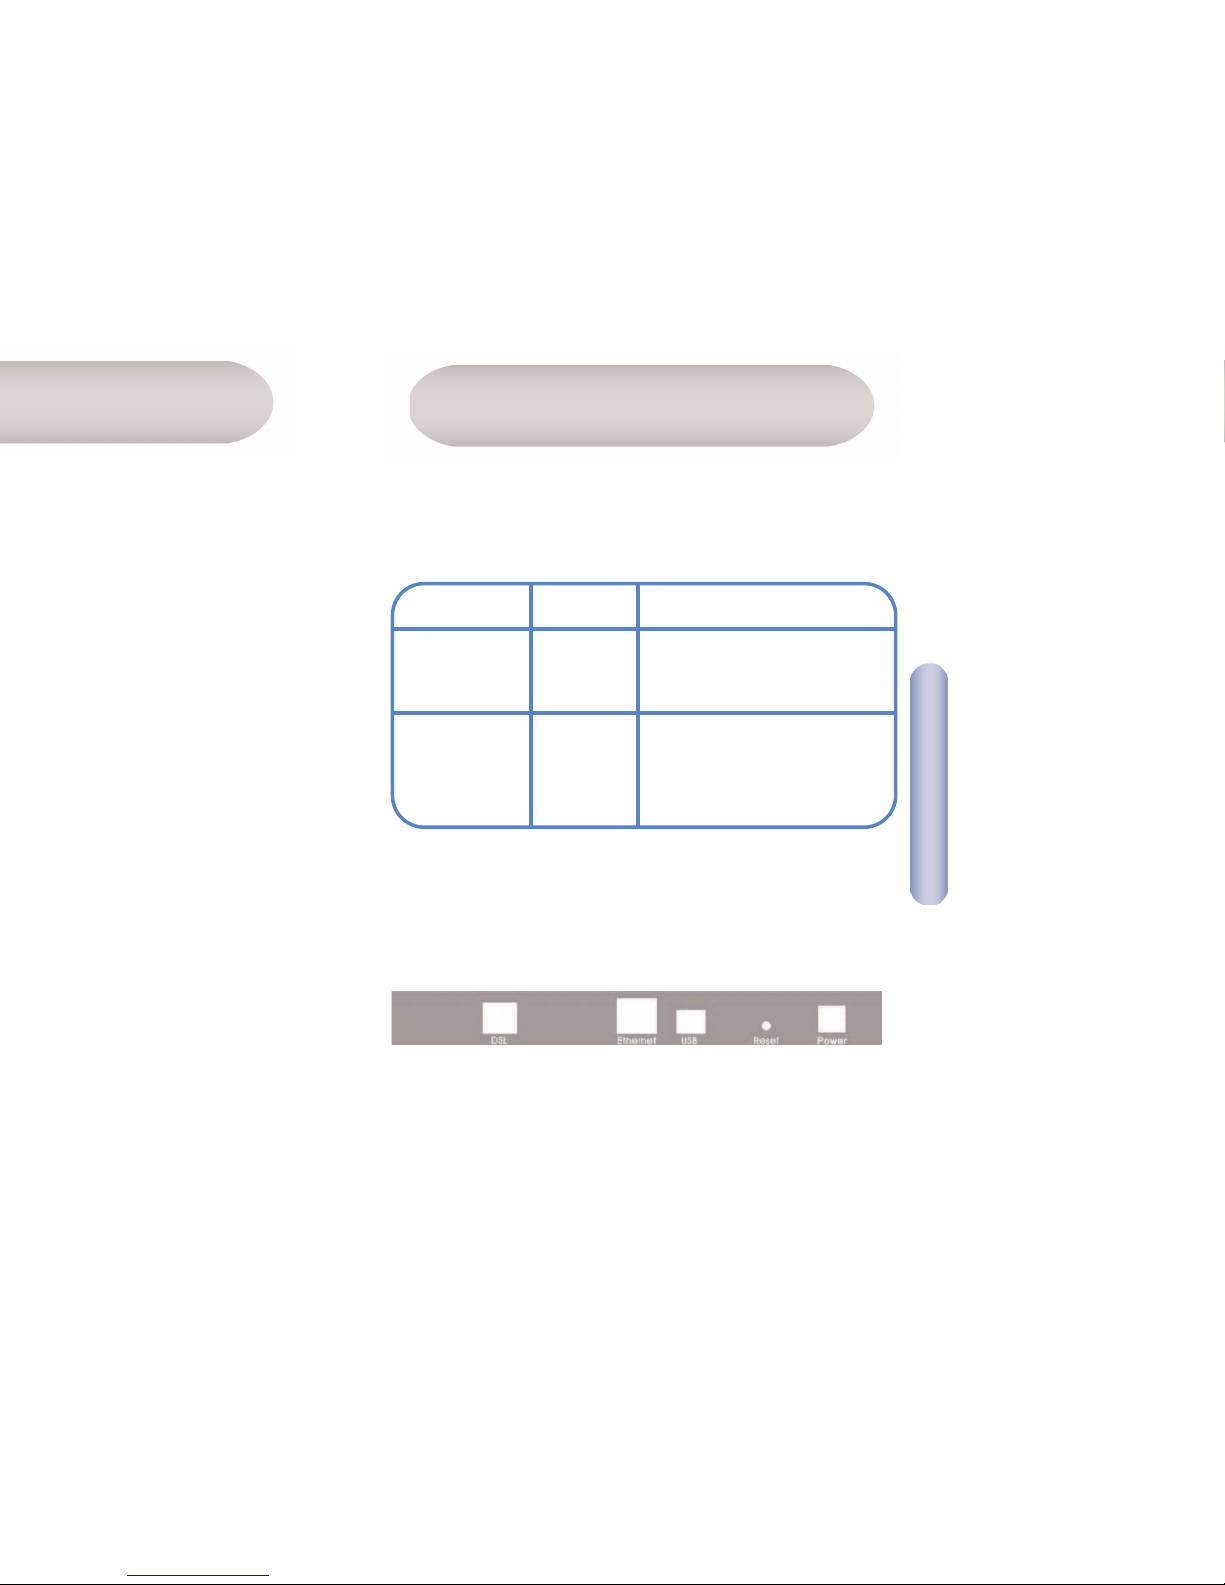
Rear Panel
The rear panel contains the ports for the unit's data and power
connections.

English
6
This Quick Installation Guide provides basic instructions
for connecting the ADSL BarricadeTMto a computer
or LAN and to the Internet.
• Section 1 describes how to set up the hardware.
• Section 2 describes how to configure Internet properties
on your computer(s).
• Section 3 shows you how to configure basic settings on
the ADSL Barricade
TM
to get your LAN connected
to the Internet.
This Guide assumes that you have already established ADSL service
with your Internet service provider (ISP). These instructions
provide a basic configuration that should be compatible with
your home or small office network setup.

English
8
TM
.
TM
, attach one
TM
. If you are
with a single computer and no hub,
Step 3. Attach the power connector
Connect the AC power adapter to the Power connector on
the back of the device and plug in the adapter to a wall outlet
or power strip.
Step 4. Power up your systems
Turn on and boot up your computer(s) and any LAN device such
as hubs or switches.

10
English
Windows® XP
1. In the Windows task bar, click the [Start] button, and then
click [Control Panel].
2. Double-click the [Network Connections] icon.
3. In the [LAN or High-Speed Internet] window, right-click on
the icon corresponding to your network interface card (NIC)
and select [Properties]. (Often, this icon is labeled [Local
Area Connection].) The [Local Area Connection] dialog box
displays a list of currently installed network items.
4. Ensure that the check box to the left of the item labeled
[Internet Protocol TCP/IP] is checked, and click [Properties].
5. In the [Internet Protocol (TCP/IP) Properties] dialog box,
click the radio button labeled [Obtain an IP address
automatically]. Also click the radio button labeled
[Obtain DNS server address automatically].
6. Click [OK] twice to confirm your changes, and close
the [Control Panel].
TM
.
TM
automatically assigns all required

English
12
5. In the [Select Network Component Type] dialog box, select
[Protocol], and then click [Add…].
6. Select [Internet Protocol (TCP/IP)] in the [Network Protocols]
list, and then click [OK]. You may be prompted to install files
from your Windows 2000 installation CD or other media.
Follow the instructions to install the files.
7. If prompted, click [OK] to restart your computer with the new
settings. Next, configure the PCs to accept IP information
assigned by the ADSL Barricade
TM
.
8. In the [Control Panel], double-click the [Network and Dial-up
Connections] icon.

English
14
Windows 98, Me, SE
1. In the Windows task bar, click the [Start] button, point to
[Settings], and then click [Control Panel].
2. Double-click the [Network and Dial-up Connections icon].
3. In the [Network and Dial-up Connections] window, right-click
the [Network] icon, and then select [Properties]. The [Network
Properties] dialog box displays a list of currently installed
network components. If the list includes [Internet Protocol
(TCP/IP)], then the protocol has already been enabled.
Skip to Step 11.
4. If [Internet Protocol (TCP/IP)] does not appear as an installed
component, click [Add…].

English
16
16
10. In the [Network and Dial-up Connections] window, right-click
the [Network] icon, and then select [Properties].
11. In the [Network Properties] dialog box, select [TCP/IP],
and then click [Properties].
12. In the [TCP/IP Settings] dialog box, click the radio button
labeled [Server assigned IP address]. Also click the radio
button labeled [Server assigned name server address].
13. Click [OK] twice to confirm and save your changes, and then
close the Control Panel.
Note: For Windows 95 and NT, please see the installation
instructions in the User Guide contained on the CD Rom.
TM
.
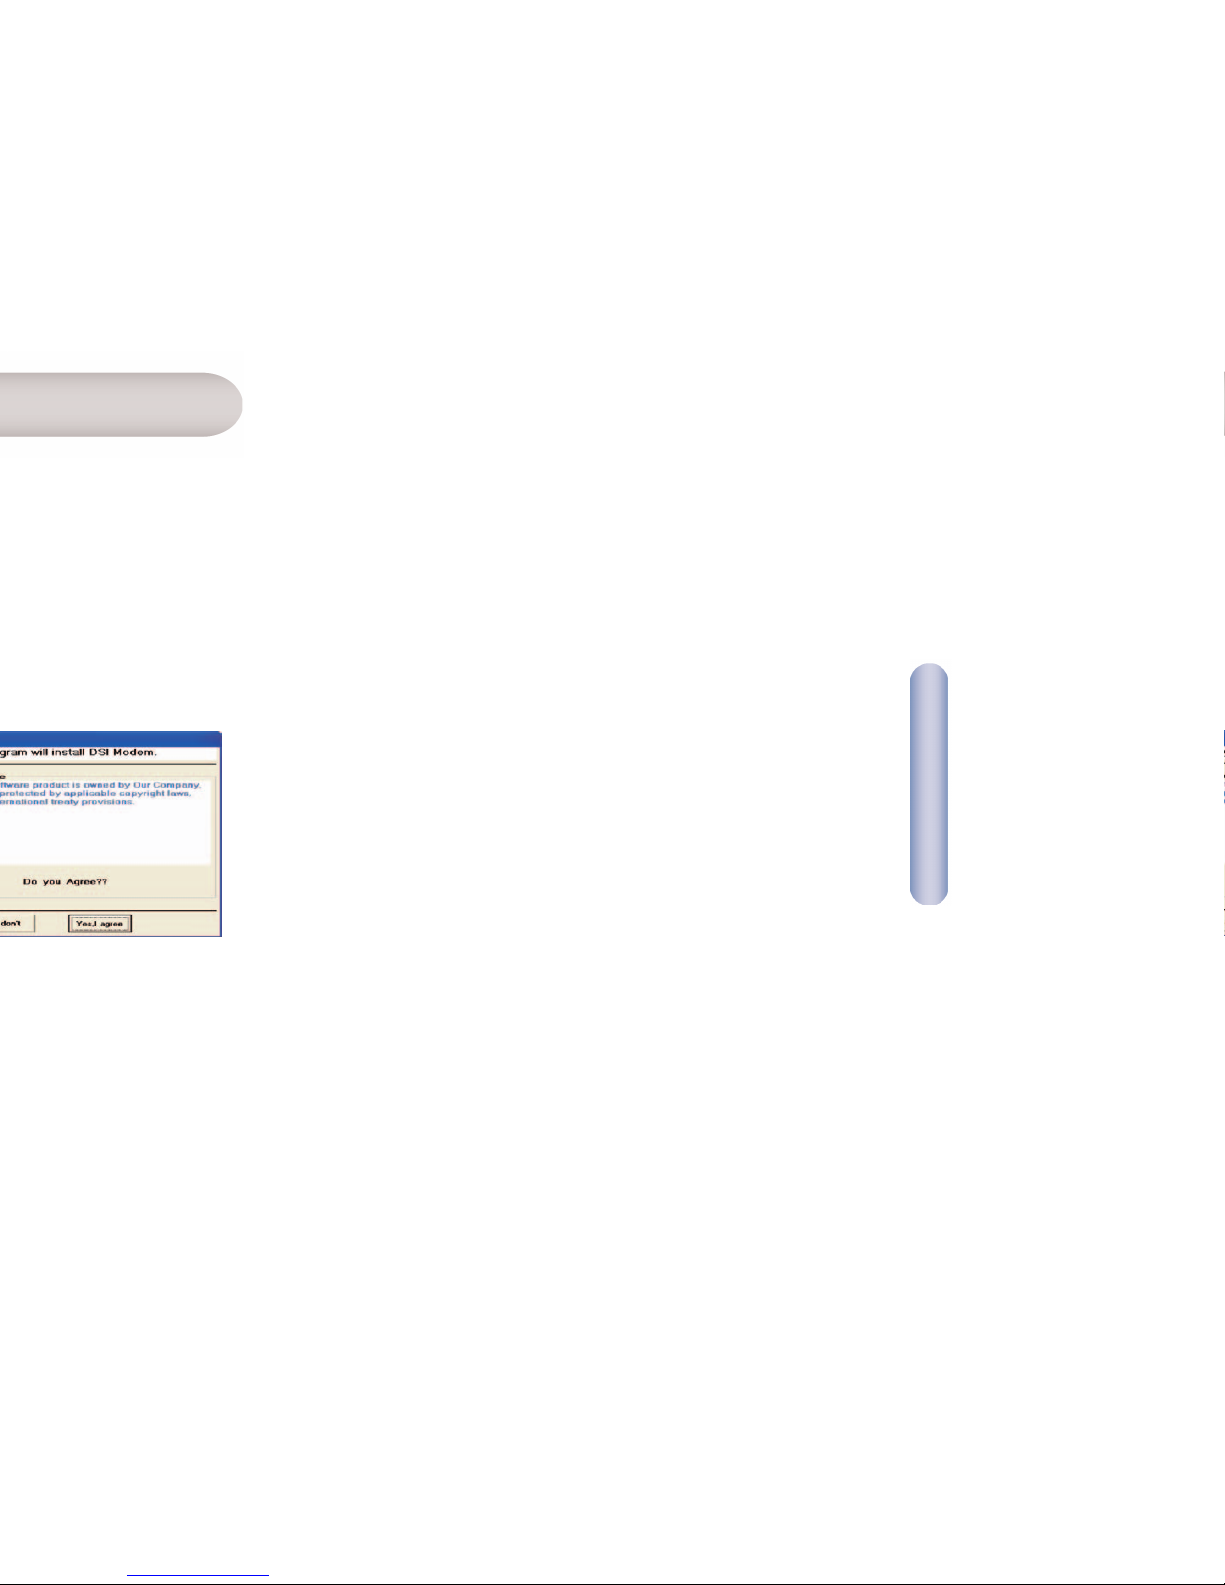
English
18
4. Select your country from the drop down list, then click [Next]
to continue. If your country is not listed, click [Custom] and
skip to section Custom.
5. Select your ISP/Network provider from the drop down list, then
click [Next] to continue. If your ISP/Network Provider is not
listed click [Custom] and skip to section Custom.
6. Enter the username and password supplied by your ISP, then
click [Next] to continue.
Note: You will only be required to enter a username and password
if your ISP uses protocol PPPoA or PPPoE. If your ISP uses
RFC1483 Bridging no further input is required, simply click
[Next] to continue.
If your ISP uses RFC1483 Routed after clicking [Next] you
will be required to enter the IP address, Netmask, Gateway
address, Primary and Secondary DNS address supplied by
your ISP. Click [Next].
TM
for
TM
for
TM
English
20
with the settings you have entered. This
Custom
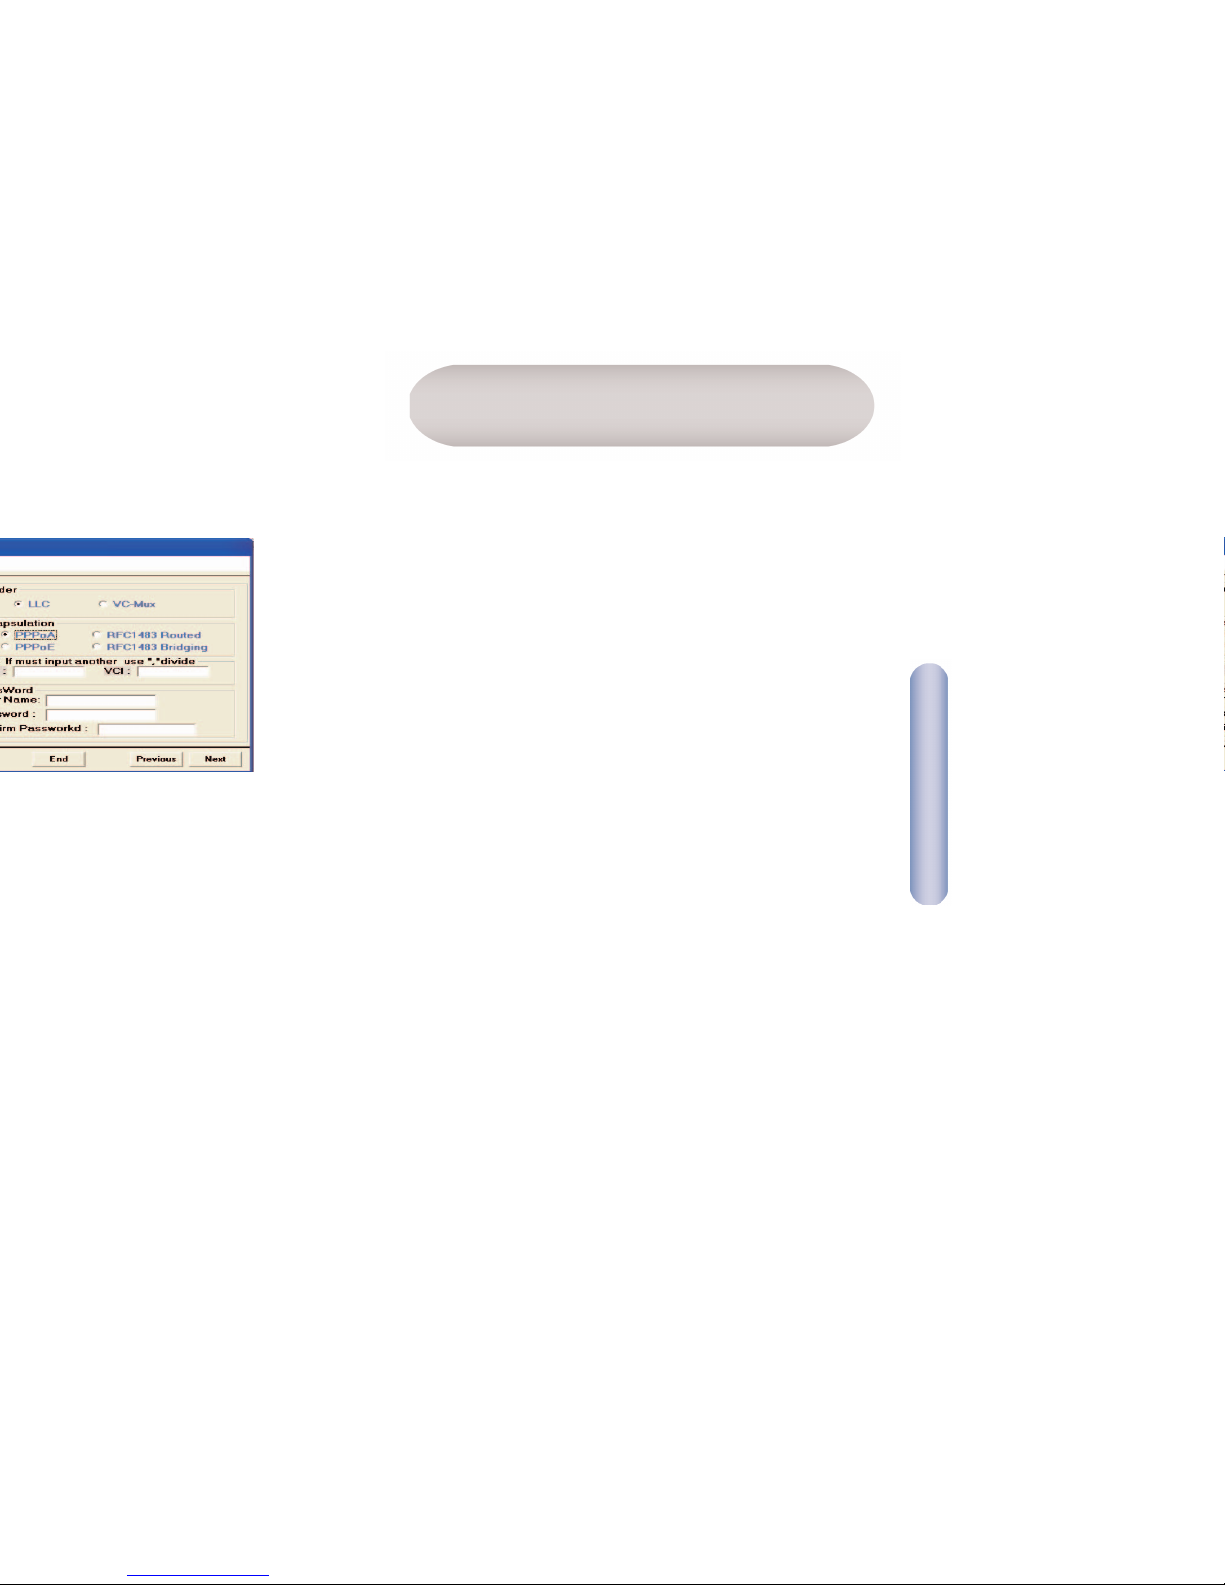
If your Country or ISP is not listed you will be required to
manually enter your ISP settings. This is done using the option
[Custom]. For custom installation you will also need to know the
following settings supplied by your ISP:
What Protocol? (PPPoA, PPPoE, RFC1483 Bridging or
RFC1483 Routed).
What Encapsulation? (VC-Mux or LLC).
What are the VPI/VCI circuit numbers? E.g. 0/38.
Français
22
•Un routeur BarricadeTMADSL.
•Un cordon d’alimentation.
•Un câble Ethernet RJ-45.
•Un câble téléphonique/DSL RJ-11 standard.
•Un câble USB.
• CD-ROM avec l’utilitaire d’installation et la documentation.
• Guide d’installation rapide.
Remarque : Des diviseurs/microfiltres ADSL sont fournis avec
certains modèles.
Contenu de l’emballage
Français
24
Panneau avant
Le panneau avant contient les témoins lumineux indiquant l’état
de fonctionnement de l’unité.
Description du matérielConfiguration requise
TM
ADSL, vous devez
FONCTION
Allumé : l’unité est allumée.
Éteint : l’unité est éteinte.
Clignotant lorsqu’un transfert de
données ADSL est détecté. Peut
être allumé en continu si le
trafic de données est important.
Témoin
PW
(Power,
Alimentation)
LK
(Link, Liaison)
COULEUR
Vert
Vert
Panneau arrière
Le panneau arrière contient les ports.

Français
26
Ce Guide d’installation rapide fournit des instructions de base pour
la connexion du routeur BarricadeTMADSL à un ordinateur
ou un réseau local et à Internet.
• La section 1 décrit comment configurer le matériel.
• La section 2 décrit comment configurer les propriétés Internet
sur votre ou vos ordinateurs.
• La section 3 montre comment configurer les paramètres de
base sur le routeur Barricade
TM
ADSL pour connecter votre
réseau local à Internet.
Ce Guide suppose que vous avez déjà mis en place un service ADSL
avec votre Fournisseur d’Accès Internet (FAI). Ces instructions vous
aideront à effectuer une configuration de base qui devrait être
compatible avec la configuration de votre réseau domestique ou
avec le réseau de votre PME.

Français
28
TM
ADSL.
TM
ADSL,
TM
ADSL avec
Étape 3. Raccordez le cordon d’alimentation
Raccordez une extrémité du cordon d’alimentation au connecteur
d’alimentation situé à l’arrière de l’appareil et l’autre extrémité à
une prise murale ou une ligne d’alimentation.
Étape 4. Allumez vos systèmes
Allumez et démarrez votre ou vos ordinateurs ainsi que tout
périphérique de réseau local tel que concentrateur ou
commutateur.

Français
30
Windows® XP
1. Dans la barre des tâches Windows, cliquez sur [Start]
(Démarrer), puis cliquez sur [Control Panel] (Panneau de
configuration).
2. Double-cliquez sur l’icône [Network Connections] (Connexions
réseau).
3. Dans la fenêtre [LAN or High-Speed Internet] (Réseau local ou
Internet à grande vitesse), cliquez avec le bouton droit sur
l’icône correspondant à votre carte d’interface réseau et
sélectionnez [Properties] (Propriétés). (Cette icône est
souvent libellée [Local Area Connection] (Connexion au réseau
local).) La boîte de dialogue [Local Area Connection]
(Connexion au réseau local) affiche la liste des éléments
réseau installés.
4. Vérifiez que la case à cocher située à gauche de l’élément
[Internet Protocol TCP/IP] (Protocole Internet TCP/IP) est
activée, et cliquez sur [Properties] (Propriétés).
5. Dans la boîte de dialogue [Internet Protocol (TCP/IP)
Properties] (Propriétés TCP/IP), cliquez sur la case d’option
[Obtain an IP address automatically] (Obtenir une adresse IP
automatiquement). Cliquez également sur la case d’option
[Obtain DNS server address automatically] (Obtenir les
adresses des serveurs DNS automatiquement).
6. Cliquez deux fois sur [OK] pour confirmer vos modifications et
fermez le Panneau de configuration.
TM
ADSL.
TM
ADSL affecte automatiquement

Français
32
5. Dans la boîte de dialogue [Select Network Component Type]
(Sélection du type de composant réseau), sélectionnez
[Protocol] (Protocole), puis cliquez sur [Add] (Ajouter).
6. Sélectionnez [Internet Protocol (TCP/IP)] (Protocole Internet
TCP/IP) dans la liste [Network Protocols] (Protocoles réseau),
puis cliquez sur [OK]. Il est possible que vous soyez invité à
installer des fichiers à partir de votre CD-ROM d’installation de
Windows 2000 ou d’un autre support. Suivez les instructions
pour installer les fichiers.
7. Si un message vous le demande, cliquez sur [OK] pour
redémarrer votre ordinateur avec les nouveaux paramètres.
Configurez ensuite les PC pour accepter les informations
relatives aux adresses IP affectées par le routeur Barricade
TM
ADSL.
8. Dans le Panneau de configuration, double-cliquez sur l’icône
[Network and Dial-up Connections] (Connexions réseau et
accès à distance).
 Loading...