

Page 1
Backup Utility
USER GUIDE
Page 2

NAS Backup Master
User Guide
May 2007
Page 3

TRADEMARKS
All brand and product names are trademarks or registered trademarks of their
respective companies.
NOTE
The information in this manual is subject to change without notice.
Page 4

Table of Contents
Table of Contents................................................................................. v
Chapter 1 Setting Up the Backup Master .................................... 7
1.1 Installing the Backup Master................................................................7
1.2 Configuring the Backup Master .........................................................22
Backup Now.................................................................................26
Basic Setup..................................................................................29
Schedule Setup............................................................................32
Advanced Setup...........................................................................35
Restore.........................................................................................41
Special notice information............................................................51
Page 5
Chapter 1 Setting Up the Backup
Master
1.1 Installing the Backup Master
IMPORTANT: Do not turn on power to your storage system and do not connect to your
computer until after you have finished installing the Backup Master.
You need to install the Backup Master before you can perform any system
configurations.
1. Make sure that your computer is turned on.
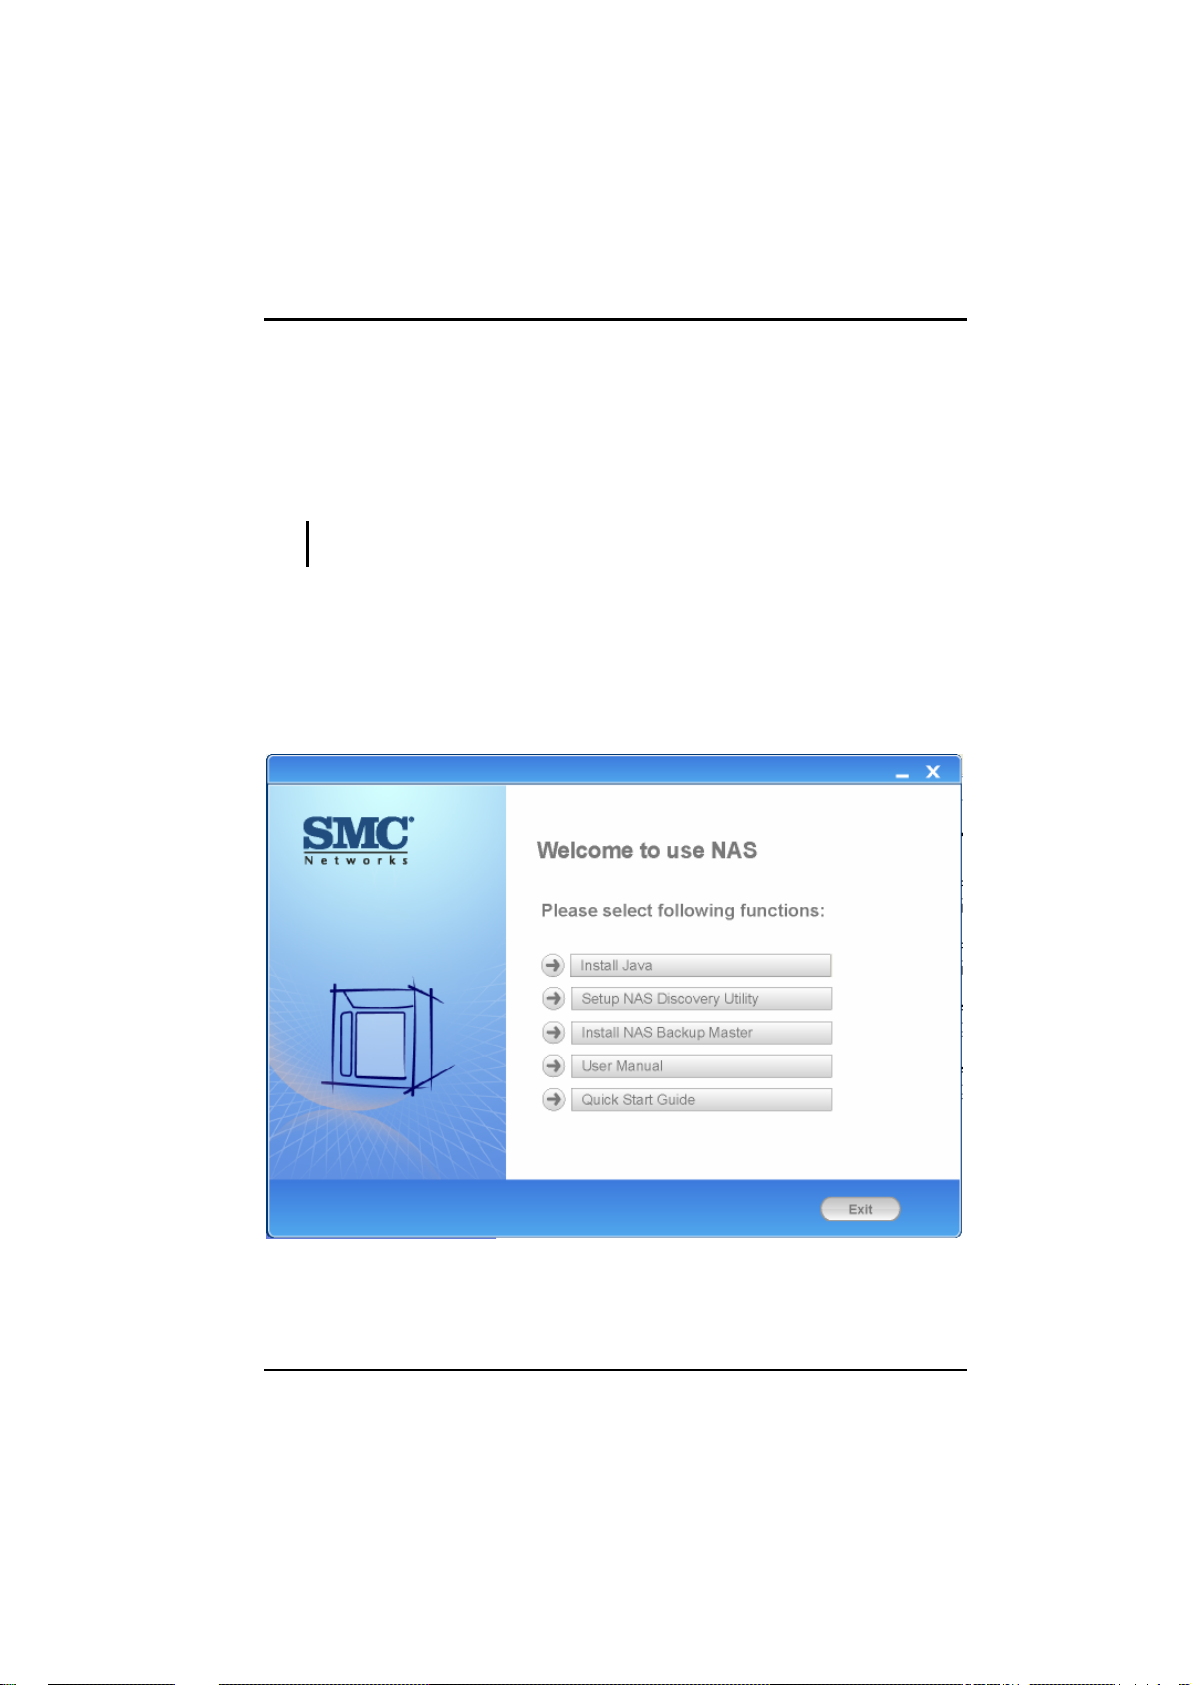
2. Insert the included Utility disc into your optical drive and the following
screen appears.
Click “Install NAS Backup Master.”
3. When the next screen appears, select the desired language (English/
Traditional Chinese/Simplified Chinese).
7
Page 6
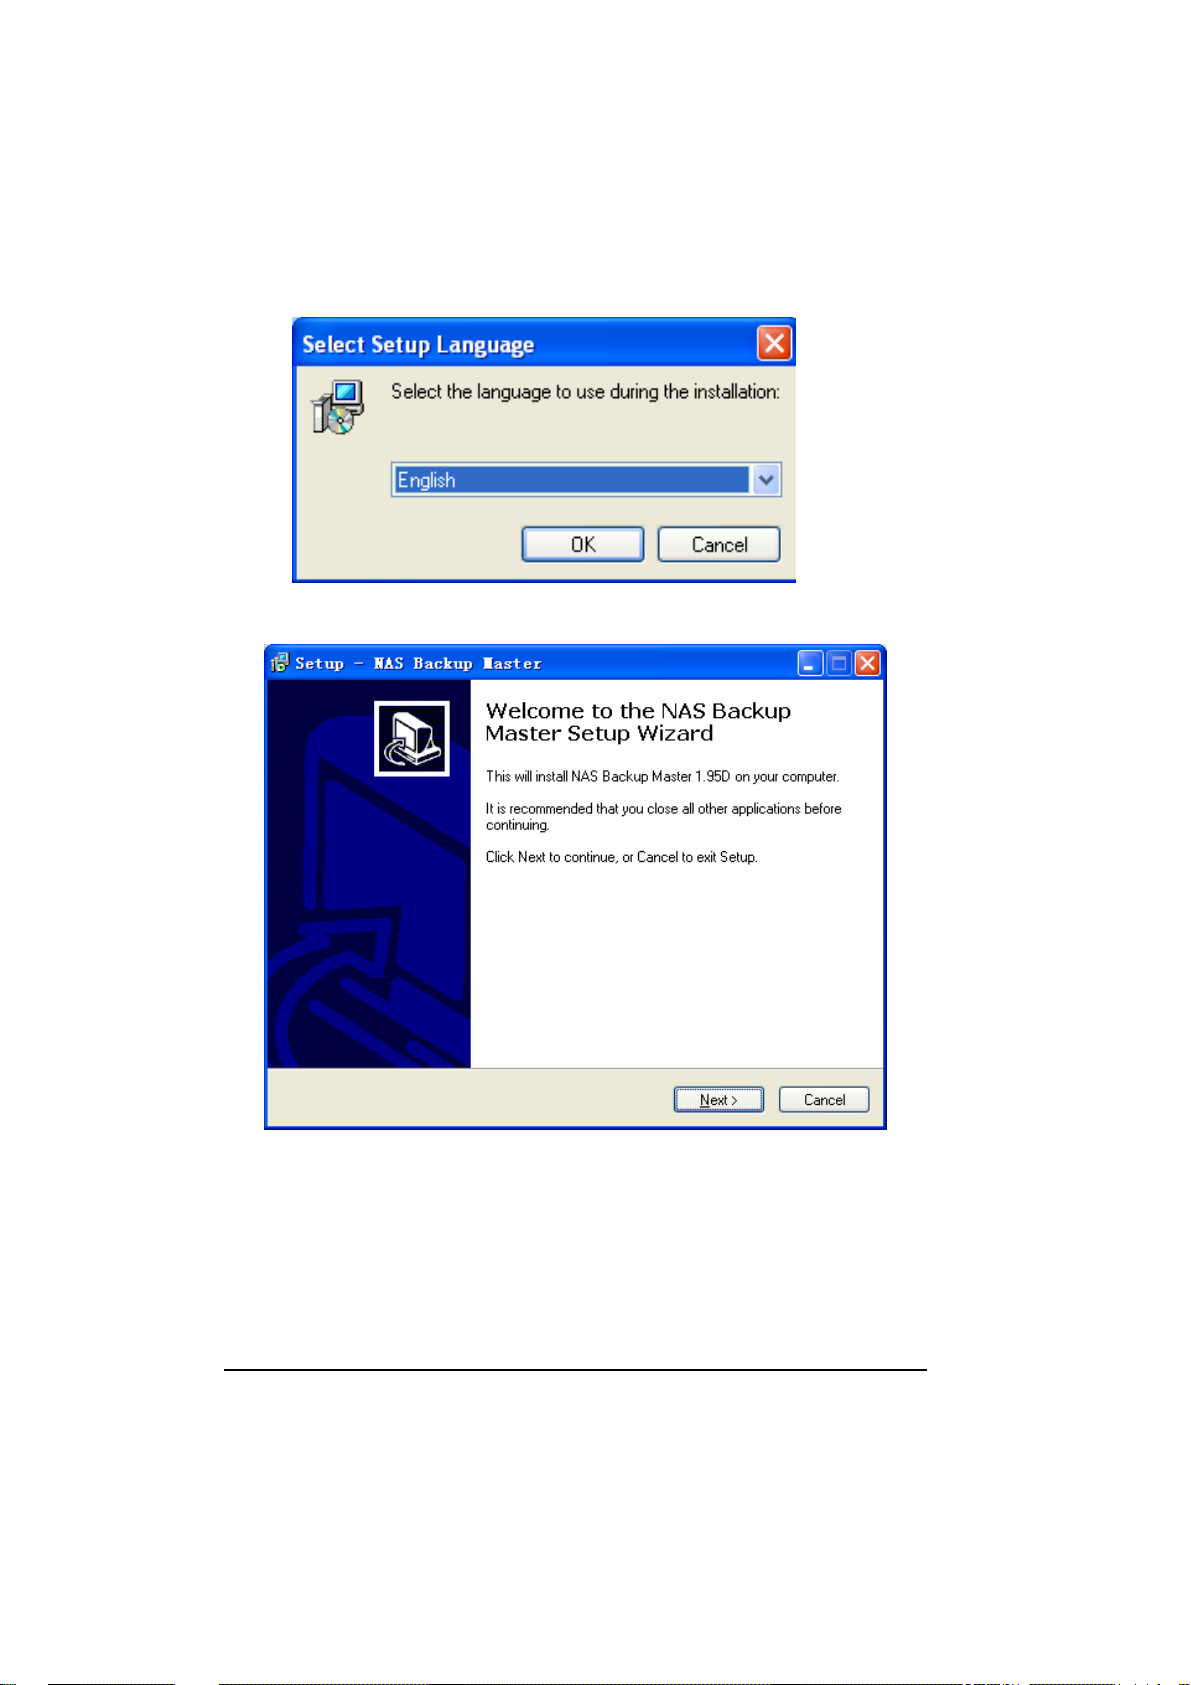
4. Click “Next” and the following screen appears.
8
Page 7
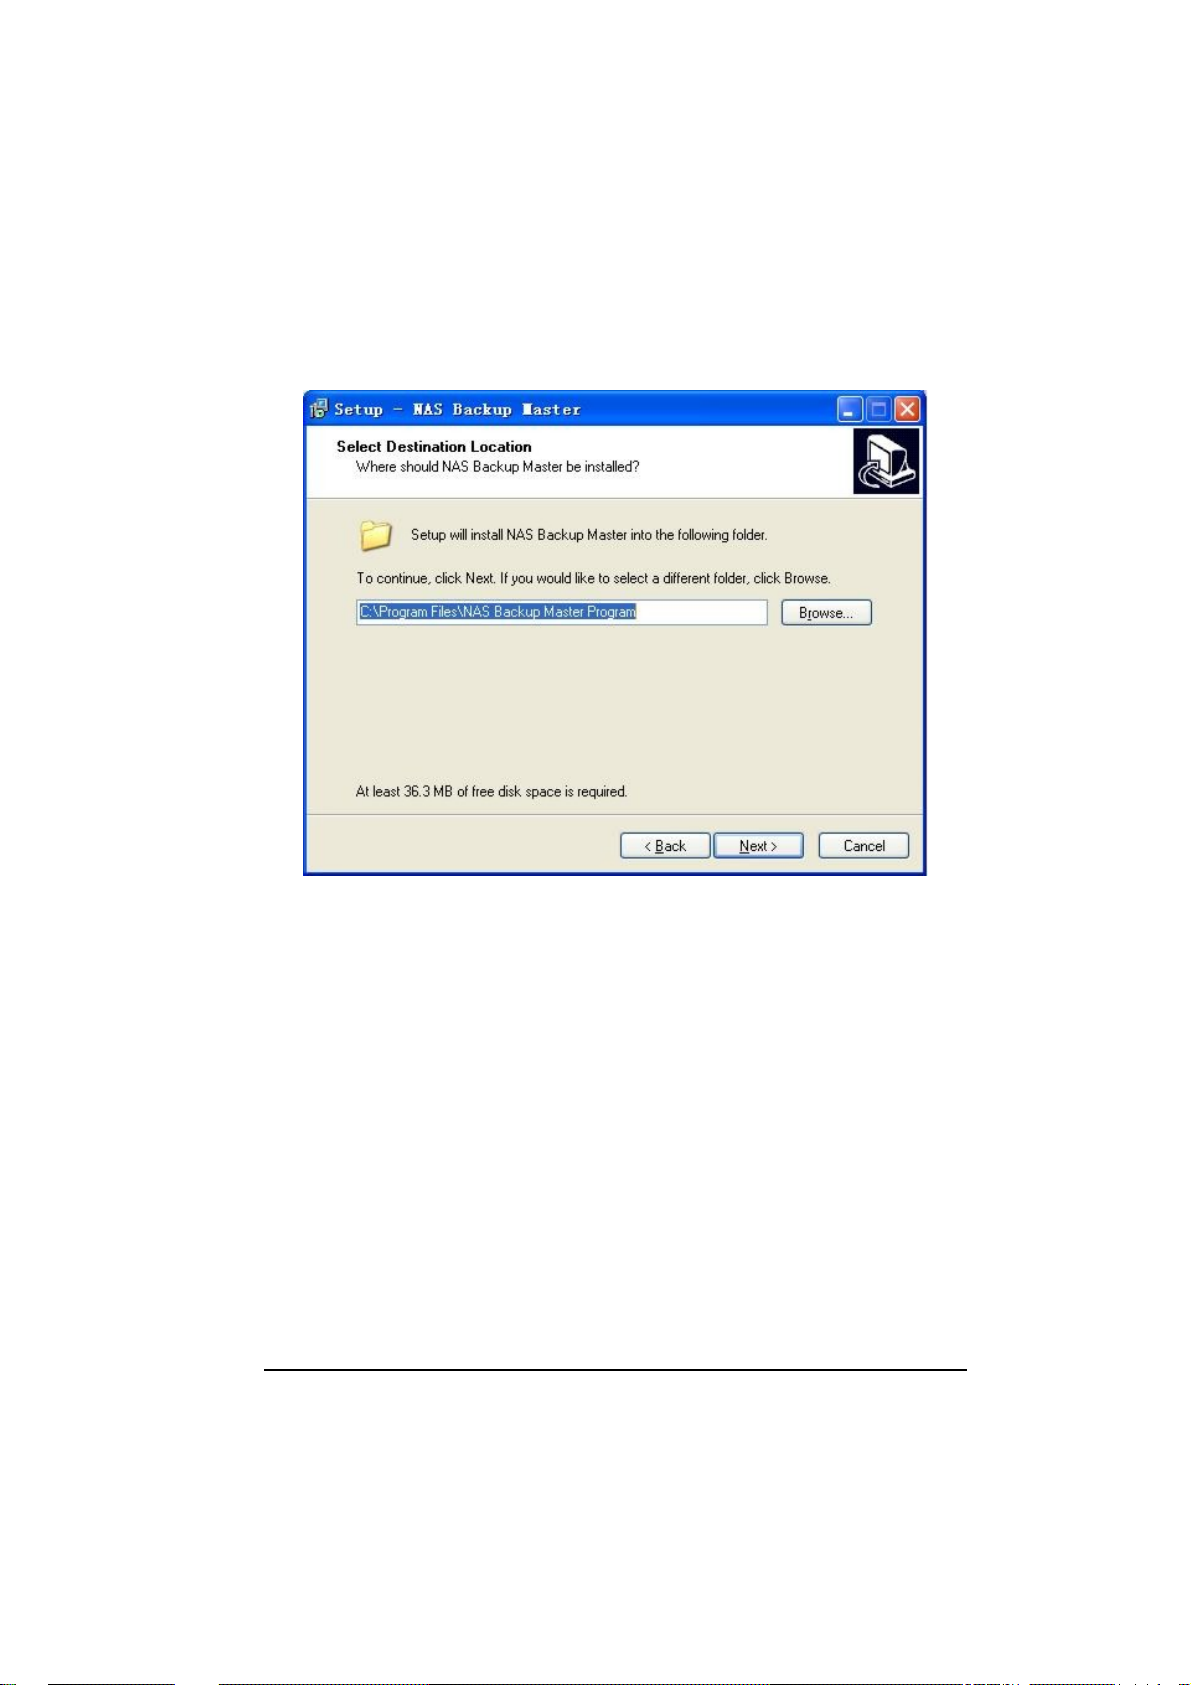
5. Click “Next” to continue and the following screen appears. If you want to
select a different folder, click “Browse” and select your desired folder.
9
Page 8
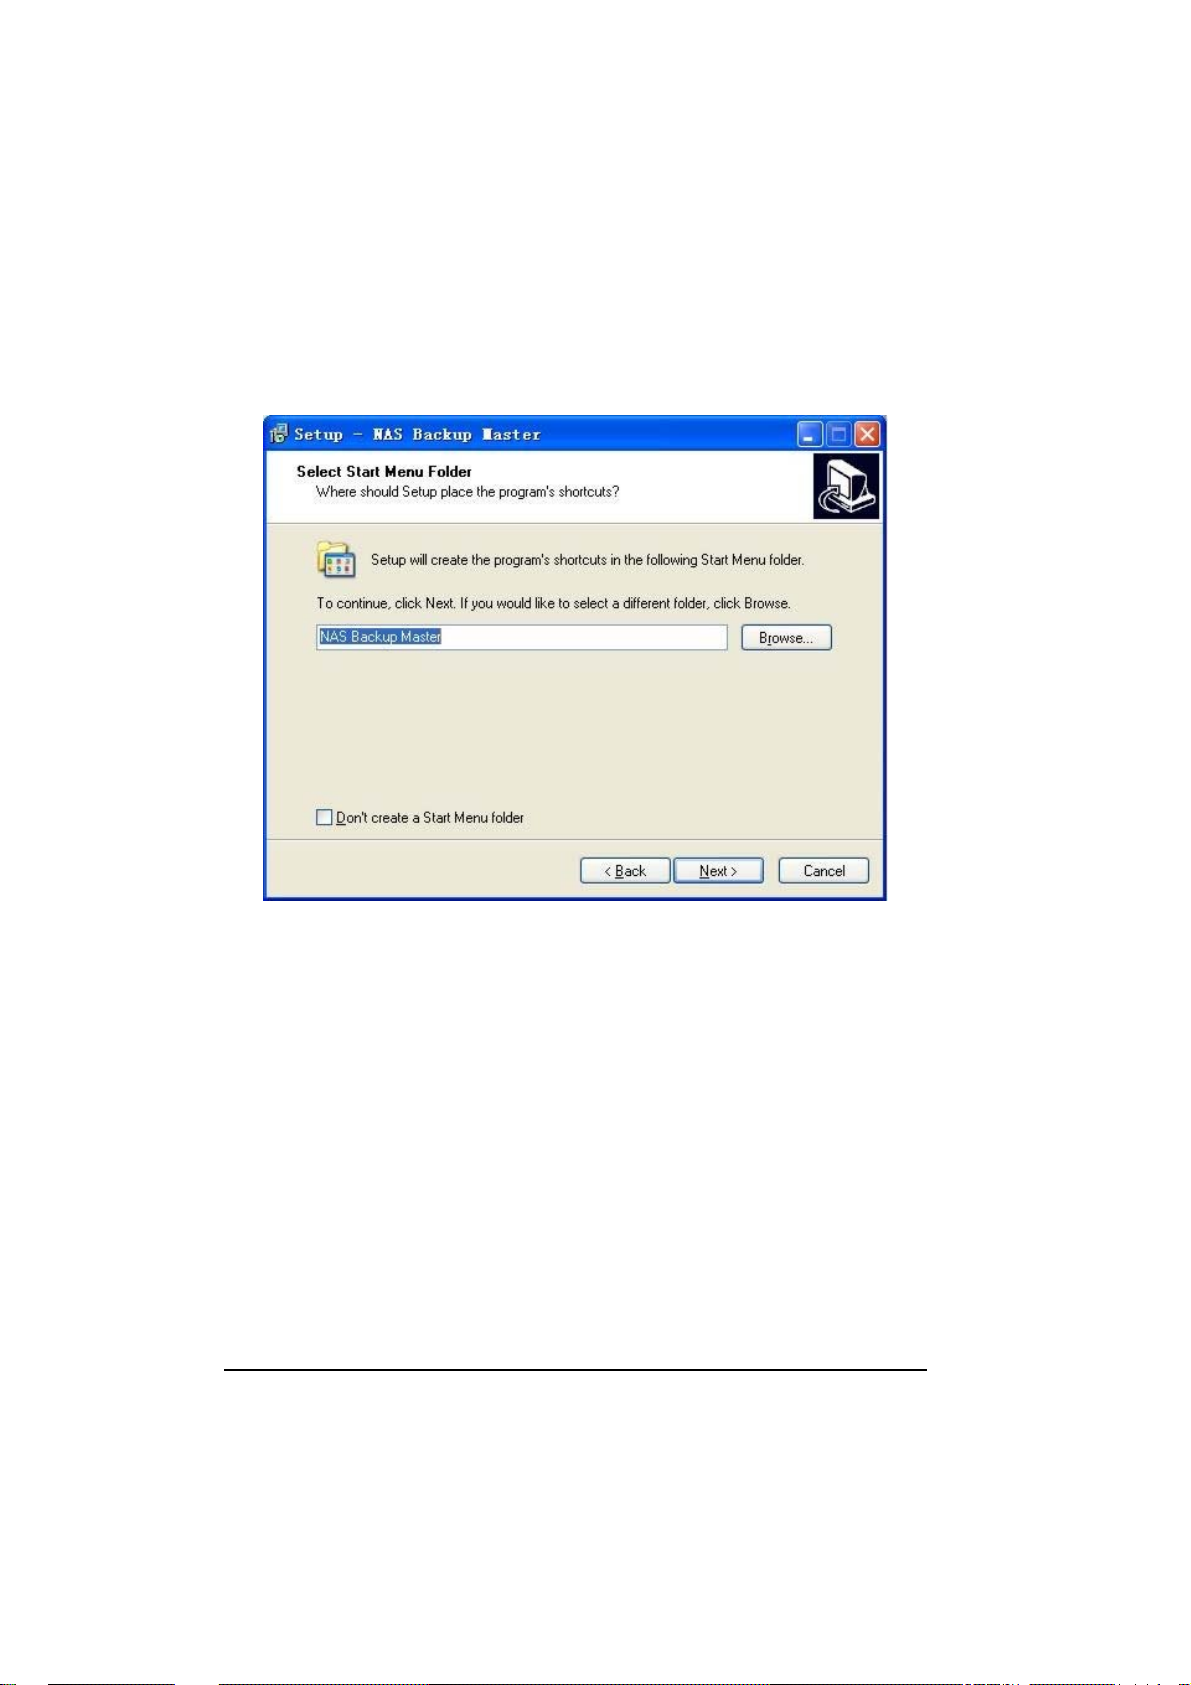
6. To continue, click “Next” and the following screen appear. If you want to
select a different Start menu folder, click “Browse” instead and select your
desired folder.
10
Page 9
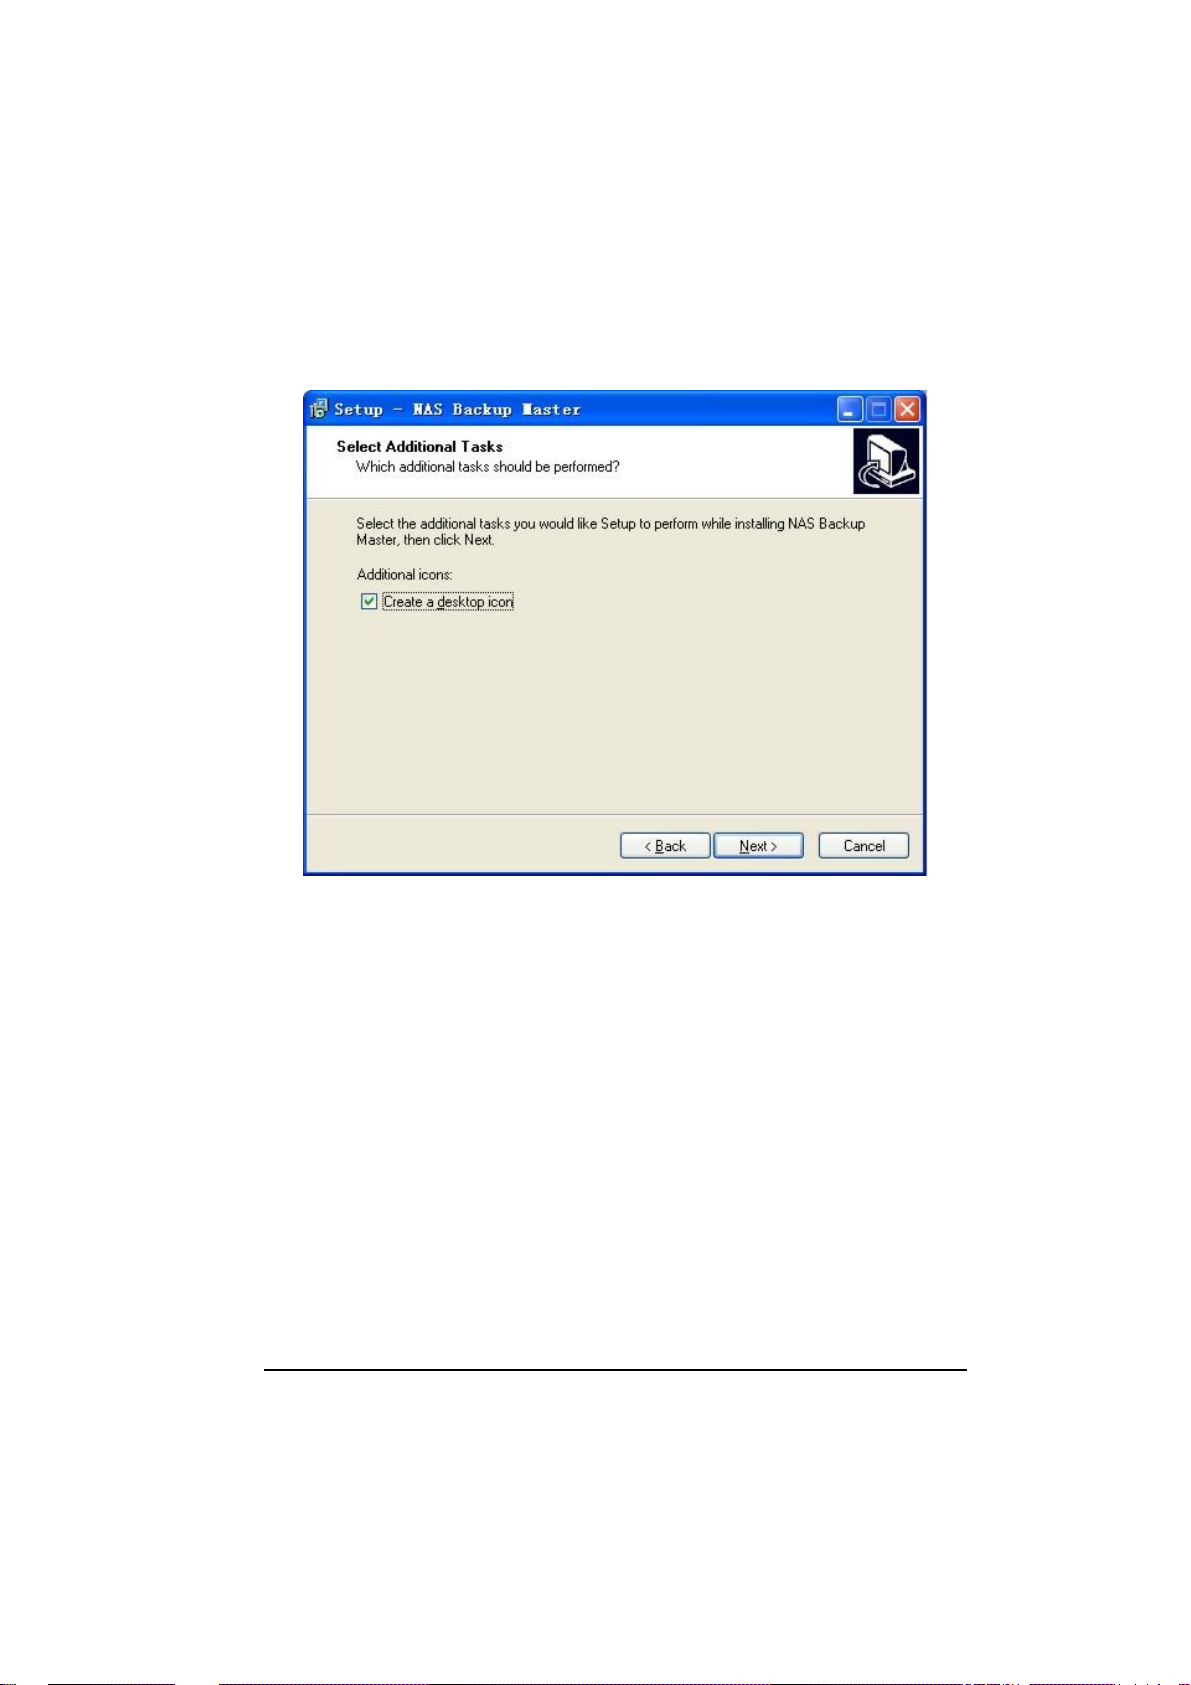
7. To continue, click “Next” and the following screen appear. Click “Create a
desktop icon” if wish to do so.
11
Page 10
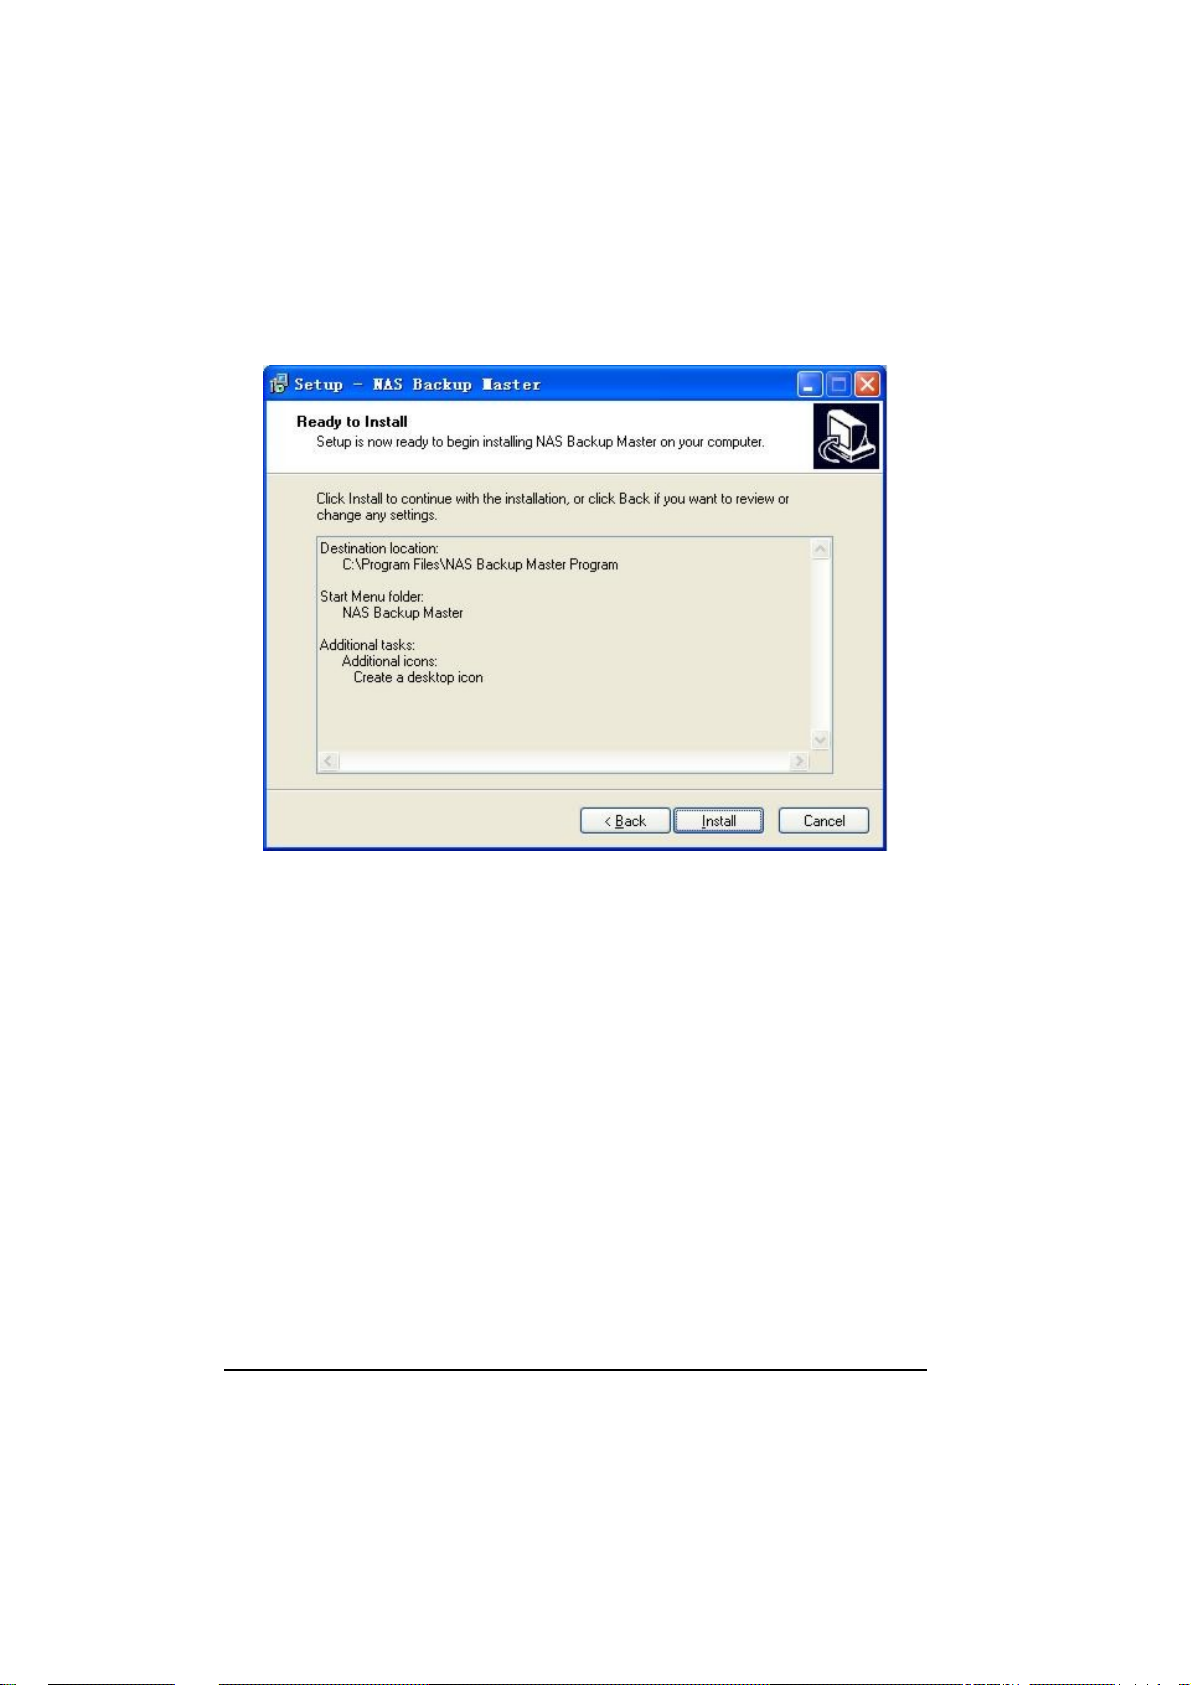
8. Click “Next” to continue and the “Ready to Install” screen appears.
12
Page 11
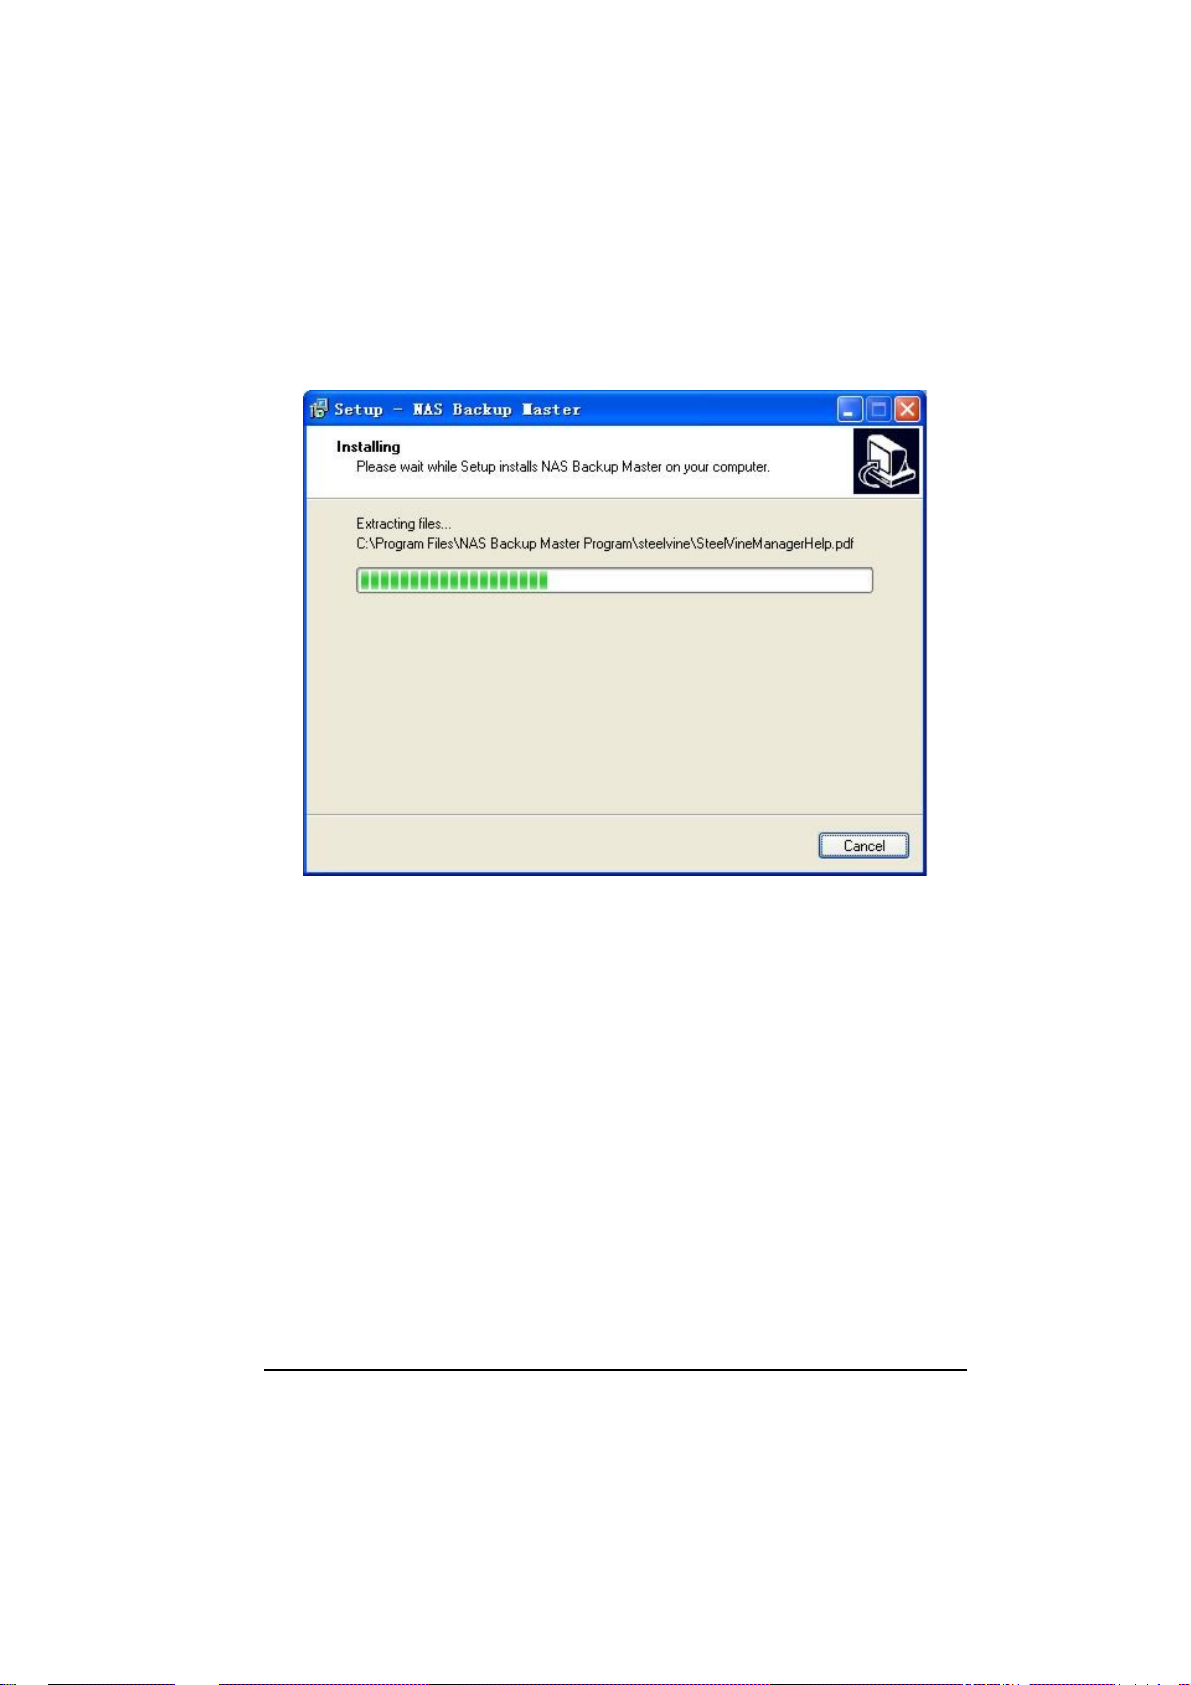
9. Click “Install” to continue and the following screen appear, showing the
progress of installation.
13
Page 12
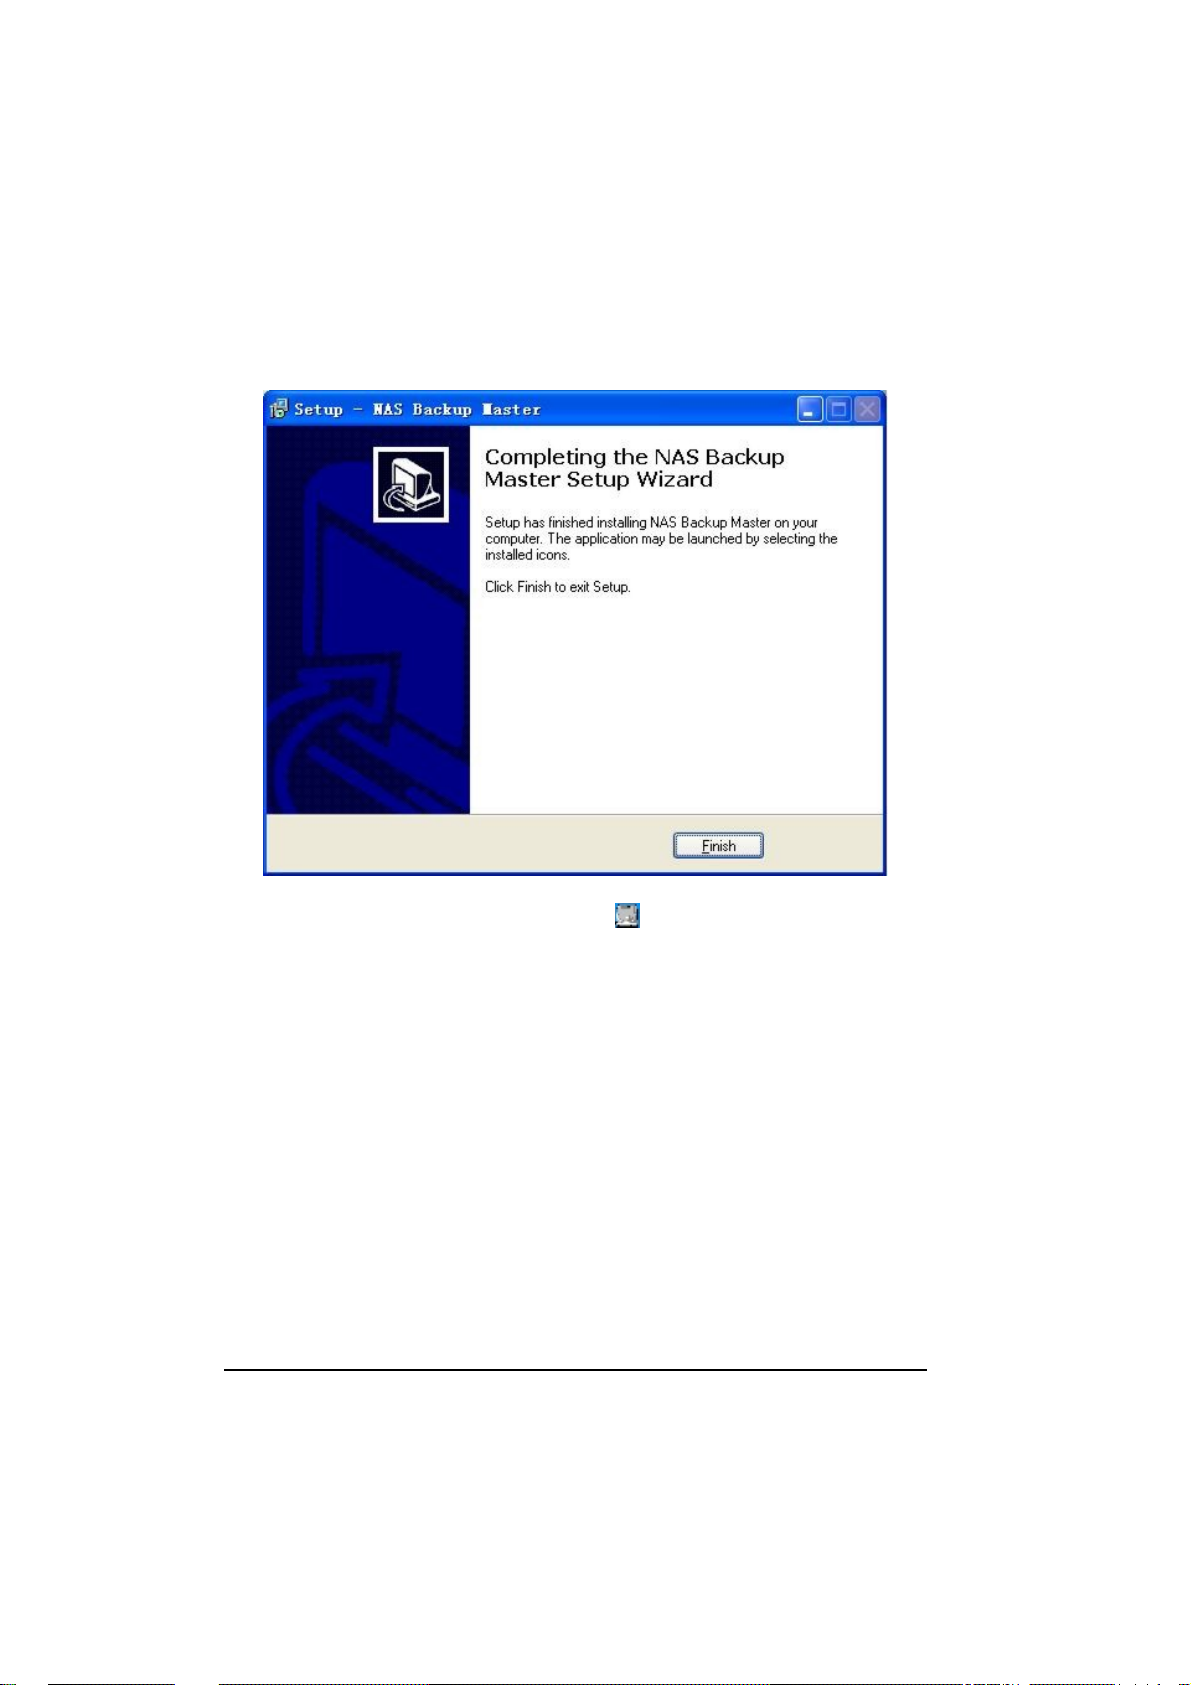
10. When the next screen appears, click “Finish” to exit the Backup Master
installation.
The “NAS Backup Master Detector” icon
system tray to signify that the Backup Master was successfully installed.
would appear on your Windows
14
Page 13
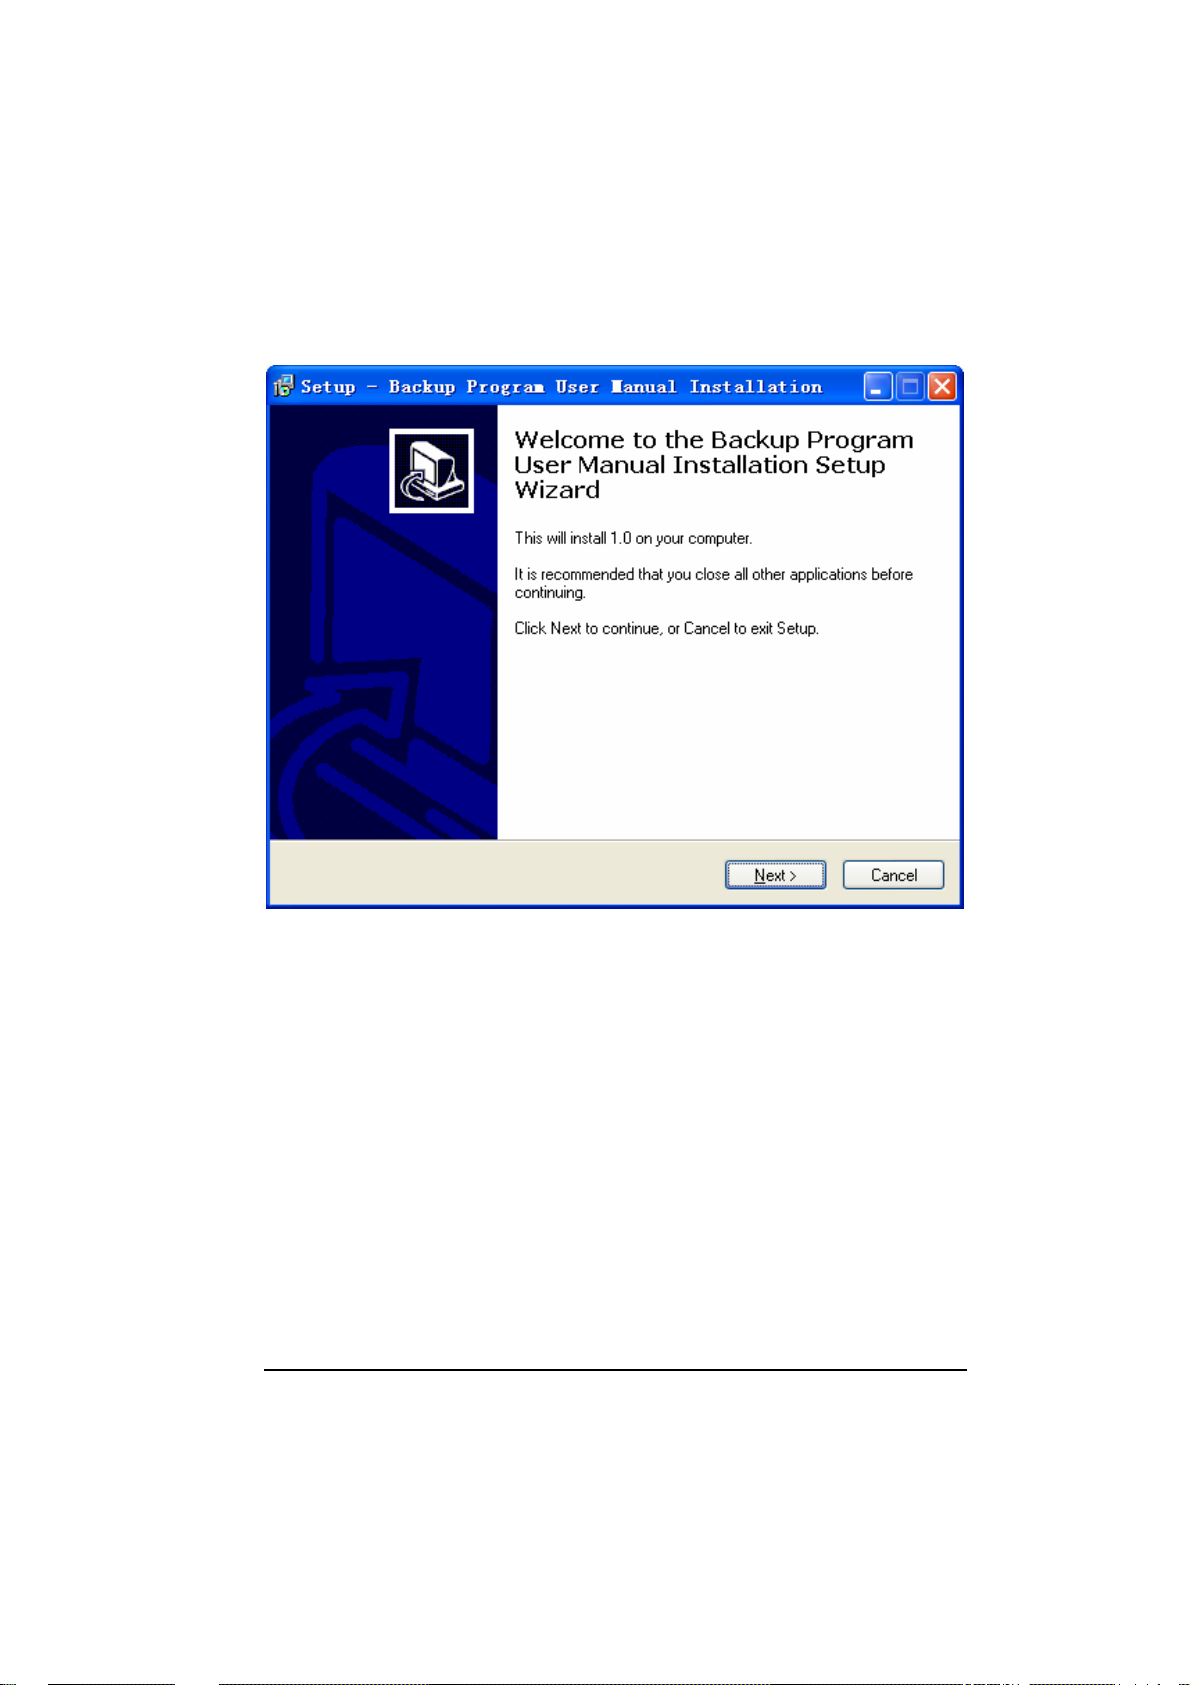
11. Install the Backup program user manual
15
Page 14
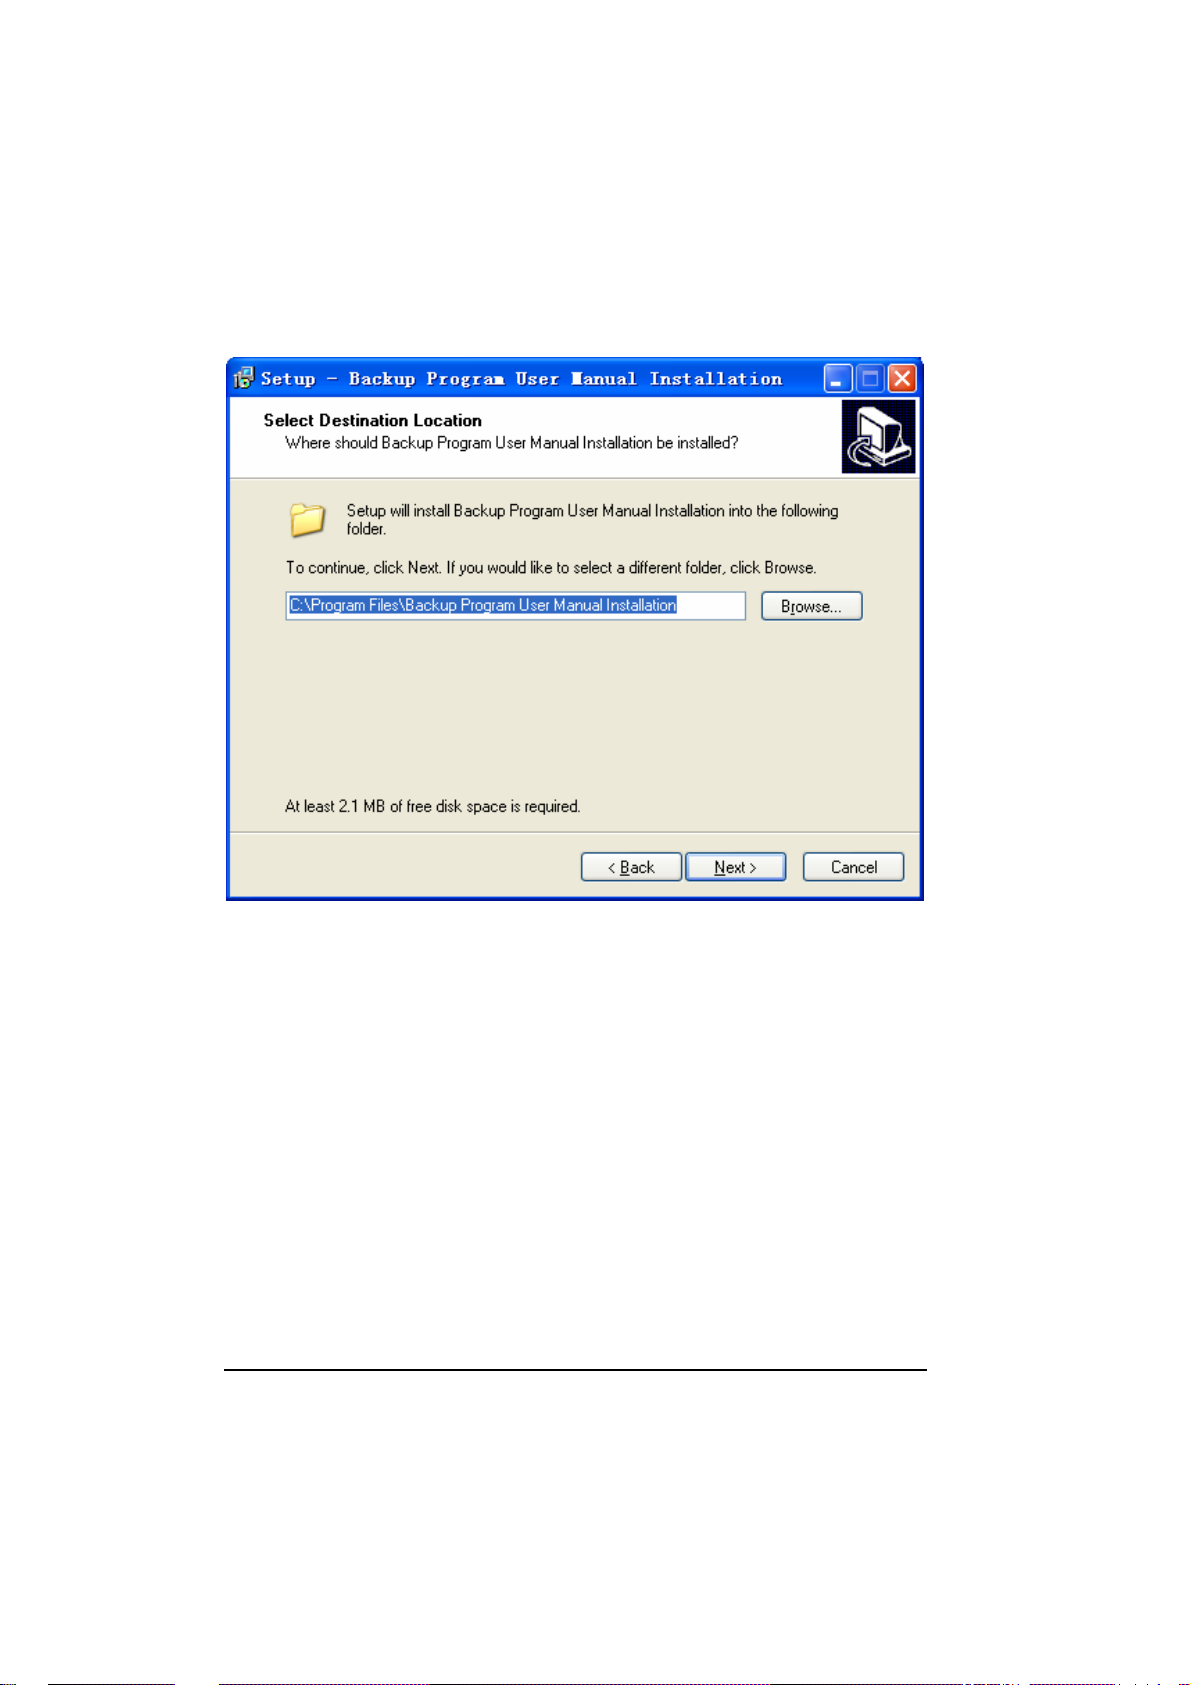
12. Click “Next” to continue and select destination location
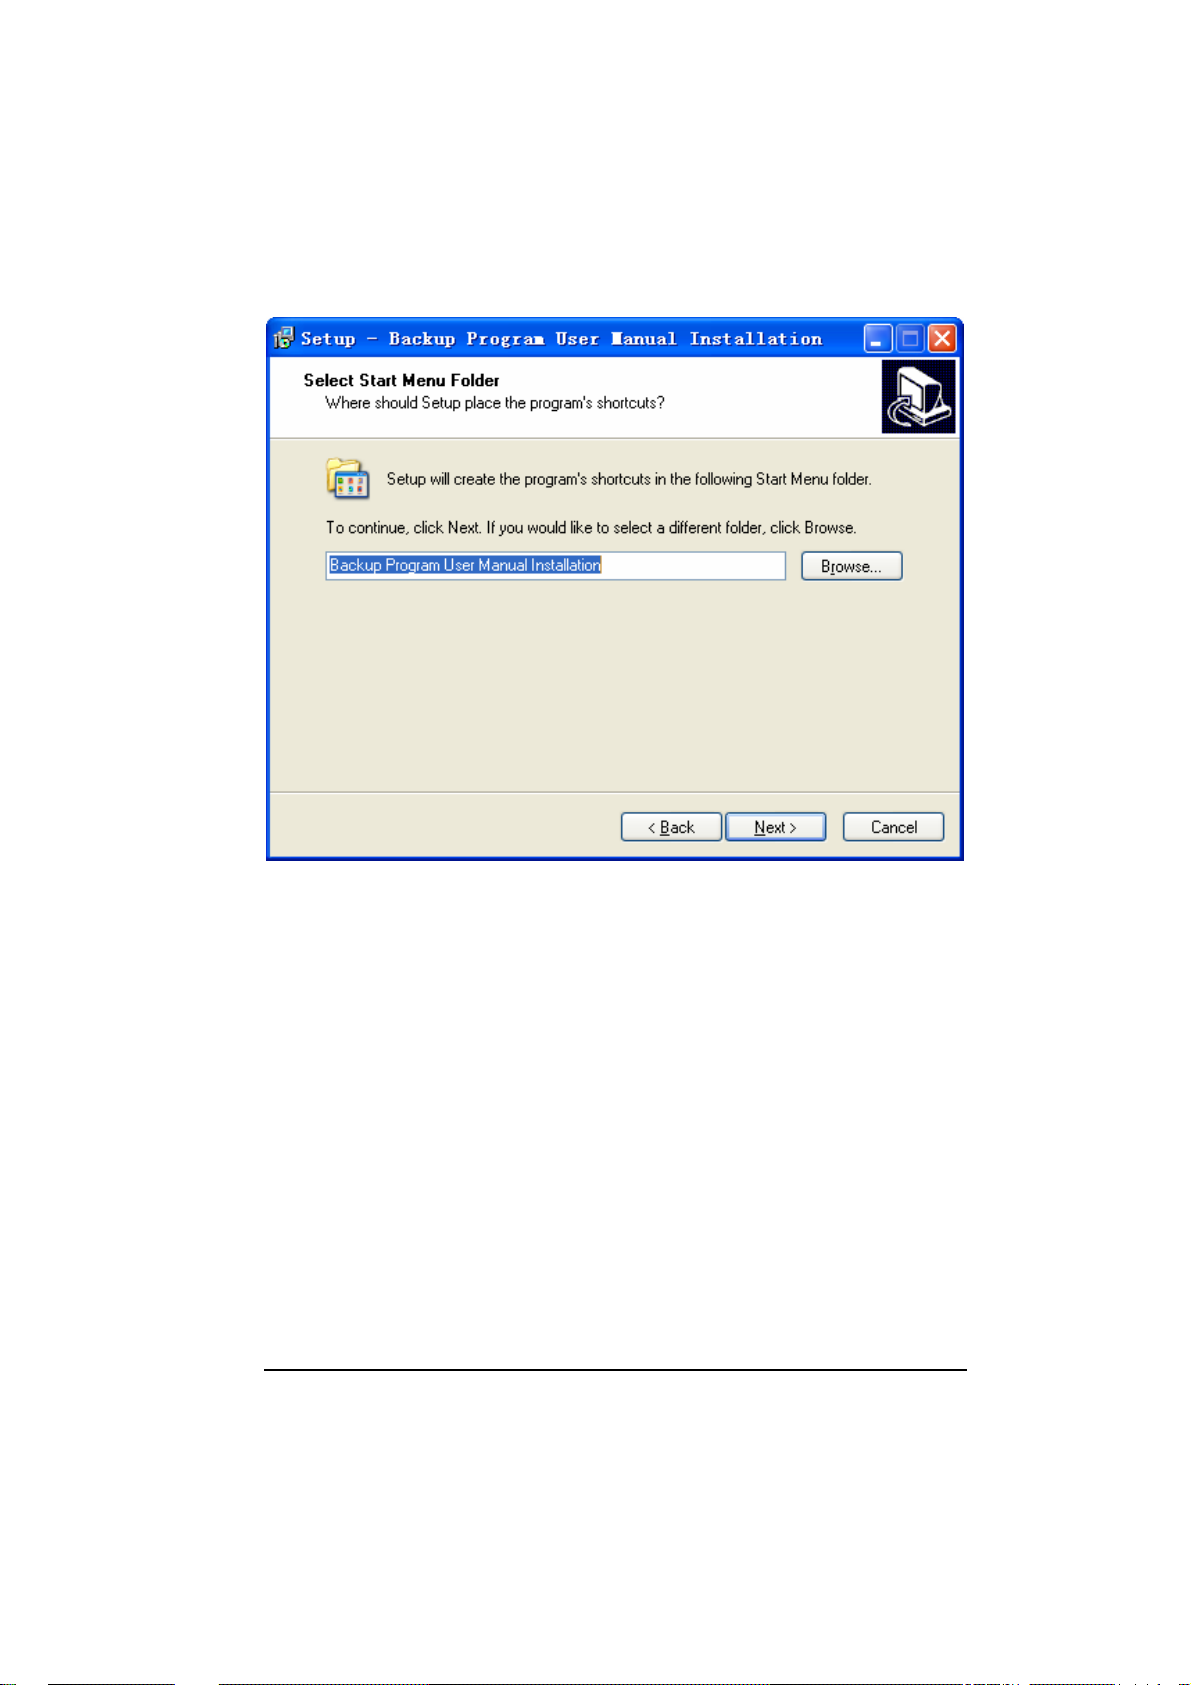
13. Click “Next” to continue and select start menu folder
16
Page 15
17
Page 16

14. Click “Next” to continue and ready to Install
18
Page 17

15. Click “install” to continue and installing
19
Page 18

16. finish install
20
Page 19

17. Press the Power button to turn on your storage system.
18. Connect one end of the Ethernet cable to the network connector on the back
of your storage system and the other end to your computer.
21
Page 20

1.2 Configuring the Backup Master
After installing the Backup Master, you can start the configuration process.
Your choice is important and impacts how best you can use the device. To start
using the Backup Master:
z Double-click the “NAS Backup Master Detector” icon on your Windows
system tray, or
z Select Start Æ Program Æ NAS Backup Master Æ NAS Backup Maste r.
NOTE: The first time you start up the Backup Master, the following screen appears. You
need to enter the Product Serial Number found on the cover of your Utility disc.
Note : Please pay attention the number of people use the software at the same
time and the number of install the software of your Serial Number, if exceed,
there are follow error Information will out :
1. If exceed the number of install the software, alarm will out as follow picture
22
Page 21

2. If exceed the number of people use the software at the same time, alarm
will out as follow picture
After entering the correct Product Serial Number or the next time you start up
Backup Master, the Main Menu appears as shown:
23
Page 22

There are 5 options on the Main Menu namely: “Backup Now,” “Basic Setup,”
“Schedule Setup,” “Advanced Setup,” and “Restore.”
24
Page 23

NOTE: 1. If the device is not connected to your computer or to power, and is not turned
on, the following screen appears. Click “Yes” to quit.
25
Page 24

Backup Now
The “Backup Now” option allows you to perform a backup based on your
settings on the “Basic Setup” menu.
When you select “Backup Now” on the Main Menu without first specifying the
backup target and destination, the following screen would appear for about 10
seconds.
Afterwards, the “Basic Setup” menu would appear to allow you to configure the
“Backup Now” settings. See the next section for instructions on configuring the
basic setup.
The next time you click “Backup Now” on the Main Menu, Backup Master
would perform backup based on this initial settings. The following screen
appears showing the progress of your backup.
26
Page 25
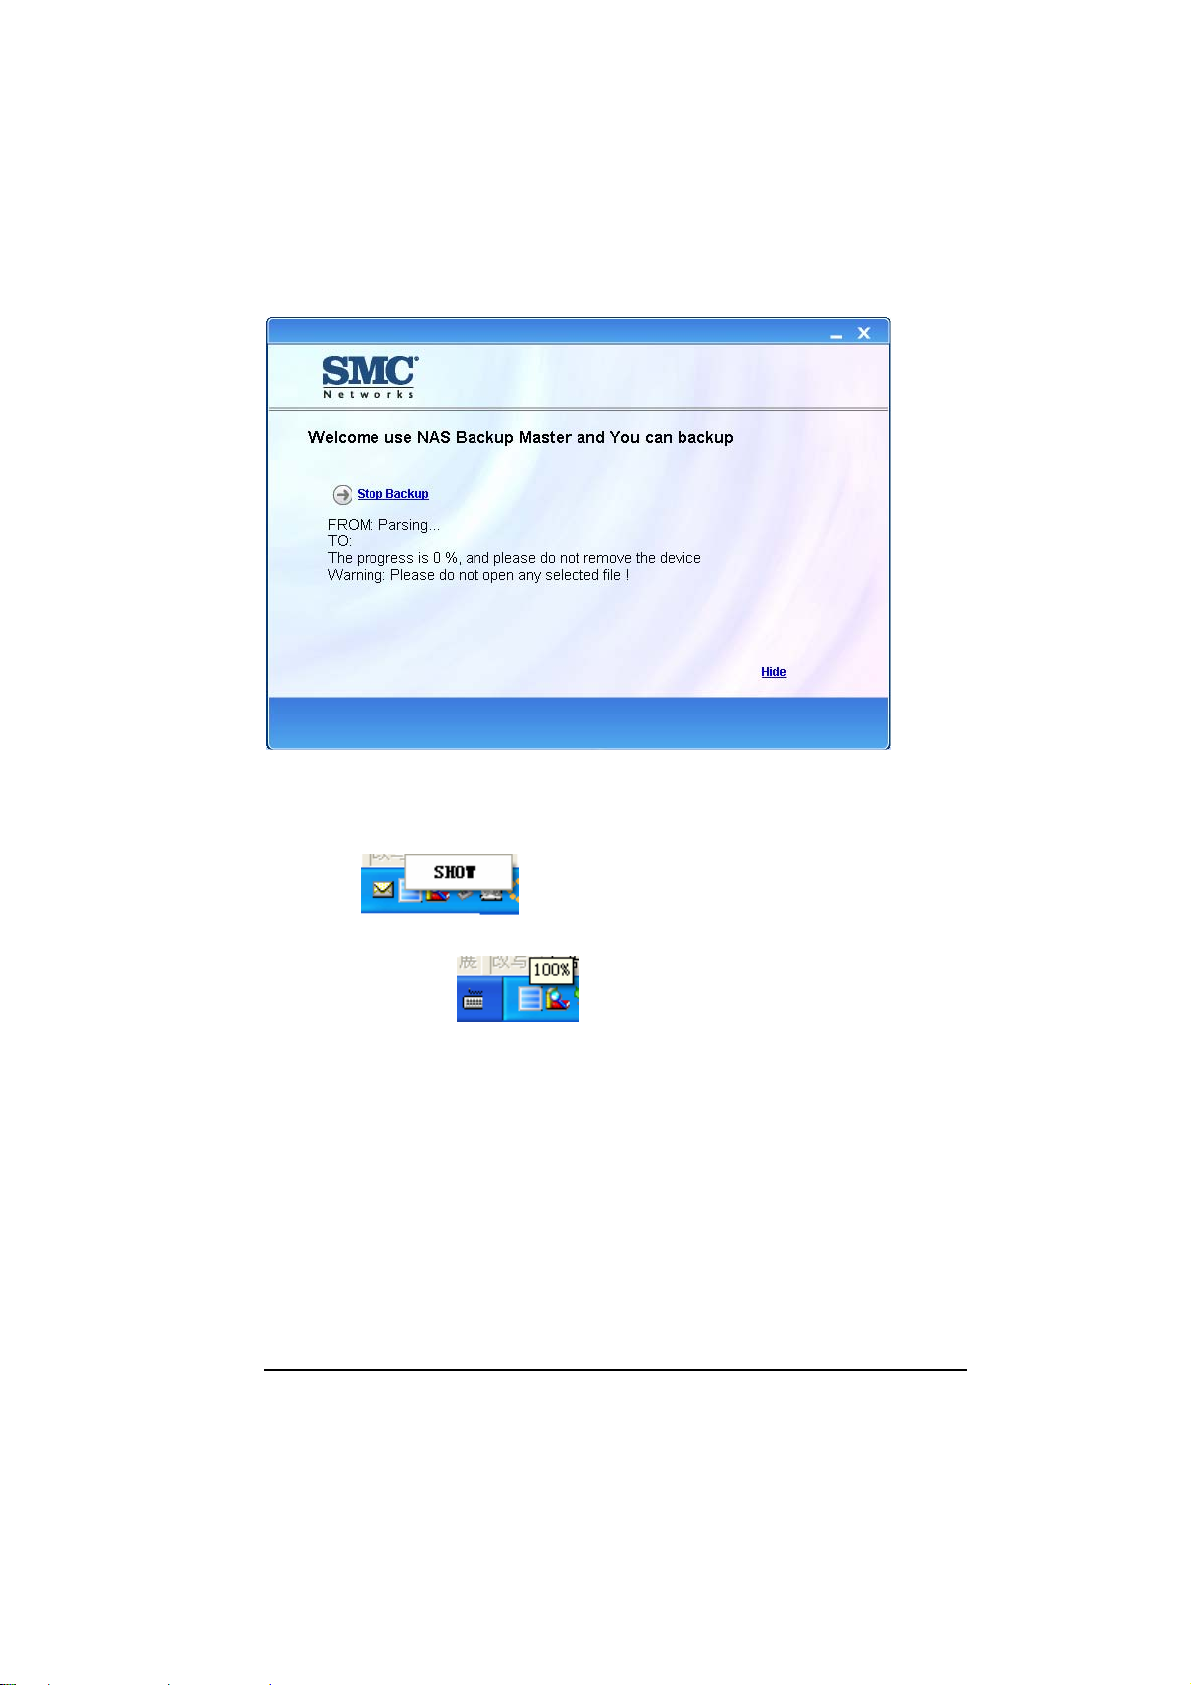
z To hide this screen, click “Hide” and an icon would appear on your
Windows system tray.
Right-click the icon using your mouse and click “SHOW” to restore the
screen
.
Or, you can place your mouse on top of the icon to show the progress of your
backup operation
z To cancel the backup process anytime, click “Stop Backup” and the
.
following screen appears.
27
Page 26

After backup is complete, the following screen appears.
28
Page 27

Basic Setup
The “Basic Setup” option allows you to specify the backup target (drives,
directories, or files) and backup destination (drive).
Upon clicking “Basic Setup” on the Main Menu, the following screen would
appear to allow you to configure the “Basic Setup” settings.
To configure your settings for “Basic Setup:”
1. Select the drive, directory, or files to backup on the left window. Your
choice(s) would be retained the next time you start up your device. Click
“Clear All” in case you want to remove all the selection.
2. Select the destination drive where you want to store your backup files on the
right window. You can only select the destination drive, Backup Master will
create the directory“\Backup Master\backup\”if not yet existing) and store
the file(s) there.
NOTE: If you want to specify your NAS storage device directly, click the NAS checkbox.
29
Page 28

Double-click the NAS storage device on the right window and the following
screen appears. Enter the default Username “guest” and Password
“guest.”
F
30
Page 29

Click “OK” and the following screen appears showing the folder of your
storage device.
3. Click “Finish” and Back to the Main Menu ,
“Backup Now” on the Main Menu, the Backup Master would perform
backup based on your last settings on “Basic Setup.”
The next time you click
31
Page 30

Schedule Setup
The “Schedule Setup” option allows you to automatically perform backups.
Upon clicking “Schedule Setup” on the Main Menu, the “Schedule Setup” menu
would appear. See the previous section for instructions on configuring the basic
setup if you have not done so or you want to change the previous settings.
To configure your settings for “Schedule Setup:”
1. Upon clicking “Finish” on the “Schedule Setup” menu the following screen
appears. You can select “Specific date” or “Set for weekly.”
32
Page 31

z If you select “Specific date,” you may scroll through the particular
month by clicking the arrow buttons.
Set the “Time” (hour:minute) for scheduled backup to occur.
Click the “Monthly” checkbox if you want the scheduled backup to be
performed every month on your specified date.
To select the date(s) to backup automatically, select this date(s) on the
left window, then click “+” . The right window would show the detailed
date information.
To remove the date(s), select it on the right window, then click “-” .
z If you select “Set for weekly,” click the particular day(s) of the week.
Set the “Time” (hour:minute) for scheduled backup to occur.
2. Click “Finish” to return to the Main Menu.
This is only one schedule, this new schedule task will instead of last task
Backup Master would automatically perform backup based on your settings on
“Schedule Setup.”
33
Page 32

Just as the scheduled time for backup is about to occur, the following would
appear onscreen. Click anywhere inside the dialog box if you do not want the
scheduled backup to proceed.
If the scheduled backup has already started and you want to terminate it
prematurely, right-click the “NAS Backup Master Detector” icon
Windows system tray and click “Stop Schedule Backup.”
on your
34
Page 33

Advanced Setup
The “Advanced Setup” option allows you to select Comprehensive or Duplicate
backup.
Upon clicking “Advanced Setup” on the Main Menu, the following screen
would appear to allow you to configure the “Advanced Setup” settings.
Select the type of backup.
z “Comprehensive backup” – (default)
selecting this option allows you to create restore points, file compression
and encryption when backup occurs based on your settings under “Basic
Setup” or “Schedule Setup.” Restore points are very useful when you want
to recover deleted or older versions of files. Compression would allow you
to conserve on disk space. While encryption would safeguard your files
from others.
z “Duplicate” –
selecting this option would just perform standard backup based on your
settings under “Basic Setup” or “Schedule Setup.”
35
Page 34

1. If you select “Comprehensive backup,” click “Next” and the following
screen appears.
If you select “Duplicate,” click “Next” and the following screen appears.
Only the “No Compression and No Encryption” option is available. Proceed
immediately to step 3.
36
Page 35

37
Page 36

2. Select whether you want to compress and encrypt the files or not.
If you select “Compression and Encryption,” you need to enter a password
on the “Please input password” text box (up to twelve alphabets and/or
numerals but not less than four characters).
Confirm the password by typing it again on the “Confirm password” text
box.
3. Click “Next” and the following screen appears.
38
Page 37

z “Backup the updated content”
selecting this option allows you to backup the files that have been updated
as well as filenames not existing on the destination folder only. Backup
Master would compare the filename and last saved date and if they are not
the same, would perform the backup.
z “Backup all content” – (default)
selecting this option allows you to backup and overwrite all the files
from the source to the destination folder.
4. Click “Finish” to return to the Main Menu.
Locating Backup Files
z To locate files that were backed-up using the “Comprehensive backup”
option, Backup Master will automatically create the following directories –
“x:\Backup Master\Backup\01_09_2007_10_25_14”where “x” is the
destination drive and “01_09_2007_10_25_14” is the date (Jan 09, 2007)
and time (10:25:14) the particular backup was performed.
New backups could be added and easily distinguished using the date and
time the backup was performed.
39
Page 38

z To locate files that was backed-up using the “Duplicate” option, Backup
Master will automatically create the following directories –
“x:\Backup Master\Duplicates\Basic\D\ Jeffery”,where “x” is the
destination drive, “D” is the source drive, and “Jeffery” is the name of the
folder and its corresponding contents the particular backup was performed.
New backups could be added and easily distinguished using the source
drive letter, folder name or filename of the backup that was performed.
NOTE: In case the destination drive’s capacity is full, the following screen would appear.
Clear up enough space before performing backup again.
40
Page 39

Restore
The “Restore” option allows you to recover deleted or older versions of files
based on previous backups. This is only possible for backups performed with
the “Comprehensive backup” option under “Advanced Setup.”
Upon clicking “Restore” on the Main Menu, the following screen would appear.
NOTE: Click the “NAS“ button to select restore points found on your NAS storage device
only.
1. Click the particular restore point that you desire and the following screen
appears. The left side of the screen would show the details of the restore
point.
41
Page 40

2. Click “Next” and the following screen appears. You can select whether to
restore to its original location or to a new location.
42
Page 41

z Restore to original location
Upon clicking “Next,” the following warning would appear onscreen.
43
Page 42

z Restore to new destination
Upon clicking “Yes,” the following screen appears. Select the
destination drive where you want to save your restored files.
44
Page 43

Click “+” or right-click the desired destination drive to choose between
opening the selected directory and creating a subdirectory.
45
Page 44

If you choose to create a subdirectory, the following screen appears that
allows you to enter the new folder name.
The newly created subdirectory would be shown onscreen.
46
Page 45

47
Page 46

3. Upon clicking “Yes” (for “Restore to original location”) or “Next” (for
“Restore to new destination”), the following screen appears showing the
progress of the restore process.
4.
To cancel the restore process anytime, click “Stop” and the following
screen appears.
48
Page 47

49
Page 48

5. Upon completing the restore process, the following screen appears. Click
the “Main Menu” icon to return to the Main Menu.
50
Page 49

Special notice information
If the following screen appears, NAS is processing information. To prevent
physical abnormal network connection, please check your netting line whether
work normally
51
Page 50

TECHNICAL SUPPORT
From U.S.A. and Canada (24 hours a day, 7 days a week)
Phn: 800-SMC-4-YOU / 949-679-8000
Fax: 949-502-3400
ENGLISH
Technical Support information available at www.smc.com
FRENCH
Informations Support Technique sur www.smc.com
DEUTSCH
Technischer Support und weitere Information unter www.smc.com
SPANISH
En www.smc.com Ud. podrá encontrar la información relativa a servicios de soporte técnico
DUTCH
Technische ondersteuningsinformatie beschikbaar op www.smc.com
PORTUGUES
Informações sobre Suporte Técnico em www.smc.com
SWEDISH
Information om Teknisk Support fi nns tillgängligt på www.smc.com
INTERNET
E-mail address: techsupport@smc.com
Driver updates
http://www.smc.com/index.cfm?action=tech_support_drivers_downloads
World Wide Web
http://www.smc.com/
52
 Loading...