


【Directory】
【SAFETY PRECAUTIONS】 ............................................................................ 1
ELECTRONIC WARNINGS ..................................................................................... 1
OPERATIONAL NOTICE ......................................................................................... 1
NOTICE FOR THE USA FCC PART 15 ................................................................. 2
【IMPORTANT USAGE INFORMATION】 ..................................................... 3
【POSITION LAYOUT】 ..................................................................................... 4
【PRODUCT APPEARANCE INTRODUCTION】 ......................................... 5
FRONT PANEL ...................................................................................................... 5
【PRODUCT APPEARANCE INTRODUCTION】 ......................................... 6
BACK PANEL ................................................................ ................................ ........ 6
【PC PERIPHERALS CONNECTION】 ........................................................... 7
DISPLAY SETUP ................................................................................................ ... 7
INPUT PERIPHERALS SETUP ................................................................ ............... 7
LAN NETWORK CONNECTION ............................................................................. 8
POWER SWITCH ON ............................................................................................ 8
【SYSTEM CONFIGURATION】 ...................................................................... 9
WIRELESS NETWORK SETUP .............................................................................. 9
LAN SETUP ....................................................................................................... 10
SETTING FIXED IP ........................................................................................ 10
AUTOMATIC IP ADDRESS ............................................................................... 11
【SYSTEM RECOVERY】 ................................................................................ 13
【DRIVER INSTALLATION INSTRUCTIONS】 .......................................... 14

【Safety Precautions】
Electronic Warnings
To avoid electronic shock or damage, please disconnect chargers from power
source
In case of power failure, please contact dealer or technical services for help and user
must not try to fix the problem by self
Operational notice
Working temperature 35℃
Please read user manual and all product information carefully before use
Please make sure the power connect is correct before use. If significant product fault
is found please do not hesitate to contact dealer.
Please keep the device away from dust as dust, wet and violent vibration may cause
damage or shorten use life
Do not place the device at where unstable or vibrant
For any technical issues in use, please contact qualified or experienced technician
- 1 -

Notice for the USA FCC Part 15
This equipment has been tested and found to comply with the limits for a Class B
digital device, pursuant to Part 15 of the FCC Rules.
These limits are designed to provide reasonable protection against harmful
interference in a residential installation.
This equipment generates, uses and can radiate radio frequency energy. However,
there is no guarantee that interference will not occur in a particular installation. If this
equipment does cause harmful interference to radio or reception, which can be
determined by turning the equipment off and on, the user is encouraged to try to
correct the interference by one or more of the following measures:
Reorient or relocate the receiving antenna.
Increase the separation between the equipment and receiver.
Connect the equipment into an outlet on a circuit different from that to which the
receiver is connected.
Consult the dealer or an experienced technician for help.
This device complies with part 15 of the FCC Rules. Operation is subject to the
following two conditions:
1) This device may not cause harmful interference, and
2) This device must accept any interference received, including interference that
my cause undesired operation.
CAUTION: 1)To comply with the limits of the Class B digital device, pursuant to Part
15 of the FCC Rules, this device is comply with Class B limits. All peripherals must
be shielded and grounded. Operation with non-certified peripherals or non-shielded
cables may results in interference to radio or reception.
2)To satisfy FCC RF exposure requirements for mobile transmitting devices, a separation
disatance of 20 cm or more should be maintained between the antenna of this device and
persons during operation. To ensure compliance, operations at closer than this distance is not
recommended. The antenna used for this transmitter must not be co-located in conjunction with
any other antenna or transmitter.
MODIFICATION: Any changes or modifications not expressly approved by the
grantee of this device could void the user‟s authority to operate the device.
- 2 -

【Important Usage Information】
·in order to avoid system damage or body hurt, Please read the instruction and
notice carefully before use.
·Please check the device and all its accessories before first use, if any product fault
is found please contact dealer for replacement as soon as possible.
·Please keep the device away from dust, heat and direct solar radiation
·Please keep the use environment dry. Water, moisture or mineral liquid may cause
erodent damage.
·When using the device, please make sure the surroundings scatter heat radiation
effectively.
·Please check though connection to every accessory is correct before power on.
·In order to avoid short circuit and fault connections, please keep the device and
output connectors away from paper scrap, screw or any small object.
·In order to avoid short circuit and circuit damage, please DO NOT insert anything to
the device
·After power on and system start, a few cooling fins or IC may heat up.
·Please Do Not touch them and check if it is fail to scatter heat radiation.
·Please shut down the device before connecting or removing peripheral parts and
products.
·Please note that factory warranty will be invalid once it is opened and
disassembled.
·excessive sound pressure from earphones and headphones can cause hearing
loss.
·the socket-outlet shall be installed near the equipment and shall be easily
accessible.
·CAUTION
RISK OF EXPLOSION IF BATTERY IS REPLACED BY AN INCORRECT TYPE.
DISPOSE OF USED BATTERIES ACCORDING TO THE INSTRUCTIONS
- 3 -

【Packing List】
Thanks you for your choice.
Please check the following parts in the box, please contact dealer if there is any
accessory is missing.
Stander ----------------------------------------------1
User „s Manual ------------------------------------1
Power Adaptor ------------------------------------1
Audio ------------------------------------------------1
Wirless network antenna -----------------------1(optional)
Driver CD -------------------------------------------1
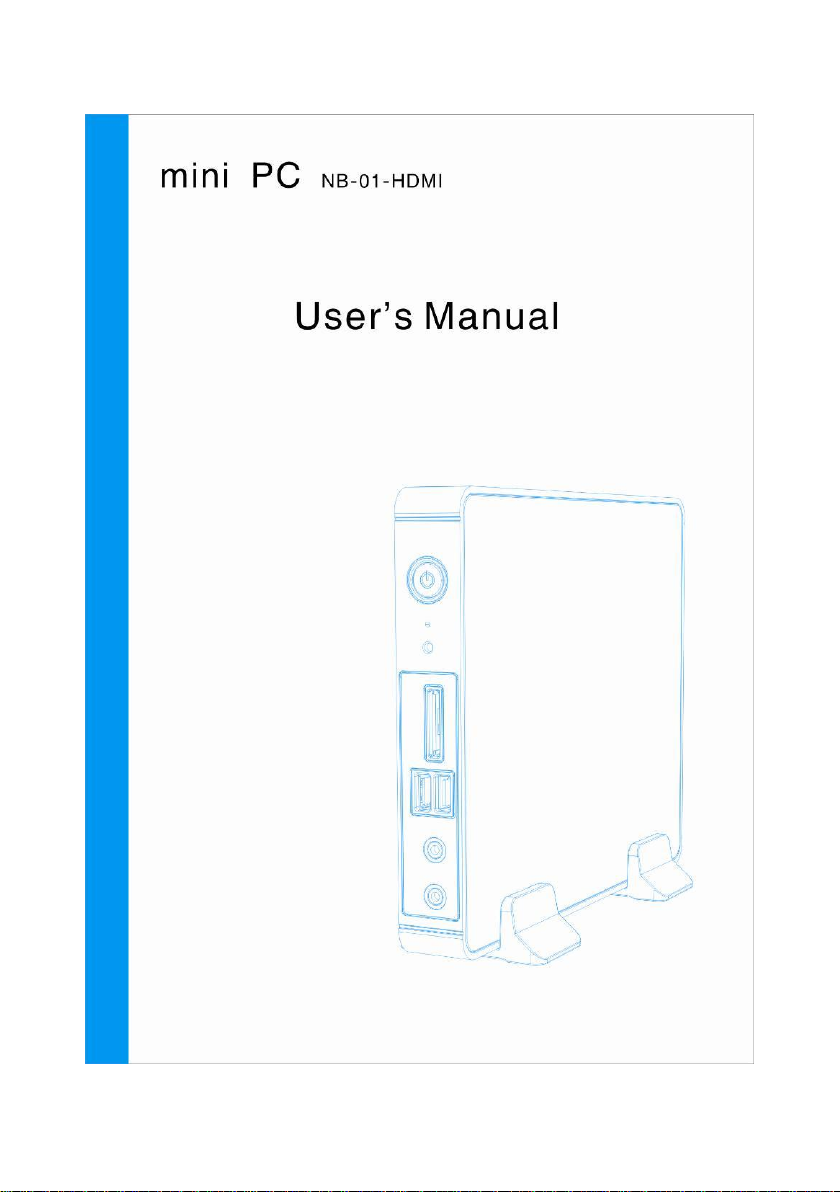
【Position Layout】
Please use the stander to place NB-01-HDMI as below position.
- 4 -

【Product Appearance Introduction】
Front Panel
1. Power ON/OFF
Push power on/off button to start or shut down NB-01-HDMI
2. Hard Drive Indicator
The indicator will flame when the hard drive is working.
3. Infrared receiver
Infrared reception for the remote control.
4. Flash Memory Slot
The flash memory slot support SD/MMC/MS memory cards that widely used in
digital camera, MP3 player, cell phone, PDA etc.
5.USB
Support USB2.0 or USB1.1 peripheral parts and hardware such as keyboard,
Mouse, camera and external hard drive. The usb support plug and play and up to
12Mb/s data transfer.
6. Headphone slot
Support stereo headphone or speakers
7. Mic
Support microphone, voice narrations and sound recording.
- 5 -

【Product Appearance Introduction】
Back Panel
8. Wireless Network Antenna Connector
Connect to wireless network antenna for better signal reception
9. Power DC 12V
Connect to power adaptor and give power supply
10.USB
Same as No.5
11.HDMI
Support HDMI1.3 high definition video output. It can connect to display device that
has HDMI1.3 interface.
12.VGA
Support VGA monitor and VGA displayer such as screen projector
13. SPDIF Output
Support stereo audio and digital audio output
14. LAN
Standard RJ-45 Ethernet interface for LAN network connection
- 6 -

【PC peripherals Connection】
Display Setup
Connect monitor or displayer to NB-01-HDMI by HDMI or VGA cable.
Input Peripherals Setup
Connect keyboard, mouse or printer to NB-01-HDM through USB interface.
- 7 -

LAN Network Connection
Connect router or hub to NB-01-HDMI by RJ-45 Cable.
Power Switch On
Connect power adapter to the console and press the power button
- 8 -

【System Configuration】
Wireless Network Setup
【Remark】: please make sure the WIFI antenna is connected before network
setup.
1: Right click on Network Connection in Windows XP and search WIFI signal.
Select a network from the available network list.
【Remark】: you may need to enter password for accessing a network if the network
is secured.
- 9 -

LAN Setup
Setting fixed IP
1:Right click on the Local Network Sign and open the Network Connection
2:Choose attribute after right click on Local Network.
3:Click on Internet prototype(TCP/IP) and click Attribute
4:Select “Using fixed IP” and enter the given IP, Sub mask and Default Gateway,
click OK when finish entering IP. In most cases there is no need to fill in DNS
information. If you do not have the IP address information, please contact network
administrator.
- 10 -

Automatic IP address
1: Refer to Fixed IP Setup instruction to establish a network connection.
2:Select Obtain an IP address automatically and click on Finish
3:Click on Create a new connection to activate network connect wizard。
- 11 -

4: Click Next。 5:Select Connect to Internet then click Next。
6: Select Setup Internet 7: Select a way of connecting and
Connection Manually。 click Next。
8: Enter your ISP name 9: Enter network User name and
and click Next。 Password and Click Next。
10:Click on Finish to end the network setup。
- 12 -

11:After entering User name and Password, click on Connect to activate the internet
connection。
【Remark】If there is a network problem, please contact your network service
provider.
【System Recovery】
There are operation system, software driver and default application activate list
file in a hidden partition in harddisk that will help you to recover your system and
reset system as default setting. Please note that you may need to back up part of
current system information such as Outlook PST or important data before system
recovery.
【Remark】: Please DO NOT delete RECOVERY partition and you will not be able to
use system recovery function.
1:For entering BIOS setup, press “F8” while system is starting
- 13 -

2:Press “Enter” and select “Windows Setup [EMS Enabled]”
3: Enter the system recovery dialog
4:Choose a target disk and partition, then click Next.
4.1 Partition option: Recover Windows to a partition
4.2 Partition:
A:Select a partition that is more than 20GB
B:System recovery will process in a harddisk partition, please select other
partition.
5:Please follow above illustration to finish system recovery
6: When system recovery is finish, please restart the console.
7:Please finish setup for time, language, time zone, computer name and user name
for your console before using the Windows operation system.
【Driver installation instructions】
This product driver installation CD for Windows XP Professional / Home simplified
Chinese version of drivers and utilities installation.
The default partition for the driver to place 【G:】
【Notes】 1. Make sure all the drivers installed before installing Service Pack2
(Windows XP) or Updated Microsoft Service Pack3 (Windows XP).
2. If you are prompted to restart the installation process, be sure to follow the
prompts.
3. In the pre-install the drivers and utilities, please make sure you are
administrator privileges to run
4.Windows XP. If it is not the system administrator privileges to log on Windows
XP, security Problems may occur when loading.
- 14 -

1. Chipset drivers installed
Please follow these steps to install the chipset driver
1. Run G: \ Drivers \ VIA_INF_V310A \ Setup.exe
2. Click 【Next】 be installed, check the VIA Chipsets option, then click 【Next】
to continue Installation, until the completion of Click 【Complete】.
3. Restart your computer.
2. Install graphics card driver
Please follow these steps to install the graphics card driver
1. Run G: \ Drivers \ VIAsetup_2001R \ Setup.exe
2. Click【Next】is installed, continue to click【yes】yes to restart your computer to
complete the installation.
3. To install the sound card driver
Please follow these steps to install the sound card driver
1. Run G: \ Drivers \ Audio \ Setup.exe
2. Click 【Next】 be installed, check the VIA HD Audio option, then click Next to
continue the installation until you click the 【Complete】 to complete.
4. Install remote control drivers
Please follow these steps to install the remote control driver
1. Run G: \ Drivers \ ITECIR Driver V5102_XP \ Setup.exe
2. Click 【Next】 be installed and continue to click 【Next】, until the completion of
Click 【Complete】
5. Install Wireless Network Card Driver
Please follow these steps to install the wireless card driver
1. Run G: \ Drivers \ WLAN \ Setup.exe
2. Click 【Next】 be installed and continue to click 【Next】 installation, until the
completion of Click 【Complete】.
6. Install Media Center
- 15 -

Please follow these steps to install the Media Center
1. Run G: \ Drivers \ PPS video \ setup.exe
2. Click 【Next】, select the installation path Click 【Next】, to continue Click
【Next】, until the completion of Click 【Complete】.
3. Run G: \ Drivers \ iMCE Media Center main program \ setup.exe
4. Click 【yes】, to choose the installation path Click 【Next】, to continue Click
【Next】, until the completion of Click 【Complete】.
5. Run G: \ Drivers \ iMCE decoder \ Code_setup.exe
6. Select the installation path Click 【Next】 until you click the 【Close】, to
complete the installation
- 16 -

 Loading...