

FAMILIENHEIM
LUXUSHAUS
GESCHÄFT
BÜRO
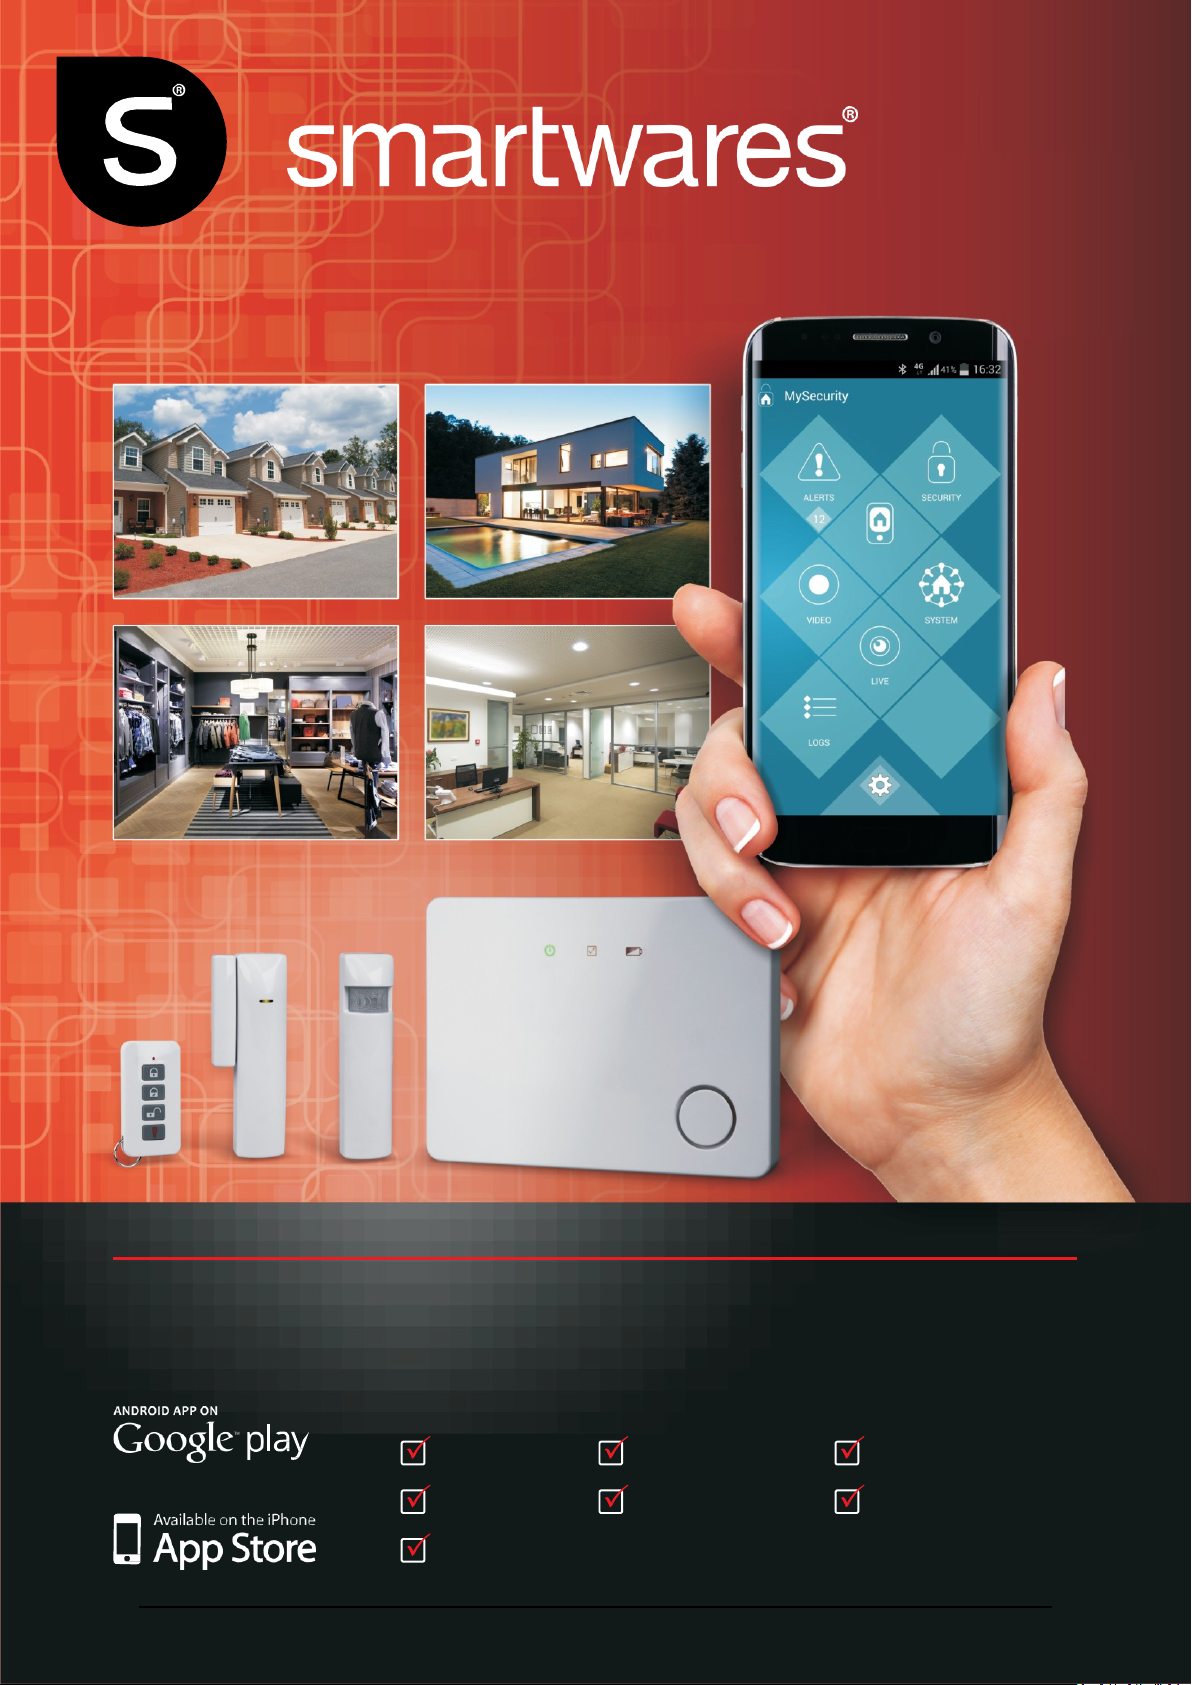
HA701IP
smart wireless alarm system
SECURE & MONITOR
FAMILY HOUSE
LUXURY HOME
STORE OFFICE
Check for news and new items: www.smartwaressafetylighting.eu
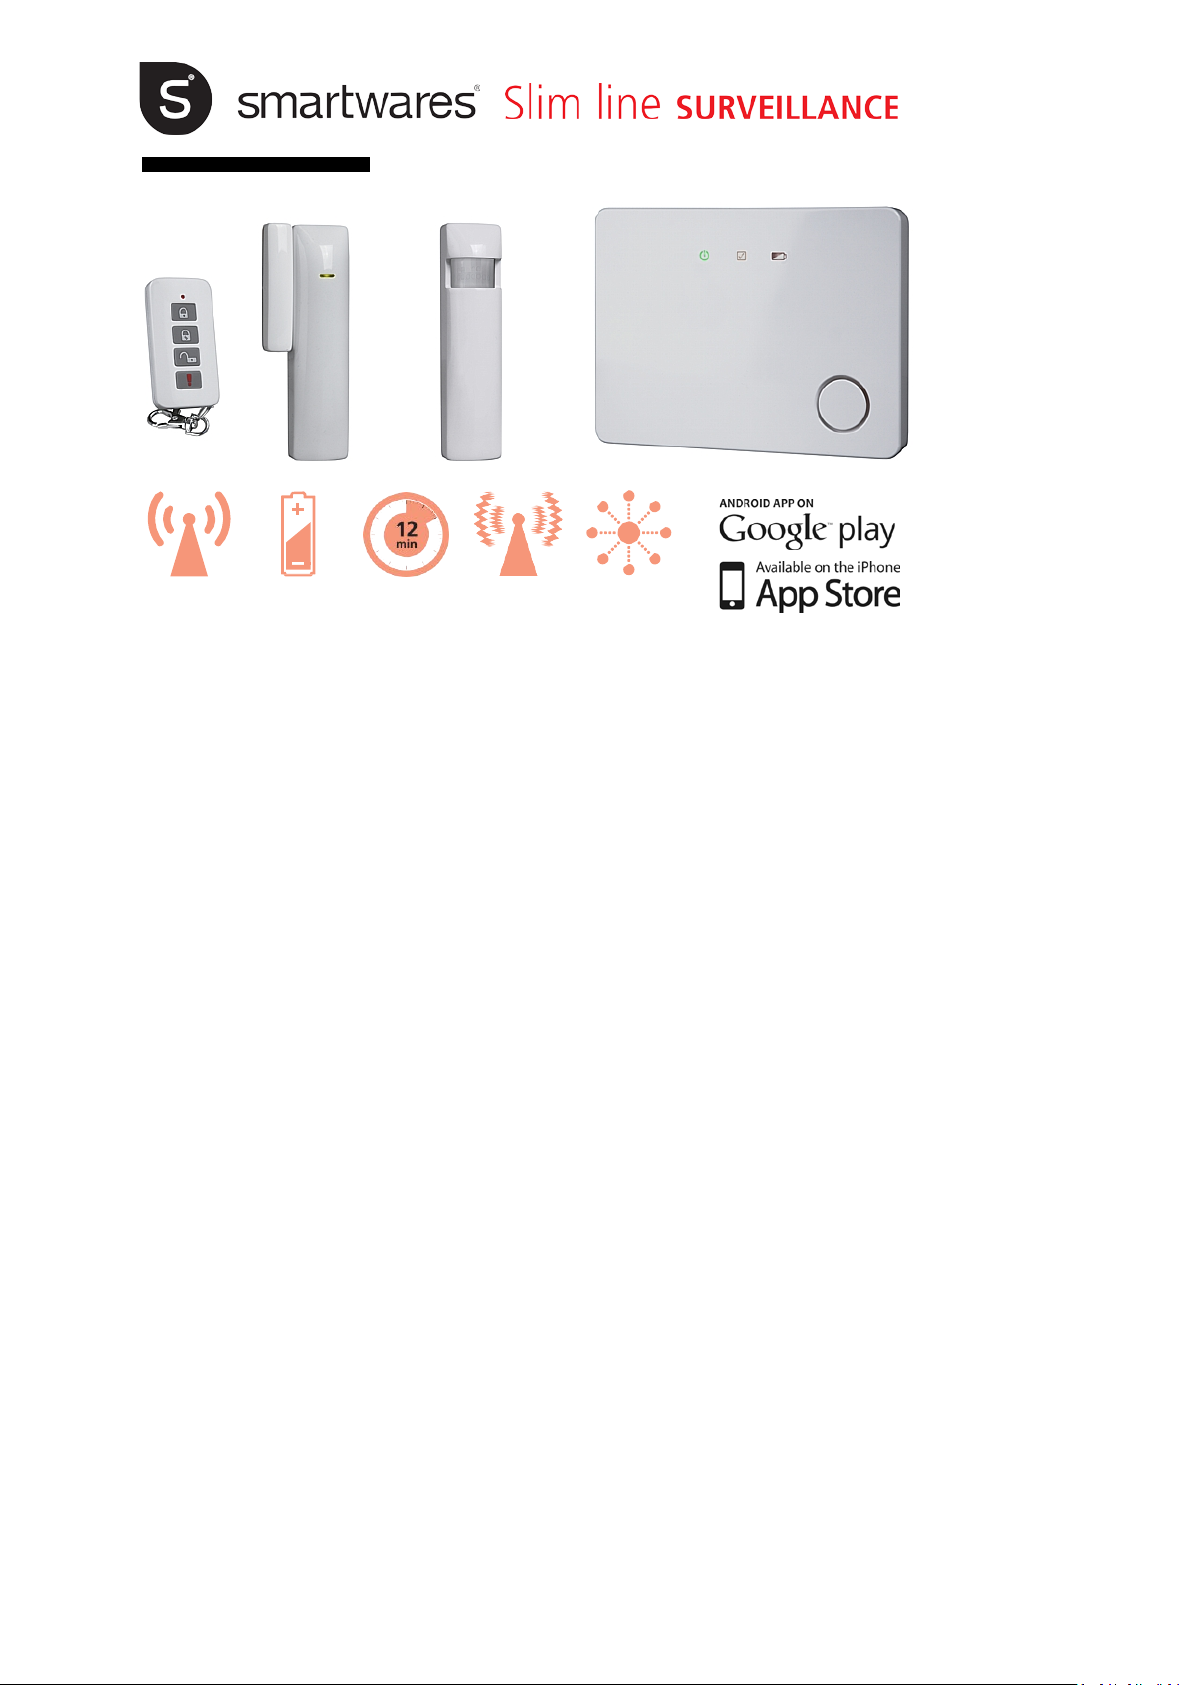
Slim line
SURVEILLANCE
Main unit
Motion detector
Door/Window detetctor
Remote
Adaptor & Batteries
Plugs & Screws
Welcome Card
HA701IP
CONTENT
COMPLETE APP CONTROLLED
Operating
Batteries
Easy and Quick
Anti
100 accessories
Manual 10.01 6.58_HA701IP ---
SMART ALARM SYSTEM
distance 75M
GB SMART ALARM SYSTEM 3 IN 1
* Secure and monitor your home,wherever you are
* Connect directly to internet
* Easy to install, in 12 minutes
* Complete sabotage protected
* Extendable up to 100 accessories/zones
* Receive alarm messages on your smartphone / email
* Automatically, warn your friends or family
* Suitable for home, apartments, small office or shop
* Built-in siren up to 90dB
* Battery backup
* Low battery indicator
* Secure and monitor your home from any computer or smartphone (IOS, Android),
wherever you are!
Frequency : 868.35MHz
Transmission power : <10mW
Transmitting range : Up to 75m (in open space)
Extendable : Up to 100 accessories
Power adaptor : 12V DC, 2A
Backup power : 6x 1,5V DC Battery AA (incl.)
Alarm volume : 90dB/1m
Remote battery : CR2032 type, 3V Lithium (incl.)
Magnetic switch battery : 3V 900mAh Lithium CR2 (incl.)
PIR detector battery : 3V 900mAh Lithium CR2 (incl.)
PIR detection : 110° x 10m
Internet connection : RJ45 LAN - internet cable (incl.)
Operating temperature : -10°C ~ 50°C
2
included
to install
Jamming
extendable

2.1
2.3
2.4
2.2
2.2
Welcome to the world of our Smart Home Wireless Alarmsystem HA701IP
We will guide you during the installationtrip; step by step! The trip will start with unpacking, sorting, screwing and
downloading, and will be accompanied by screenshots, so that you see what you get! We wish you a pleasant trip!
Step 1:
Unpack all the products and sort them on the table!
Step 2:
2.1 Write down the Access Code information of the back of the Gateway, on this field of the manual:
2.2 Open the battery compartment at the back side and install 6 x 1,5 V AA, close it again.
2.3 Plug in the internet (LAN) cable and the adaptor (POWER) in the contacts at the back.
2.4 Plug the other side of the internetcable in your router, and the adaptor in a powersocket.
- -
-
The Code is needed for system login.
3
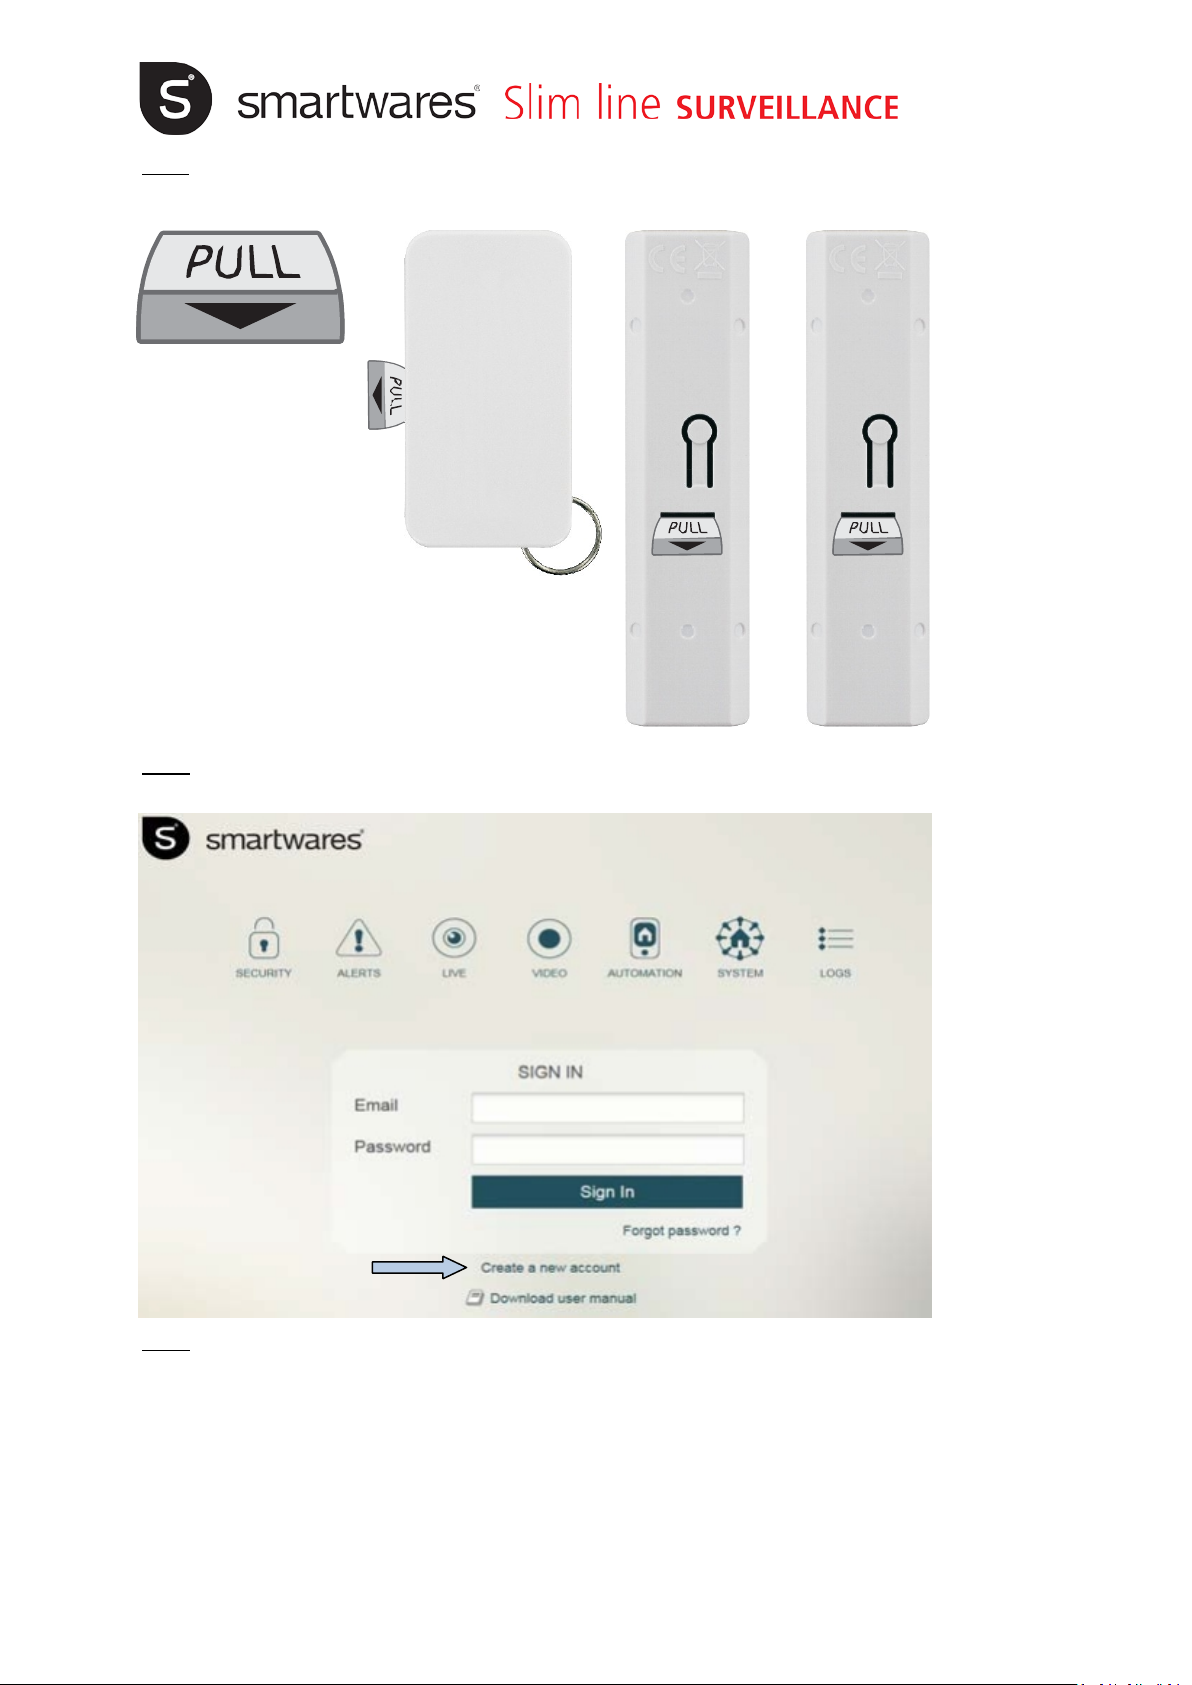
Step 3:
Remove the insulating films on the back of the Motion Sensor and Magnetic Contact Sensor. Remove the insulating
films on the side of remote.
Step 4:
Open on your computer again: www.mysecurity.smartwares.eu Click on "CREATE A NEW ACCOUNT"
Step 5:
Click on "CREATE A NEW ACCOUNT"
4
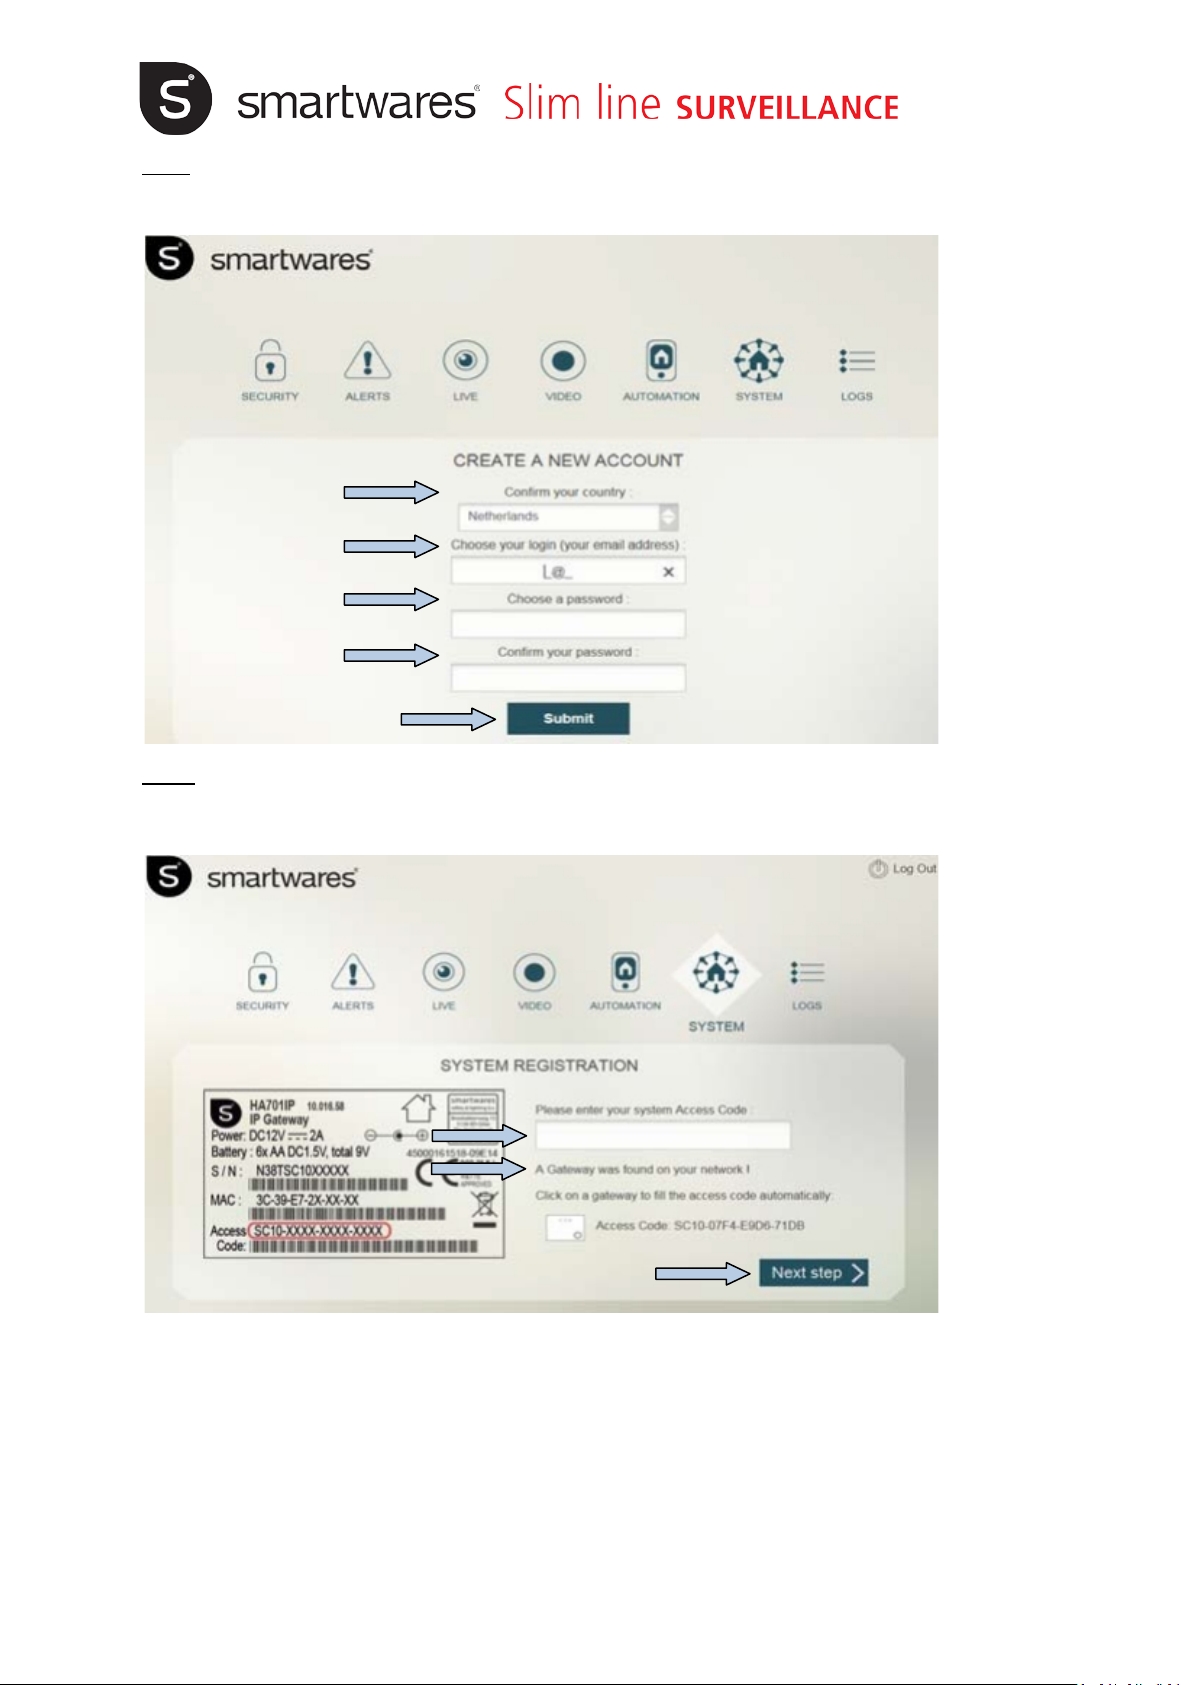
Step 6:
Confirm your country. Fill in your email adress which will also be your accountname. Fill in the password you want
to use for this account. Confirm the password. Click on Submit
Step 7:
You are now in System Registration: a gateway is found on your network!
Fill in the code and click on NEXT STEP
5

Step 8:
The system will congratulate you, and askes which name you want to give your system.
Step 9:
The software of you system aske for a update; click on "START UPGRADE"
Congratulations: Your system is connected and up to date: Click on "TERMINATE"
6

Step 10:
You are in the main menu of the system!
Step 11:
Connect and check the Motion Sensor, Magnetic Sensor and Remote! Click on "System"
Step 12:
We will now add the Sensors and the Remote!Click on "+ add a new device"
7

Step 13:
Select the device you want to add, for example Remote, and click on it.Not all device you see now
are already available! Some are under development
Step 14:
Now you push on one of the buttons of the remote within the count down time!
8

Step 15:
You will get a confirmation that it is learned success full. When it is already connected, you will get the message that it is
already known. Now you do the same for the Motion Sensor and the Magnetic Contact Sensor.
All connected devices are shown in the screen. The main Unit is called Internal Siren
Step 16:
Decide where you want to mount you main unit! We advice to mount it out of sight, so that in case of burglary it wil not
easy be found! You need to connect the internet (LAN) cable and plug in the adaptor! Use the template paper to mark
the positions of the screws on the wall. Leave the screw head protruding for about 7mm so it can push the tamper switch
(on the back of the Gateway) into place.
Step 17:
Install Motion Sensors and Magnetic Contact Sensors on the place you think they are the most effective! Montion Sensors
secure a complete Area of 110° x 10 meter. Install in the rooms which are attractive fur the burglar a Motion Sensor.
Don't point the Sensor to windows or heathers! When a Motion Sensor registers Motion it will give a signal to the main
unit. Magnetic Contact Sensors secures one door or window. Install on the doors or windows which are interesting for the
burglar a Magnetic Contact Sensor. When a door or window is opened, it will give a signal to the main unit.
Advice:
We advice to make a drawing of your home and mark the burglary sensitive points with a red arrow! When you have done
this you are going to fill in where you want to install motion- and magnetic sensors! When you have filled in all sensors,
you mark
siren, on a strategic place. I case of burglary
is
doesn't like to take the remote, or open
keypad! You can give per person a code, so you can always see who activated or deactivated the system! For total security
of your home you also can add; smoke-
them if you want them active at night, or only when you are out. We advise to install also minimum a indoor
also wise to install a outdoor siren! They are all wireless, so easy to install. If you live with more persons in one house, or
everybody in the house must be warned. Depending on the neighbour-hood it
the app everytime to activate or deactivate the system, then we advice to add a
and waterdetectors and a connected to your alarmsystem Internet camera!
9

Laundry
Hall
Hall
Legend
Bedroom
Bedroom
Bathroom
Bedroom
Bedroom
Livingroom
Kitchen
Study
Bedroom
Bathroom
Walk in closet
Sauna
Storage
P.I.R. D etector
Magnetic Switch
Keypad
Indoor Siren
Outdoor Siren
Smoke Detector
Water Detector
important:
The PIR/Motion sensor has a battery saving mode! This means that the Motion Sensor is always ready for triggering. And it
will always send a signal
on, the siren will go for 3 minutes! The Motion Sensor will
when it is
triggered after 3 minutes! ALSO IN TEST MODE YOU HAVE TO WAIT 3 MINUTES AFTER EVERY TRIGGER!
to the main unit after it is triggered! After the Motion sensor is triggered, and the alarmsystem is
get in "safe battery - mode" for 3 minutes, and will react again
10

Step 18:
Personalising the System Settings; click on "Systems"
Step 19:
Click on: "Acount"
Step 20:
Here you can fill in, if you want, your personal data
11

Step 21:
Close the account, and click on: "Security". Here you can define which detectors has to be armed in which mode! You have
the opportunity to arm all detectors, or partial! For example: When you are at home you only arm the Magnet contacts on
the outdoor. When you are goiing to sleep, you arm also the Motion sensors in the living, and the kitchen, but not upstairs.
When you leave, you arm all! It is also possible to choose for loud or silent alarm, per partial mode!
Step 22:
Automation is under development!
Step 23:
Click on: "Alerts" and define your emailrecipients! Here you can fill in the 2 emailadresses to which you would like to
have send the alerts, or logs.
Step 24:
Customize the name of your system and alarm settings : exit and entry delays! When you have bought a keypad, you can
enter your personal pass-code here! From then you can also activate or deactivate your system by the keypad, with the
code you have chosen and entered here!
Step 25:
If you want to install more Smartalarms, or control! You can add here the other Smartalarms or remove.
When you click on :"My Gateways"you can add or remove gateways It is possible to control more gateways, by one app!
12

Step 26:
Now we have installed everything, and go for the more funny part! We are going to
download and install our
"MYSECURITY" - app
Smartalarm world!
Step 27:
Open the app:
In the app, you will see the same functions as
you see on the web-site. Only the lay-out is
different. If you want to activate, or deactivate;
you touch "SECURITY"
Step 28:
If you want to receive notifications on your
mobile device (receive a warning);
settings, general settings and mark "vibrate on
alerts"
Final:
If you want to check what you have done, you
can look in the log- or the alert file!.
in the Play- or Apple store, and will enter the
Dear User:
Here ends our trip!
Everything is installed, and adjusted to your wishes.
If you want to make changes, add, or delete things you can do this either in the web-ui, or the app! We hope you enjoyed
the trip, and that the Smartalarm will bring you the safety you may expect. If you have any remarks, ideas, don't hesitate,
contact us and send an email to:
smartalarm@smartwares.eu
13

EN PRODUCT GUARANTEE
This product has factory warranty according to EU regulations. Guarantee lasts for the number of years shown on the packaging , starting from
the date of purchase. Keep the receipt - proof of purchase is required in order to rely on guarantee. In the case of pro blems, ple ase contact
with the store where you purchased the product. For further product information call to our Hotline or visit our website:
www.smartwaressafetylighting.eu.
DISPOSAL
Correct Disposal of This Product (Waste Electrical & Electronic Equipment) (Applicable in the European Union and other European
countries with separate collection systems). This marking shown on the product or its literature , indicates that it should not be
disposed with other househo ld wastes at the end of its working life. To prevent possible harm to the environment or human health
from uncontrolled waste disposal, please separate this from other types of wastes and recycle it respo nsibly to promote the
sustainable reuse of material resources.Household users should contact either the retailer where they purchased this product, or their local
government office, for details of where and how they can take this ite m for environmentally safe recycling. Business users should contac t
their supplier and check the terms a nd conditions of the purchase contract. This product should not be mixed with other commercial wastes
for disposal.
* Always throw empty batteries to the battery recycling bin.
* If the battery is built-in inside the product, open the product and remove the battery.
MAINTENANCE
The devices are maintenance-free, so ne ver open them. The guarantee becomes void when you open the applia nce.Only clean the
outside of the devices with a soft, dry cloth or a brush. Prior to clea ning, remove the devices from all voltage sources. Do no t use
any carboxylic cleani ng agents or petrol, al cohol or similar. These attack the s urfaces of the devices. Besides, the vapors are
hazardous to your health and explosive. Do not use any sha rp edged tools, screw drivers, metal brushes or similar for cleanin g. Warning:
Protect the battery against fire, too much heat a nd sunshine
GENERAL SAFETY
* Clean with a clean, dry cloth or brush, use no solvents or abrasives. Avoid da mpness on all electrical components.
* Keep all parts out of the reach of children.
* Avoid a wet, very cold or warm env ironment; this may damage electronic circuit boards.
* Avoid dropping or shocks, this ma y damage the electronic circuits.
* Repairs or opening of this item may only be done by an authorized re pairer.
* Wireless systems can be interfe rence from cordless phones, microwave ovens and other wireless devices operating in the 2.4GHz
range. Keep the system AT LEAST 3m away from the devices during installation and operation.
HIGH VOLTAGE
* All electrical connections and connection c ables must comply with the appropriate rules and match the operating instructions.
* Do not overload electrical outle ts or extension cords; this could otherwise result in fire or electric shock.
* Never replace damaged power cables yourself! In this case, remove them from the net and take the devices to the store.
* The fitting must be correctly installed if it is to operate reliabl y. These instructions and the user guide must therefore be
studied carefully.
* The electrical supply must be s witched off at the outset, preferably by means of a switch i n the distribution box , before any
installation, maintenance or repair work is undertaken.
* Exterior lighting must not be installed during rain.
* Take account of the minimal separation distance from other objects and the room require d around t he fitting.
* Install the fitting as indicated in the user guide.
* If in any doubt consult a professional, taking local installation requirements into account. Some countries stipulate that lighting may
be installed only by registered installe rs.
* Clamping screws in e lectrical connections must be adequately tightened. This is particularly the case with 12V low voltage
conductors.
* Take note of the symbols when connecting wires:
N = Neutral / L = Phase / = Earth / LS = Live, switched
* When replacing a halogen lamp, wait for it to cool, for a minimum of 5 minutes.
LOW VOLTAGE
* Keep batteries out of the reach of children. Batteries no t swallow. When a cell or battery is swallowed, call a physician immediately.
DECLARATION OF CONFORMITY
Hereby, Smar twares declares that this equipme nt is in com pliance with the essential requirements and other relevant provisio ns of
Directive 1999/5/EC. For the document of conformi ty go to www.smartwaressafetyligh ting.eu
Authorized representative:
Mr. Ad Netten
Quality Director
Date: 01.01.2015
14
 Loading...