

Page 1
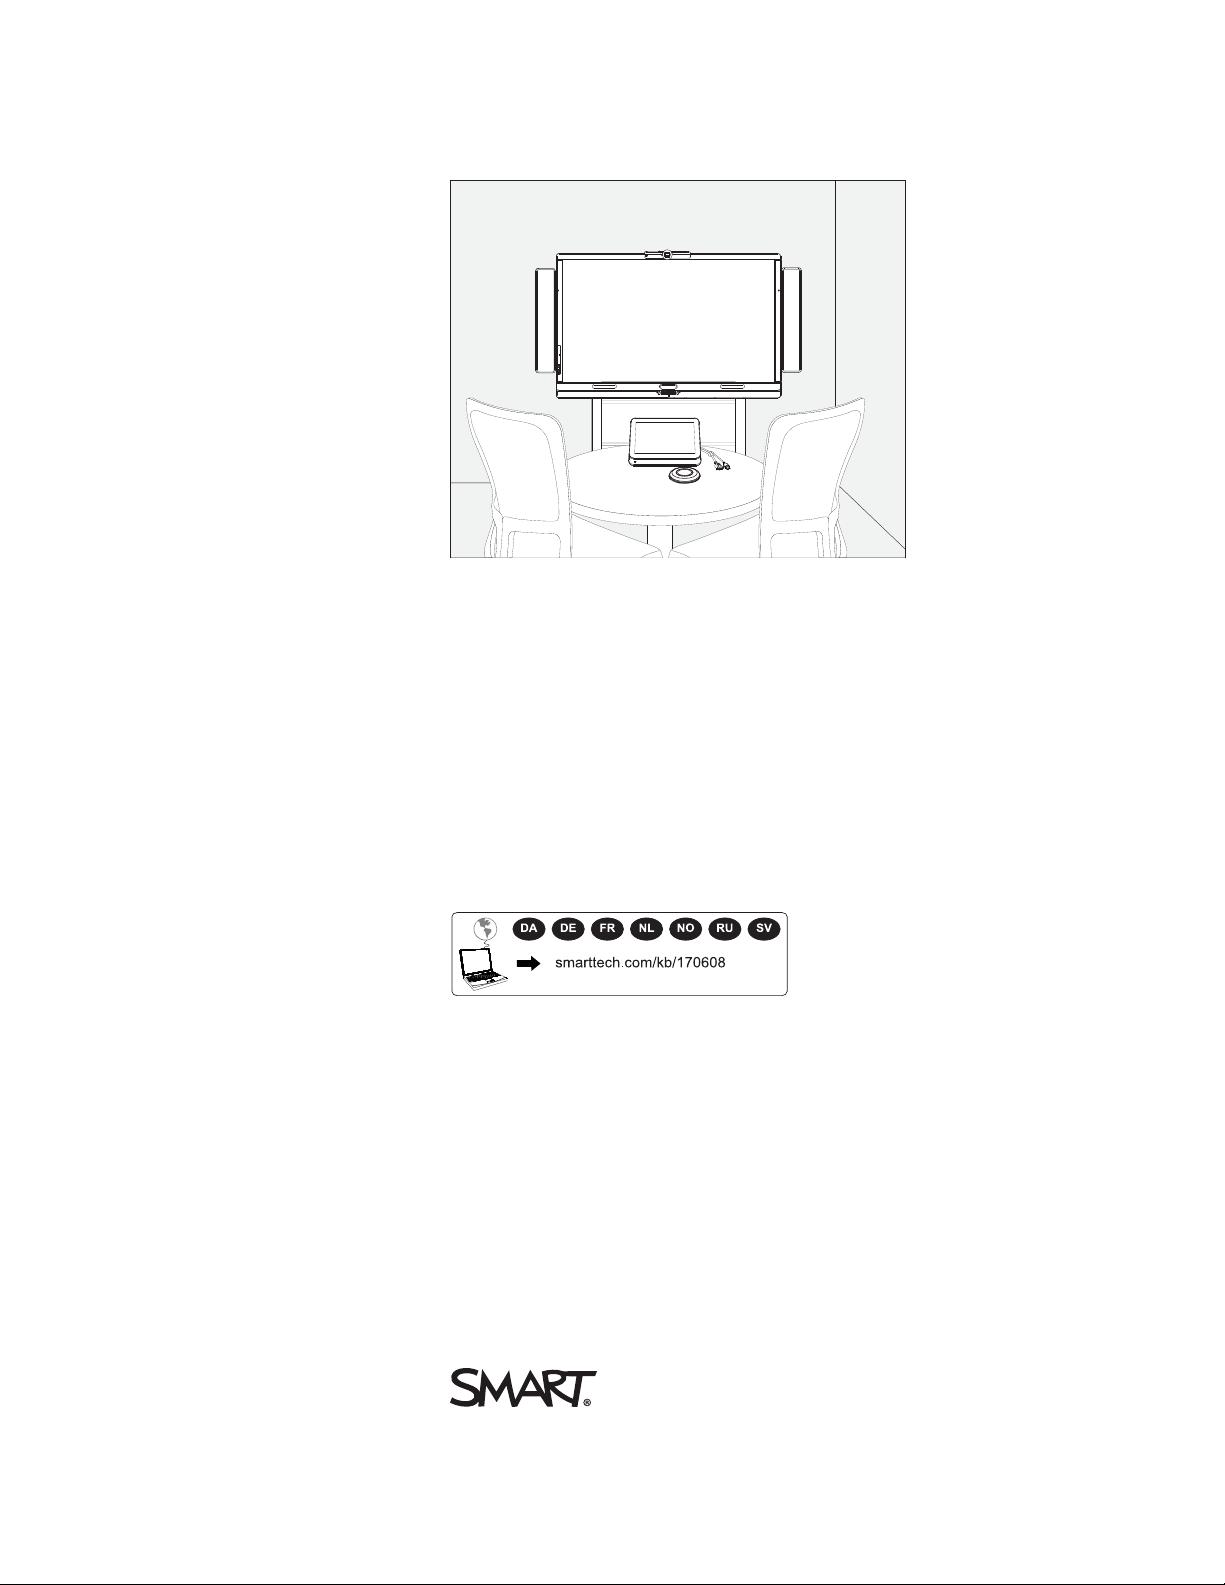
SMARTRoomSystem™
for Microsoft®Lync®
Software configuration guide
For models SRS-LYNC-XS, SRS-LYNC-S, SRS-LYNC-M,
SRS-LYNC-M-DUALandSRS-LYNC-L
Page 2

In this guide:
For your records 1
Preparing for your room system 2
Before configuring your room system’s software 2
Starting your room system for the first time 3
Logging on and configuring the displays 9
Configuring SMARTSettings 11
Configuring Lync Room System software 14
Checking the status of the Lync Room System software productkey 16
Testing your room system 17
For more information on configuring, maintaining and troubleshooting your room system, see the
SMARTRoomSystem™ for Microsoft®Lync® setup and maintenance guide
(smarttech.com/kb/170450).
FCC warning
This equipment has been tested and found to comply with the limits for a Class A digital device, pursuant to Part 15of theFC C Rules. These limits are designedto provide
reasonable protection against harm ful interference w henthe equipment is operated i n a commercial environment. This equipment generates, uses and can radiater adio
frequency ener gy and, if not installed and used in accordance wi th the manufacturer’s instructions, may causeharmful interference to radio communications. Operation of
this equipment in a r esidential area is likely to cause harm ful interference i n which casethe user will be requiredto correct the interference at his own expense.
Trademark not ice
SMARTRoomSystem, smarttech, the SMART logo andall SMART tagli nes are trademarks or register ed trademarks of SMARTTechnologiesULC in the U.S. and/or
other countries. M icrosoft, Windows, Lync and Outlook are either registeredtrademarks or trademarks of Microsoft Corporation in the U.S. and/or other countries. All other
third-party product and company names may be trademarks of their respective owners.
Copyright notice
© 2013–2014SMARTTechnologiesULC. All r ights reserved. No part of this publi cationm ay be reproduced, transmi tted, tr anscr ibed, stor ed in a retrieval system or
translated into any language in any form by any means withouttheprior wr ittenconsent of SMARTTechnologiesULC. Information in this manual is subject to change
without notice and does not r epresent a commitment on the part of SMART.
This product and/or usethereof covered by one or m ore of the following U.S. patents.
www.smarttech.com/patents
01/2014
1022893 Rev 02
Page 3

S M A R T R O O M S Y S T E M F O R M I C R O S O F T L Y N C
Software configuration guide
For your records
Record the following information for future reference or in case you need to contact SMARTSupport.
Date of purchase:
Serial numbers:
Interactive flat panel(s)
Lync appliance
Console
Camera
Table microphones
Audio processor
Speakers
Administrator account:
User name
Password
Lync account:
User name
Password
SIP URI
*
Other information:
*
When requesting technical support, provide SMARTSupport with the left interactive flat panel’s
serialnumber.
1 1022893 Rev 02
Page 4
S M A R T R O O M S Y S T E M F O R M I C R O S O F T L Y N C
Software configuration guide
Preparing for your room system
Several weeks before installing your room system’s hardware and configuring its software, complete
the following tasks.
Task
Ensure you have all items documented in the SMARTRoomSystem for MicrosoftLync
installation and service preparedness checklists
(knowledgebase.force.com/?q=000014425).
Ensure your organization has implemented Lync 2013 and the Lync infrastructure is
functioning.
Download and follow the instructions in the MicrosoftLync Room System Deployment
Guide (microsoft.com/en-us/download/confirmation.aspx?id=39274).
This guide explains how to provision the Lync account in the Lync Server and the
MicrosoftExchange server.
Use a test computer to confirm that the Lync account is functioning.
Determine if your Lync infrastructure includes a key management service (KMS) server and
if the KMS server is configured to provide Lync 2013 product keys.
A KMS server automatically provides a product key to the Lync Room System software. If
your Lync infrastructure doesn’t include a KMS server, you can use the multiple activation
key (MAK) provided by Microsoft during the configuration of the software.
Before configuring your room system’s software
Before configuring your room system’s software, ensure the following prerequisites are in place:
Task
The steps in Preparing for your room system above have been completed.
You have the necessary information to connect the room system to the Lync Server,
including the following:
IP addresses for DNS servers (if not configured automatically from the network via
l
DHCP)
Administrator user name and password to be applied to the room system
l
Lync appliance computer name for network presence
l
Lync account name and password for the room system
l
SIP URI address
l
T I P
You can record this information on page 1 for future reference.
2 1022893 Rev 02
Page 5
S M A R T R O O M S Y S T E M F O R M I C R O S O F T L Y N C
Software configuration guide
Task
A USB mouse and keyboard are connected to the Lync appliance for use during the software
configuration.
Starting your room system for the first time
Starting your room system
The procedure for starting your room system depends on the room size.
Room size Procedure
Extra small room page 3
Small room page 4
Medium room page 5
Medium room with dual panels page 6
Large room page 7
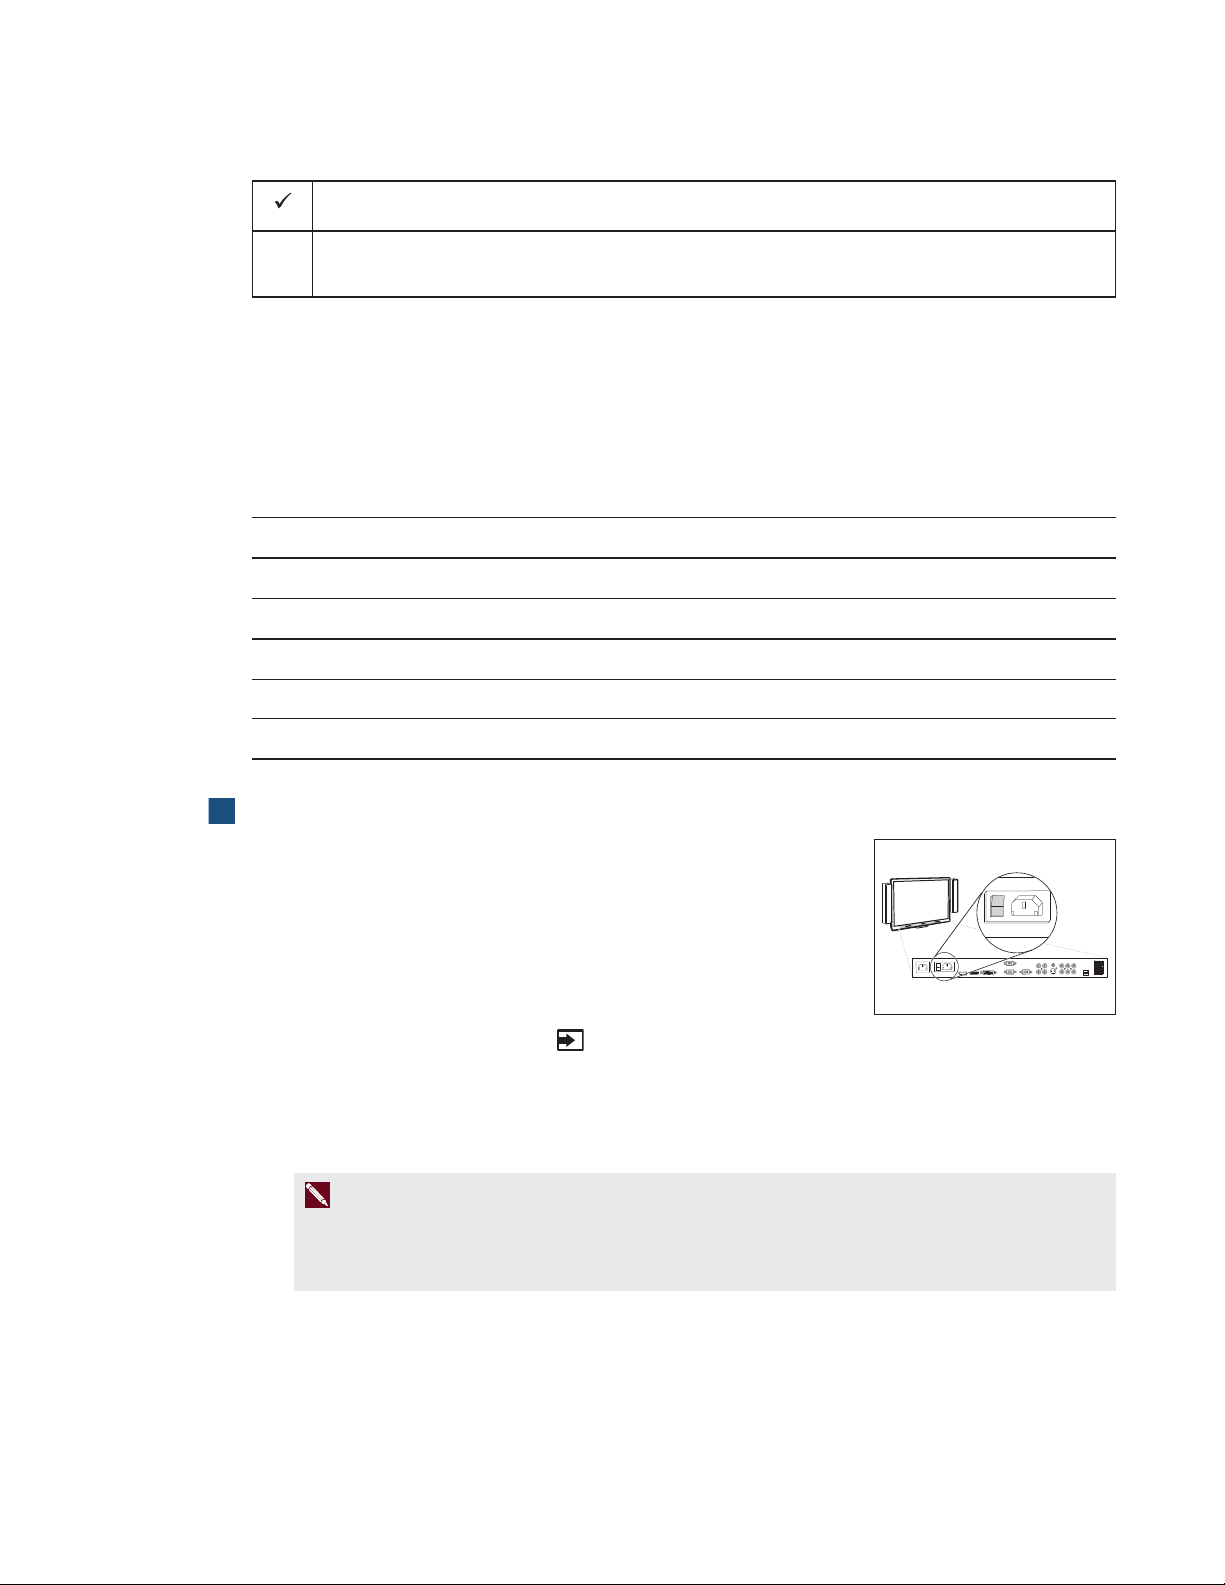
To start your extra small room system
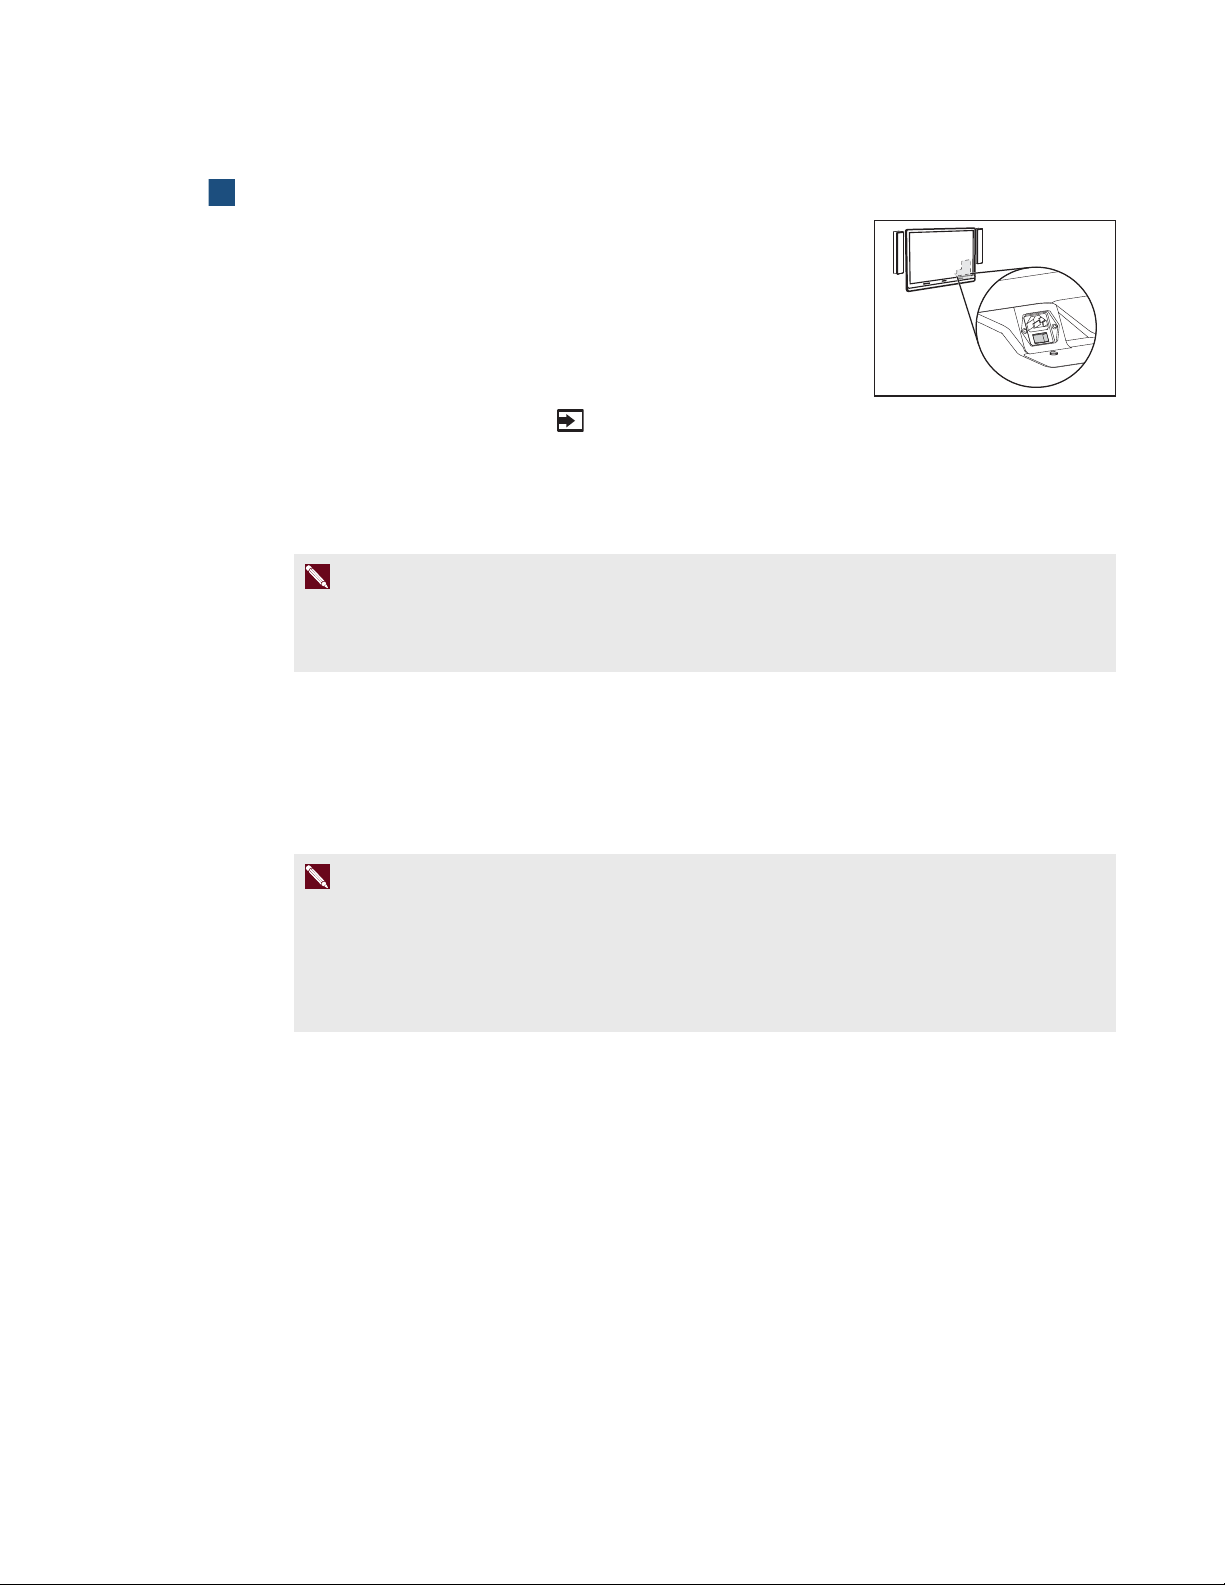
1. Flick the power switch on the bottom of the interactive flat panel.
2.
Press the Input Select button on the interactive flat panel’s
front control panel until the input source is HDMI1.
The Lync appliance begins the first-run installation process. During this process, the Lync
appliance restarts several times.
N O T E
This process takes time to complete. During this process, displays might not change content
or might appear blank for several minutes.
3. Press MENU on the interactive flat panel’s remote control.
4. Press the down arrow until you select the SETUP menu, and then press SET.
3 1022893 Rev 02
Page 6
S M A R T R O O M S Y S T E M F O R M I C R O S O F T L Y N C
Software configuration guide
5. Press the down arrow until you select USBSETTING, and then press the right arrow.
6. Press the left or right arrow until the USB1 option is set to HDMI1.
7. Press MENU or EXIT until the on-screen display menu closes.
8. Continue to Configuring Lync Room System software first-run installation settings on page 8.
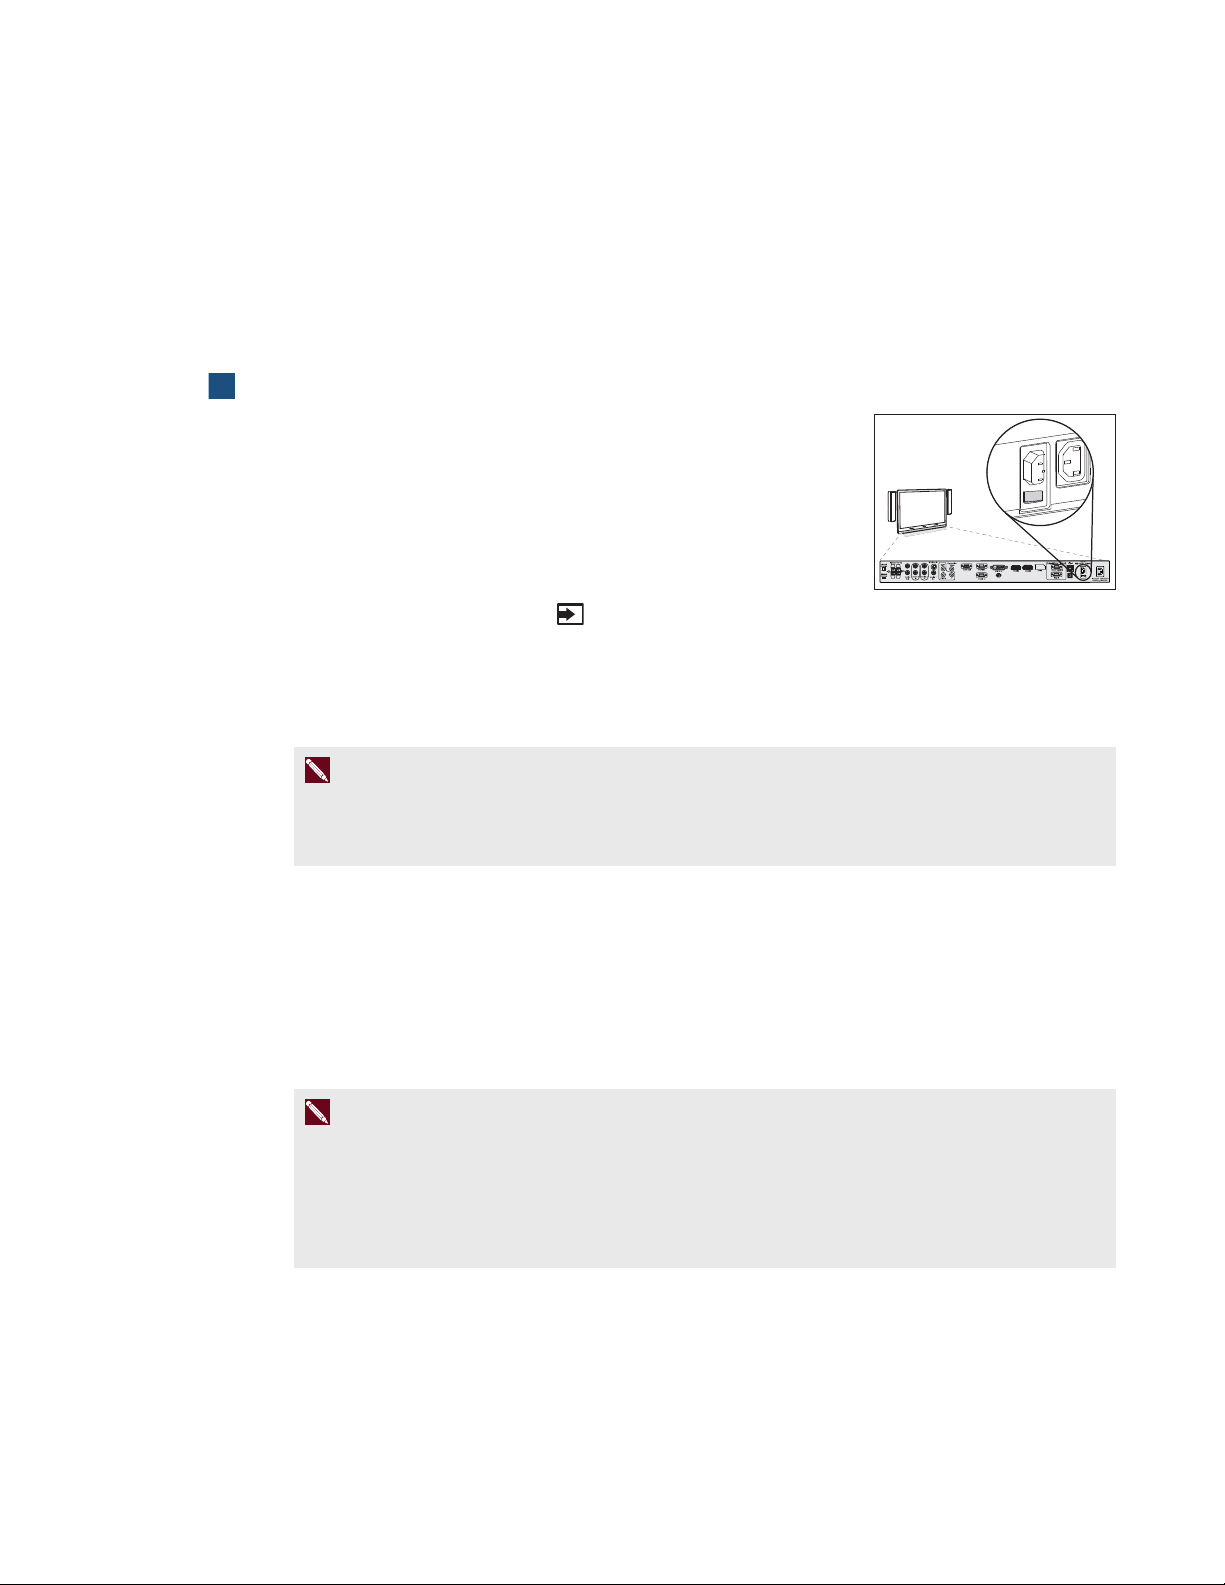
To start your small room system
1. Flick the power switch on the bottom of the interactive flat panel.
2.
Press the Input Select button on the interactive flat panel’s
front control panel until the input source is HDMI3/PC.
The Lync appliance begins the first-run installation process. During this process, the Lync
appliance restarts several times.
N O T E
This process takes time to complete. During this process, displays might not change content
or might appear blank for several minutes.
3. Press MENU on the interactive flat panel’s remote control.
4. Press the down arrow until you select the SETUP menu, and then press SET.
5. Press the down arrow until you select Lync®ROOMRESET, and then press the right arrow.
The on-screen display menu blinks briefly.
6. Press MENU or EXIT until the on-screen display menu closes.
N O T E
Completing steps 3 to 6 configures the interactive flat panel’s USB-video mapping, audio
settings, presence detection settings and other settings for use with the
SMARTRoomSystem. In addition, completing the above steps disables the volume and input
select controls on the interactive flat panel’s front control panels.
7. Continue to Configuring Lync Room System software first-run installation settings on page 8.
4 1022893 Rev 02
Page 7
S M A R T R O O M S Y S T E M F O R M I C R O S O F T L Y N C
Software configuration guide
To start your medium room system
1. Flick the power switch on the bottom of the interactive flat panel.
2.
Press the Input Select button on the interactive flat panel’s
front control panel until the input source is HDMI3/PC.
The Lync appliance begins the first-run installation process. During this process, the Lync
appliance restarts several times.
N O T E
This process takes time to complete. During this process, displays might not change content
or might appear blank for several minutes.
3. Press MENU on the interactive flat panel’s remote control.
4. Press the down arrow until you select the OPTION menu, and then press OK.
5. Press the down arrow until you select Lync®RoomReset, and then press OK.
6. Press the left arrow to select Reset, and then press OK.
N O T E
Completing steps 3 to 6 configures the interactive flat panel’s USB-video mapping, audio
settings, presence detection settings and other settings for use with the
SMARTRoomSystem. In addition, completing the above steps disables the volume and input
select controls on the interactive flat panel’s front control panel.
7. Set the options in the PICTURE menu as per SMART’s recommendations in appendix B of the
SMARTRoomSystem for MicrosoftLync setup and maintenance guide
(smarttech.com/kb/170450).
8. Continue to Configuring Lync Room System software first-run installation settings on page 8.
5 1022893 Rev 02
Page 8

S M A R T R O O M S Y S T E M F O R M I C R O S O F T L Y N C
Software configuration guide
To start your medium room system with dual panels
1. Flick the power switch on the bottom of the right interactive flat
panel.
2.
Press the Input Select button on the right interactive flat panel’s
front control panel until the input source is HDMI1.
3. Flick the power switch on the bottom of the left interactive flat panel.
4.
Press the Input Select button on the left interactive flat panel’s
front control panel until the input source is HDMI1.
The Lync appliance begins the first-run installation process. During this process, the Lync
appliance restarts several times.
N O T E
This process takes time to complete. During this process, displays might not change content
or might appear blank for several minutes.
5. Press MENU on the left interactive flat panel’s remote control.
6. Press the down arrow until you select the SETUP menu, and then press SET.
7. Press the down arrow until you select USBSETTING, and then press the right arrow.
8. Press the left or right arrow until the USB1 option is set to HDMI1.
9. Press MENU or EXIT until the on-screen display menu closes.
10. Repeat steps 5 to 9 for the right interactive flat panel.
11. Continue to Configuring Lync Room System software first-run installation settings on page 8.
6 1022893 Rev 02
Page 9

S M A R T R O O M S Y S T E M F O R M I C R O S O F T L Y N C
Software configuration guide
To start your large room system
1. Flick the power switch on the bottom of the right interactive flat
panel.
2.
Press the Input Select button on the right interactive flat panel’s
front control panel until the input source is HDMI3/PC.
3. Flick the power switch on the bottom of the left interactive flat panel.
4.
Press the Input Select button on the left interactive flat panel’s
front control panel until the input source is HDMI3/PC.
The Lync appliance begins the first-run installation process. During this process, the Lync
appliance restarts several times.
N O T E
This process takes time to complete. During this process, displays might not change content
or might appear blank for several minutes.
5. Press MENU on the left interactive flat panel’s remote control.
6. Press the down arrow until you select the SETUP menu, and then press SET.
7. Press the down arrow until you select Lync®ROOMRESET, and then press the right arrow.
The on-screen display menu blinks briefly.
8. Press MENU or EXIT until the on-screen display menu closes.
7 1022893 Rev 02
Page 10

S M A R T R O O M S Y S T E M F O R M I C R O S O F T L Y N C
Software configuration guide
9. Repeat steps 5 to 8 for the right interactive flat panel.
N O T E
Completing steps 5 to 9 configures the interactive flat panels’ USB-video mapping, audio
settings, presence detection settings and other settings for use with the
SMARTRoomSystem. In addition, completing the above steps disables the volume and input
select controls on the interactive flat panels’ front control panels.
10. Continue to Configuring Lync Room System software first-run installation settings below.
Configuring Lync Room System software first-run installation settings
To configure Lync Room System software first-run installation settings
1. Select your language, and then click Next.
2. Select your country or region, time and currency preference, and keyboard layout, and then click
Next.
3. Type a user name for the administrator account and a computer name for the Lync appliance,
and then click Next.
You must provide the administrator account’s user name and password whenever you change
the room system’s configuration or troubleshoot issues. The administrator account is only for
use with your SMARTRoomSystem and is not mapped or otherwise associated with user
accounts on your network.
In most configurations, the administrator’s user name is “admin”.
I M P O R T A N T
o
You must type a user name for the administrator account in the Type a user name box.
Do not leave this box blank.
o
Do not use “LyncRoom” for the administrator account’s user name because this user
name is reserved.
8 1022893 Rev 02
Page 11

S M A R T R O O M S Y S T E M F O R M I C R O S O F T L Y N C
Software configuration guide
4. Type a password for the administrator’s account and a hint for that password, and then click
Next.
I M P O R T A N T
o
You must type a password for the administrator account in the Type a password box. Do
not leave this box blank.
o
Do not use special characters in the password that require the use of the ALT key to type.
o
If you forget the administrator account’s user name and password, you are unable to reset
them without resetting the room system to the factory image and then configuring the
software again.
Therefore, record the administrator account’s user name and password on page 1 or in
another safe place.
5. Select your time zone, specify the current date and time, and then click Next.
I M P O R T A N T
You must specify the correct date and time. If the room system’s date and time are different
than the Lync and MicrosoftExchange servers’ dates and times, the room system is unable to
connect to the servers.
The Lync appliance restarts several times. When the basic configuration process is complete, a
screen prompting for the administrator account’s password appears.
N O T E
After the Lync appliance shuts down and starts again for the first time, it might prompt you for
a password or it might log in by itself. In either case the Lync appliance will shut down and
start again.
6. Continue to the next procedure.
Logging on and configuring the displays
To log on and configure the displays
1. Type the room system administrator account’s password, and then press ENTER.
The SMART end user license agreement appears.
2. Read the SMART end user license agreement, and then click Accept.
The Conferencing Microphone Configuration dialog box appears.
9 1022893 Rev 02
Page 12

S M A R T R O O M S Y S T E M F O R M I C R O S O F T L Y N C
Software configuration guide
3. Select Use the table microphone, and then click OK.
I M P O R T A N T
You are unable to change this setting later, so ensure you select the correct option.
The First things first dialog box and a dialog box prompting you to check the display settings
appear.
4. In the First things first dialog box, select Use recommended settings, and then click Accept.
5. In the dialog box prompting you to check the display settings, click OK.
Another dialog box appears, and Control Panel opens.
6. In Control Panel, configure the displays as follows:
I M P O R T A N T
o
Align the top of all displays as shown in the above diagram.
o
Set the console as the main display by clicking its thumbnail and then selecting
Makethismy main display.
o
Position the console to the right of the interactive flat panels as shown in the above
diagram.
o
You are unable to change these settings later, so ensure you configure the displays
correctly.
T I P
To determine which display is which, press Identify. Each display’s number appears briefly on
the display.
7. In Control Panel, click Apply and then click OK.
8. In the dialog box, click OK.
The Lync appliance restarts.
10 1022893 Rev 02
Page 13

S M A R T R O O M S Y S T E M F O R M I C R O S O F T L Y N C
Software configuration guide
9. Type the room system administrator account’s password, and then press ENTER.
The Microsoft end user license agreement appears.
10. Read the Microsoft end user license agreement, and then click Accept.
The Lync Admin Console appears.
11. Continue to the next procedure.
Configuring SMARTSettings
To configure SMART hardware
1. Click OEM Settings, and then click SMART Settings.
SMARTSettings appears.
2. Click SMART Room System Settings.
3. Define your organization’s business hours by doing the following:
a. If your organization’s business day is 12 hours, select 12 Hour Setting, and then select the
appropriate time frame in the drop-down list.
OR
If your organization’s business day is not 12 hours, select Custom Setting, and then select
the start and end times for your organization’s business day.
b. Select the days of the week your organization operates.
N O T E
Your room system enters power saving mode outside of the business hours you define in this
screen.
4. Click SMART Hardware Settings.
5. Confirm that all components of your room system are listed on this screen. If a component isn’t
listed, ensure the component is properly connected to the Lync appliance.
6. Continue to the next procedure.
To calibrate and orient touch on the interactive flat panels
1. If SMARTSettings isn’t open from the previous procedure, click OEM Settings, and then click
SMART Settings.
SMARTSettings appears.
11 1022893 Rev 02
Page 14

S M A R T R O O M S Y S T E M F O R M I C R O S O F T L Y N C
Software configuration guide
2. Click Connection Wizard.
The SMART Connection wizard appears. The wizard detects your room system’s SMART
interactive products.
3. Select the first interactive flat panel in the list, and then click Next.
4. Select Product is being set up for the first time, and then click Next.
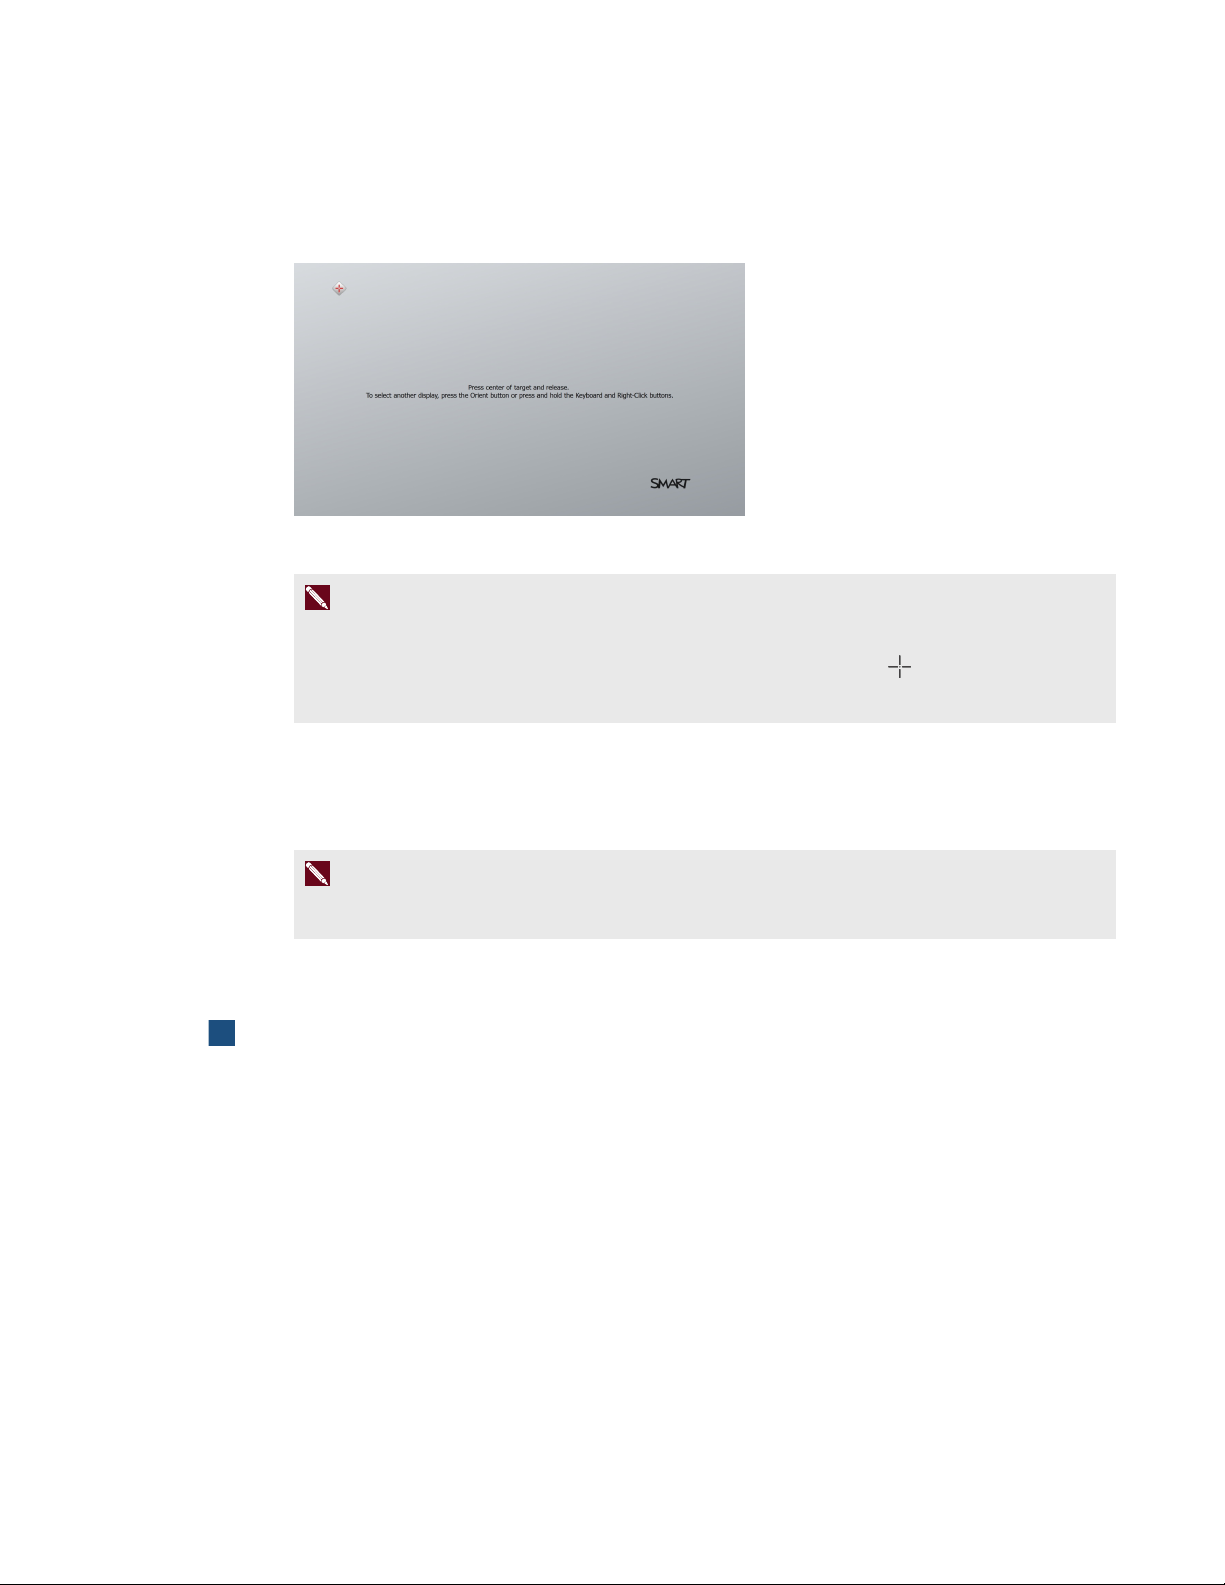
5. Click Calibrate.
The calibration screen appears on the console.
6. Move the calibration screen to the selected interactive flat panel by pressing the spacebar on the
keyboard or the Orient button on the interactive flat panel’s color select module.
N O T E
If you’re configuring a room system with two interactive flat panels, you need to determine
which interactive flat panel you selected in step 3. To do this, attempt to complete step 7 on
the interactive flat panel you moved the calibration screen to. If the calibration screen doesn’t
respond to touch on this interactive flat panel, move the calibration screen to the other
interactive flat panel and then repeat step 7.
12 1022893 Rev 02
Page 15
S M A R T R O O M S Y S T E M F O R M I C R O S O F T L Y N C
Software configuration guide
7. Calibrate the interactive flat panel by following the on-screen instructions.
The orientation screen appears on the selected interactive flat panel.
8. Orient the interactive flat panel by following the on-screen instructions.
N O T E
If you touch a target in either the calibration screen or the orientation screen but aren’t
advanced to the next target, press the spacebar or the Orient button to move to the next
interactive flat panel and try again.
9. Click Next, and then click Finish.
10. If you’re configuring a room system with two interactive flat panels, repeat steps 2 to 9 for the
second interactive flat panel.
N O T E
You don’t need to calibrate or orient the console.
11. Continue to the next procedure.
To optimize the camera
1. If SMARTSettings isn’t open from the previous procedure, click OEM Settings, and then click
SMART Settings.
SMARTSettings appears.
2. Click SMARTHardware Settings.
3. Click the camera’s icon.
4. Click Preview.
The Camera Configuration window opens.
13 1022893 Rev 02
Page 16

S M A R T R O O M S Y S T E M F O R M I C R O S O F T L Y N C
Software configuration guide
5. Select the mains power line frequency for your country (50 Hz or 60 Hz), set the pan, tilt and
zoom as appropriate for the meeting room’s size, and then click OK.
N O T E
Digital pan and tilt options are available only when the camera is zoomed in.
6. Click OK.
SMARTSettings closes.
7. Continue to the next procedure.
Configuring Lync Room System software
N O T E
The following procedure documents SMART’s recommended configuration of Lync Room System
software for a typical Lync infrastructure setup. Refer to the MicrosoftLync Room System
Deployment Guide (microsoft.com/download/confirmation.aspx?id=39274) for detailed
deployment information.
14 1022893 Rev 02
Page 17

S M A R T R O O M S Y S T E M F O R M I C R O S O F T L Y N C
Software configuration guide
To configure Lync Room System software
1. Click Lync Settings, and then set the following controls:
Control Procedure
Credentials
User Name Type the Lync account’s full domain name in one of two formats
depending on how your organization’s servers are configured
(forexample,yourdomain\room1 or room1@yourdomain.com).
SIP URI Type the Lync account’s SIP URI
(forexample,room1@yourdomain.com).
N O T E
If the domain name used in the Lync account’s SIP URI is different
from the domain name on the Lync Web Service certificate, see the
SMARTRoomSystem for MicrosoftLync setup and maintenance
guide (smarttech.com/kb/170450).
Password Type the Lync account’s password.
Proxy Credentials Select Use Lync Account credentials.
Configuration
Modes
If your organization maintains a mixed environment of Lync2010 and
Lync2013 server pools, select Manual, and then type the address of
the Lync2013 server pool in the Internal Server Name box.
Quality Control Optionally, enable the Customer Experience Program to assist with
troubleshooting.
Logging Optionally, select Full in the drop-down list, and then enable
Windows®Event Logging to assist with troubleshooting.
T I P
You can record this information on page 1 for future reference.
2. Click System Settings, and then click Network Connections.
The Network Connections window opens.
3. Right-click Local Area Connection, and then select Properties.
The Local Area Connection Properties dialog box appears.
4. Select Internet Protocol Version 4 (TCP/IPv4), and then click Properties.
The Internet Protocol Version 4 (TCP/IPv4) Properties dialog box appears.
15 1022893 Rev 02
Page 18

S M A R T R O O M S Y S T E M F O R M I C R O S O F T L Y N C
Software configuration guide
5. Select Obtain DNS server address automatically.
OR
Select Use the following DNS server addresses, and then type your domain’s DNS server
addresses in the PreferredDNSserver and AlternateDNSserver boxes.
6. Select Validate settings upon exit, and then click OK.
7. Close the Local Area Connection Properties dialog box, and any other open windows and
dialogboxes.
8. Click Password Renewal, and then disable Auto-Renew Password.
9. Continue to the next procedure.
Checking the status of the Lync Room System
software productkey
To check the status of Lync Room System software product key
1. Click OEM Settings, and then click SRS Licensing Tool.
2. Click Check Status.
If your organization has a Lync Room System software product key distributed by a KMS server,
the Status box indicates that the room system is licensed. Otherwise, the Status box indicates
that the room system isn’t licensed.
N O T E
Depending on the KMS server’s settings, the KMS server might take several hours to allocate
a product key to the room system.
16 1022893 Rev 02
Page 19

S M A R T R O O M S Y S T E M F O R M I C R O S O F T L Y N C
Software configuration guide
3. If the room system is licensed, continue to the next procedure.
OR
If the room system isn’t licensed, do one of the following:
o
Wait for the KMS server to allocate a product key to the room system, and then repeat
steps 1 to 2.
N O T E
You can continue using the Lync Room System software during the trial period.
o
Type the MAK provided by Microsoft in the MAK key box, click Activate Key, and then
continue to the next procedure.
Testing your room system
To test your room system
1. Click Lync Settings.
2. If your organization uses an on-premise Lync Server, click Make a Test Call, and then follow
the on-screen instructions to test call functions.
3. Click Test Meet Now, and then follow the on-screen instructions to test server connections and
video functions.
4. If you’re unable to complete a test call or test meeting, wait one or two minutes and then try
steps 2 and 3 again.
T I P S
o
If you’re still unable to complete a test call or test meeting, you can verify the room
system’s Lync account credentials by using them on a computer with Lync2013 client
software.
o
If the audio is too loud or too quiet, adjust the audio settings in the Lync Settings tab.
17 1022893 Rev 02
Page 20

S M A R T R O O M S Y S T E M F O R M I C R O S O F T L Y N C
Software configuration guide
5. Click Apply & Restart.
The Lync appliance restarts in meeting mode:
o
When the room system connects to the MicrosoftExchange server, the meeting room’s
calendar appears.
o
When the room system connects to the Lync Server, the meeting room name and the
MeetNow button appear below the calendar.
N O T E
If the Lync appliance starts in administrator mode, click Apply & Restart again to shut down
and start the Lync appliance in meeting mode.
T I P S
o
If the Lync appliance is unable to connect to the Lync Server, use a computer with
Lync2013 client software to verify the Lync account credentials.
o
If the Lync appliance is unable to connect to the MicrosoftExchange server, use a
computer with an Internet browser to log on to MicrosoftOutlook® Web Access with the
Lync account credentials. This enables you to verify that the Lync account can access
the MicrosoftExchange calendar.
18 1022893 Rev 02
Page 21

Page 22

SMARTTechnologies
smarttech.com/support
smarttech.com/contactsupport
1022893 Rev 02
 Loading...