

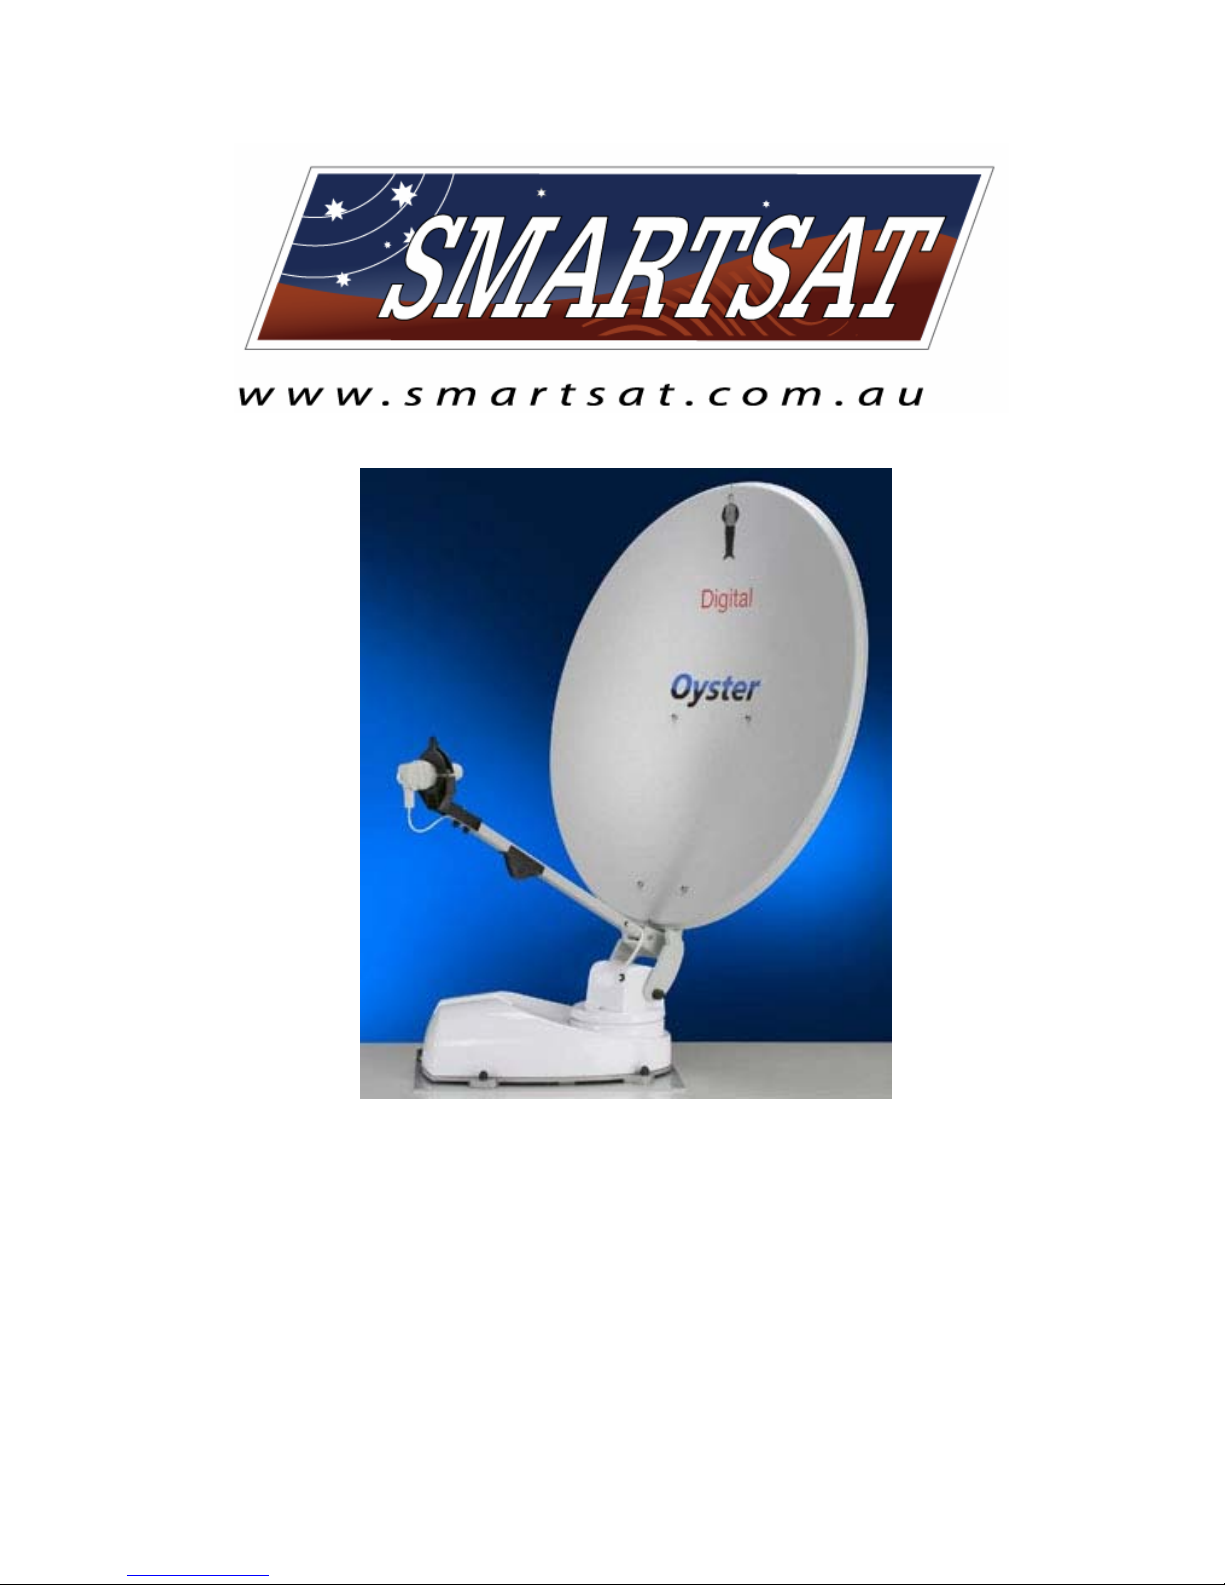
SmartSat OYSTER DIGITAL CI Installation Instructions Manual
Installation Instructions
OYSTER DIGITAL CI
Version 1/2008

FITTING INSTRUCTIONS OYSTER DIGITAL
It is no problem to fit an Oyster Digital fully automatic satellite
system onto any vehicle. However, you should take care with
some specific points and therefore, PLEASE READ these
instructions carefully before starting your work, to obtain the very
best results later on whenever you use your new system.
Please read each topic in this manual carefully, before
performing the work described there. Go through the topics step
by step.
Attention:
Highly sensitive device. Never apply any external force
to the dish bracket or the LNB arm. Any movement of
the dish will happen automatically. Do not lift or rotate
manually. Do not carry the system on the dish, the LNB
or any of the cables. Always hold it on the plastic body
or the aluminium mounting plate. Do not remove any of
the screws on the plastic body.
Page 2 of 18
Shipped items
When unpacking you should find the following:
Plastic bag with:
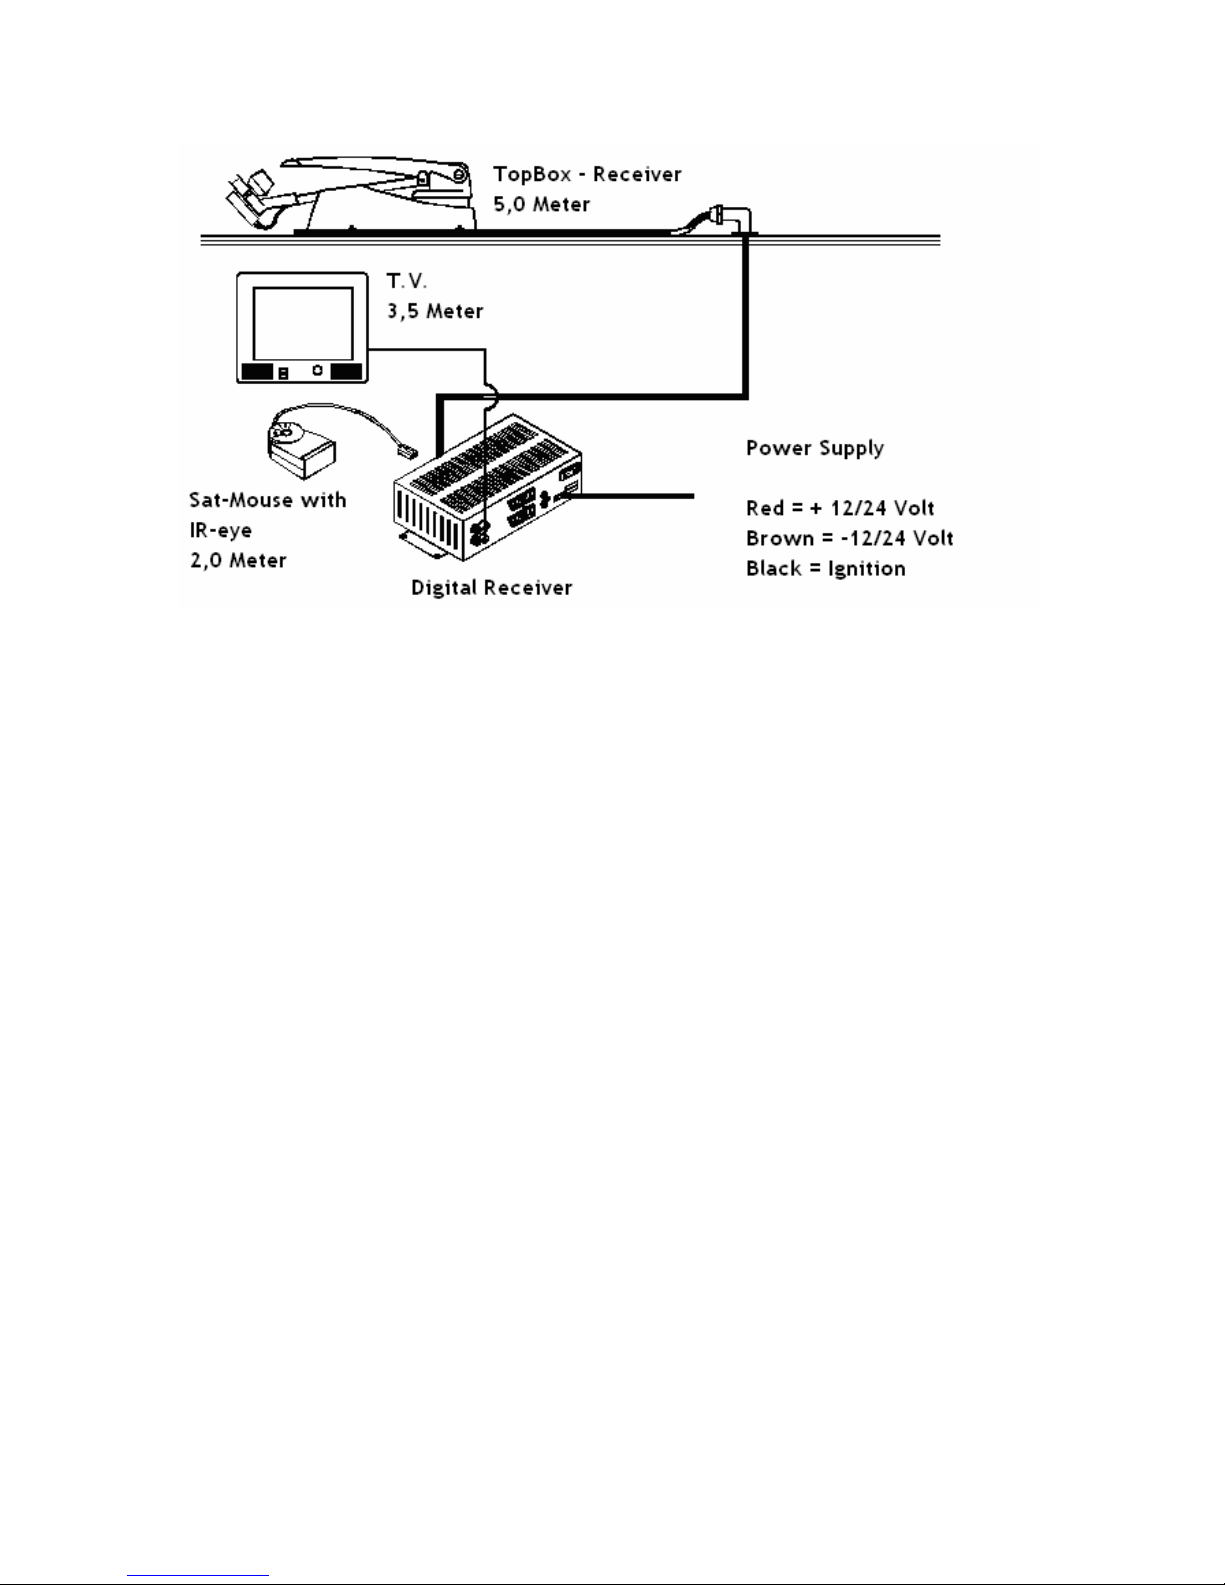
- 5m Cable from TopBox to Receiver
- 3 – pin power supply strip (RED: +12V, BROWN: GND, Black: Ignition)
- TV coaxial cable
- SCART cable
- Operating instructions
- Fitting instructions (this document)
- 6 screws for the mounting plate
- 4 bolts to fit the dish to its bracket
- 4 screws to fit the aluminium elbow (cable-feed-through)
Page 3 of 18
Fitting
1. Preparations
Check whether the roof of the vehicle (onto which the fitting
is intended) is strong and stable enough. If not, or unsure,
obtain a sheet of aluminium, approximately 2mm thick 1m x
1m size and fit this to the roof first. If in doubt contact the
manufacturer of the vehicle to obtain information about its
permissible roof load.
To fit the system you will need a spanner, size 13mm, a
„+“(Phillips) screwdriver, a drill with 15mm diameter, a sharp
blade and possibly some cleaning fluid.
You must obtain a strong adhesive glue like “sicaflex” or similar.
Bathroom silicone is NOT sufficient.
2. Find the fitting location
When you are sure about the permissible load to the roof you will
need to find a suitable location for the system. Refer to page 5
for the space needed. Tentatively put the mounting plate onto
the desired space. Spend a minute to think about the wiring,
(downwards to the receiver) that will be needed later on. It is
much easier to install the wiring on top of the roof than inside the
vehicle.
Page 4 of 18
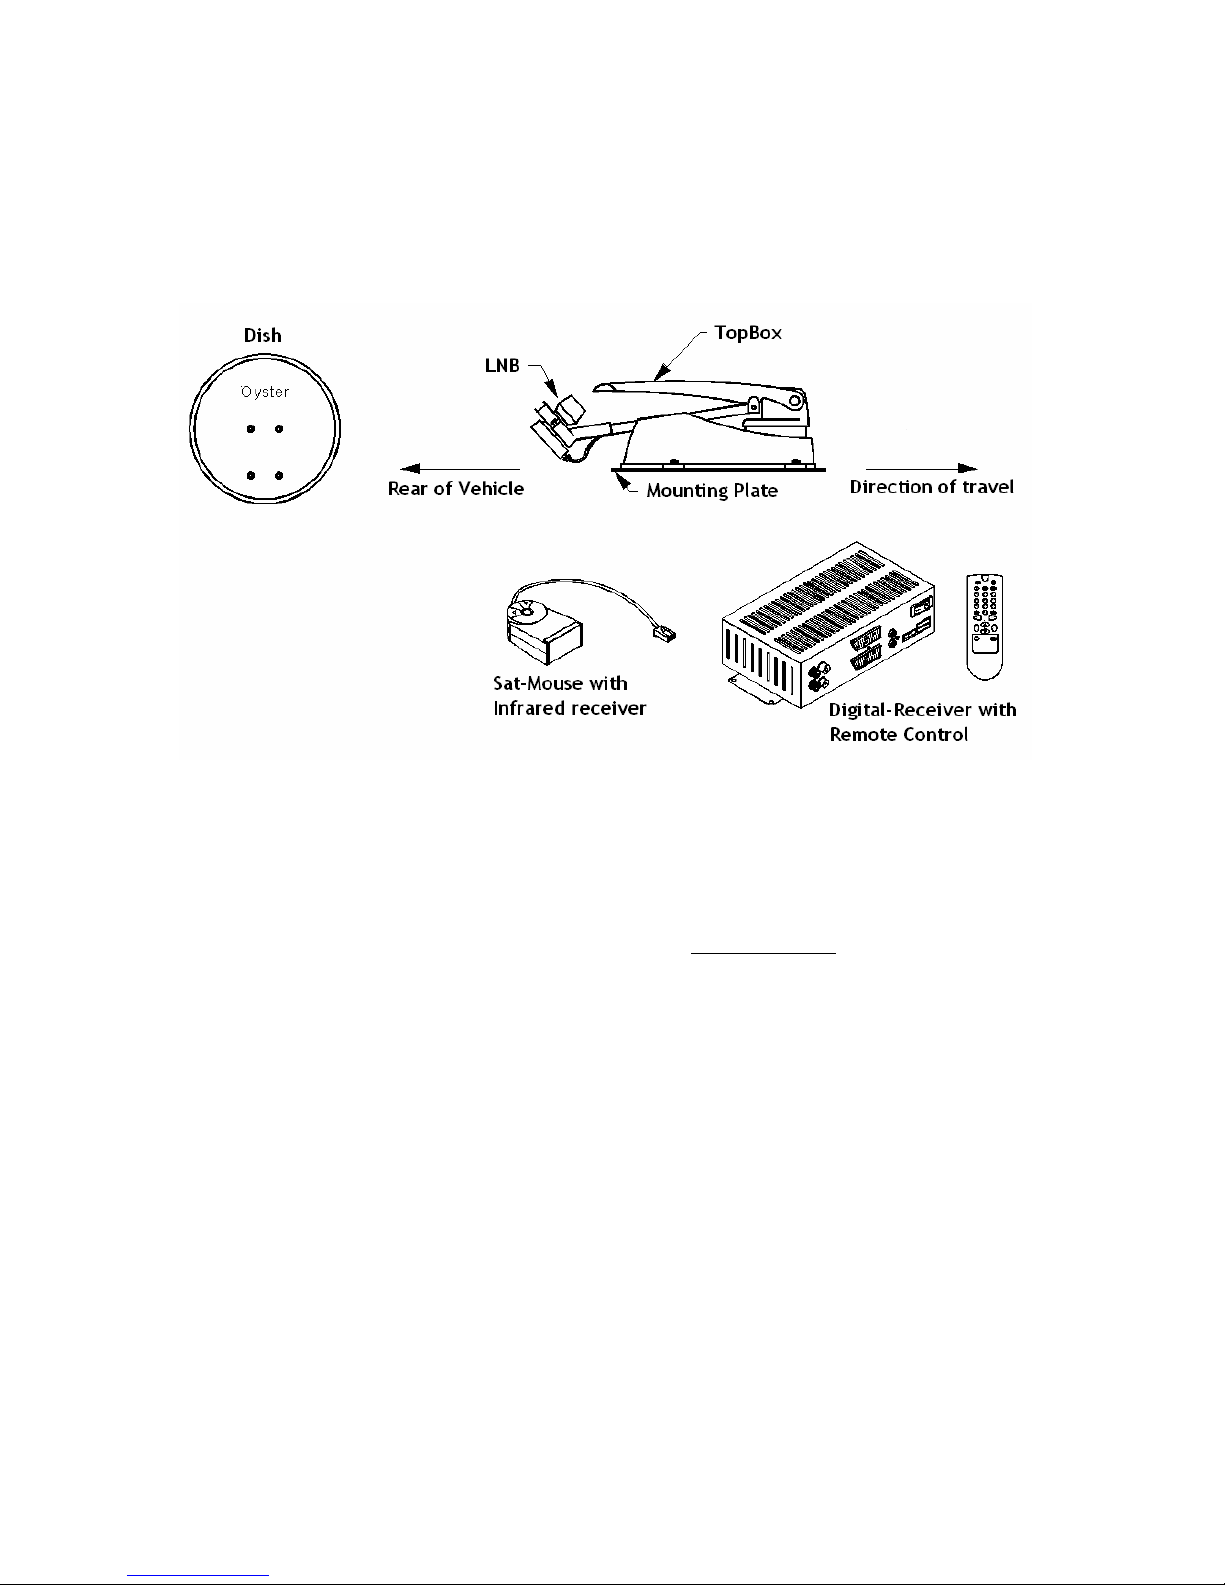
2a. Aluminium elbow
The cable intake into the aluminium elbow must point to the
back of the vehicle to prevent water from coming in while
driving. It is to your advantage to place the elbow directly
above or very close to the fitting location of the receiver.
2b. Receiver
The receiver is equipped with an external infrared eye, the so
called „sat-mouse“. You can install the receiver in any hidden
location inside your vehicle, just the remote eye should be visible
to the owner. It is a good idea to place the eye close to the TV or
flat display. When hiding the receiver inside, check if its
ventilation is sufficient. 5cm (2 inches) of distance from anything
around would be best.
Make sure to find a way to do all the required wiring.
2c. Sat-Mouse
It holds the remote receiver and a channel number display as
well as 2 buttons for local operation. Its location should be visible
from the owner's normal seating position, to ensure proper
Page 5 of 18
operation of the remote unit. The remote operates by infrared
light (IR).
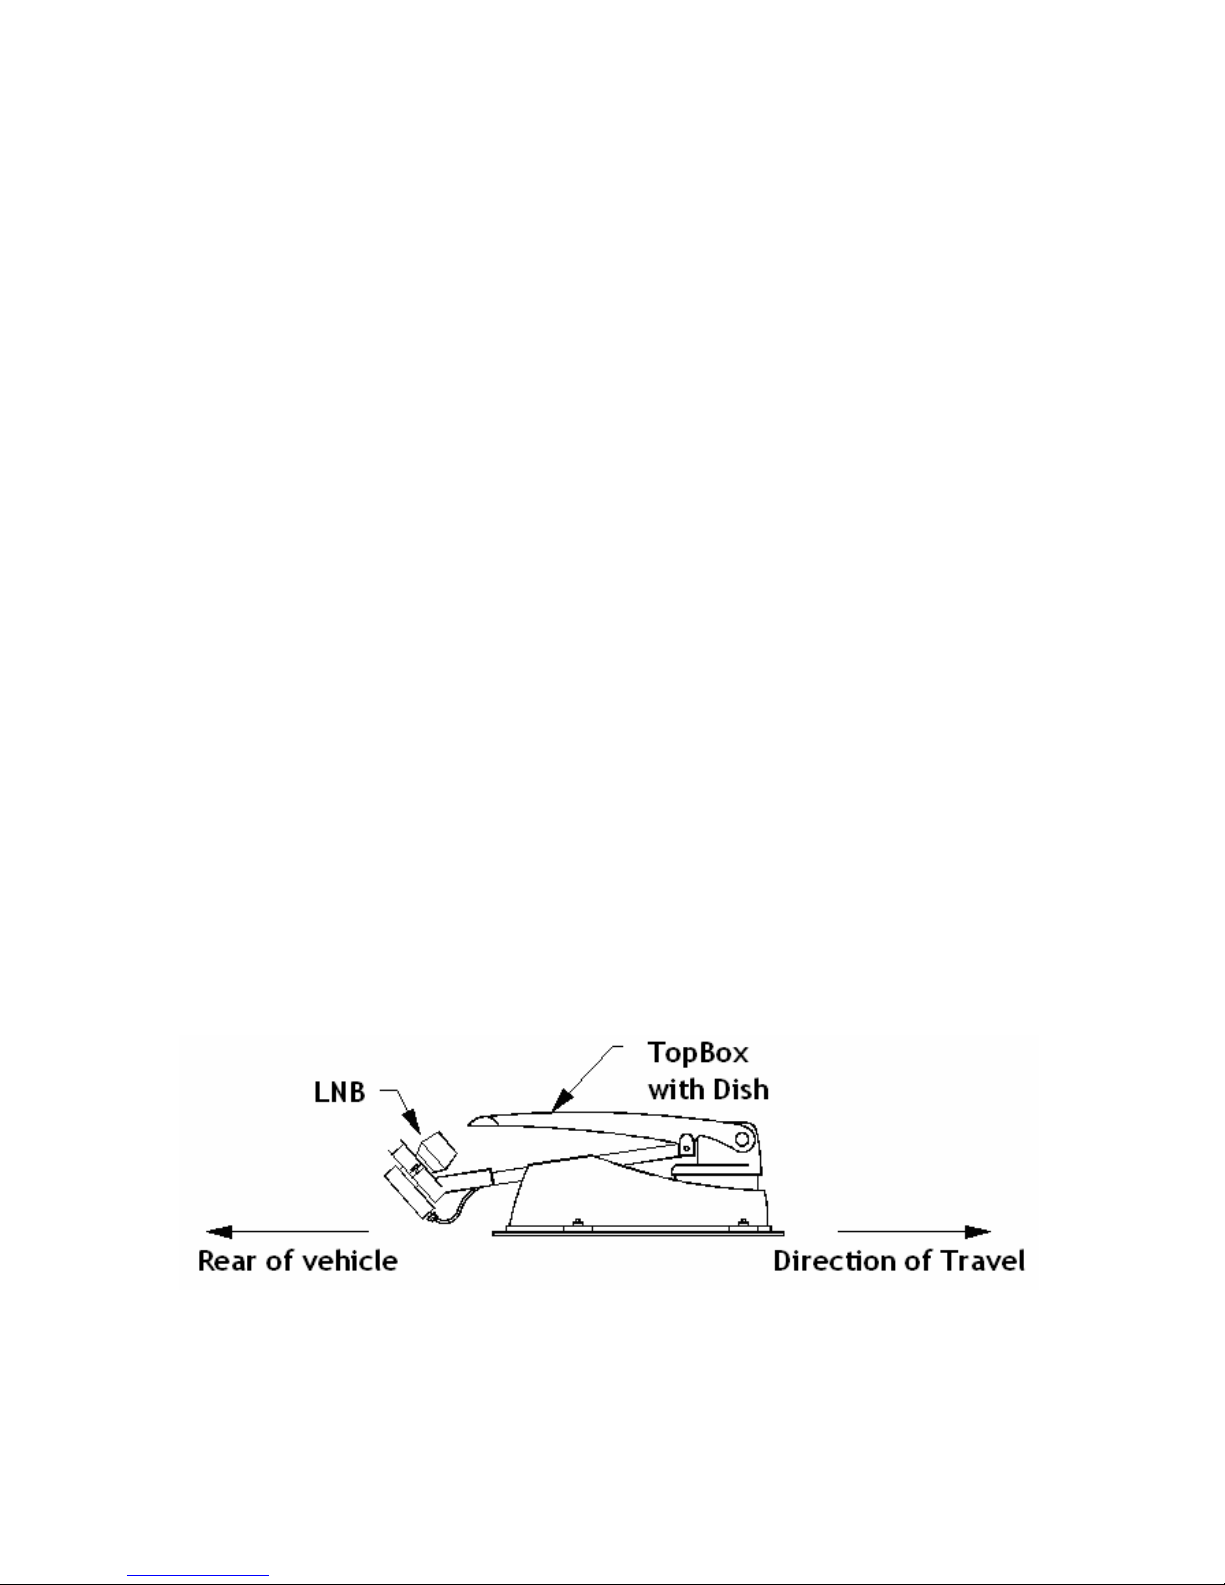
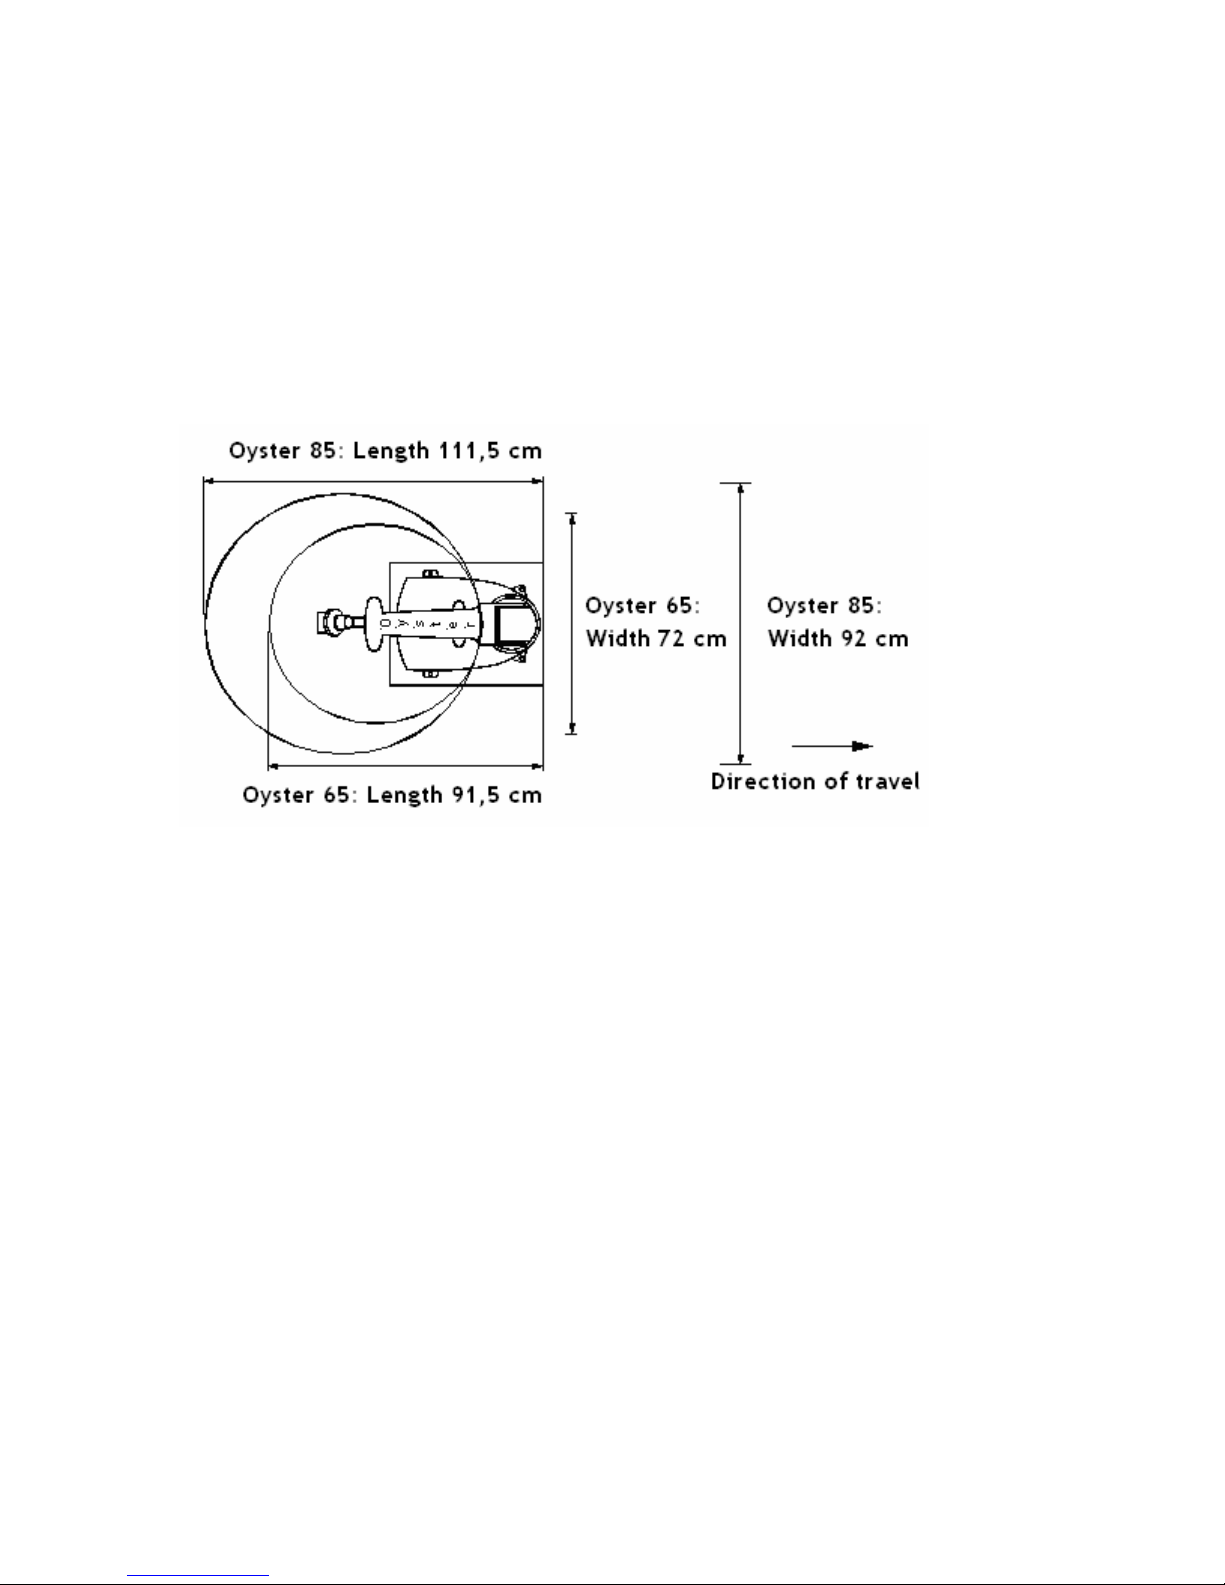
2d. Free space required by TopBox
Make sure, that there is enough space for the Oyster when
folded down and when operating (while the dish is being
rotated).
You have to fit the system with the LNB pointing to the back of
the vehicle.
This diagram shows you the space required for fitting.
With the dish in folded-down position there is a free space of
about 135mm (5 inches) between the dish and the roof. So you
can place the dish over any existing railing, if it is lower than
mentioned.
3. Fitting the mounting plate
When you are absolutely sure about the fitting position of the
Oyster you should double check its fitting direction. The LNB arm
Page 6 of 18
 Loading...