

Page 1
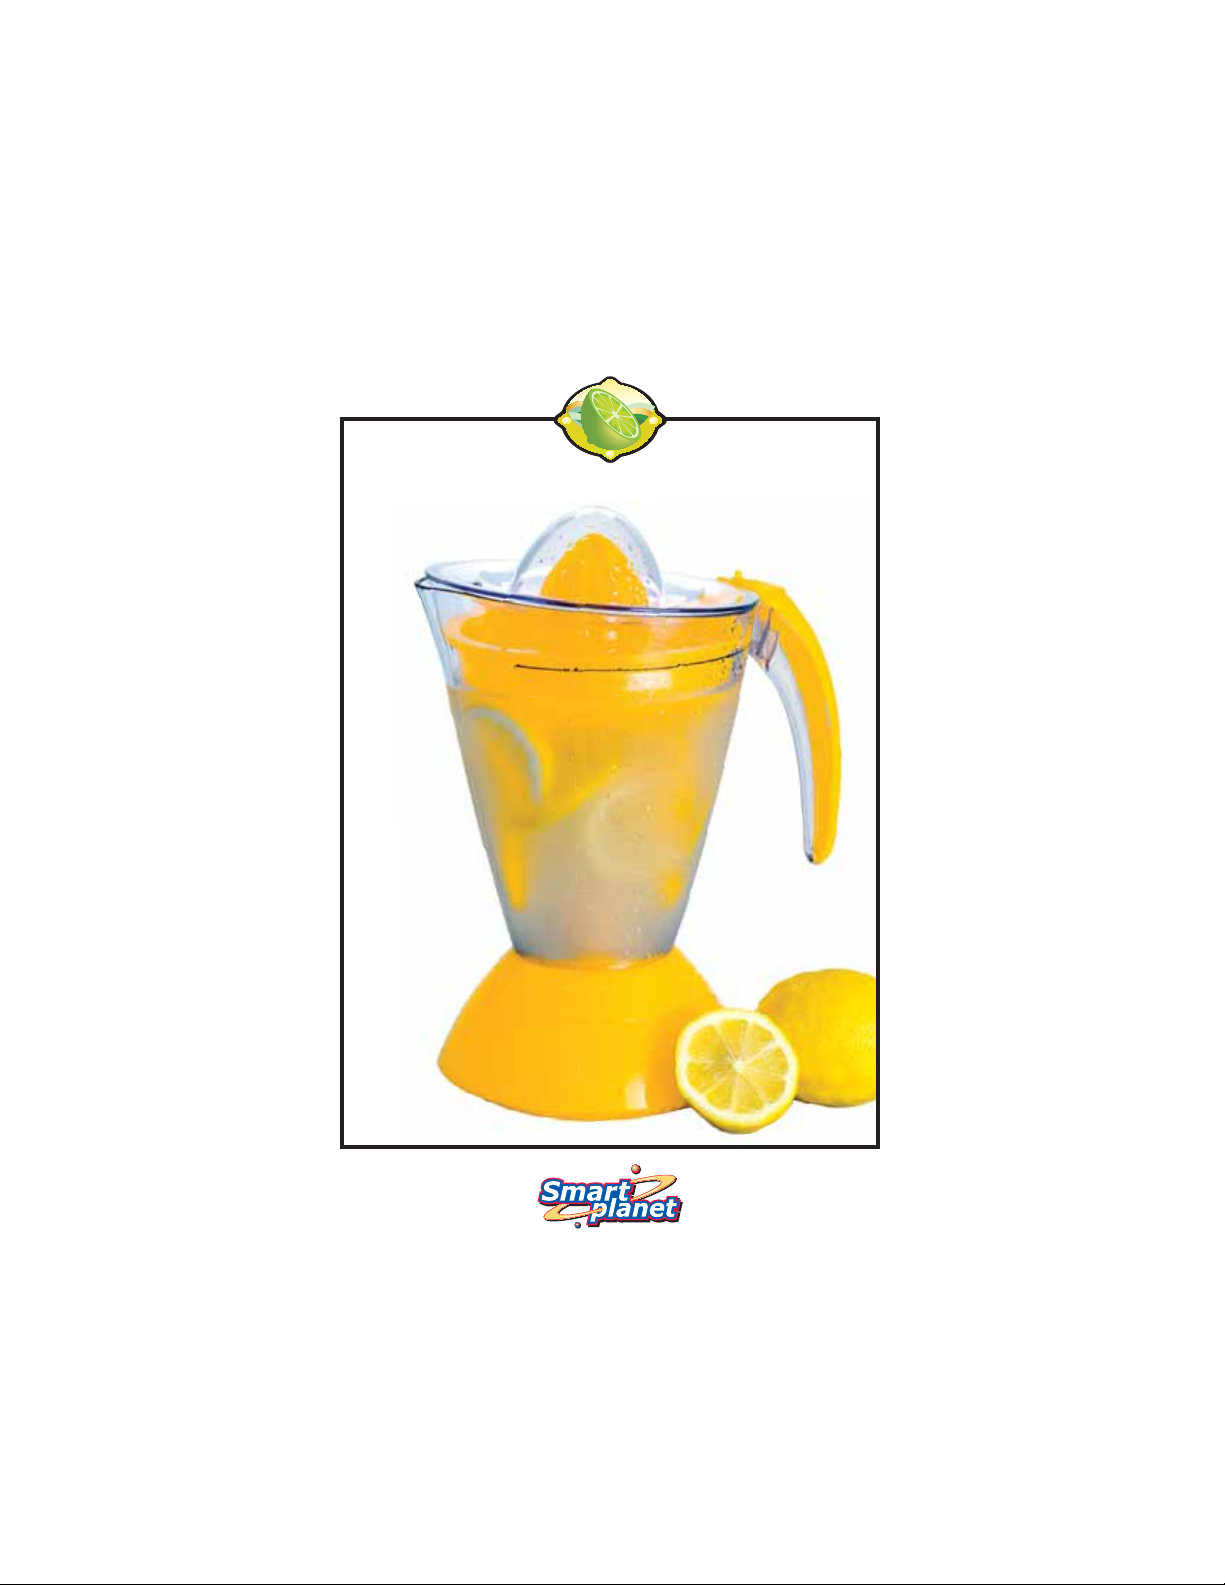
The Perfect Lemonade Maker
Instruction Manual
ELM-1
P
LEASE
CAREFULLY
READ
AND
www.smartplanethome.com
THESE
RETAIN FOR FUTURE
INSTRUCTIONS
REFERENCE.
Page 2
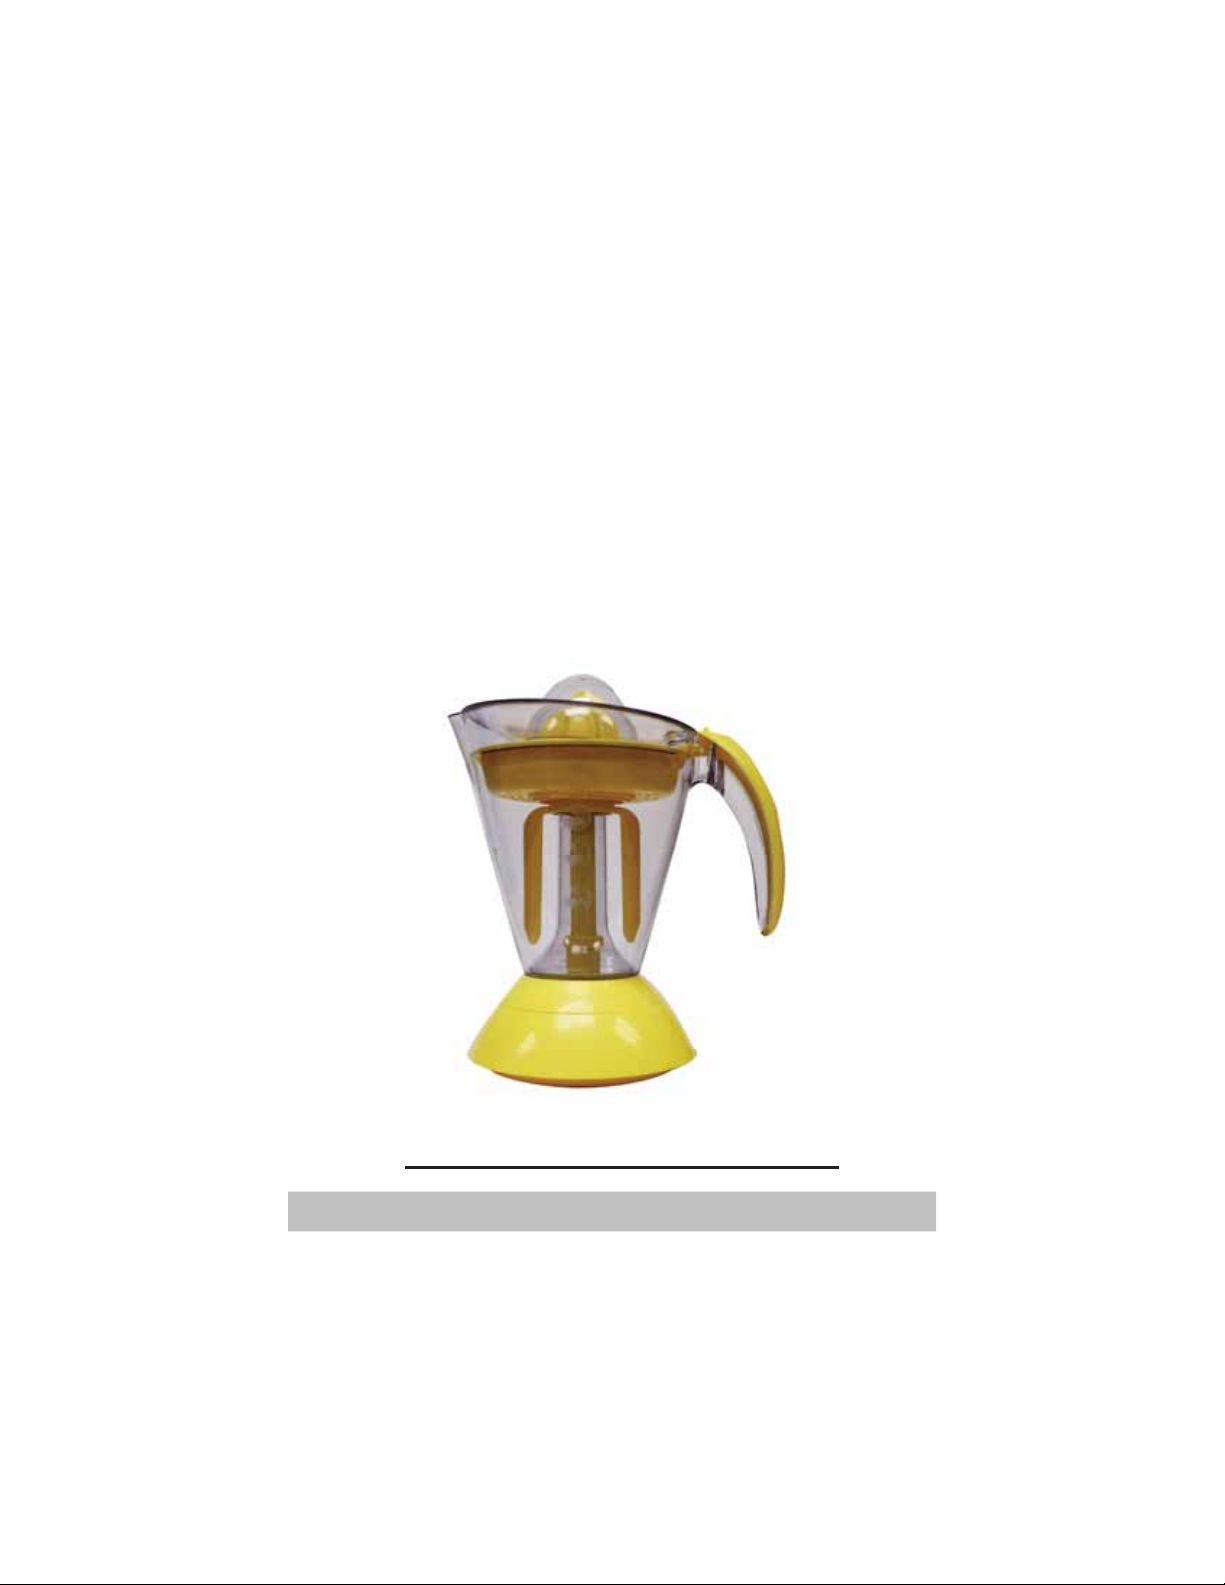
CONGRATULATIONS
You are now the proud new owner of a SMART PLANET
Perfect Lemonade Maker model no. ELM-1
Before using it for the fi rst time, kindly take time to care-
fully read your instruction manual. Please observe all safety
precautions and follow operating procedures. After reading,
kindly store your instruction manual in a safe place for future
reference. If you pass this Lemonade Maker to a third party,
please include the operating instruction manual as well.
Electrical Specifi cations
Voltage Frequency Wa age Capacity
120 V 60 Hz 25 W 1.0 L
1
Page 3
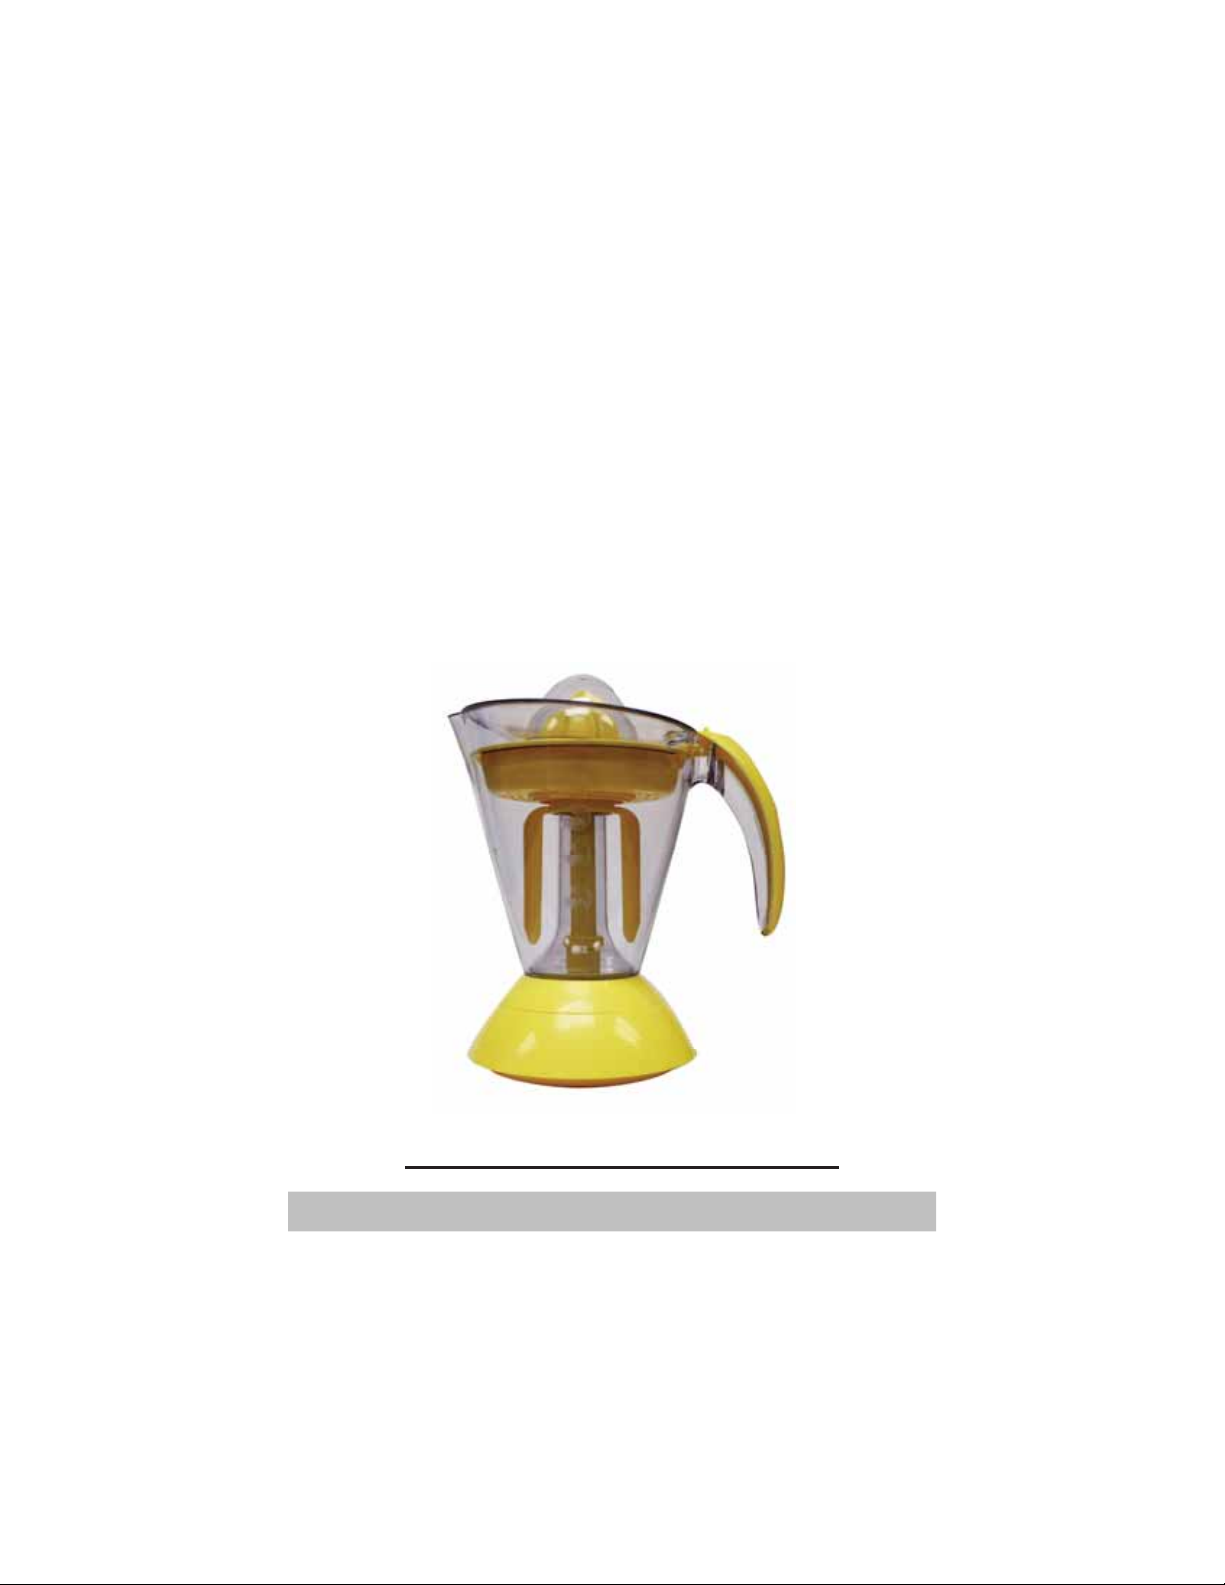
CONGRATULATIONS
You are now the proud new owner of a SMART PLANET
Perfect Lemonade Maker model no. ELM-1
Before using it for the fi rst time, kindly take time to care-
fully read your instruction manual. Please observe all safety
precautions and follow operating procedures. After reading,
kindly store your instruction manual in a safe place for future
reference. If you pass this Lemonade Maker to a third party,
please include the operating instruction manual as well.
Electrical Specifi cations
Voltage Frequency Wa age Capacity
120 V 60 Hz 25 W 1.0 L
1
Page 4
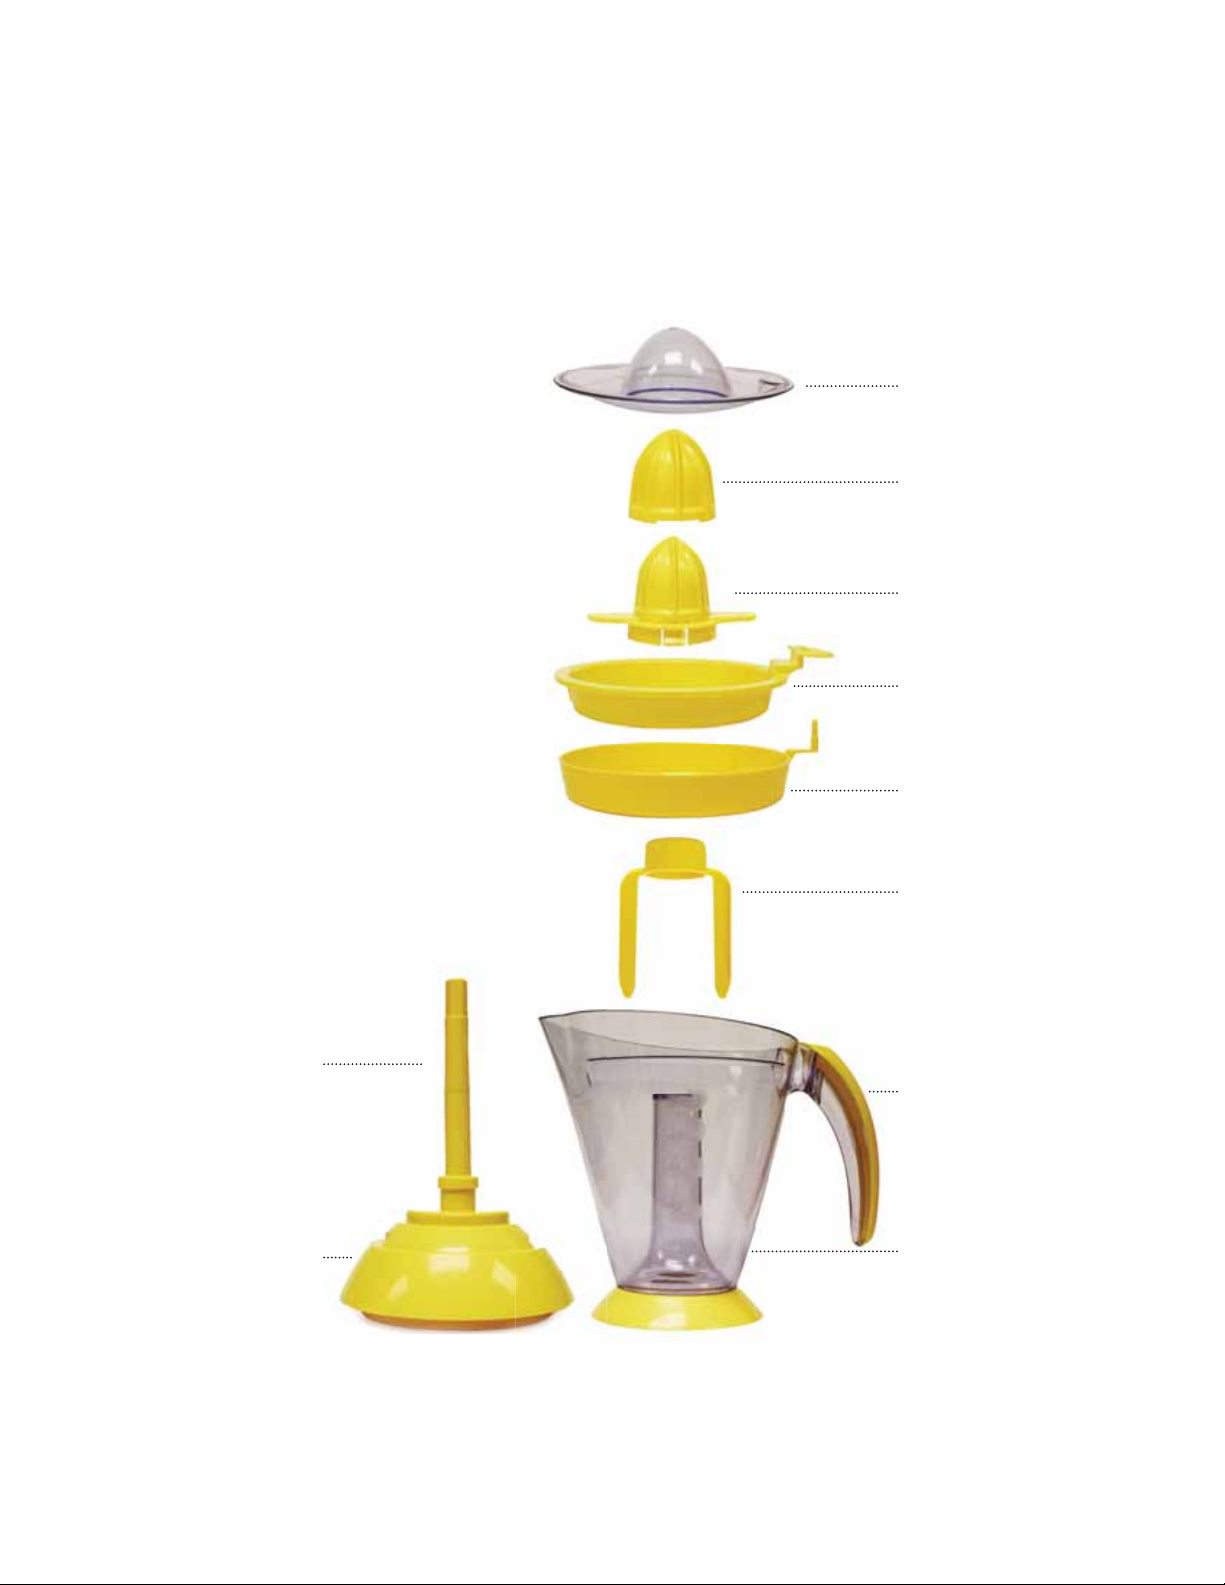
PARTS DESCRIPTION
Storage CoverA.
Large ExtractorB.
Small ExtractorC.
FilterD.
Pulp Selector 1-5E.
Mixing PaddlesF.
HandleG.
PitcherH.
PostI.
Motor HousingJ.
A
B
C
D
E
F
I
G
J
H
2
Page 5

IMPORTANT SAFEGUARDS
To reduce the risk of personal injury or property damage when using the
Lemonade Maker, basic safety precautions including the following should
always be followed.
Read all instructions prior to using the Lemonade Maker.1.
Never leave the Lemonade Maker unattended when in use2.
To protect against the risk of electrical shock, never put the base, 3.
cord or plug in water or any liquids.
Close supervision is necessary when the appliance is near chil-4.
dren.
Switch off and unplug from outlet before changing accessories, 5.
filling, emptying, before cleaning, or when not in use.
Do not operate the Lemonade Maker with a damaged cord or 6.
plug. If this product malfunctions, or has been damaged in any
manner, contact the Lemonade Maker Service Center.
Do not use accessories with this product that are not recom-7.
mended as they may cause fire, electric shock or personal injury.
The Lemonade Maker is intended for normal domestic/house-8.
hold use only. The unit is not suitable for commercial or outdoor
use.
3
For use only on 120V, 60HZ power supply. Use a socket with a 9.
grounded connection. Do not use three to two-way adapter on the
three prong cord provided.
Do not let the power cord hang over the edge of the table or 10.
counter or to touch any hot surfaces.
Keep the Lemonade Maker away from hot objects and open 11.
flames.
A short power cord is provided with this appliance to reduce the 12.
risk of entanglement or tripping. While we do not recommend extension cords, if available they may be used if care is exercised.
If an extension cord is used, the marked electrical rating of the
extension cord should be at least 15 amperes. The longer cord
should not hang over the countertop or tabletop where it can be
pulled by children, pets or tripped over.
Page 6

BEFORE FIRST USE
1. When using for the first time, remove all packaging
materials and unwind the power cord from the bottom
of the appliance.
2. Wash all parts except for the motor housing, in warm
soapy water. Wipe the motor housing clean with a
damp cloth. Never immerse the motor housing in
water or any other liquids. Dry appliance completely
before using.
3. Do not wash parts in a dishwasher.
4. Make sure the Lemonade Maker is at least 4-6”away
from any obstacle before using.
4
Page 7

HOW TO USE THE PERFECT
LEMONADE MAKER
Select a recipe to use or prepare using one of your 1.
own recipes.
Attach all of the parts per the diagram.2.
Plug the power cord into a standard 120 volt AC elec-3.
trical outlet. NOTE: the plug is polarized (one prong is
wider than the other) and should be used in a polarized outlet.
Choose the pulp level desired, 1-5. The “five” shift 4.
provides the most pulp and the “one” shift provides
the least pulp in the juice.
This appliance comes with 2 extractor heads. The 5.
large extractor should be used with larger fruit.
Cut clean citrus fruit in half. 6.
Hold the pitcher handle with one hand and use the 7.
other hand to place the fruit half over the extractor.
Press down to extract the juice.
5
When it appears that all the juice has been extracted, 8.
unplug the cord from the outlet and let the unit sit for
a couple of minutes so that all the juice drips into the
pitcher.
Lift the motor housing and extractor off the pitcher.9.
Place the storage cover on the pitcher tightly. 10.
The juice is now ready to pour.11.
Hold the pitcher handle as you pour.12.
Page 8

HELPFUL TIPS
For best results, it is recommended to clean the filter 1.
periodically to remove excess seeds and pulp. This
will allow the juice to flow more efficiently.
Fruit at room temperature will provide better juice 2.
extraction than cold fruit.
For larger pieces of fruit, it is best to use the extractor 3.
cover provided.
Do not add hot water to the pitcher. 4.
CARE AND CLEANING
Always unplug the unit before cleaning.•
Wrap the cord under the unit for storage.•
Do not wash parts in a dishwasher.•
Remove all remaining seeds and pulp from the filter. •
Wash all parts except for the motor housing, in warm •
soapy water. Wipe the motor housing clean with a damp
cloth. Never immerse the motor housing in water or any
other liquids. Dry appliance completely before using.
6
Page 9

RECIPES
Lemonade
3 cups of cold water
1 cup of ice cubes (if desired)
1/2 cup sugar
2-3 large lemons, halved
1 lemon thinly sliced
Add water, ice and sugar to the pitcher. Adjust
the pulp level as desired. Juice Lemon halves
and add lemon slices to the pitcher. Pour and
enjoy!
7
Limeade
Follow recipe above for Lemonade except
substitute 6 limes for the halved lemons.
Page 10

Citrus Mix
3 cups of cold water
1 cup of ice cubes (if desired)
1/4 cup sugar
2 oranges
1 large lemon
½ lime
Add water, ice and sugar to the pitcher. Adjust the
pulp level as desired. Juice oranges halves, lem-
on halves and lime half. Pour and enjoy!
Grapefruit and Orange Juice
4 large oranges
2 large grapefruits
Adjust the pulp level as desired. Juice oranges
halves and grapefruit halves. Pour and enjoy!
8
Page 11

90
DAY
LIMITED
WARRANTY
If there are any defects in material or
ing
the first 90 days of purchase, we will repair/replace
product at our option. This warranty excludes any
to the product resulting from accident or misuse. Please
read instructions carefully. The warranty also excludes
damage to unit caused by shipping,
being
To
Lemonade Maker Center at [email protected] for
ther
along with the date you purchased the product. If you are
instructed to return the
required. Returns
dropped.
obtain service under the warranty, send an email to
instructions.
Please
product the
without a
include a description of the
receipt will not be
workmanship
mishandling or
original receipt will
dur-
damage
unit
defect
accepted.
the
the
be
fur-
wwww.smartplanet.com
Copyright 2011 | Smart Planet | Conoga Park, CA 91304
Lemonade Maker Service Center: [email protected]
copyright v.20110321
9
Page 12
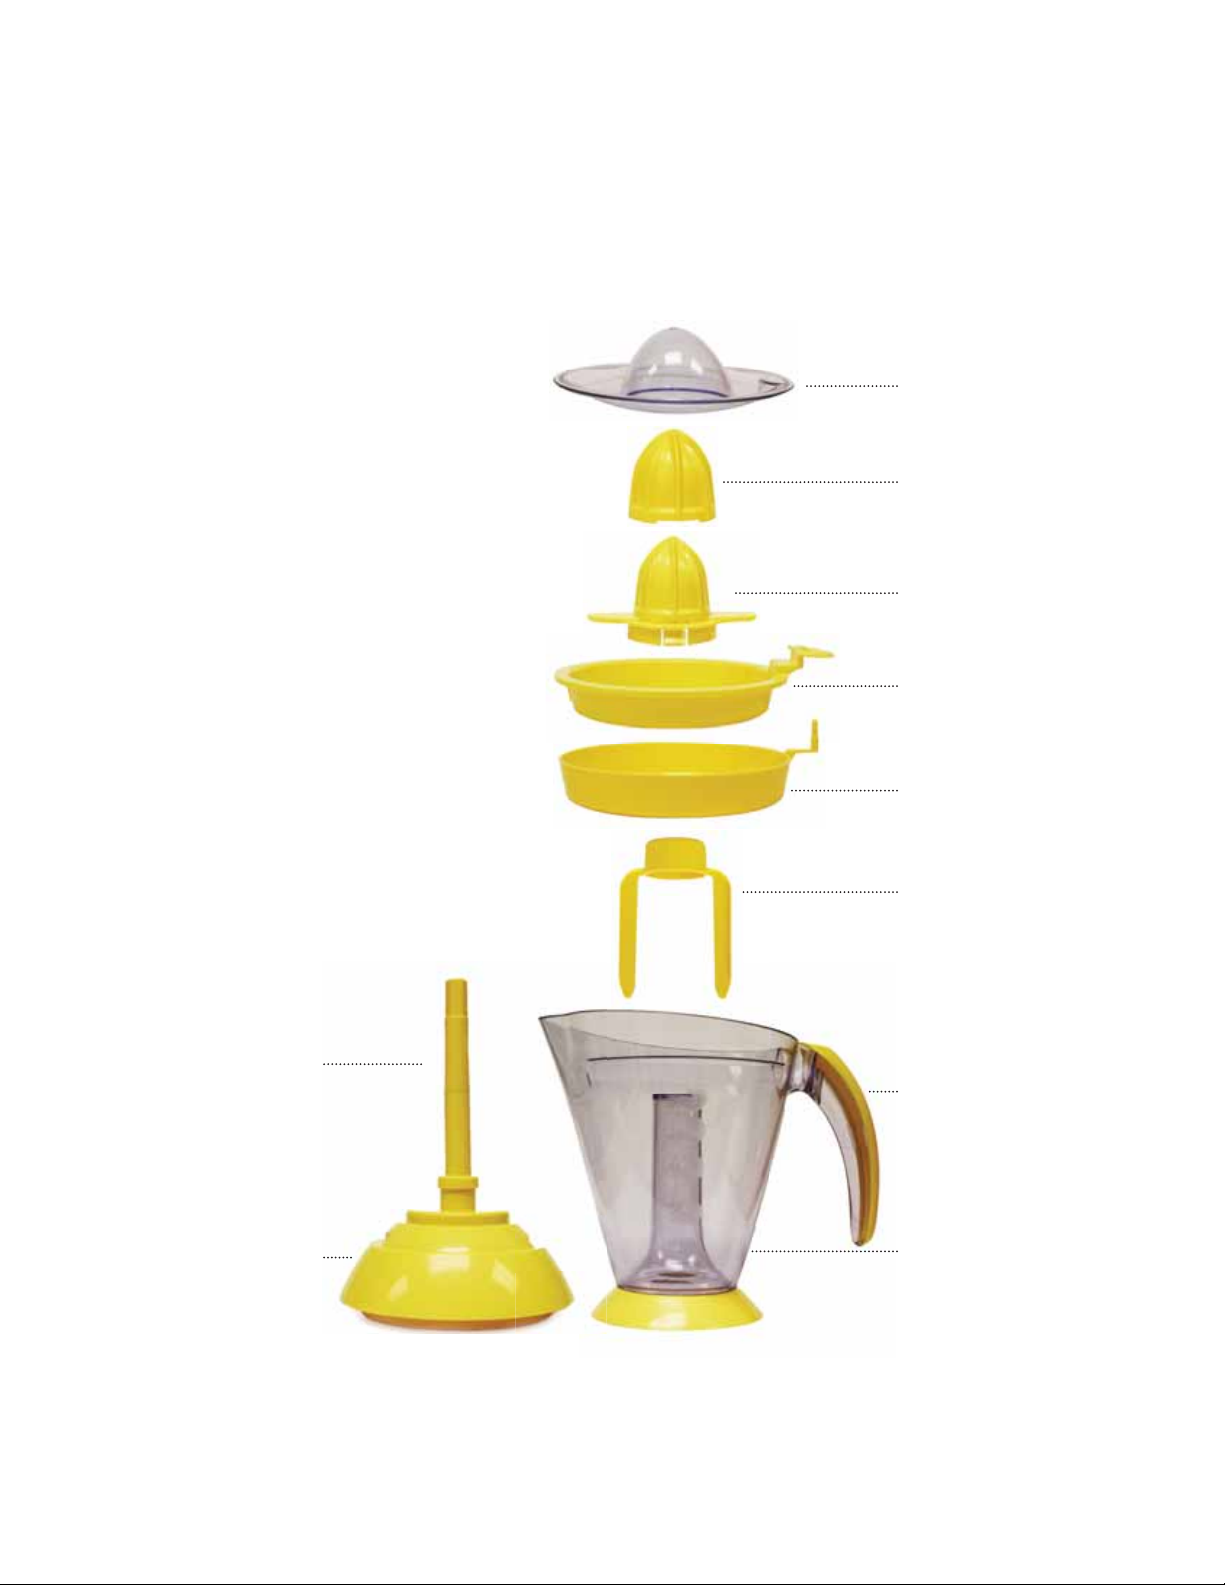
PARTS DESCRIPTION
Storage CoverA.
Large ExtractorB.
Small ExtractorC.
FilterD.
Pulp Selector 1-5E.
Mixing PaddlesF.
HandleG.
PitcherH.
PostI.
Motor HousingJ.
A
B
C
D
E
F
I
G
J
H
2
Page 13

IMPORTANT SAFEGUARDS
To reduce the risk of personal injury or property damage when using the
Lemonade Maker, basic safety precautions including the following should
always be followed.
Read all instructions prior to using the Lemonade Maker.1.
Never leave the Lemonade Maker unattended when in use2.
To protect against the risk of electrical shock, never put the base, 3.
cord or plug in water or any liquids.
Close supervision is necessary when the appliance is near chil-4.
dren.
Switch off and unplug from outlet before changing accessories, 5.
filling, emptying, before cleaning, or when not in use.
Do not operate the Lemonade Maker with a damaged cord or 6.
plug. If this product malfunctions, or has been damaged in any
manner, contact the Lemonade Maker Service Center.
Do not use accessories with this product that are not recom-7.
mended as they may cause fire, electric shock or personal injury.
The Lemonade Maker is intended for normal domestic/house-8.
hold use only. The unit is not suitable for commercial or outdoor
use.
3
For use only on 120V, 60HZ power supply. Use a socket with a 9.
grounded connection. Do not use three to two-way adapter on the
three prong cord provided.
Do not let the power cord hang over the edge of the table or 10.
counter or to touch any hot surfaces.
Keep the Lemonade Maker away from hot objects and open 11.
flames.
A short power cord is provided with this appliance to reduce the 12.
risk of entanglement or tripping. While we do not recommend extension cords, if available they may be used if care is exercised.
If an extension cord is used, the marked electrical rating of the
extension cord should be at least 15 amperes. The longer cord
should not hang over the countertop or tabletop where it can be
pulled by children, pets or tripped over.
Page 14

BEFORE FIRST USE
1. When using for the first time, remove all packaging
materials and unwind the power cord from the bottom
of the appliance.
2. Wash all parts except for the motor housing, in warm
soapy water. Wipe the motor housing clean with a
damp cloth. Never immerse the motor housing in
water or any other liquids. Dry appliance completely
before using.
3. Do not wash parts in a dishwasher.
4. Make sure the Lemonade Maker is at least 4-6”away
from any obstacle before using.
4
Page 15

HOW TO USE THE PERFECT
LEMONADE MAKER
Select a recipe to use or prepare using one of your 1.
own recipes.
Attach all of the parts per the diagram.2.
Plug the power cord into a standard 120 volt AC elec-3.
trical outlet. NOTE: the plug is polarized (one prong is
wider than the other) and should be used in a polar-
ized outlet.
Choose the pulp level desired, 1-5. The “five” shift 4.
provides the most pulp and the “one” shift provides
the least pulp in the juice.
This appliance comes with 2 extractor heads. The 5.
large extractor should be used with larger fruit.
Cut clean citrus fruit in half. 6.
Hold the pitcher handle with one hand and use the 7.
other hand to place the fruit half over the extractor.
Press down to extract the juice.
5
When it appears that all the juice has been extracted, 8.
unplug the cord from the outlet and let the unit sit for
a couple of minutes so that all the juice drips into the
pitcher.
Lift the motor housing and extractor off the pitcher.9.
Place the storage cover on the pitcher tightly. 10.
The juice is now ready to pour.11.
Hold the pitcher handle as you pour.12.
Page 16

HELPFUL TIPS
For best results, it is recommended to clean the filter 1.
periodically to remove excess seeds and pulp. This
will allow the juice to flow more efficiently.
Fruit at room temperature will provide better juice 2.
extraction than cold fruit.
For larger pieces of fruit, it is best to use the extractor 3.
cover provided.
Do not add hot water to the pitcher. 4.
CARE AND CLEANING
Always unplug the unit before cleaning.•
Wrap the cord under the unit for storage.•
Do not wash parts in a dishwasher.•
Remove all remaining seeds and pulp from the filter. •
Wash all parts except for the motor housing, in warm •
soapy water. Wipe the motor housing clean with a damp
cloth. Never immerse the motor housing in water or any
other liquids. Dry appliance completely before using.
6
Page 17

RECIPES
Lemonade
3 cups of cold water
1 cup of ice cubes (if desired)
1/2 cup sugar
2-3 large lemons, halved
1 lemon thinly sliced
Add water, ice and sugar to the pitcher. Adjust
the pulp level as desired. Juice Lemon halves
and add lemon slices to the pitcher. Pour and
enjoy!
7
Limeade
Follow recipe above for Lemonade except
substitute 6 limes for the halved lemons.
Page 18

Citrus Mix
3 cups of cold water
1 cup of ice cubes (if desired)
1/4 cup sugar
2 oranges
1 large lemon
½ lime
Add water, ice and sugar to the pitcher. Adjust the
pulp level as desired. Juice oranges halves, lem-
on halves and lime half. Pour and enjoy!
Grapefruit and Orange Juice
4 large oranges
2 large grapefruits
Adjust the pulp level as desired. Juice oranges
halves and grapefruit halves. Pour and enjoy!
8
Page 19

90
DAY
LIMITED
WARRANTY
If there are any defects in material or
ing
the first 90 days of purchase, we will repair/replace
product at our option. This warranty excludes any
to the product resulting from accident or misuse. Please
read instructions carefully. The warranty also excludes
damage to unit caused by shipping,
being
To
Lemonade Maker Center at [email protected] for
ther
along with the date you purchased the product. If you are
instructed to return the
required. Returns
dropped.
obtain service under the warranty, send an email to
instructions.
Please
product the
without a
include a description of the
receipt will not be
workmanship
mishandling or
original receipt will
dur-
damage
unit
defect
accepted.
the
the
be
fur-
wwww.smartplanet.com
Copyright 2011 | Smart Planet | Conoga Park, CA 91304
Lemonade Maker Service Center: [email protected]
copyright v.20110321
9
 Loading...