

Page 1
WALL PLANKS INSTALLATION INSTRUCTION
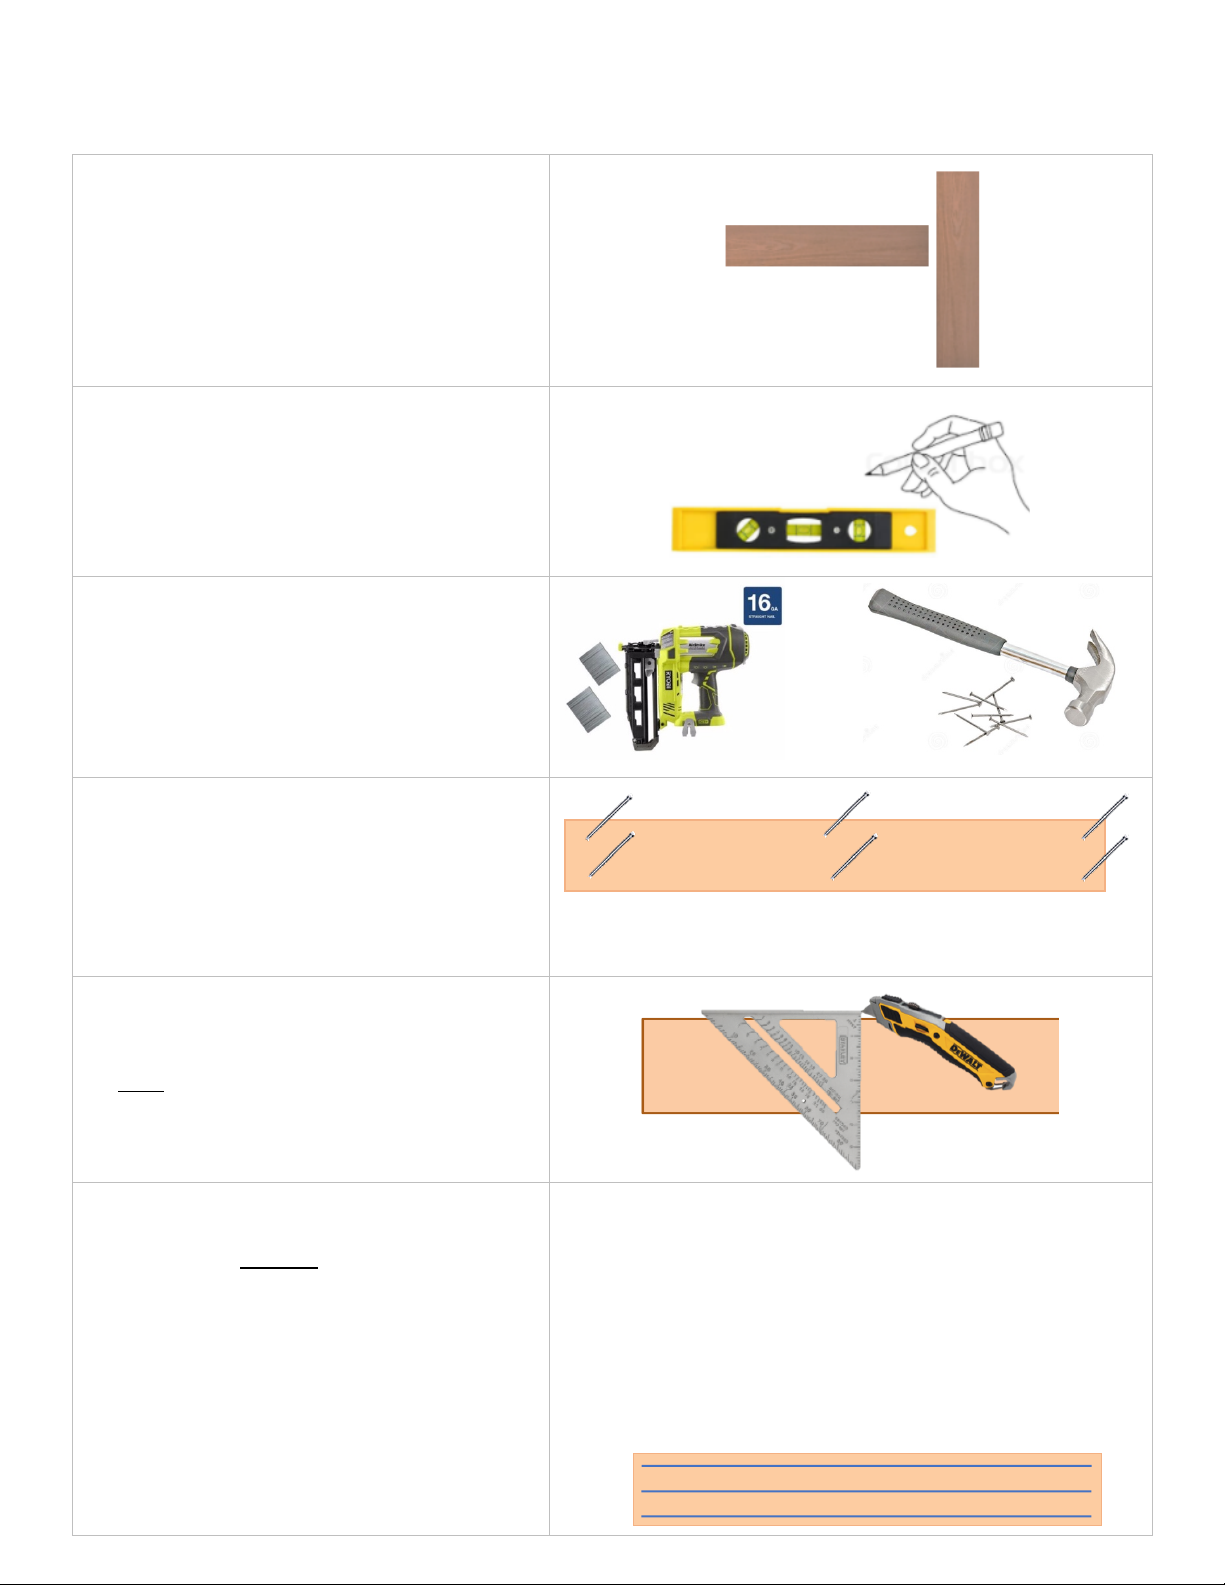
1. Select orientation: horizontal, vertical or
diagonal.
2. Using a level, draw a line on the wall for
the Starter Plank.
3. Prepare the finishing nails: either install
the enclosed nail strip into the nail gun for
1” long and # 16 Gauge brad nails, or chip
nails from the strip with a utility knife for
hammer installation (this also
recommended for outdoors installations).
4. Apply a starter plank at the line on the wall
and affix it with the nails in each corner of
the plank. Step at least 1 in. from each side
or end of the plank to nail it. For full-length
planks apply two more nails in the middle
of the board.
5. If you need to cut planks, use any wood
saw (table saw or hand saw) or cut the
furrow in the wood with a utility knife on
both sides of the plank and break it against
the edge of the table.
6. If you need to attach wall art or shelves on
top of the wall planks, drill the holes and
put hangers through the planks on your
wall. Don’t hang anything heavier than 0.5
lbs. on the planks themselves!
7. NON-recommended installation options:
- Double-sided sticky foam – not recommended if used
alone: sooner or later the planks may fall down if you
don’t secure planks with nails.
- Adhesive or liquid nails – not recommended as any
adhesive will shrink or swell while hardening and
wood will be cupping. If you anyway want to use
adhesive, apply it along the length of the planks with
three thin strips:
 Loading...