

Page 1

Duo
Vehicle Accident Camera
with 120° Wide Angle Lens and Additional
Rear View Internal Camera
User Manual
Version 1
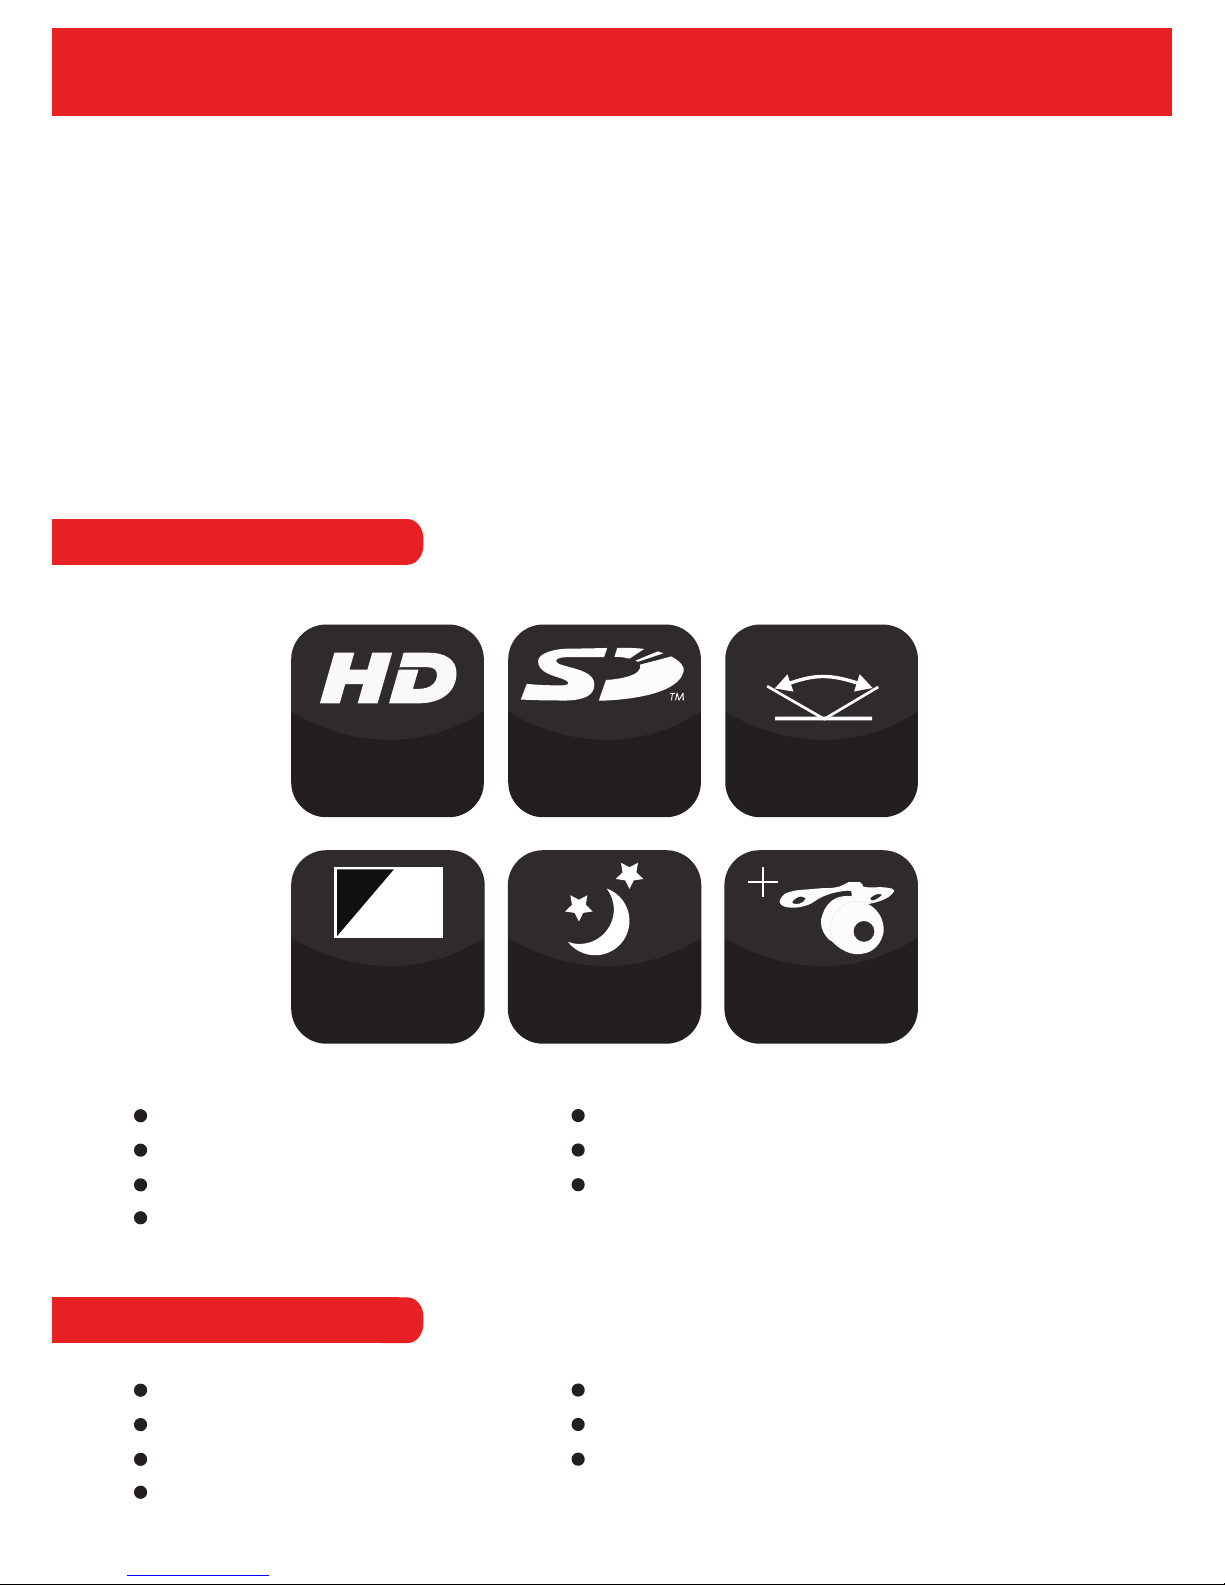
HD
Supports
up to 32GB
Wide-Angle
Lens
G-Sensor
Night
Operation
16.9
2” TFT LCD
HD Screen
2.0 Interface
USB
Video
1280x720
Mac/Windows
Compatible
IR Night
Vision
120º
G
150° Second
Camera
Page 2

Contents
1. Product Overview ........................................................................ 3
1.1. Product Features ............................................................. 3
1.2. What’s in the Box ............................................................ 3
1.3. Button Functions ............................................................. 4
1.4. Installation ....................................................................... 6
2. Installation ................................................................................... 9
2.1. Rear View Camera Installation ........................................ 10
3. Operation Instructions ................................................................ 11
3.1. Automatic Recording ....................................................... 11
3.2. Manual Record ................................................................ 11
3.3. Photographic Mode ......................................................... 11
3.4. Movement Detection ....................................................... 11
3.5. Display Invert & Non-invert ............................................. 12
3.6. G-Sensor ......................................................................... 12
3.7. Video Locking .................................................................. 12
3.8. Date / Time Setting .......................................................... 12
3.9. Audio On / Off by One Button .......................................... 13
3.10. U Flash Mode ................................................................ 13
3.11. Playback ........................................................................ 13
4. OSD Functions ............................................................................ 14
4.1. Resolution ....................................................................... 15
4.1.1. Resolution .......................................................... 16
4.1.2. Recording Time ................................................. 16
4.2. Picture Settings ............................................................... 16
4.2.1. Megapixel .......................................................... 16
4.3. General Settings .............................................................. 16
4.3.1. Brightness .......................................................... 16
4.3.2. Exposure ........................................................... 17
4.3.3. Colour ................................................................ 18
4.3.4. Watermark ......................................................... 18
4.3.5. Audio .................................................................. 18
4.3.6. Auto Record ....................................................... 19
4.3.7. Language ........................................................... 19
4.3.8. Frequency .......................................................... 19
4.3.9. IR LED ............................................................... 20
4.3.10. Shutdown Time ................................................ 20
4.3.11. Key Tone .......................................................... 20
4.3.12. Auto Backlight Off ............................................ 21
4.3.13. G-Sensor ......................................................... 21
4.3.14. TV Out ............................................................. 21
4.3.14. Date Set ........................................................... 22
4.3.15. Format ............................................................. 22
4.3.16. System Information .......................................... 22
4.3.17. Default Set ....................................................... 22
5. Specifications .............................................................................. 23
Page 3
Thank you for purchasing the Smart-i Duo Vehicle Accident Camera.
The camera features a 120° wide-angle lens to capture the driver’s view and evidence of what
really happened. The Smart-i Duo records road events in HD (720P) to help drivers provide clear
evidence and protect against false claims. The unit also includes a Rear View Internal Camera
for help when reversing and to watch the rear area of the vehicle.
The recorder is equipped with a built-in microphone/speaker to record sound and to listen to
recorded sound on the recorder.
The Smart-i range of Vehicle Accident Cameras are designed to offer crystal clear images and
represent amazing value for money.
1. Product Overview
1.1 Product Features
Supports 720P & VGA recording
Built-in Microphone / Speaker
Quick Recording Open / Close Choice
Compatible with Windows & Mac
Supports up to 32GB Micro SD Card
G-Sensor files, preserving evidence
Recorder charges while in recording function,
video loop and seamless coverage video.
3
1.2 What’s in the Box
Smart-i Duo Vehicle Accident Camera
Additional Rear View Camera
1x Windscreen Bracket & 3M Pad
1x User Manual
1x Suction Windscreen Mount
1x USB Cable
1x Cigarette Lighter Adaptor
Supports
up to 32GB
Video
1280x720
Wide-Angle
Lens
120º
16.9
2” TFT LCD
HD Screen
IR Night
Vision
HD Screen
150° Second
Camera
Page 4

1.3 Button Functions
4
External Camera Input
AV-OUT
Reset Button
Power Button
USB
Mounting Frame
Display
Camera Direction Indication
System Working Indicator
Charge Indicator
REC Indicator
MIC Button
REC Button
Speaker
Camera
Micro SD Card Slot
Video Lock Button
Camera Button / Playback Mode
Menu Button
Page 5

Power Button
• To power the device, press the Power Button for 3 seconds. Video recording
will be automatically activated after the device is switched on if there is a Micro SD card
present.
• To turn the device off, press the Power Button for 3 seconds. The last video will have
been saved before device is switched off.
Menu Button/Display Control Button
• Function 1: Display On/Off
The display can be switched on and off by pressing the Menu button for 3 seconds.
Switching the display on or off does not affect video recording.
• Function 2: Enter Menu
To enter the menu, press the menu button under standby mode. Then, press the page up/down
buttons for selecting. Press the camera button to confirm. To exit, press the menu button again.
Please Note: It is the same process to enter Menu Setting under Video Mode, Photo Taking
Mode and Play back mode.
Camera Button/Playback Button
• Function 1: Photo Taking
To enter the photographic mode, press the camera button under standby. Press the
same button to take photos.
• Function 2: Playback
To enter playback mode, press the camera button for 3 seconds. Press the page
up/down to select images and video and then, press the camera button again to play the
selected video. To exit playback mode press the camera button for 3 seconds.
• Function 3: Play/Pause
Under playback mode, press the camera button to play/pause a video.
5
Page 6

1.4 Installation
6
To Install the Smart-i Duo in your car, please follow the steps below:
1. Firstly, take out the Smart-i Duo and the Windscreen Mount.
2. Attach the Windscreen Mount to the unit.
5. Position the Smart-i Duo at the front of the car. Please note that the recorder should be
placed behind the rear view mirror to comply with regulations.
3. Insert the Micro SD Card (if purchased) into the unit. To insert, place the card in the slot
(shown below) until you hear a slight click sound confirming the card has been placed
successfully.
6. Take out the ‘USB to Cigarette Lighter Adaptor’
7. Connect the USB end of the Cigarette Lighter Adaptor to the Smart-i Duo and the other end to
the Cigarette Lighter Power Socket.
8. Turn on the ignition to power the unit.
9. Finally, press the ‘Power On’ to turn the unit on.
4. Plug in the additional camera by inserting the Phono cable from the additional camera into
the Phono Socket of the Smart-i Duo.
Page 7

Emergency Video Lock Button
• Function 1: Video Locking
If there is an incident during recording, press the video lock button to protect valuable video
evidence. Previous footage will be saved and extended for an extra 3 minutes recording. To
unlock the video, press the video lock button again.
Please Note: This video will not be overwritten during loop recording
• Function 2: Movement Detection On/Off
To switch on movement detection, press the video lock button for 3 seconds under standby.
Press it again for 3 seconds to turn off the movement detection.
• Function 3: Confirmation
Press the video lock button to use as a confirm/ok button under the menu interface.
• Function 4: Switch of Cameras
When a second camera has been connected to the recorder, press the video lock button to
switch between cameras.
REC/Page Up
• Function 1: Activate Video Recording
To start video recording, press the REC button under standby mode. Press it again to stop the
video recording.
• Function 2: Page Up
REC button functions as page-up button under the menu and the playback interface.
• Function 3: Non-Invert Display
To non-invert the display, press the REC button under power on status for 3 seconds.
MIC/Page Down
• Function 1: Audio Recording On/Off
To stop recording audio in videos, press MIC button. To record audio, press the MIC button
again.
7
Page 8

8
• Function 2: Page Down
MIC button functions as page-down button under the menu and the playback interface.
• Function 3: Invert Display
To invert the display, press the MIC button under power on status for 3 seconds.
Reset Button
If you experience any issues with your device, please restart device by pressing the reset
button.
Page 9

9
2. Installation
1. Turn the car off.
2. Insert the micro SD Card into the slot of the device.
[Caution] We suggest using a class 6 or above micro SD Card and memory no less than
512MB. The device supports a maximum 32GB micro SD card.
3. Stick the DVR mounting frame on front window.
Caution: Please clean the windscreen before sticking the mounting frame. To adjust the
mounting frame position, please use the attached cotton thread and place at the edge between
sticker and window. Then pull the recorder from left to right and right to left until the sticker has
been removed.
4. Plug in the car charger into the car cigarette lighter.
5. Connect the car charger to the Recorder USB input with charging Cable.
6. Place the external camera at the back of the car. The cable can be laid across the seats
to the recorder at the front. Connect the external camera by plugging the camera AV
cable into the AV-IN port on the Smart-i Duo.
7. Adjust camera position; ensure the line of sight is perpendicular to the ground.
8. When starting engine, check the recorder has been installed correctly.
Please Note: If the recorder has been installed correctly, the device will be entering the video
recording mode automatically when engine starts. Please check the screen display, if it is
upside down, invert the display using the REC/MIC button.
Page 10
10
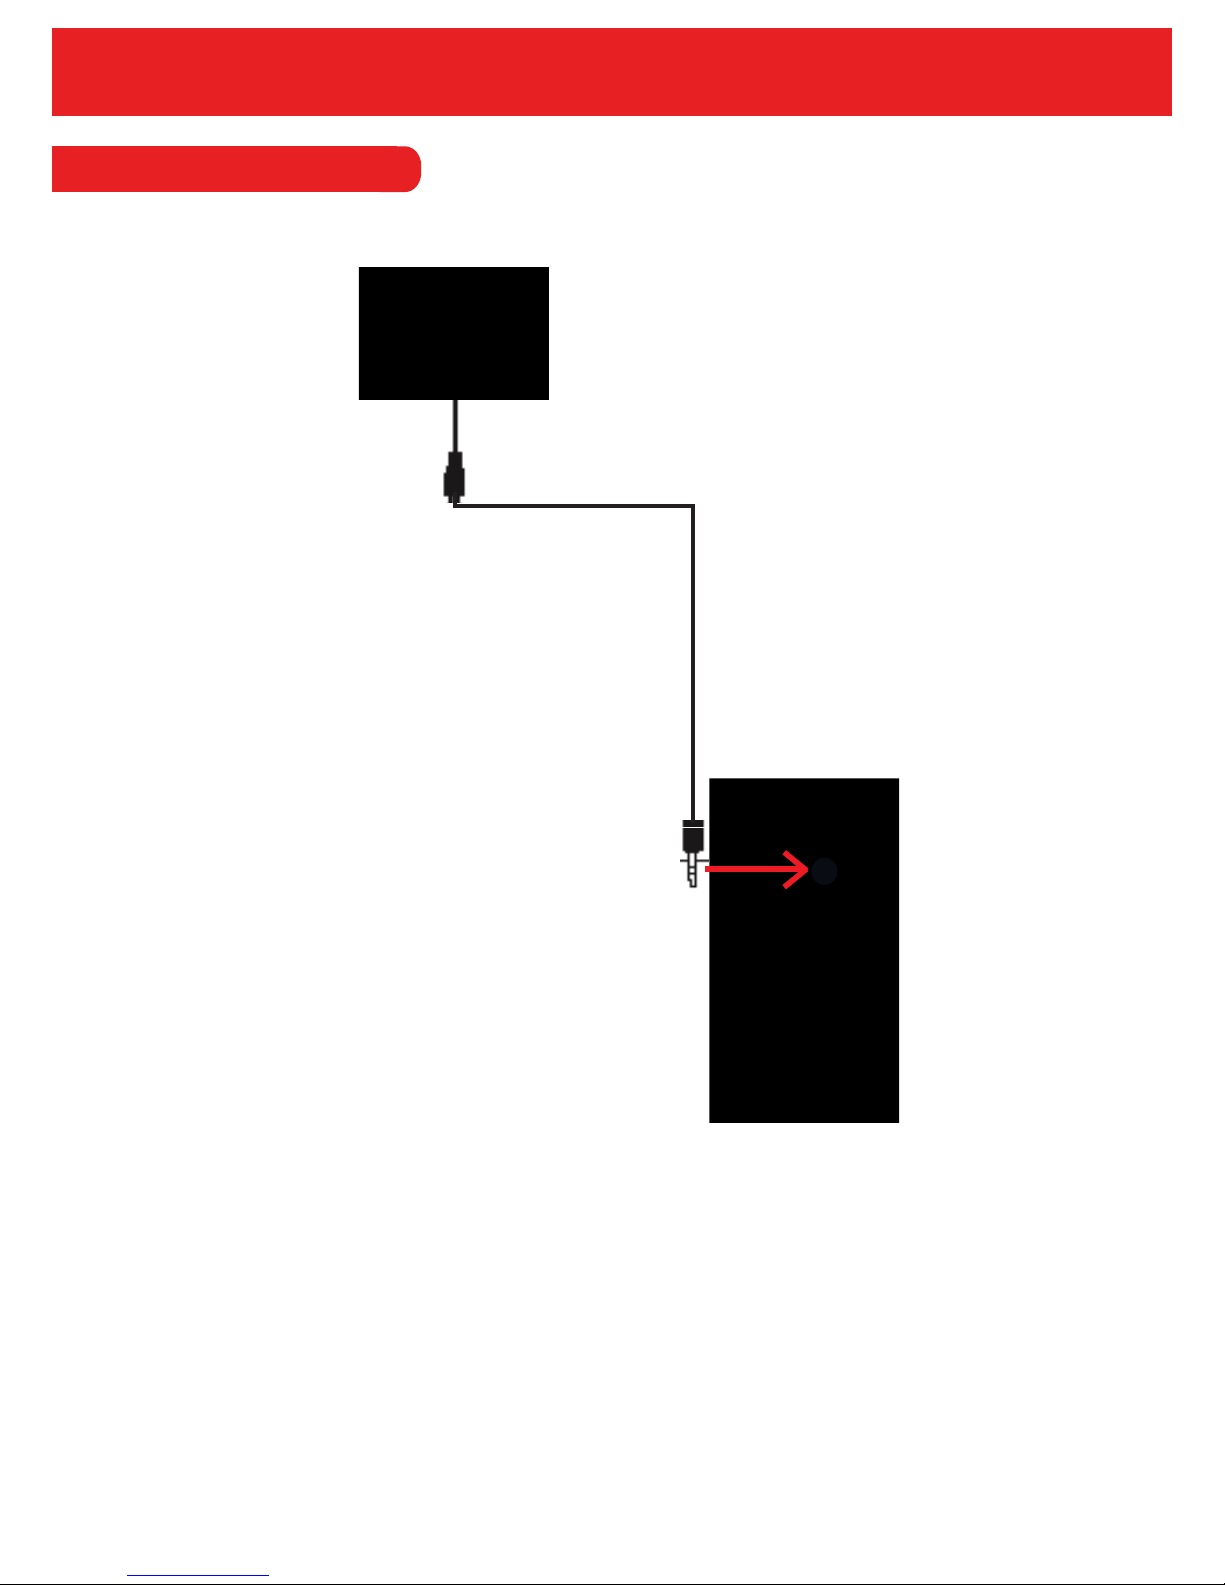
2.1 Rear View Camera Installation
Rear View Camera
To connect the rear view camera, simply plug into the ‘camera in’ connection (as pictured above).
Once plugged in, the cameras image will show on the Duo LCD along with the main image from
the Duo.
Please note that the AV OUT on the Duo is only used for playback on a larger screen. However,
you can playback on the Duo itself rather than through an external monitor.
Page 11

3.1 Automatic Recording
Video recording will start automatically when the engine turns on. The video recording indicator
and audio recording indicator will start to flash when recording has started. After the engine has
been turned off, video recording will also stop automatically after 12 seconds. The recorder will
save the latest video and then power off. Recorded videos will save on the micro SD card and
loop record the earliest video when the memory is full.
Please Note: Video length can be set in the menu settings (1/2/5 minutes). The default setting is
1 minute.
Video resolution can also be set in the menu (HD720P or VGA), with the default being HD720P.
The recorder’s camera and the external camera footage will be stored in the micro SD card as a
‘DCIMA’ and ‘DCIMB’ file.
3.2 Manual Record
To start up the recorder, press the power button for 3 seconds. The video recording function will
be activated automatically with the video recording indicator and audio recording indicator
flashing. To shut down the recorder, press the power button for 3 seconds. The last video will
have been saved automatically before the power is off.
11
3. Operation Instructions
3.3 Photographic Mode
To enter photographic mode, press the camera button. When in photographic mode, the icon of a
video that is shown on the upper left corner of display will change into an icon of a camera. Press
camera button for taking photos. To switch back to video recording mode, press the REC button.
3.4 Movement Detection
To enter into movement detection mode, press the emergency button under standby for 3
seconds. Under movement detection mode, the recorder will automatically log images while
sensing moving objects. The recorder will enter into standby mode while there are no moving
objects. To exit movement detection, press the video lock button for 3 seconds.
Please Note: Please purchase an external battery for long-term movement detection.
The default setting of Movement Detection is off. The setting of Movement Detection resets to the
default setting while the recorder is shut down.
Page 12

3.5 Display Invert & Non-Invert
The camera on the DVR can be rotated 300° and the screen displays upside down if the camera
has been rotated 180°.
To display correctly, press the MIC button/REC button for 3 seconds for invert display and
non-invert display.
Please Note: The setting of the display will be saved automatically after the recorder is turned off.
3.6 G-Sensor
The G-Sensor will be activated if the car collides during recording. The recorder will display a
symbol of a lock for 10 seconds before colliding and the next 20 seconds will be saved automatically as a special video. This video will not be covered during loop-recording.
Please Note: The saved locked video will be named with a ZW at the beginning, while normal
videos named start with AW.
The sensitivity of the G-Sensor is adjustable; default setting is “middle”.
3.7 Video Locking
The video locking function is designed to prevent important evidence being overwritten by loop
recording. To lock a video, press the video lock button while recording, current video will be saved
pre 10 seconds and the next 20 seconds.
3.8 Date/Time Setting
The Date/Time settings allows you to adjust the time and date to local time so that video files can
be found easily by searching when any incident occured.
12
Page 13

3.9 AudioOn/Off by One Button
To record without sound, press the MIC button under video recording. When the microphone sign
at the bottom of the display is white, the MIC has been switched off. Press the MIC button again
and the microphone will turn blue. This means the MIC has been switched on.
The MIC setting will be automatically saved, so there is no need to edit again after the device has
been restarted.
3.10 U Flash Mode
3.11 Playback
To enter playback mode, press the camera button for 3 seconds when the recorder is switched
on. Select videos and images by using the page up/down button and press the camera button
to play a video. To exit playback mode, press the camera button for 3 seconds.
13
Connect the recorder to your PC with a USB cable and the display of the recorder will show 3
options: USB Disk, PC Camera and REC Mode. Select the options by using the page up/down
button. To enter U Flash Mode, select the USB Disk and confirm with the video lock button.
Please use an SD card reader and Micro SD card to copy videos from recorder to PC.
Page 14

14
4. OSD Functions
Settings
Resolution
720P / VGA
Recording
Time
O / 1 Min / 2 Mins / 5 Mins
Language
English, Chinese, Russian, Japanese, Portuguese,
French, German, Italian
Brightness
Auto / Sunlight / Flourescent / Cloudy sky / Thungsten
Exposure
-3, -2, -1, 0, 1, 2, 3. (Default setting is 0)
Colour
Normal / Black & White / Negative / Sepia / Light Blue
Auto Detect
O / On
Fequency
50Hz / 60Hz
Video
Settings
General
IR LED
O / On / Auto
Watermark
O / On
Audio
O / On
Auto
Record
O / On / Charge Video
Shutdown
Time
1 / 3 / 5 / O
Key Tone
O / On
Auto
Backlight
1 / 3 / 5 / O
G-Sensor
High / Middle / Low / O
TV Out
PAL / NTSC
Date & Time
Set the date
Format
Yes / No
System Info
Default
Settings
Yes / No
Resolution
1280x720 / 1600x1200 / 2048x1536
Image
Settings
System Information
Page 15

4.1 Video Settings
The resolution option allows you to set the resolution of the recorded video.
The Smart-I Duo has 2 resolution options HD 720P and VGA.
4.1.1 Resolution
4.1.2 Recording Time
15
The Recording Time option allows you to set the length of the recorded video. So, if the recorder
has been set to 1 minute, it will record a minute file and will start again for another minute and so
on.
The options for the length of video are; 1 minute, 2 minutes, 5 minutes or OFF. If the set to ‘OFF’
then the recorder will use the default recording time.
Page 16

4.2 Picture Settings
4.2.1 Resolution
To enter into the picture resolution menu, press the mode key and enter into picture mode and
then press the menu button.
In this menu, the user can set the resolution of the images that are taken. The resolutions
available are: 1280x720, 1600x1200 or 2047x1536.
4.3 General Settings
This option allows you to adjust the brightness when taking a picture or using the video mode.
The user can choose from the following brightness levels: Auto, Sunlight, Fluorescent, Cloudy
Sky or Tungsten.
16
4.3.1 Brightness
Page 17

4.3.2 Exposure
The exposure levels of the camera will determine how much light will reach the camera. The
higher the levels, the more light will enter the camera and the picture will be brighter, lighter and
whiter.
The exposure levels available are -3, -2, -1, 0, 1, 2 and 3. The default exposure level will be 0.
4.3.3 Colour
The colour option allows the user to set a colour effect on any image that is taken.
The effects available on the recorder are;
Normal
Black & White
Negative
Sepia
Light Blue
17
Page 18

4.3.3 Auto Detect
4.3.4 Watermark
This option allows you to set the date and display the date on the recorded video in playback
mode. The user can turn this function on or off.
4.3.5 Audio
The audio record setting allows you to turn the voice record off or on to record sound with
video.
18
By the turning this function on, when a moving object is detected, the recorder will begin to
record. If the object stops moving the recorder will stop, and being again once any object
moves again.
Page 19

4.3.6 Auto Record
4.3.7 Language
Set the language on the unit. The available languages are; English, Chinese,
Portuguese, Russian, Japanese, French, German and Italian.
By turning on the auto record function, the unit will start recording immediately once the
recorder has been powered and has a Memory Card.
If the charge video option is selected, the recorder will start recording automatically when the
recorder is being charged.
19
4.3.8 Frequency
Set the video frequency on the recorder to either 50Hz or 60Hz.
Page 20

4.3.9 IR LED
4.3.10 Shutdown Time
The shutdown time feature allows you to delay when the unit shuts down after the power
off button is pressed.
The delay can be set to off, 1 minute, 3 minutes or 5 minutes. If set to off, the unit will shut
down immediately.
4.3.11 Key Tone
The key tone option allows you to turn the beep sound on or off when the buttons on the unit
are pressed. The default for this option is OFF.
20
This option allows you to turn the IR LED’s on or off. Alternatively, you can choose auto and the
LED’s will come on automatically when light levels are low.
Page 21

21
4.3.12 Auto Backlight Off
The auto backlight off option allows you to decide when the 2.0” screen will go on
Standby during recording. The user can choose to turn this function off and the screen will
remain on, however this will use more battery power.
4.3.13 G-Sensor
4.3.12
The TV Out option allows you to choose the output from the Smart-i Duo to your TV/Monitor.
The Smart-i Duo uses both PAL and NTSC formats.
4.3.14 TV Out
The G-sensor function will set the Smart-i Duo to record when impact is detected in the vehicle.
There are 3 G-sensor sensitivity levels to choose from and the default setting is ‘Middle’.
This is recommended for most vehicles. If the sensitivity is set to ‘High’, more events will be
recorded resulting in more space taken up on the Memory Card. If the sensivity is set to ‘Low’
then in some cases important events may not get recorded.
Page 22

22
4.3.15 Date & Time
Set the Date and Time by using the ‘Rec’ or ‘Mic’ button to adjust the time/date and the ‘Menu’
button to toggle between each digit.
4.3.16 Format
This option allows the user to format the Micro SD Card. Please note that all information on the
memory will be removed if you select the ‘Format’ option.
4.3.17 System Information
In this option, the user can view the System Information and Firmware version.
4.3.18 Default Settings
The Default Set option allows you to reset back to the original factory settings.
Page 23

5 Specifications
23
Smart-i Duo Specifications
90x64x28mmDimensions (WxHxD)
Weight (Kg)
2” TFT Colour Display ScreenDisplay
USB 2.0USB Interface
10 MinuteBattery Capacity
Micro SD Card: Up to 32GBMemory
AVIVideo Format
30 fpsFrame Rate
Lens
120° HD Wide Angle Lens
Motion Detection Support
Yes
G-Sensor
1280x720 / 1600x1200 / 2048x1536Image Resolution
Minimum Illumination 0 Lux (IR On)
720P / VGA
Video Resolution
Camera Rotation 180°
0.09
Lens 150° Wide-Angle Lens
16x16x14mm
Dimensions (WxHxD)
Additional Camera
5V DC
Power Input
Page 24

Smart Witness, Unit 2 Valley Point, Beddington Farm Road, Croydon Surrey CR0 4WP
 Loading...