

Smartguard E300CA-1, E150CA-1 User Manual
SmartGuard
E300CA-1/E150CA-1
User’s Manual
Table of Contents:
SmartGuard Overview .......................................................... 2
Definition of View Parts......................................................... 3
Installation............................................................................. 4
Step 1 Insert/remove SD card......................................... 4
Step 2 Bulb Installation...................................................4
Step 3 Install Back Up Batteries ..................................... 5
Step 4 Local Time Setting............................................... 5
Step 5 Function Setting................................................... 6
Step 6 Adjusting the Control Knobs ................................ 9
Step 7 Mounting SmartGuard......................................... 9
How to View the Video........................................................ 12
Test SmartGuard................................................................. 12
Troubleshooting..................................................................13
Specification........................................................................ 13
Contents of Package:
No. Item Qty
1 Base Unit (E300CA-1/E150CA-1) 1
2 AA Size 1.5V Alkaline Battery 4
3 2GB SD Card 1
4 Screw Pack 1
5 Halogen Bulb 1
6 Operating Instruction Manual 1
1
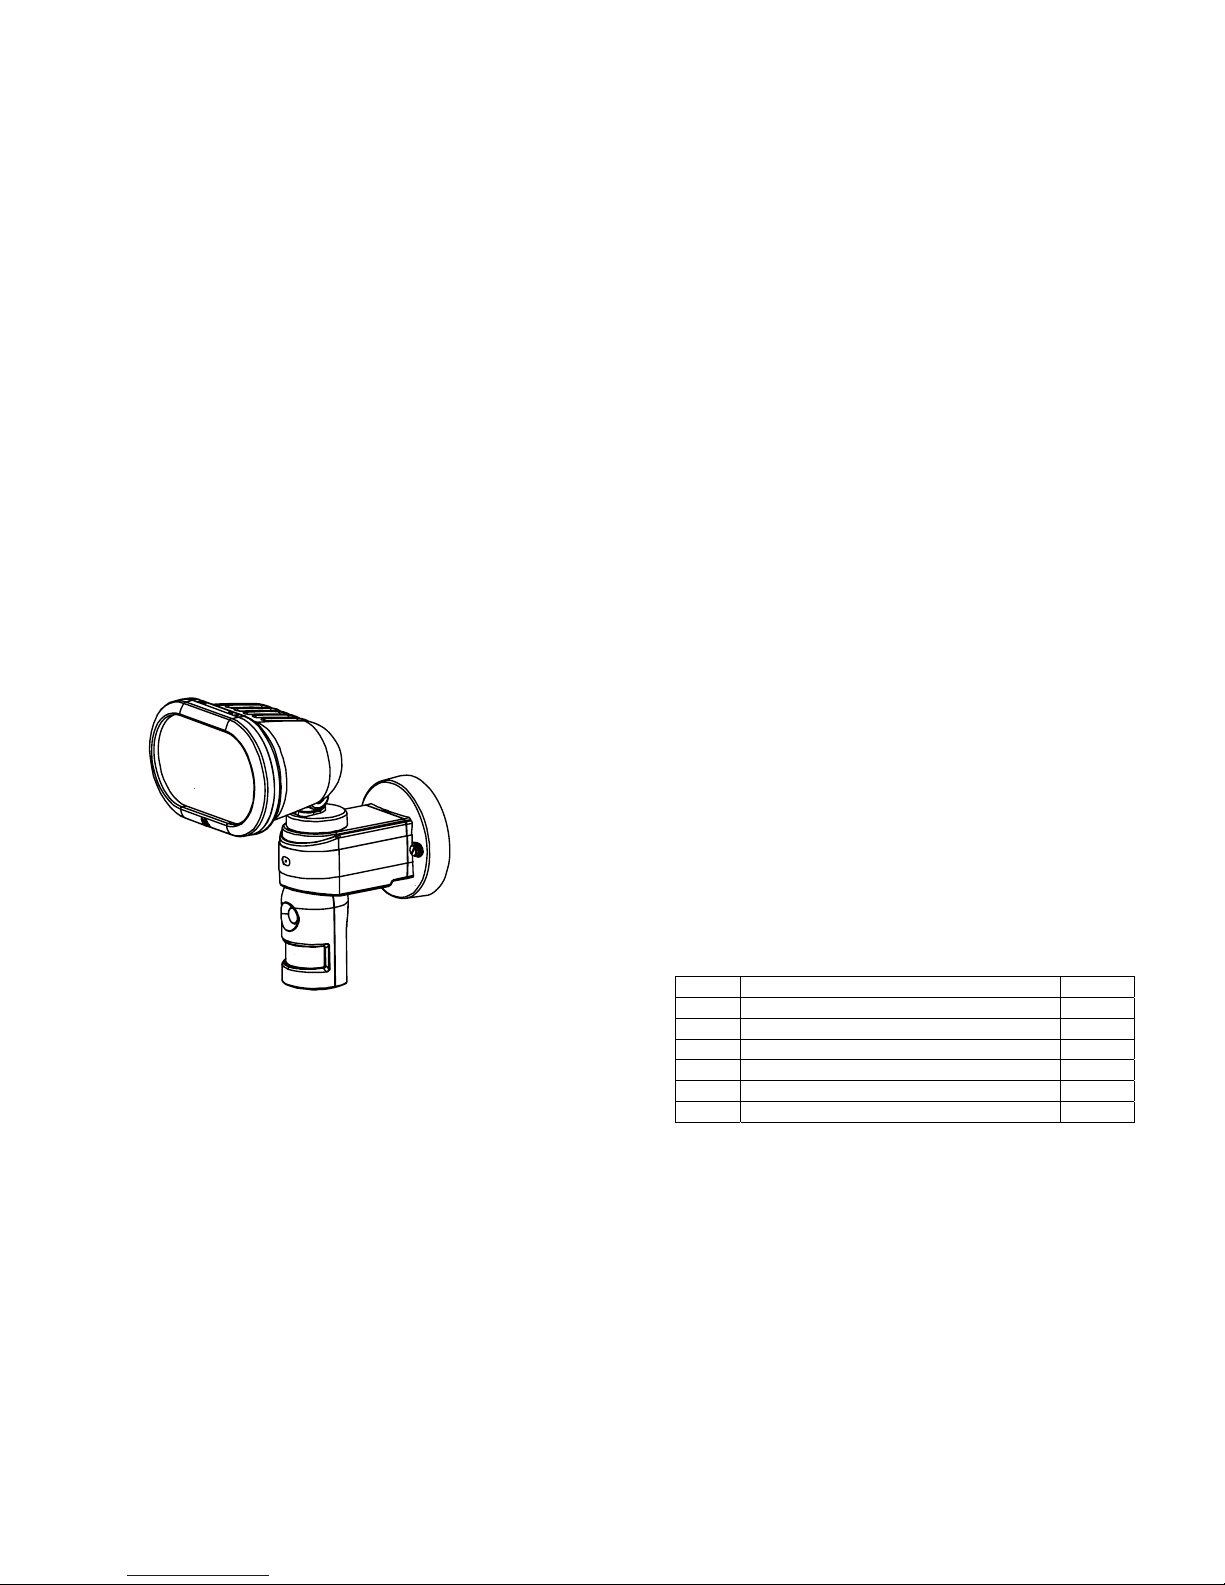
SmartGuard Overview
Features
z Crystal Clear Color Video Camera (640*480)
z Motion Activated Security Light
z Capture 20sec/1min/5mins video when motion detected
z SD card memory slot, 2GB SD card included
z 4 Alert Sounds for selection (2 are recordable)
z 4 Scenes satisfy various using scenario
z Weather proof, easy to install
Front View
Bottom View
2
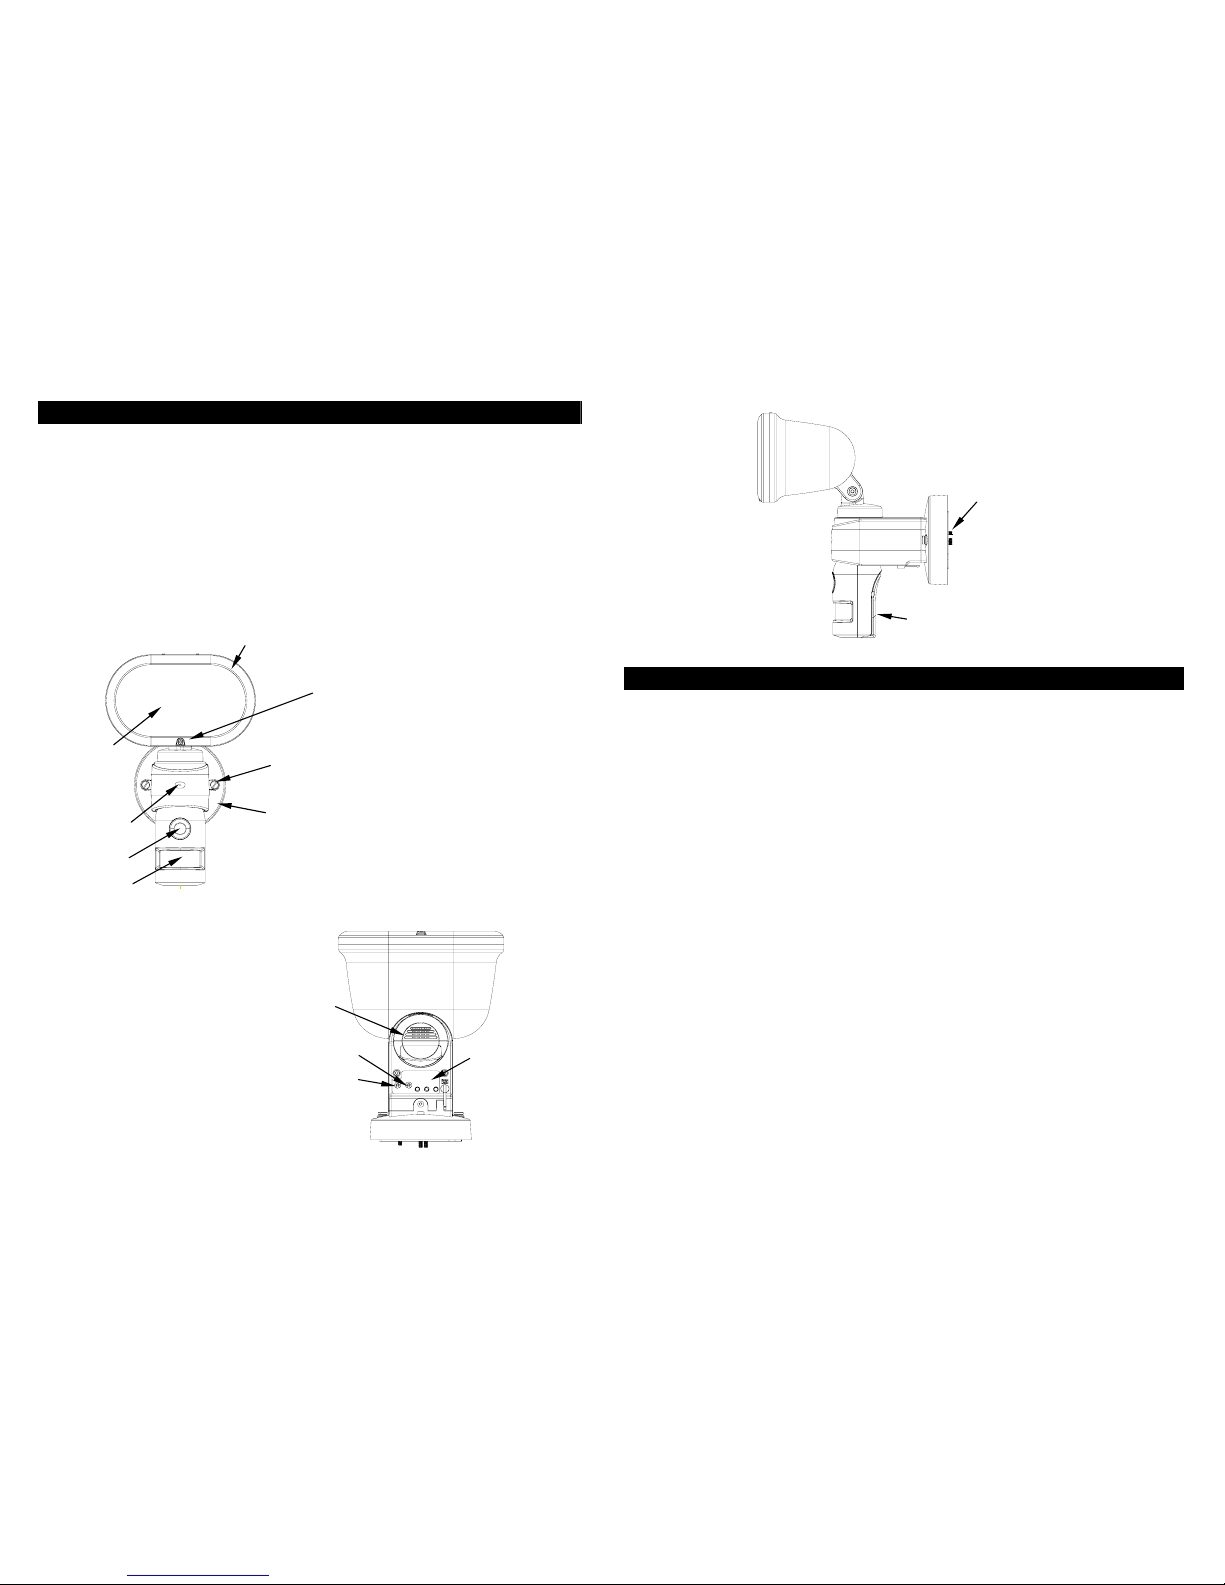
Definition of View Parts
Front View
Floodlight Cover: Open to replace/change lamp.
Lampshade: Glass for lamp protection.
Floodlight Screw: Use to open/close the floodlight case.
Microphone: Takes record of your voice/sound.
Cam Lens: This is a digital camera lens.
PIR Lens: Passive Infrared movement sensor
Mounting Hole: For fixing SmartGuard on the wall.
Cover Plate: For mounting SmartGuard & wire covering.
Bottom & Side View
Speaker: Plays recorded/preset sounds
Lux Control Knob: For adjusting the ambient lighting level at which the
floodlight will turn on automatically
Time Control Knob: For adjusting the time that the halogen floodlight will stay
on for.
LCD Control Display
& Set Buttons: Icon display showing settings. Refer to Step 4 for more
instructions on function setting.
Battery Cover: For inserting batteries.
SD Slot: For inserting a SD memory card.
3
Speaker
Lux Control
Knob
Time Control
Knob
LCD Control
Display & Set
Buttons
Side View
Battery Cover
SD Slot
Floodlight Cover
Lampshade
Microphone
Cam Lens
PIR Lens
Floodlight Screw
Cover Plate
Mounting hole
Warm Up
Standby Mode
Installation
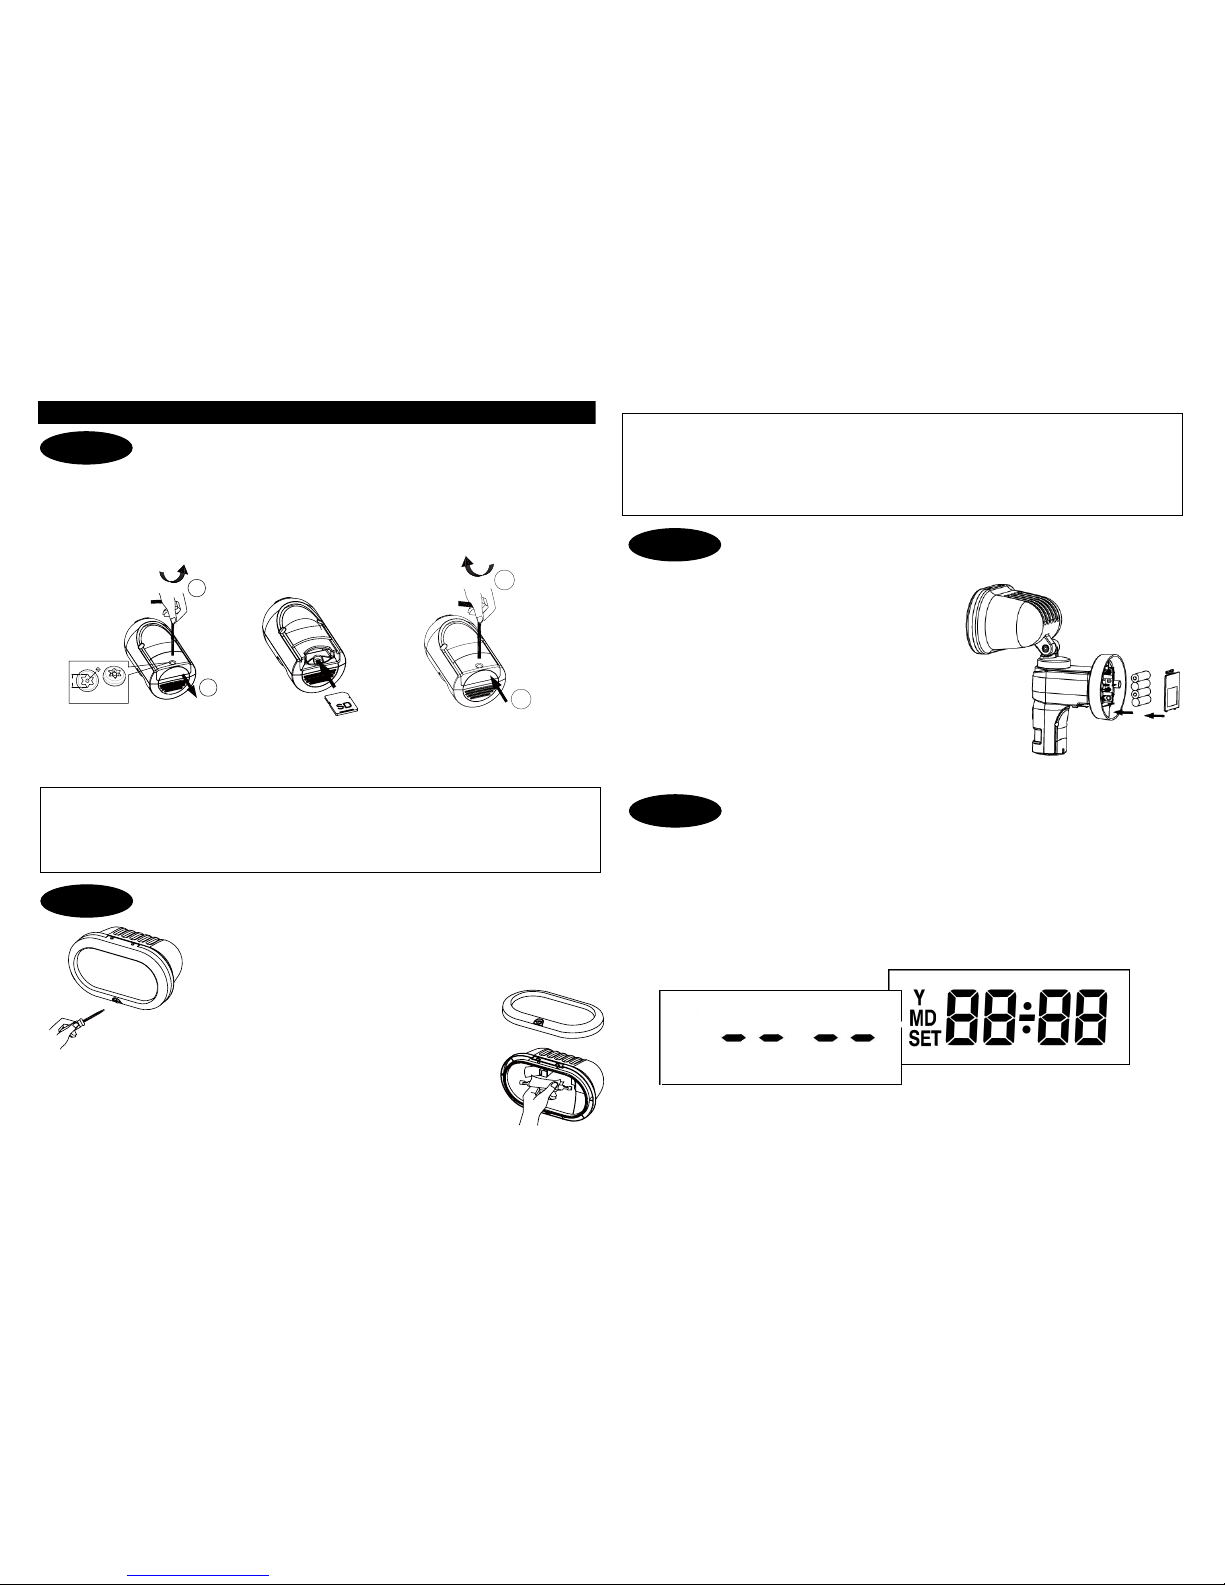
Insert/remove SD card
z Unscrew the cover using provided Allen key (FIG. 1a)
z Insert provided 2GB SD card or SD card with memory up to 32GB by your choice
into the card slot (FIG. 1b).
z Refit the cover, and fasten the screw clockwise (FIG. 1c).
FIG. 1a FIG. 1b FIG. 1c
Note: If SD card is not inserted properly or not found, SmartGuard will beep 10
seconds once an hour as indication after powering up.
Bulb Installation
z Disconnect the power cord or wall switch
z Remove floodlight cover by unscrewing the screw at the
bottom edge of the front surround (FIG. 2a) using Phillips
head screw driver.
z Take off the front surround, install a
150/300 watts bulb (please refer to
Specification on p.13 for correct halogen
bulb for E150CA-1/E300CA-1).
z Rotate halogen bulb to assure proper seating.
z Refit the front surround in place and fasten the screw (FIG. 2b).
4
Install Back Up Batteries
z Unscrew and remove the screw of Battery
Cover.
z Press and release the cover of battery
compartment
z Insert 4 AA size 1.5V alkaline batteries to
the battery spring and make sure polarity (+) is aligned correctly.
z Refit the battery cover.
Note: The batteries power supports most
functions of SmartGuard except lighting.
Local Time Setting
The SmartGuard has a LCD panel with three control knobs: Set, Up and Down.
Once SmartGuard is powered up, it enters PIR warm up time. After 3 seconds, the
unit enters standby mode. It implies the unit is ready for function setting.
5
CAUTION:
(1) Always handle quartz halogen bulb with a soft cloth. Do not touch the bulb with
your bare hand as it will shorten the bulb life.
(2) Do not touch the light while it is in use or still hot. Cool off (about 5 minutes)
before touching it.
1
2
3
0
.
8
SCREWH EADDIMENSION
UNIT:MM
1
2
CAUTION:
For security reason, please do not remove the SD card frequently unless an
irregular condition has occurred (e.g. detection of an intruder or breaking attempts).
To view video, please refer to “Viewing Video” at p12.
FIG. 2a
FIG. 2b
Step 1
Step 2
Step 3
Step 4
 Loading...