

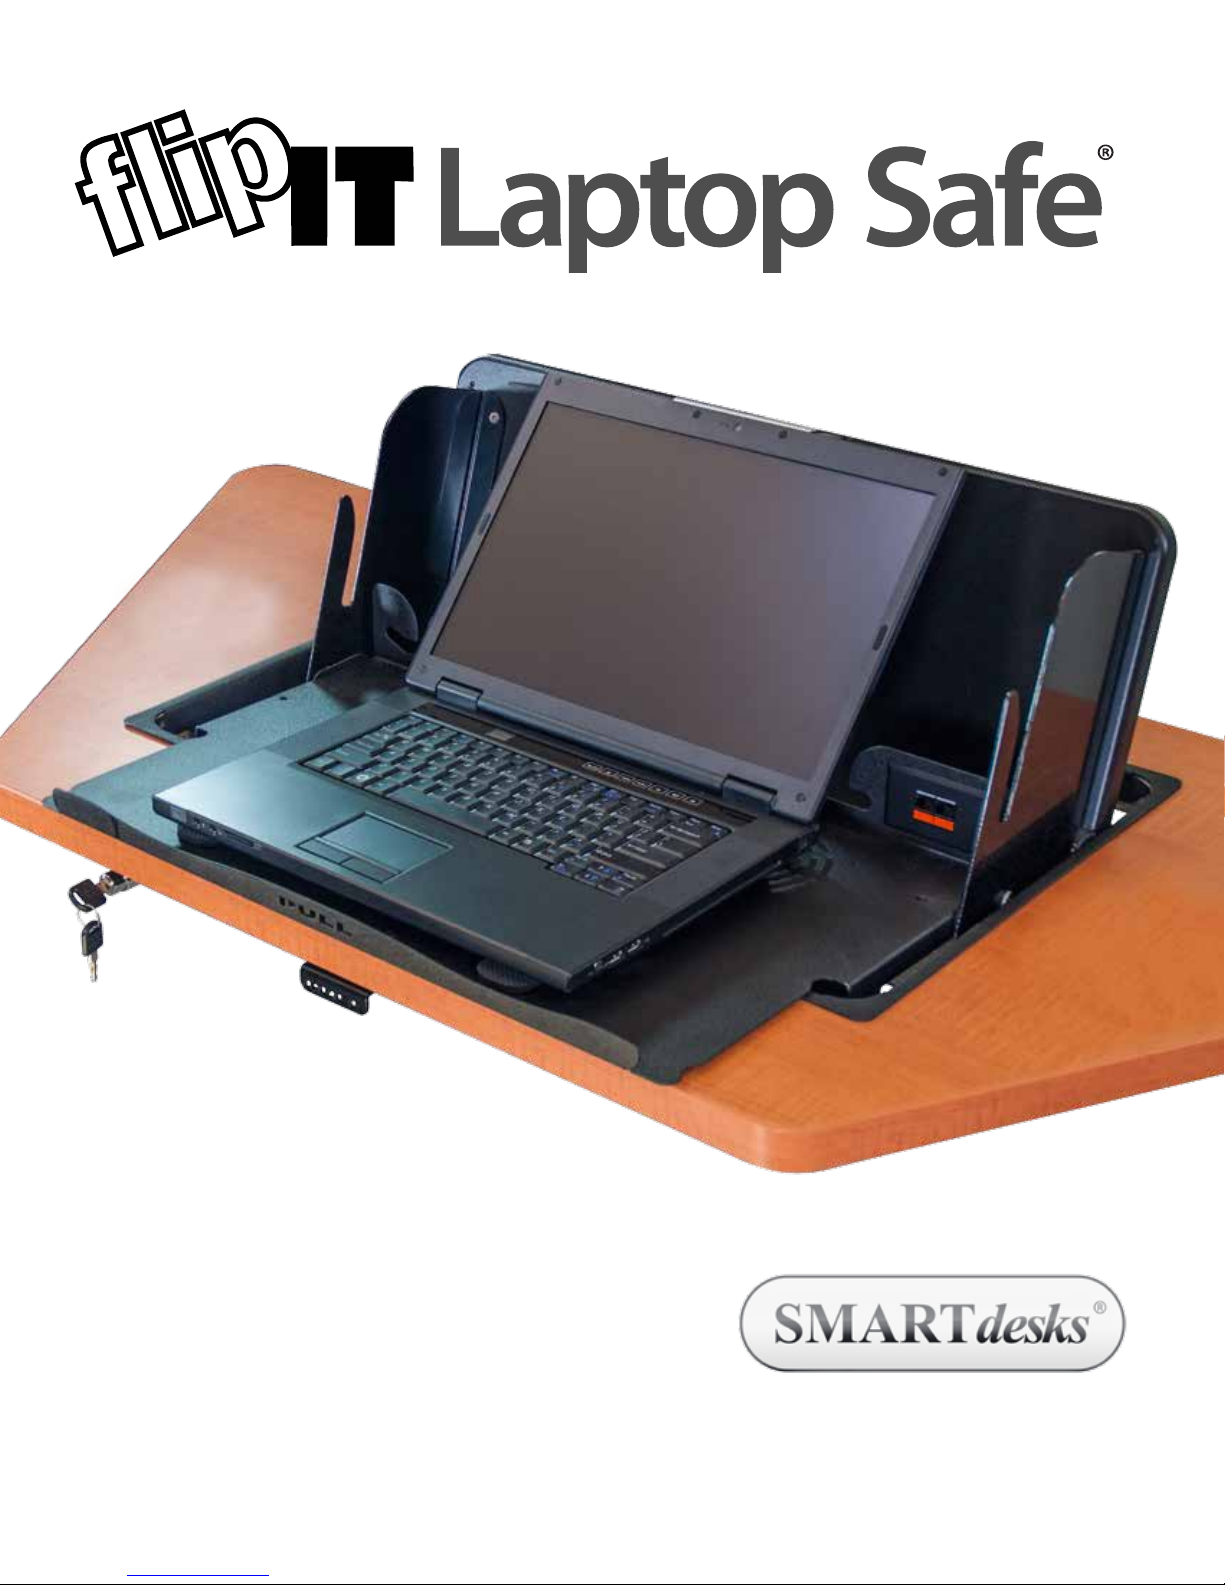
SMART desks flipIT Laptop Safe Assembly & Instruction Manual
Assembly Instructions
Made in USA. US Patent No. 7,509,912
Models FIL-18-5-KIT-BL | FIL-23-5-KIT-BL | How to use template and install to factory standards
How to install into any desktop using
paper template for cutting table top.
(Paper template is supplied in flipIT® Kit
for either FIL-18 or FIL-23).
How to install into factory-cut top:
start at Step 5, page 7.
Installation is illustrated using the FIL-23.
The standard version, FIL-18, installs
exactly the same way. The only difference
is the width.
www.smartdesks.com
800 770 7042
© 2016 CBT Supply, Inc. US Patent No. 7,509,912
REV 01.2016
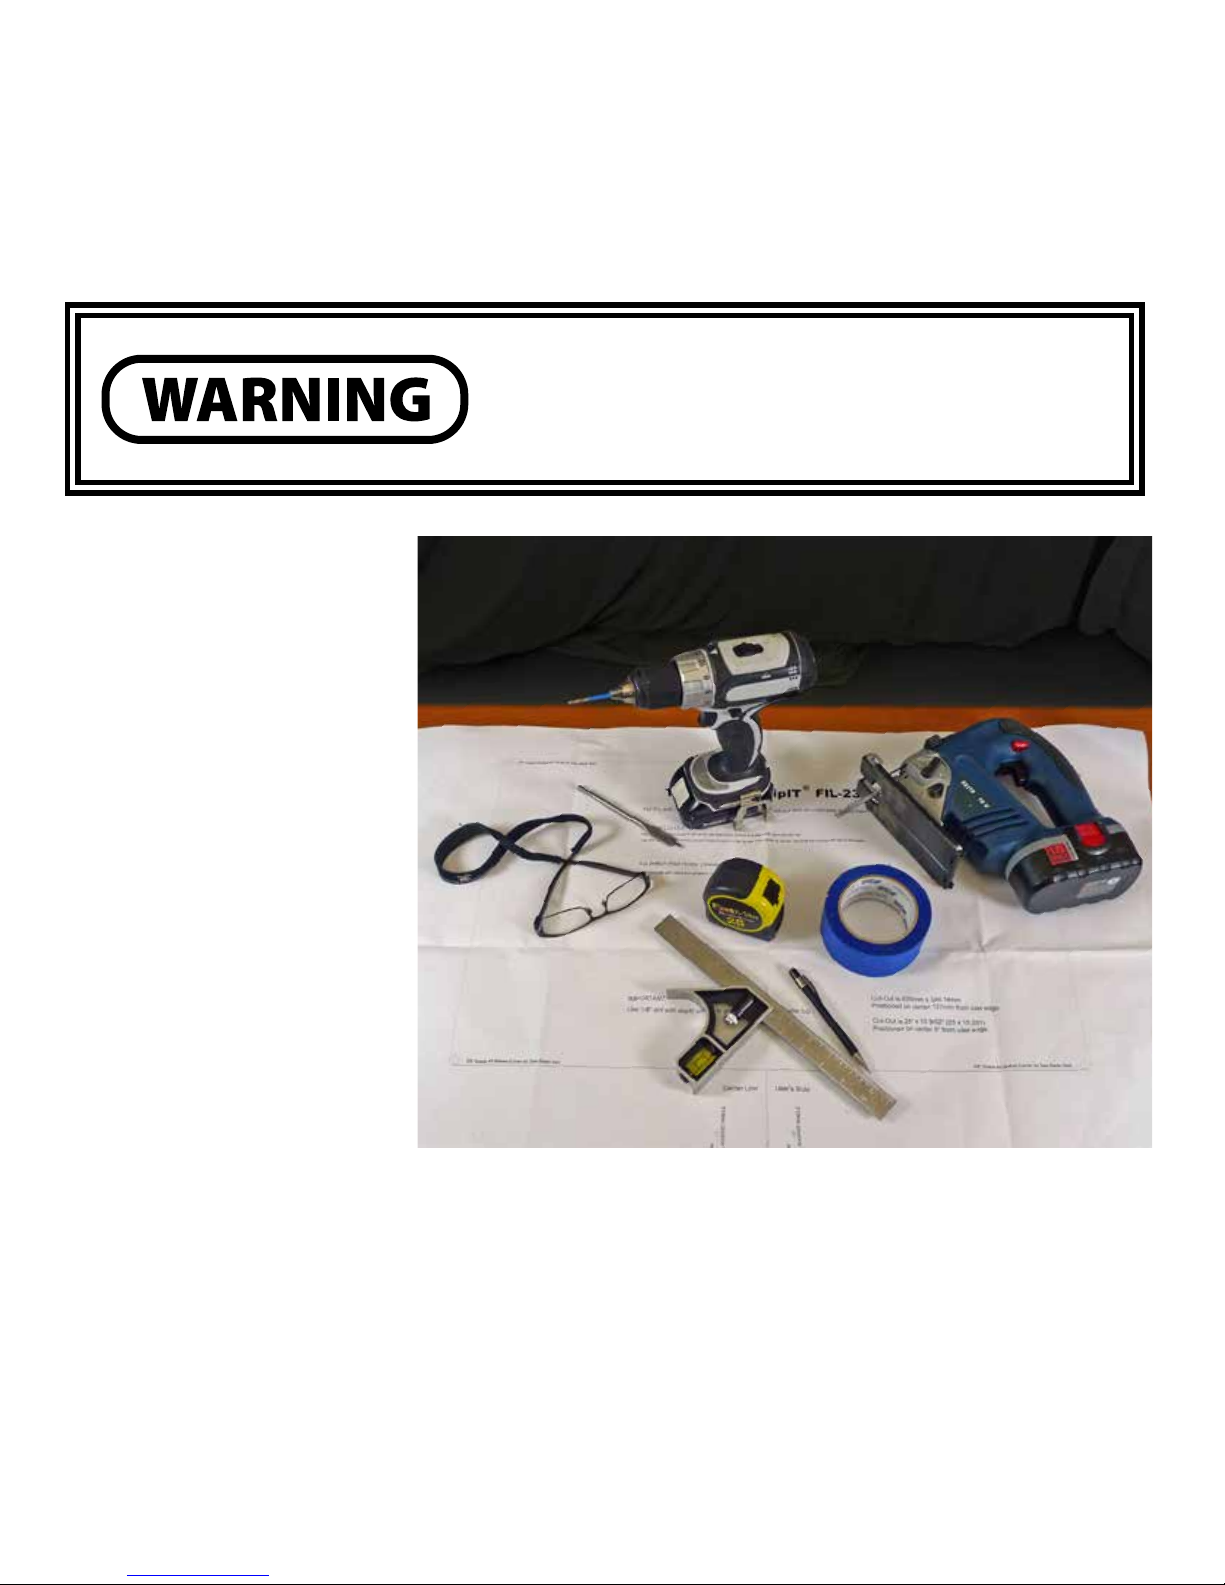
Getting Started
Tools needed for
full installation
Tools needed for pre-assembly:
These installation instructions guide you through the proper way of
completing the assembly of the flipIT Laptop Safe® Kit FIL-18 and FIL-23
with positive latch release and independent plunge lock.
It is especially important that the installer observe proper care in protecting surfaces from abrasion.
For any questions or assistance, please contact Technical Services at
800-770-7042.
POWER TOOLS ARE DANGEROUS
Review the safety procedures supplied by your power tools’ manufacturers. Heed all warnings for your safety’s sake. Always use safety
glasses and wear proper apparel that won’t get caught in moving
parts. CBT Supply, Inc. will not be held liable for misuse of tools and
disregard for power tool manufacturer’s safety precautions.
• Power Drill
• Tape Measure
• Commercial Grade Jigsaw
• Phillips#2 Bit Screwdriver
• 3/8” Drill Bit
. 1/8” Drill Bit
• 3/8” Open-end Wrench
• Slot Screwdriver
• Pencil
• Square and straight edge
• Masking Tape
Tools needed for installation into
a factory-cut desktop only:
• Power Drill/Screw Gun
• Phillips#2 Bit Screwdriver
• 1/8” Drill Bit
• 3/8” Open-end Wrench
• Slot Screwdriver
STOP!
The installer must possess the skill to cut within the tolerance of
the template layout line if no factory-made cutout is made in the
table top. Do not attempt this installation without this level of
craftsmanship skill.
© 2016 CBT Supply, Inc. US Patent No. 7,509,912 Technical Support: 800-770-7042 2
If a factory made cut is provided, only skills of using a screwdriver
and drill are required.
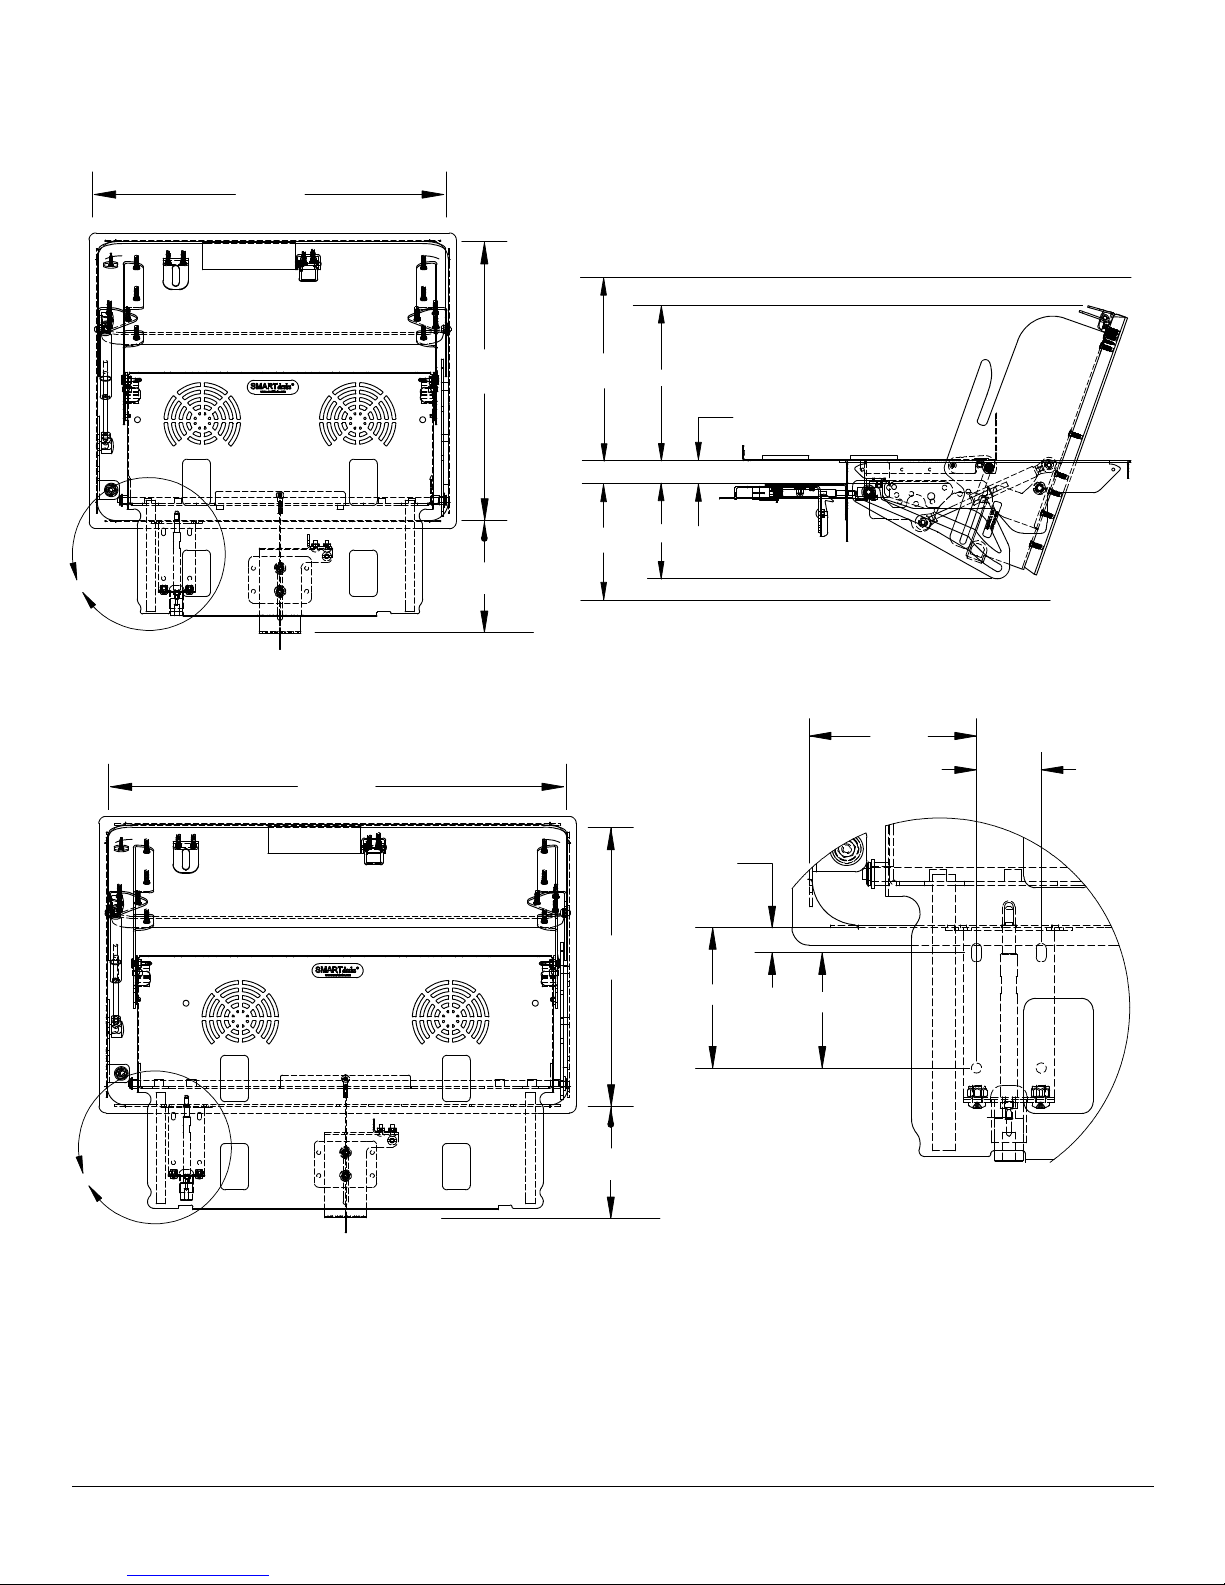
Space considerations for installation
FIL-18 Cut-Out & placement
19.13
A
15.25
5.00
9.00
8.00
Common to both
Clearances
above and below surface
8.356
1.18
5.177
Lock pilot holes
FIL-23 Cut-Out & placement
25.13
A
Nominal thickness of
the desktop:
30mm (1.181”) within a
range of 1” to 1.25” for
lock system to install.
(25.4mm to 31.75mm)
Space between the user
edge and the cutout:
5” (127mm)
Minimum top depth:
24” (660.4mm)
FIL-18 minimum
width: 24” (609.6mm)
FIL-23 minimum
width: 26” (660.4mm)
15.25
3.044
5.00
Minimum clearances:
Allow about 9”
(288.6mm) above and
8” (203.2mm) below for
clearance of the
lid opening.
.544
2.500
DETAIL A
Cutout dimensions:
FIL-18
19.13” wide x 15.25”
deep (485.9mm x
387.35mm)
3.627
1.405
FIL-23
25.13” wide x 15.25”
deep (638.3mm x
387.35mm)
© 2016 CBT Supply, Inc. US Patent No. 7,509,912 Technical Support: 800-770-7042 3
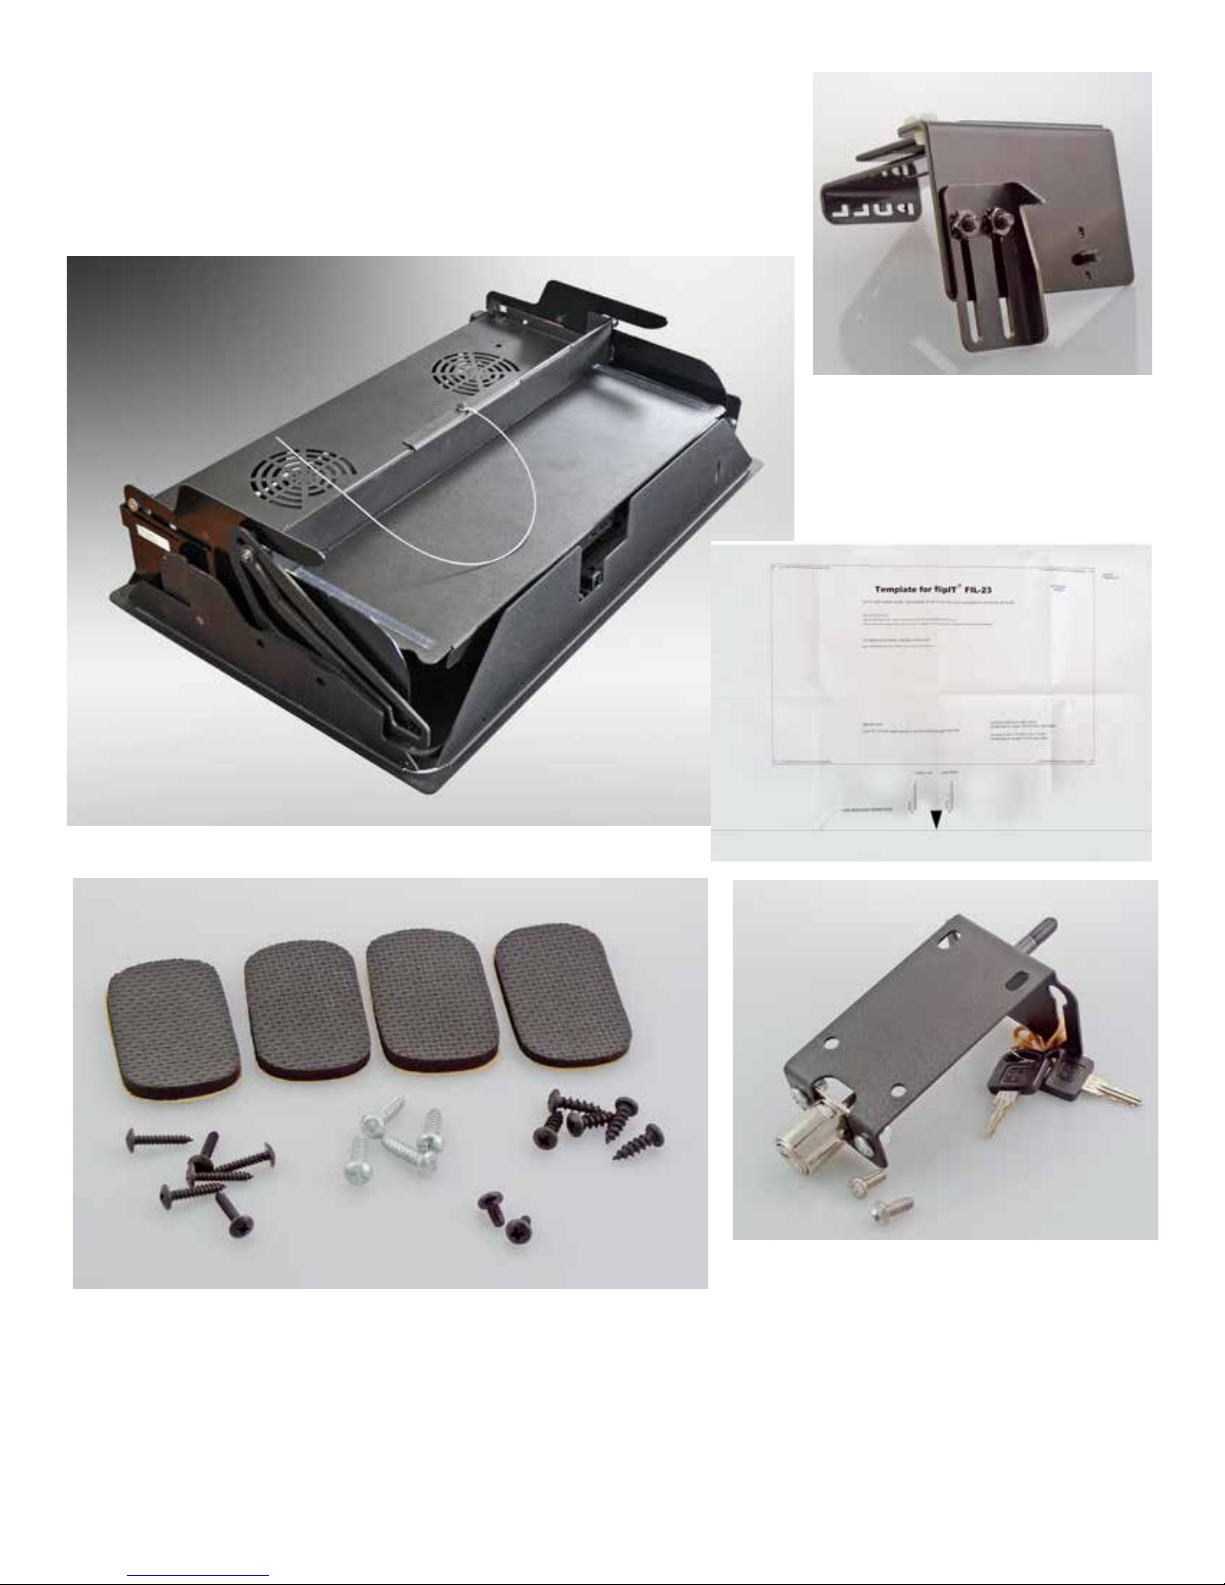
Parts and Hardware
The flipIT Laptop Safe® is packaged with a parts box that includes
a packet of parts, the lock assembly and the latch/PULL handle
assembly, this assembly manual and a template for making the
cutout and pilot holes.
PULL Handle Latch Release
(X30238)
FIL-18
FIL-23 (X30206)
A
C
Template for cutout and pilot holes
D
E
B
In the lock bracket bag:
In the parts bag:
• C Six #6 Black Oxide screws
• D Five #8 5/8 “ with #10 Thread
• A Four Neoprene pads,
• E Four one-way wood screws
adhesive-backed
• B Two #8-32 x 5/16
Self tapping screws
© 2016 CBT Supply, Inc. US Patent No. 7,509,912 Technical Support: 800-770-7042 4
• A One Interlock bracket
• B One lock assembly
• C Two keys
• D Two one-way metal screws
 Loading...