

Page 1
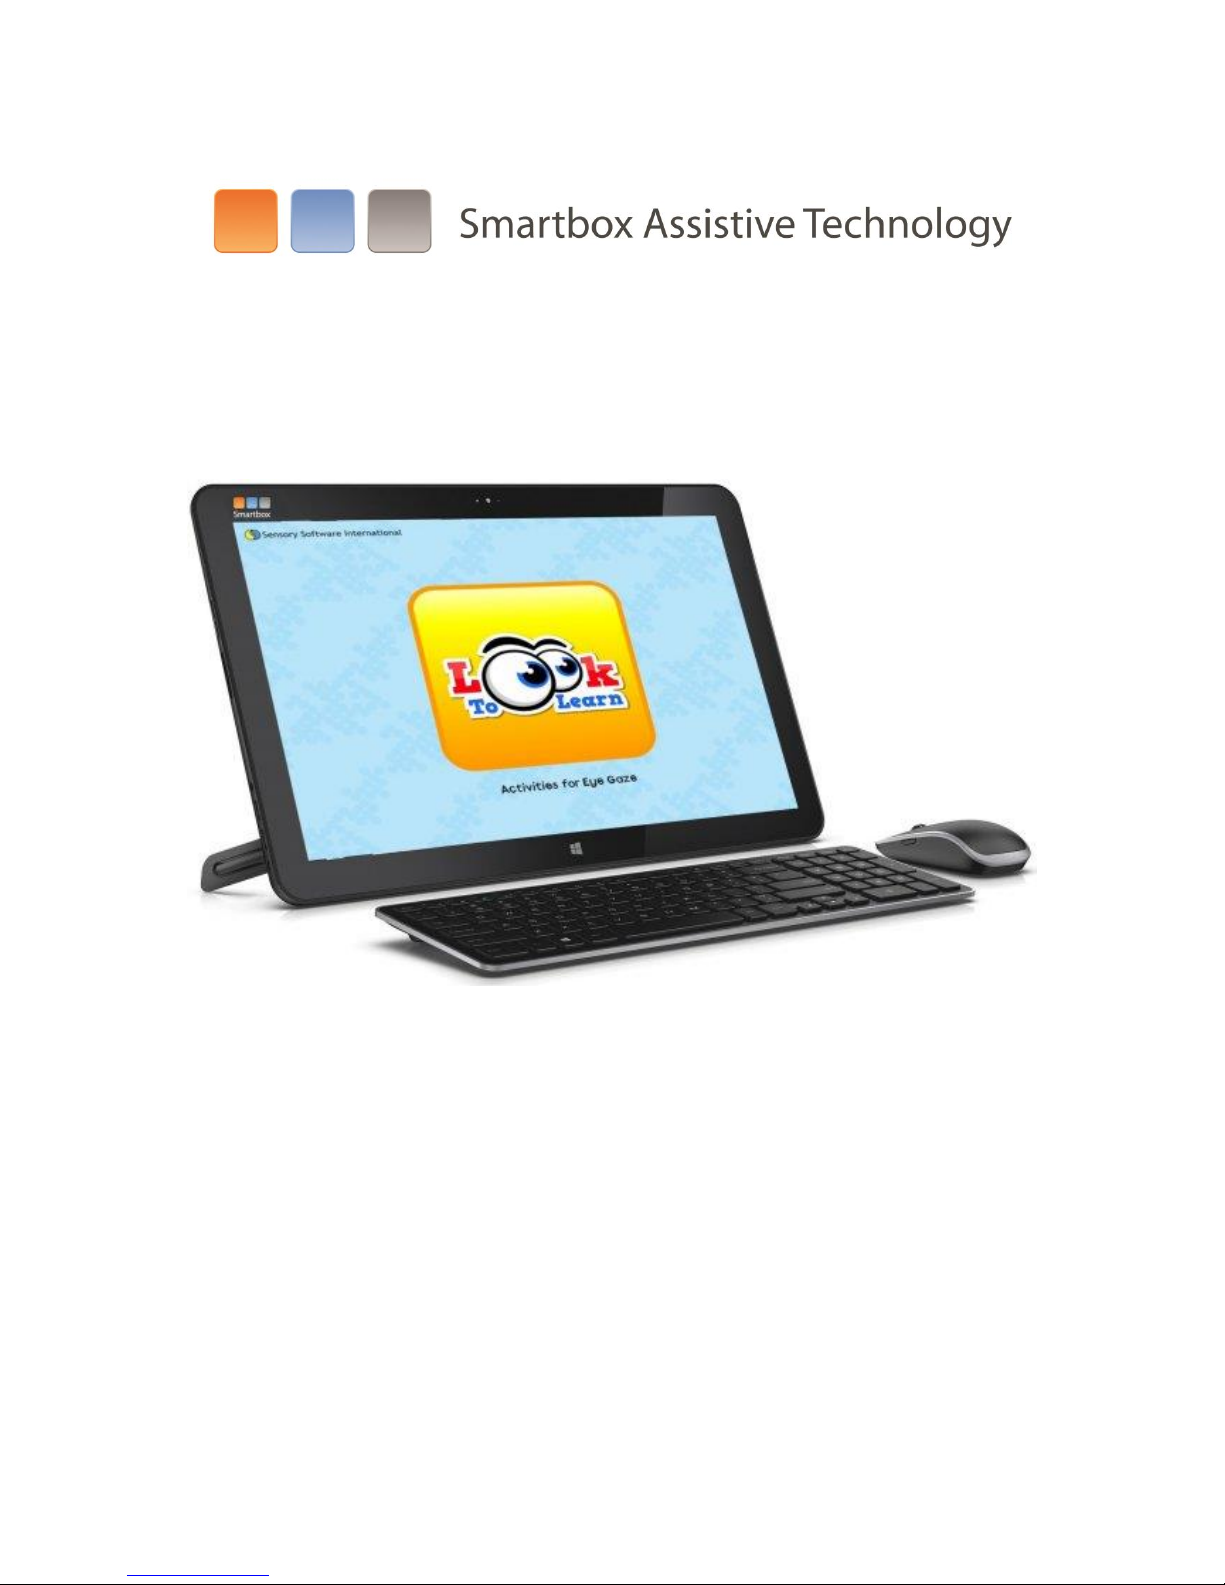
SB18
Quick start guide
Page 2

SB18 Classroom Tablet
Contents
Warranty 2
Basic Description 3
General care 3
SB18 Overview 4
Batteries and Power 5
Mounting the SB18 6
Access and environment control 7
Contact details 8
Please read this guide before using the machine
This booklet does not replace the full manual for either the computer or the software, but gives a
quick guide to the things you should know to get the best from your system.
Warranty
The computer is covered by a return to base warranty against faulty materials or workmanship for
two years from the day of supply. This may be upgraded to SmartCare and extended for up to 5
years from the date of supply.
Page 3

The SB18 Classroom Tablet
The SB18 is an 18.4” touchscreen PC, adapted to provide additional amplification, switch
connections, a mounting plate and our Servus environment control system.
General Care of the Machine
Cleaning
The touchscreen is best cleaned using a clean microfibre cleaning cloth.
To minimise the risk of infection, the machine should be cleaned with a detergent wipe. Optionally
this can be followed with an alcohol based wipe AFTER cleaning with the detergent wipe.
The machine should not be immersed in water, or cleaned with a wet cloth, gels, polishes or any
abrasive cleaning product.
Protection
Make sure that hard objects cannot press against the screen.
Avoid exposure to heavy rain. The screen seal will protect it against moisture, but the computer is
not designed to be waterproof.
Avoid hard knocks and dropping. The machines are sufficiently robust for normal use, but are not
designed to be stood on or dropped from a height.
Repairs
Do not attempt to open the SB18, as there are no user serviceable parts inside.
Page 4
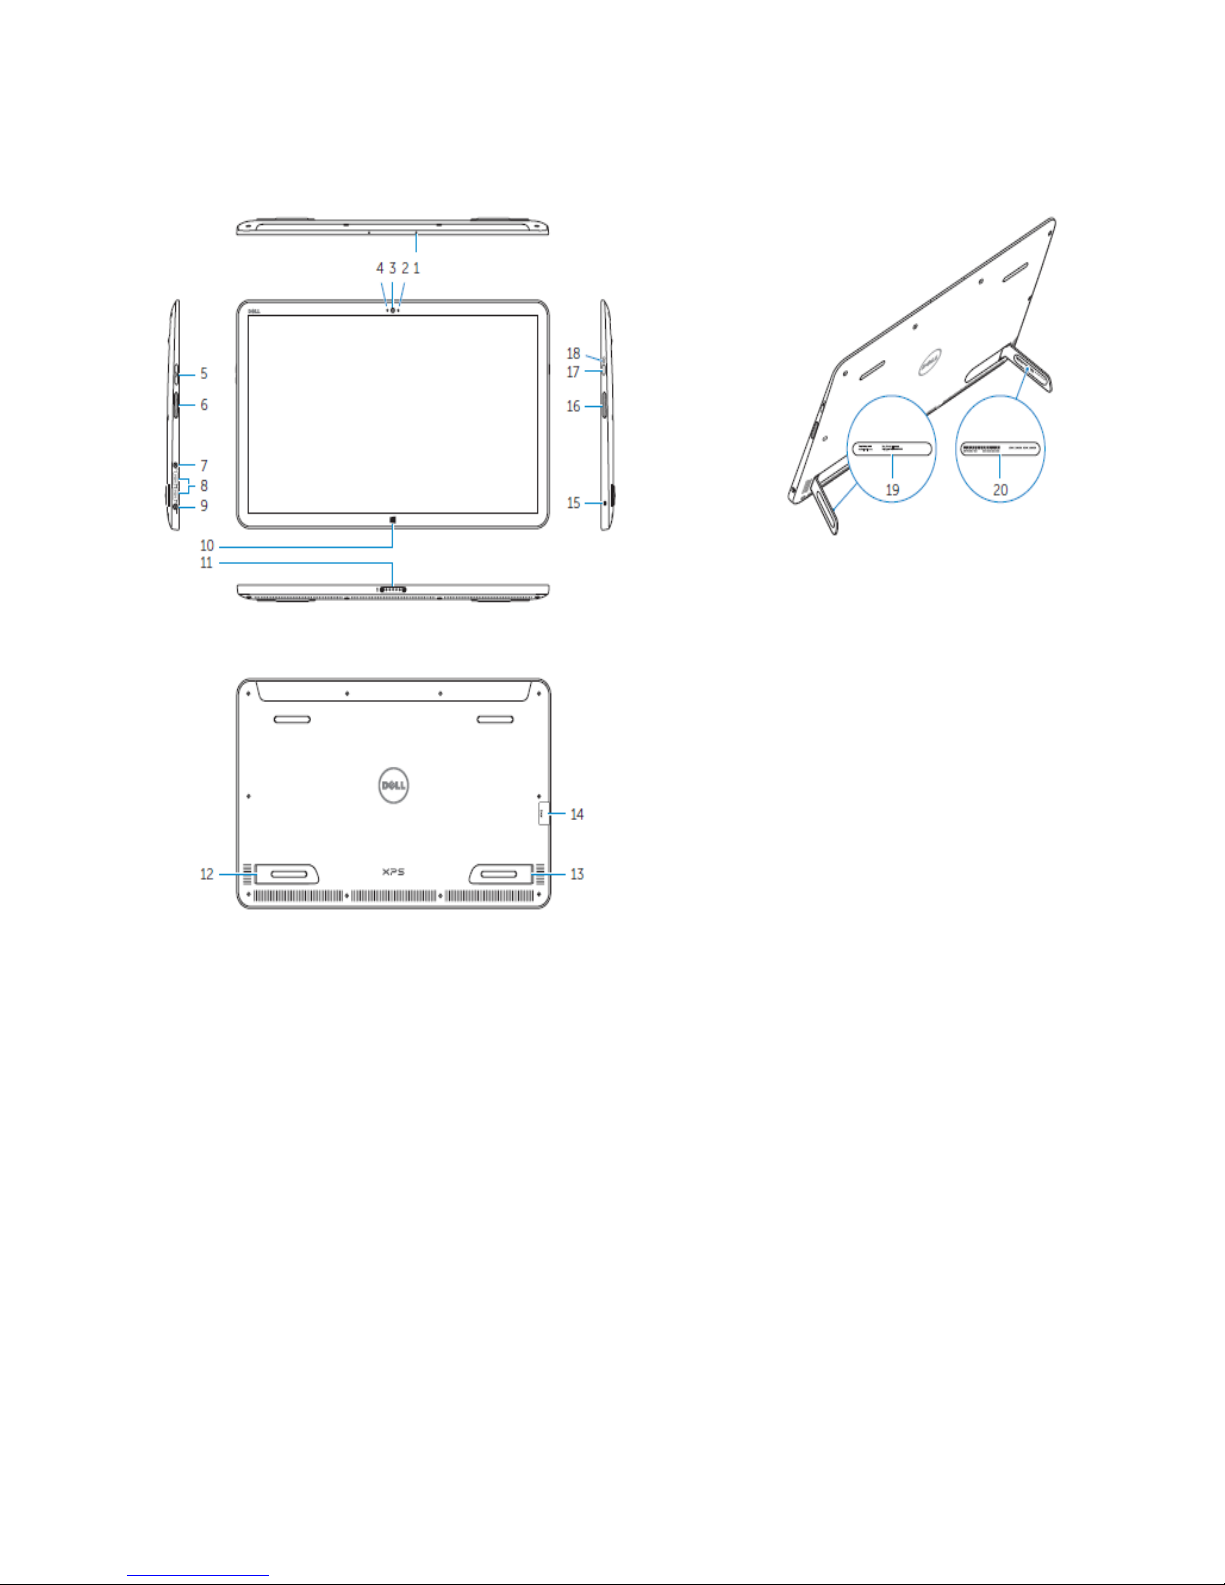
SB18 Overview
1. Microphones (2) 11. Charging Connector
2. Ambient Light-sensor 12. Right Foot
3. Camera 13. Left Foot
4. Camera Status Light 14. SD-Card Slot
5. Volume Control Buttons (2) 15. Security Cable Clot
6. Left Speaker 16. Right Speaker
7. Headphone Socket 17. Power Button
8. USB 3.0 Ports (2) 18. Power/Battery Status Light
9. Power Adapter Port 19. Regulatory Label
10. Windows Button (may be covered by camera) 20. Service Tag Label
Page 5
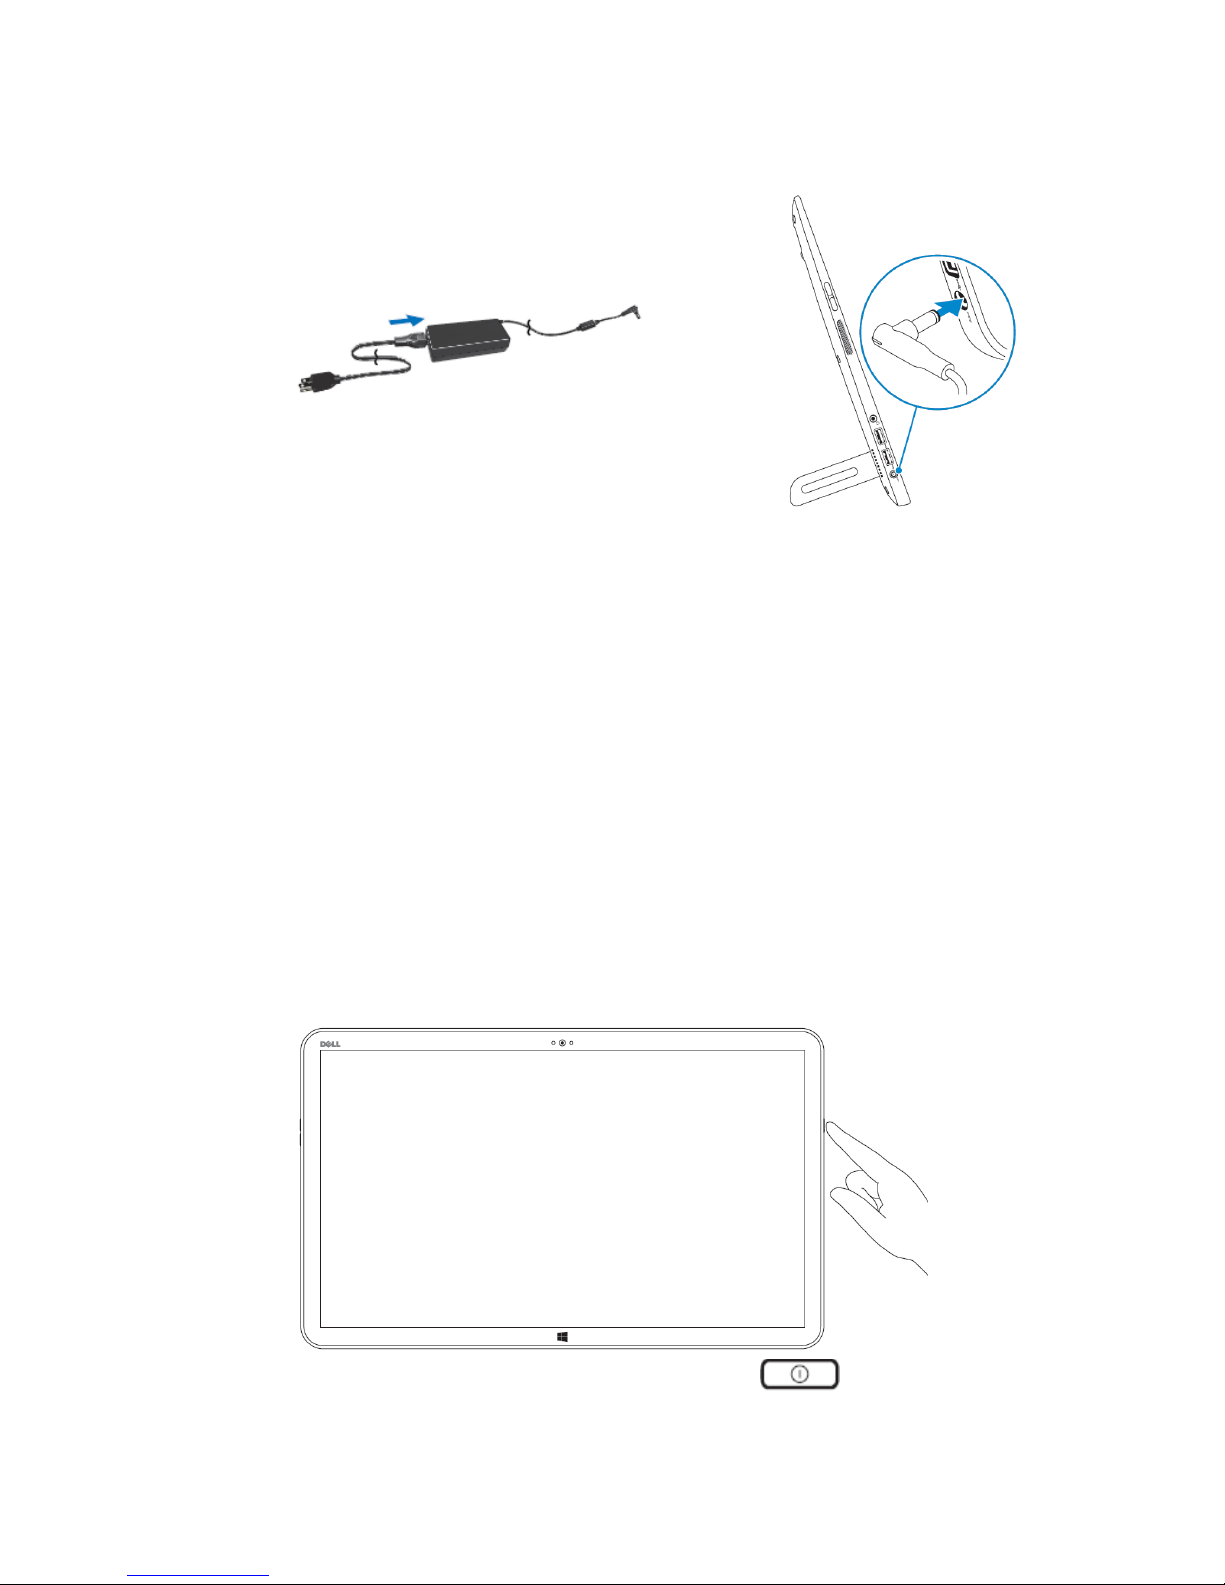
Connecting the Power Cable to the Computer
1. Connect the power adapter to the computer as shown in the diagram above.
2. Connect the power adapter to an electrical socket until the computer is fully charged. The
battery charge light on the right side of the computer will turn off once the battery is fully
charged.
Batteries and Power
The batteries can last up to 5 hours on a charge under light use. A completely discharged battery
can take up to 4-5 hours to fully charge whilst the computer is off.
As we are not able to control the way that the computer is used, we cannot guarantee the battery
life.
Turning the Computer on and off
To turn on the computer press and release the Power/Wake Button
Press the button again to put the computer in Sleep mode or shut down through Windows.
Page 6
Mounting the SB18
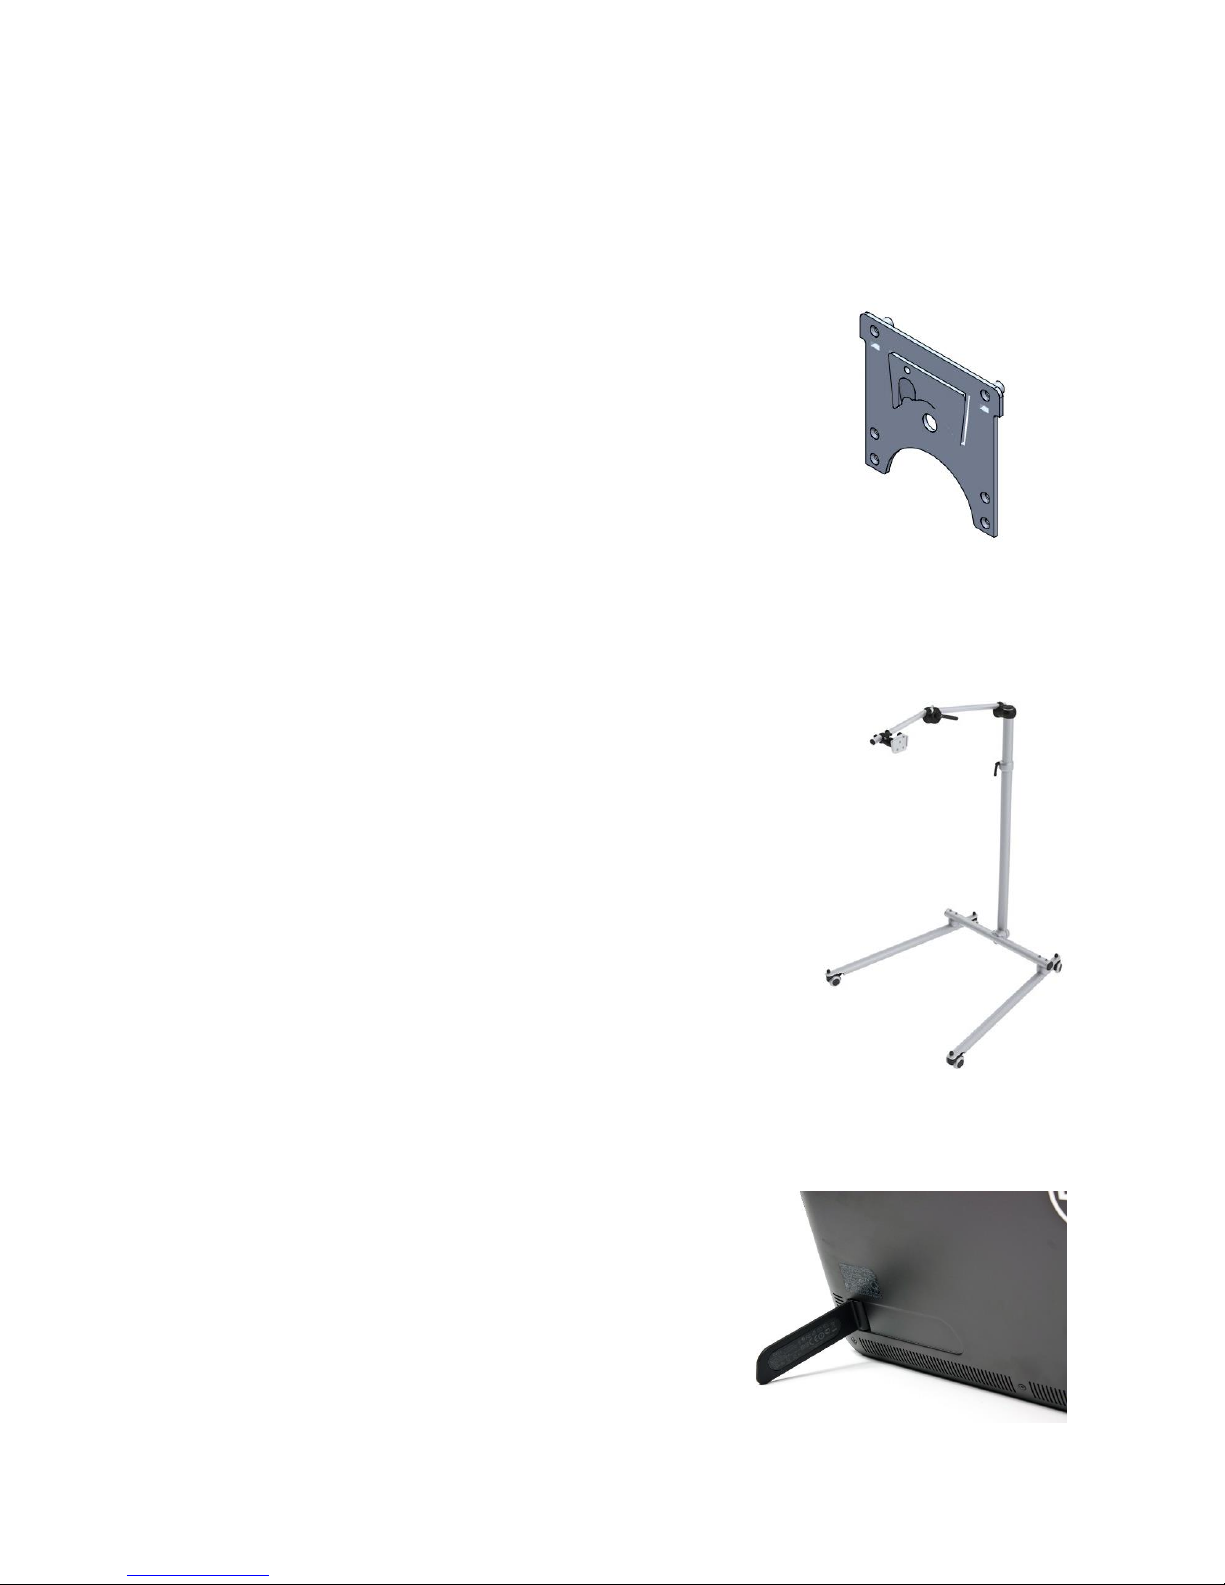
The SB18 Classroom Tablet is fitted with a mounting plate, designed to work with Daessy and
REHAdapt mounting systems.
Mounting Safety
It is important to make sure you mount the device safely. Failure to do so
could cause damage to the device or injury to the user. Please read the
safety information that will come with the mounting equipment you use.
The SB18 is supplied with a special dual mounting plate, as shown in the
picture.
Floorstand Mounting
It is likely you will be using a floor stand similar to the one in the picture.
Please refer to the manufacturer’s documentation for assembly and
attaching to the SB18 Mounting Plate.
Be careful when adjusting the floor stand. It is advisable to remove the
device from the stand before you make any adjustments.
Flip out stand
You can use the SB18 on any desk or table. Simply flip out the
legs from the back of the device.
It is not particularly stable so be careful if using the touch
screen.
Page 7
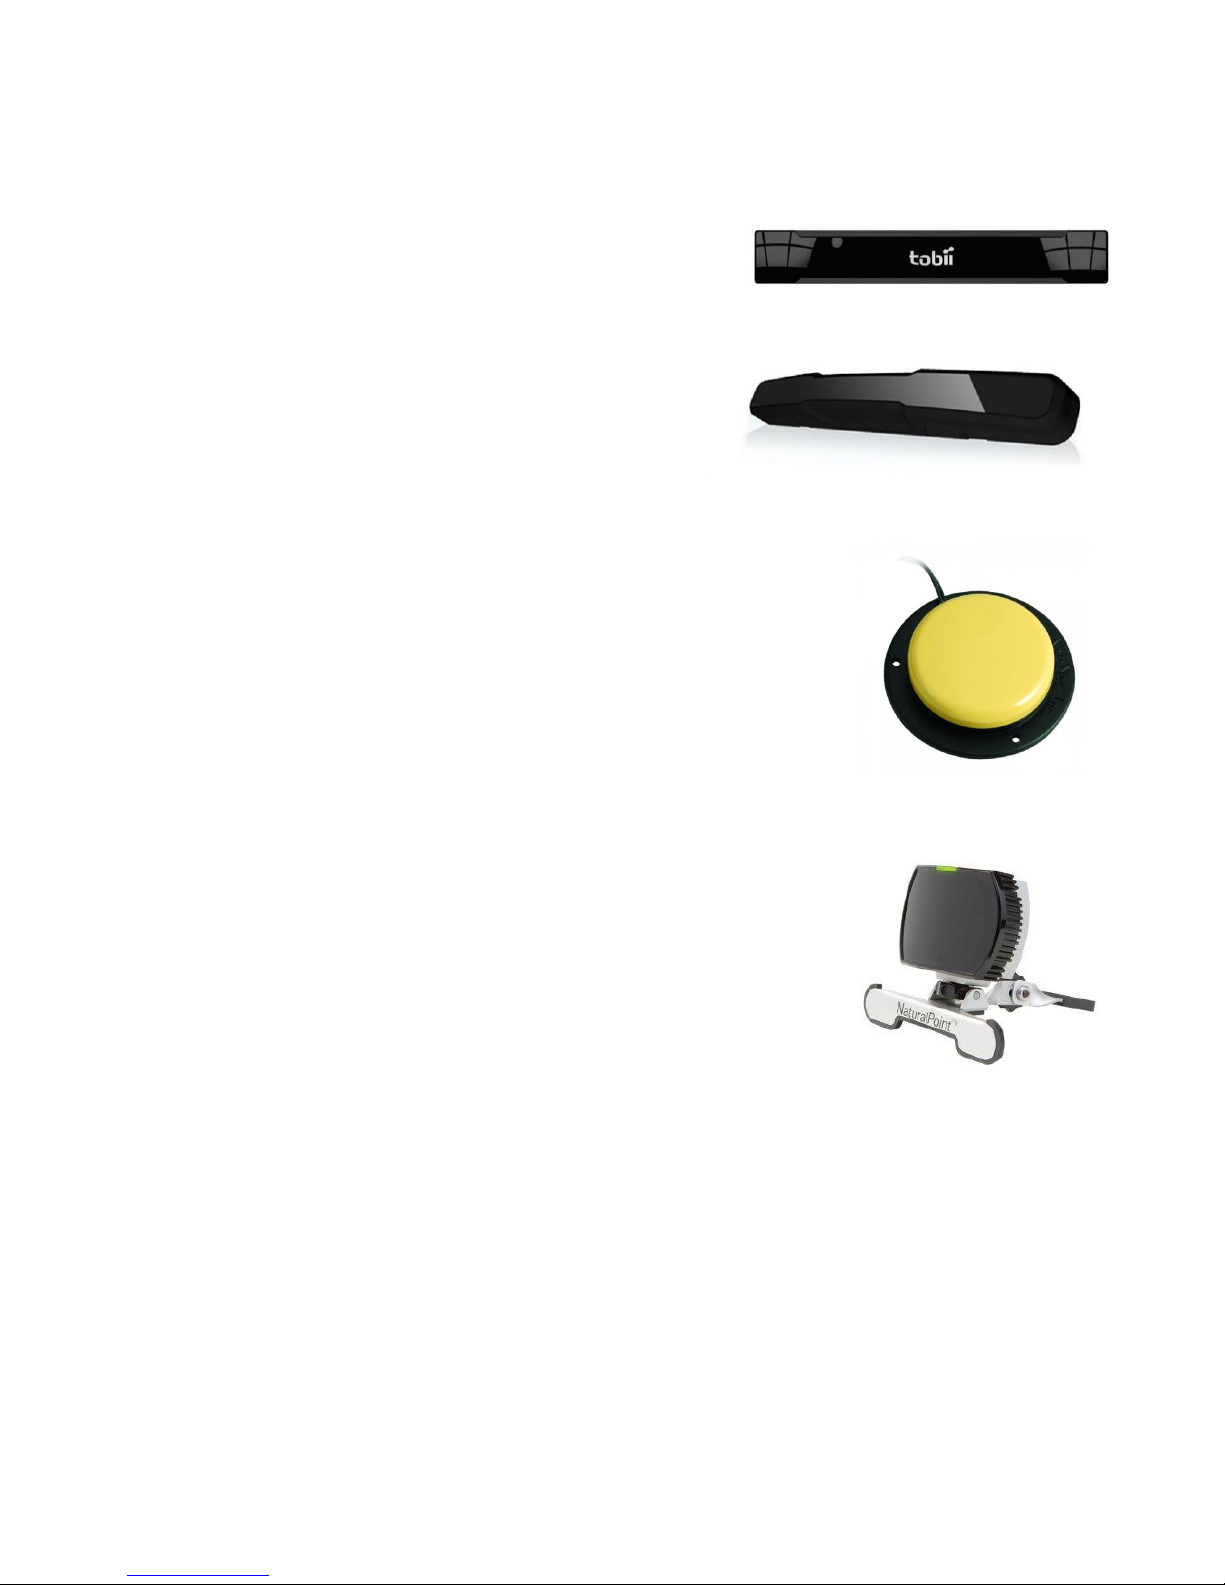
Connecting an Eye Tracker
It is likely that your SB18 Device has been supplied with an eye
tracker such as the Tobii PCEye Go or MyGaze.
To attach the eye tracker to the SB18 please place the camera
onto the magnetic mounting strip on the front on the SB18 and
then connect the USB cable to one of the spare USB Ports.
For help with setting up the eye tracker please refer to the
Smartbox Support Team or eye gaze camera
manufacturer’s handbook.
Switch input
There are 2 switch ports available on the SB18. Simply plug your switches
into the ports marked 1 and 2. The Grid 2 uses switch port 1 as the primary
switch input.
It is also possible to use a wireless switch transmitter with the SB18. If you
have purchased this from Smartbox it will already be paired with the device
and you simply plug in your switches to get started.
Other USB input
You can use any other USB input device with the SB18, including joysticks and
SmartNAV. Simply plug into one of the spare USB ports and install any drivers
provided by the manufacturer.
There are adjustable settings for all kinds of alternative input in The Grid 2.
Environment Control Overview
There are two types of environment controller included in the SB18.
Infrared
Infrared environment control can be trained to work with most household devices that have an
infrared remote control. This typically includes TVs and video systems, music centres and anything
else that comes supplied with an infrared remote controller.
Radio Control
The SB18 also contains a radio receiver that can be used to control a range of accessories supplied
by Smartbox. These include mains sockets and alarms.
Please refer to the Servus Manual for more details on setting up environment control.
Page 8
Need More Help?
You can find many helpful hints for The Grid 2 on our Website
www.smartboxat.com
Or you can contact our friendly support team:
+44(0)1684 578
Smart House
4a Court Road
Malvern
Worcestershire
WR14 3BL, UK
Tel: +44(0)1684 578868
Fax: +44(0)1684 897753
Email: [email protected]
Web: www.smartboxat.com
Statement of compliance
This apparatus complies with the requirements of directive 93/42/EEC
concerning medical devices.
This Product is subject to Directive 2002/96/EC of the European Parliament and the Council of
the European Union on waste electrical and electronic equipment (WEEE), and should not be disposed of
as unsorted municipal waste. Please utilize your local WEEE collection facilities in the disposition of this
product.
 Loading...