

Smart Band QW18 User Manual
Smart Band User Guide
Instruction
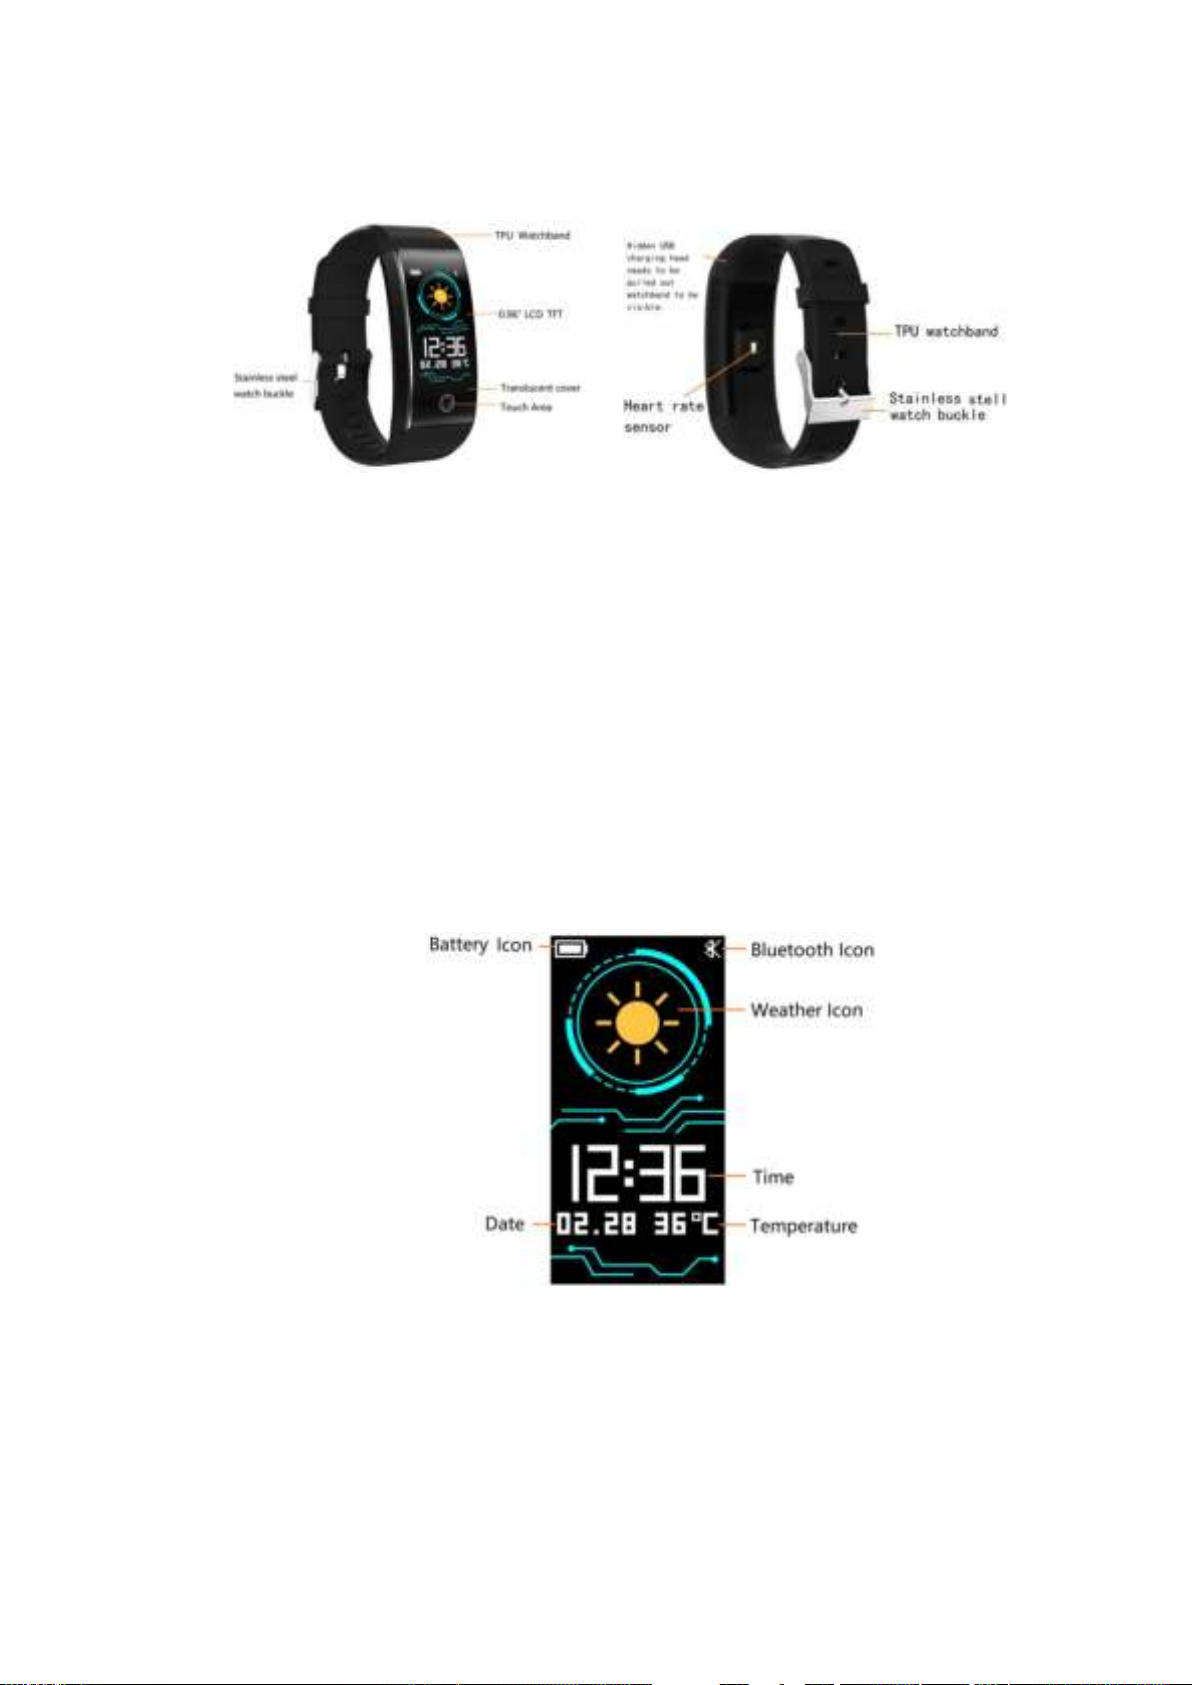
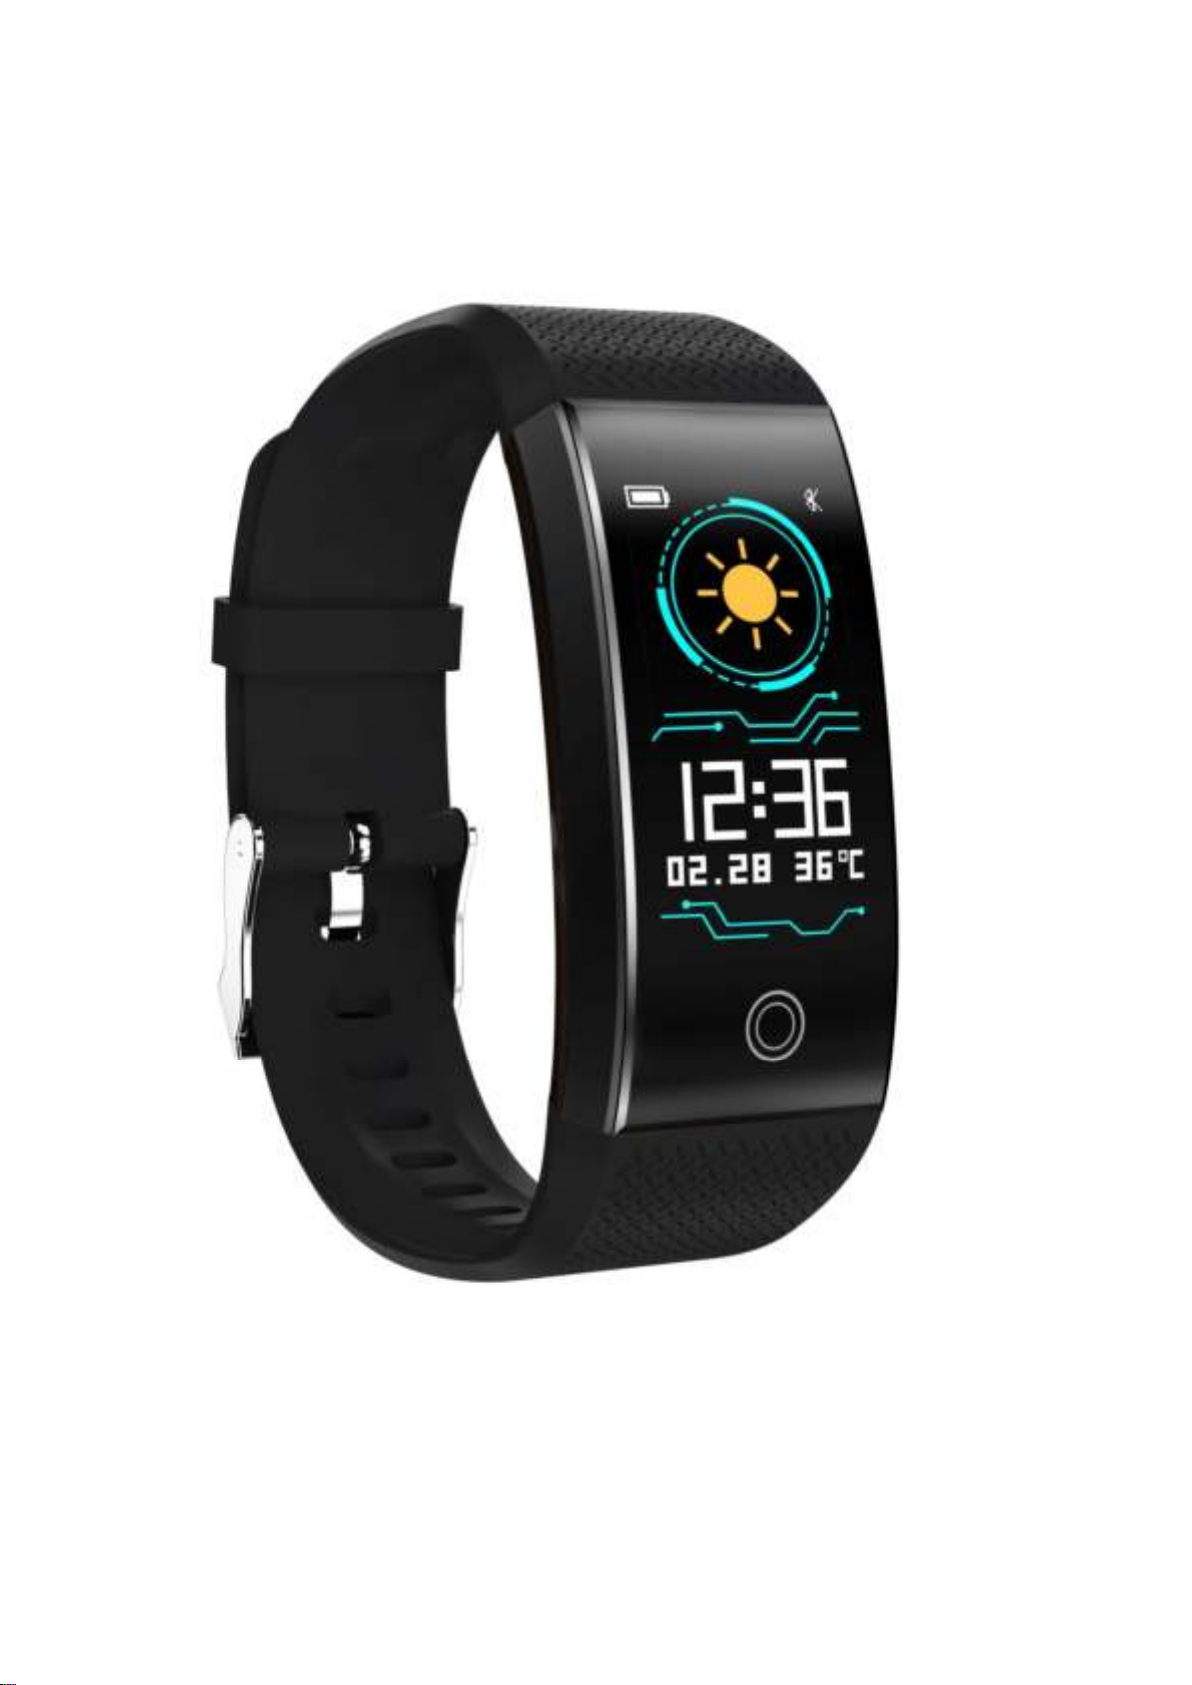
1. Basic Layout
2. Charging the Device
Please charge the device before use the smart bracelet. The machine adopts USB
charging, and it needs to pull out the watchband with buckle said, expose the
charging head, and then insert the charging head in the correct direction into
the USB charger or computer USB port.
Charger: Voltage 5V
Charge time: about1.5-2 hours
3. Function
3.1 Main interface
After the device has been connected via Bluetooth successful with your
phone, the time will auto synchronize correctly with your phone.
3.2 Pedometer / Distance/ Calories
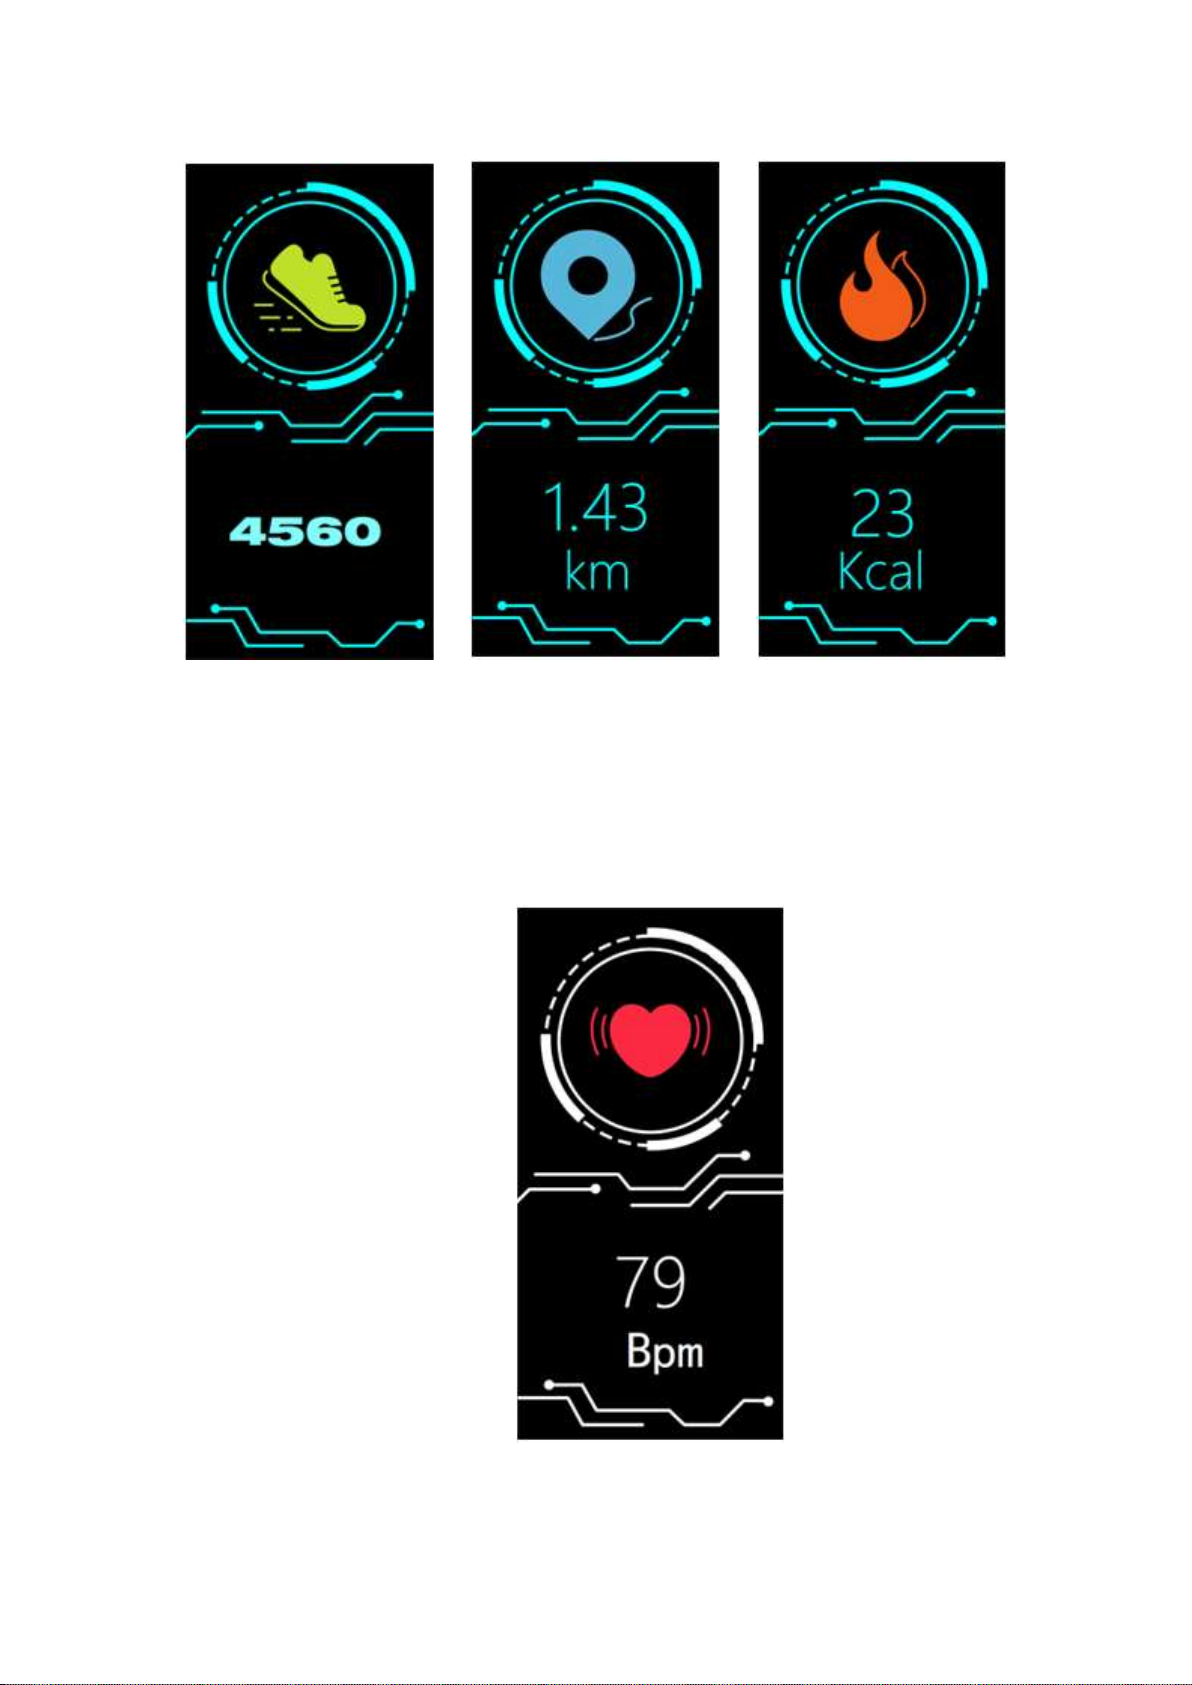
3.3 Heart Rate Monitor
Cycle through to the heart rate page then get start, and the heart rate
icon will flicker, it will be better to wear the smart bracelet on your
left hand, 1.5cm after styloid process of the ulna, and please make sure
the heart rate sensor close to your skin. On App there will show your
heart rate data every 30 minutes tested or others you sets by device
automatically.
3.4 Blood Pressure Monitor
Pressing the touch button turns to the blood pressure screen get start. And the
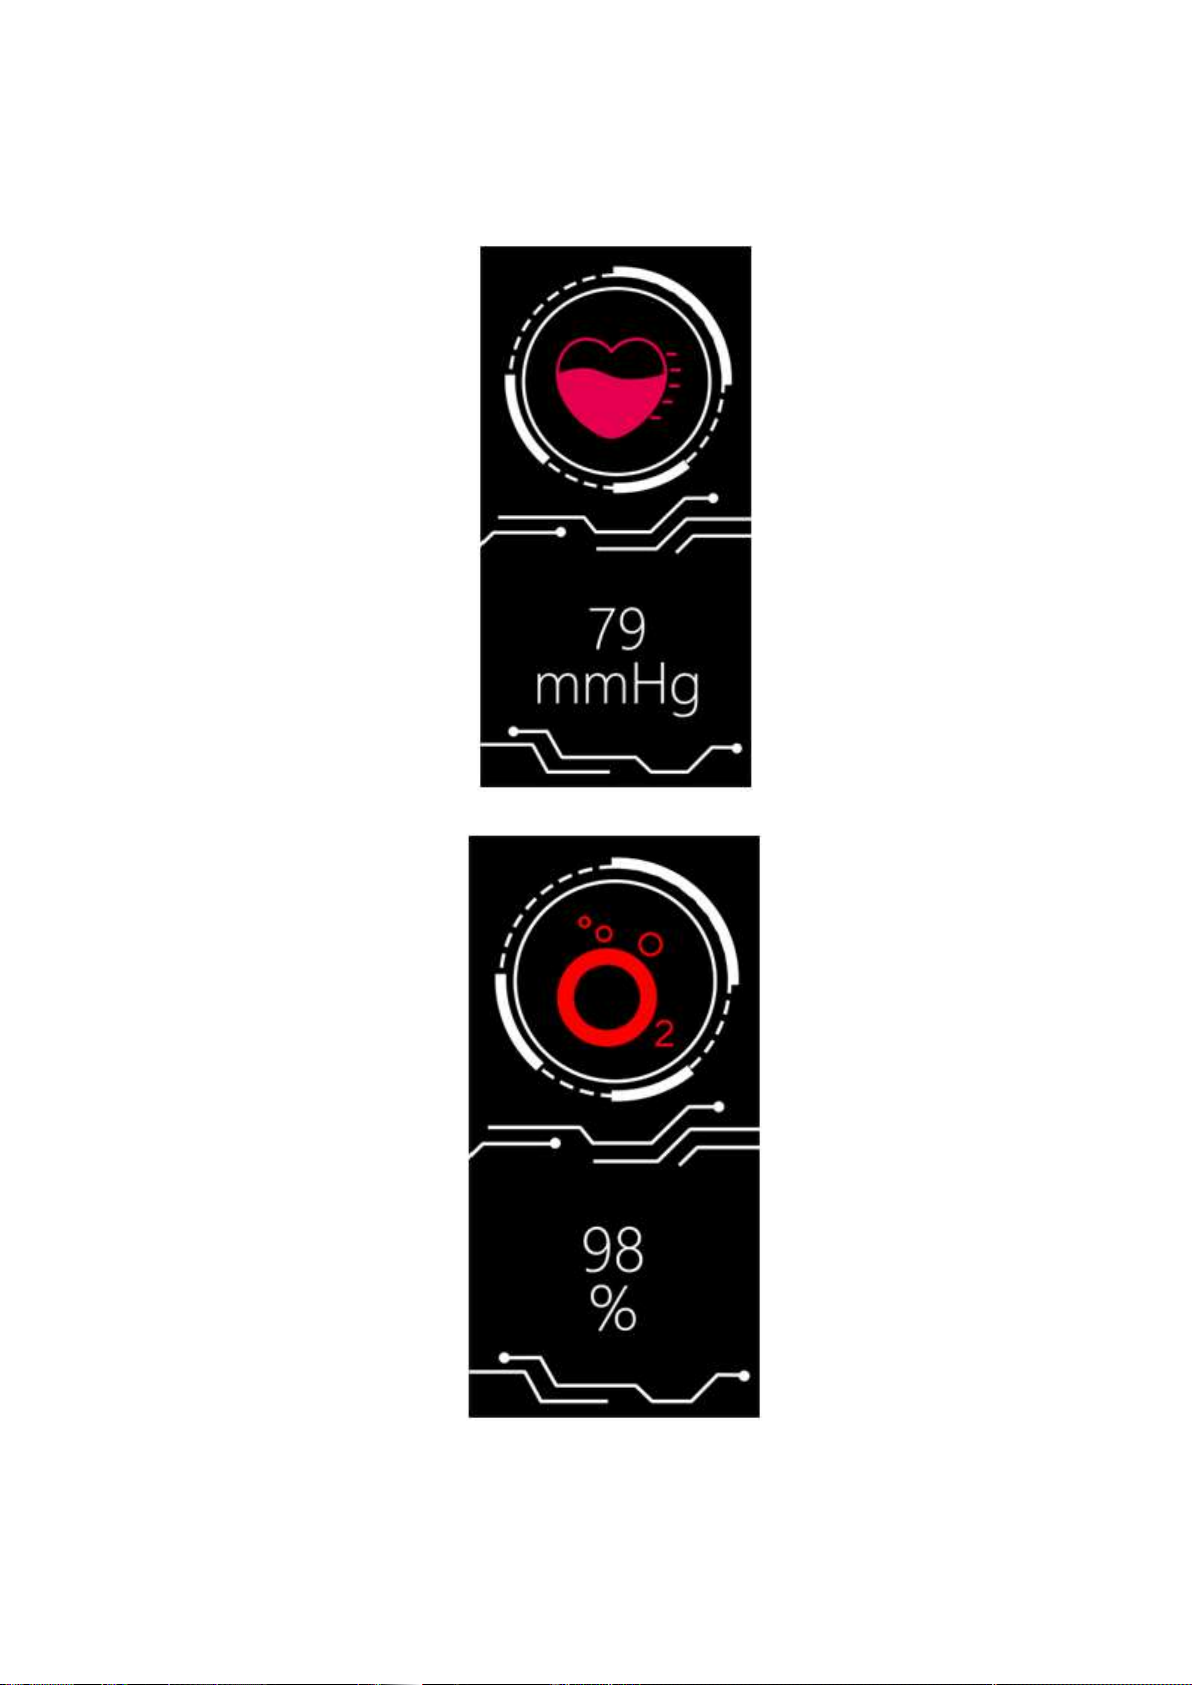
icon will flicker (please stay still when test the blood pressure) if you need
save the data of test result, please operate this function by APP. Manual start
this function on the device the data will not save on the APP
SpO2 Monitor
3.4
3.5 Sleeping Monitor
Device will monitor sleeping data automatically, please check the
 Loading...