

Page 1
Technical Specications
DVI-D VIDEO
Format DVI-D Single Line
Maximum Pixel Clock 165 MHz
Input Interface (TX) DVI-D 29-pin (Female)
Output Interface (RX) DVI-D 29-pin (Female)
Resolution Up to 1920 x 1200 @60Hz
DDC 5 volts p-p(TTL)
Input Equalization Automatic
Input Cable Length Up to 20 ft.
Output Cable Length Up to 20 ft.
USB
Signal Type EHCI (USB 2.0) and OHCI/UHCI (USB 1.1)
Input Interface (TX) (1) USB Type B (Female)
Output Interface (RX) (4) USB Type A (Female)
AUDIO
Signal Type Stereo Unbalanced
Input Interface (TX) 3.5 mm Jack Socket (Female)
Output Interface (RX) 3.5 mm Jack Socket (Female)
RS232
Input Interface (TX) DB9 (Female)
Input Interface (RX) DB9 (Male)
Speed Up to 115 Kbps
OPTICAL
Fiber Type Duplex, multi mode
Connector Type Duplex LC
Wavelength 1310 nm/1550 nm (Dual wavelength)
Data Rate 2x2.5 Gbps (2.5 Gbps per single wavelength)
Transmission Power -5 dB Min.
Receiver Sensitivity -21 dB Max
Distance 500 m Max.
OTHER
Power External 100-240 VAC/5VDC4A @20W
Dimensions 8.5 in W x 1.85 in H x 5.375 in D
Weight 1.5 lb
Operating Temp. 0-55 °C (32-131°F)
Storage Temp. -20-85 °C (-4-185 °F)
Humidity Up to 95%
© Copyright 2012 Smart-AVI, All Rights Reserved
NOTICE
The information contained in this document
is subject to change without notice. Smart-AVI makes
no warranty of any kind with regard to this material,
including but not limited to, implied warranties of
merchantability and fitness for any particular purpose.
Smart-AVI will not be liable for errors contained herein or for
incidental or consequential damages in connection with the
furnishing, performance or use of this material.
No part of this document may be photocopied, reproduced or
translated into another language without prior written consent
from Smart-AVI.
For more information, visit www.smartavi.com.
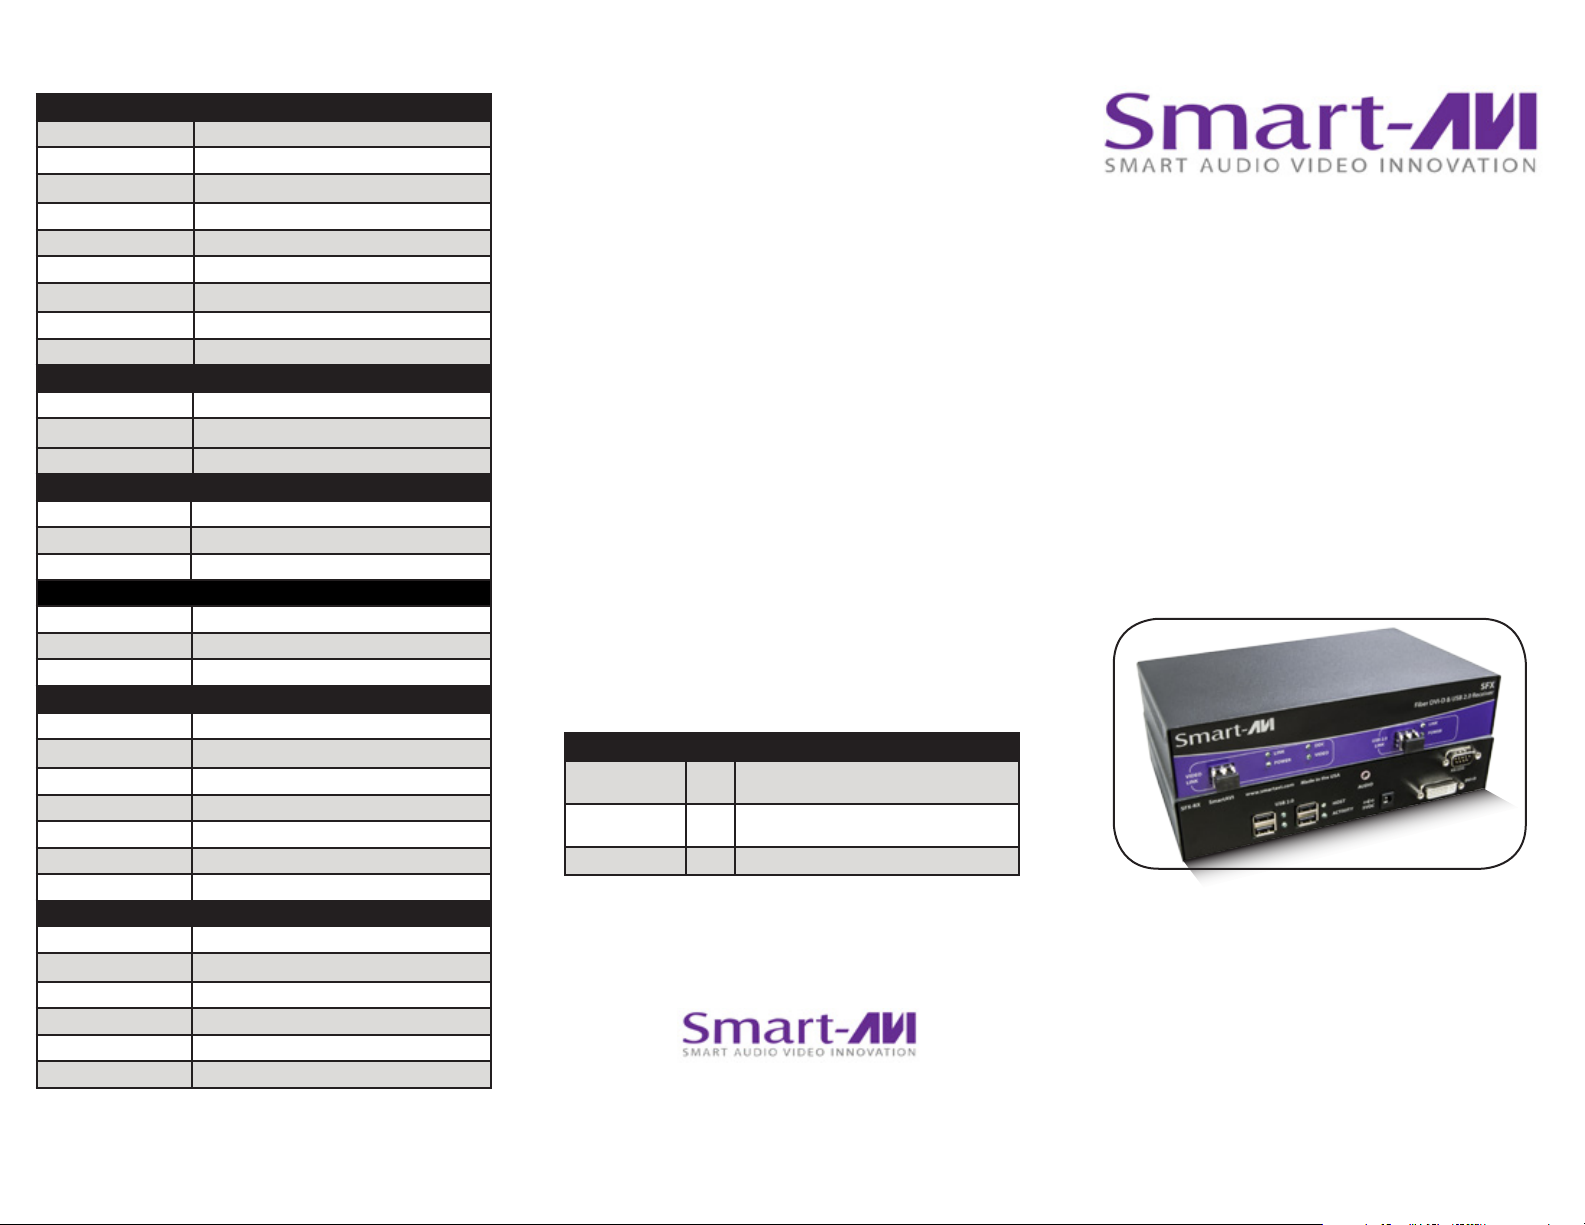
What’s in the Box?
PART NO. QTY DESCRIPTION
SFX-TX 1 DVI-D + USB2.0 + Audio + RS232 Extender
Transmitter
SFX-RX 1 DVI-D + USB2.0 + Audio + RS232 Extender
Receiver
PS5VDC4A 2 5 Volt 4 Amp Power Supply
SmartAVI, Inc. / Twitter: smartavi
11651 Vanowen St. North Hollywood, CA 91605
Tel: (818) 503-6200 Fax: (818) 503-6208
http://www.SmartAVI.com
Installation
Manual
SFX
DVI-D, USB 2.0, Audio and RS232
Fiber Extender
www.smartavi.com
Page 2
Introduction
The SFX is a perfect solution for extending DVI-D and
USB 2.0 signals from a computer in a remote location up
to 1,500 feet away. It supports high-resolution DVI-D
video and all USB device types from high-speed web
cams, hard drives, printers, scanners, audio devices,
touch screens, digital cameras and game controllers.
The SFX is immune to electromagnetic interference,
making it ideal for use in situations where there is
considerable interference. The SFX is also very secure
because it’s ber optic signals cannot be easily tapped.
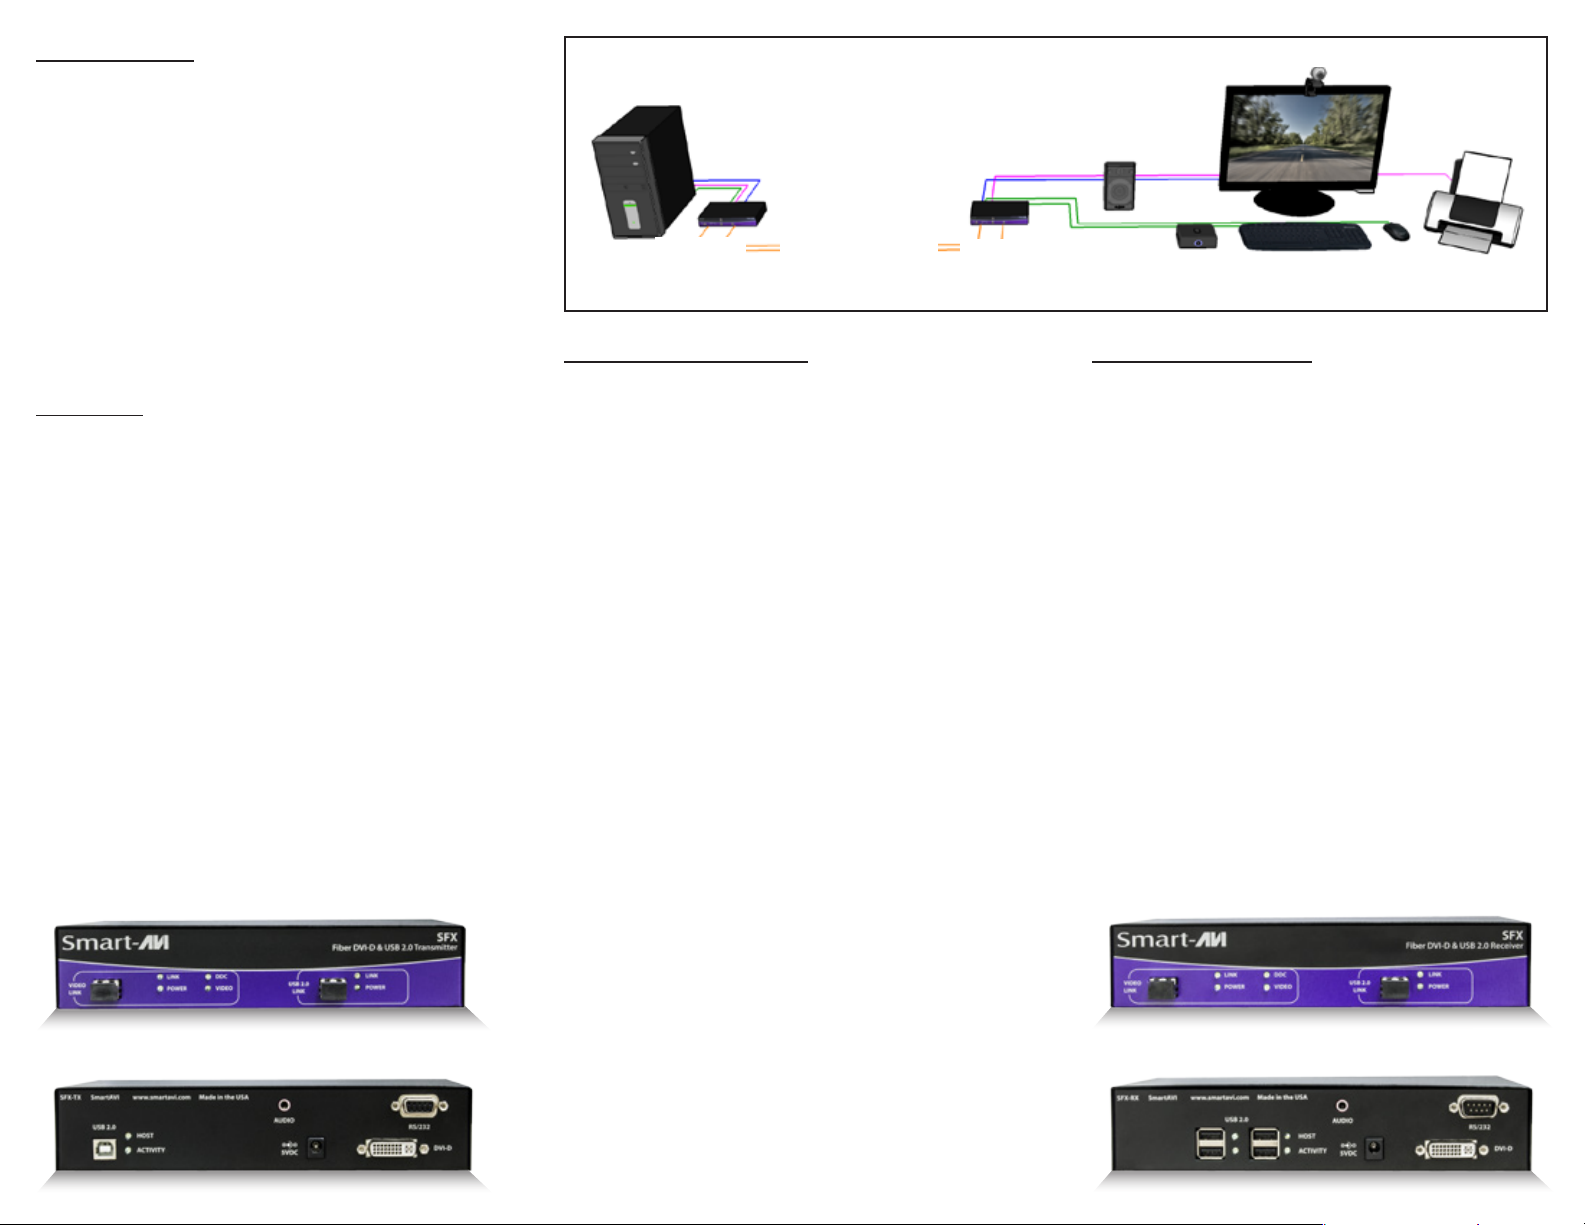
Product - Installation Diagram
Computer
SFX
Transmitter
Connecting the SFX
Up to 1,500 feet over 2
pair ber optic cables
SFX
Receiver
DVI-D Display
Stereo Speakers
USB 2.0
HARD DRIVE
Learning the DDC
USB 2.0 WEBCAM
USB 2.0 KEYBOARD
USB 2.0
MOUSE
USB 2.0
PRINTER
Features
• Top Signal Quality at Maximum Extension
Over Multimode Fiber (1,500 ft.) Plug Type LC
• DVI-D Video Resolutions up to 1920 x 1200
WUXGA at 60Hz
• Automatic Learning DDC for Mac/PC
• Supports USB 1.1 (12 Mbps) and USB 2.0 (480
Mbps) data rates
• Supports all USB device types transparently (no
emulation)from high-speed web cams, hard
drives, printers, scanners, audio devices, touch
screens, game controllers and more Integrated
Four-Port Hub in the receiver
• Compatible with all operating systems
• Extends Stereo Audio
• Extends RS-232
• Plug and play
SFX-TX Front
1. Power o all devices.
2. Connect the DVI-D source (computer) to the DVI-D
port on the SFX-TX (transmitter).
3. Connect the USB source (computer) to the USB
port on the SFX-TX (transmitter).
4. Connect an audio source (computer) to the Audio
port on the SFX-TX (transmitter).
5. Connect the RS232 source (computer) to the
RS232 port on the SFX-TX (transmitter).
6. Connect the SFX-TX (transmitter) to the SFX-RX
(receiver) using 2 ber optic cables up to 1,500
feet in length.
7. Connect a DVI-D display to the DVI-D port on the
SFX-RX (receiver).
8. Connect up to four USB 1.1 or 2.0 devices to
the integrated 4-port USB hub on the SFX-RX
(receiver).
9. Connect speakers to the audio port on the SFX-RX
(receiver).
10. Connect RS232 devices to the RS232 port on the
SFX-RX (receiver).
11. Connect the power supply to the SFX-TX and the
SFX-RX.
12. Power on the computer, display, USB devices,
speakers and RS232 devices.
1. Connect a DVI-D display to the DVI-D port on the
SFX-RX (receiver).
2. Connect the power supply to the SFX-RX
(receiver).
3. Power on the display.
4. Connect the SFX-TX (transmitter) to the SFX-RX
(receiver) using 2 ber optic cables up to 1,500
feet in length.
5. Connect the power supply to the SFX-TX
(transmitter).
6. Wait 30 seconds until the VIDEO light on the SFXTX (transmitter) begins to blink.
7. The VIDEO light will continue to blink for
approximately 10 seconds, then it will be steady
for another 10 seconds.
8. The DDC has been learned.
9. Connect the video source (computer) to the SFX-
TX and power it on.
SFX-RX Front
SFX-TX Rear
SFX-RX Rear
 Loading...