

Page 1
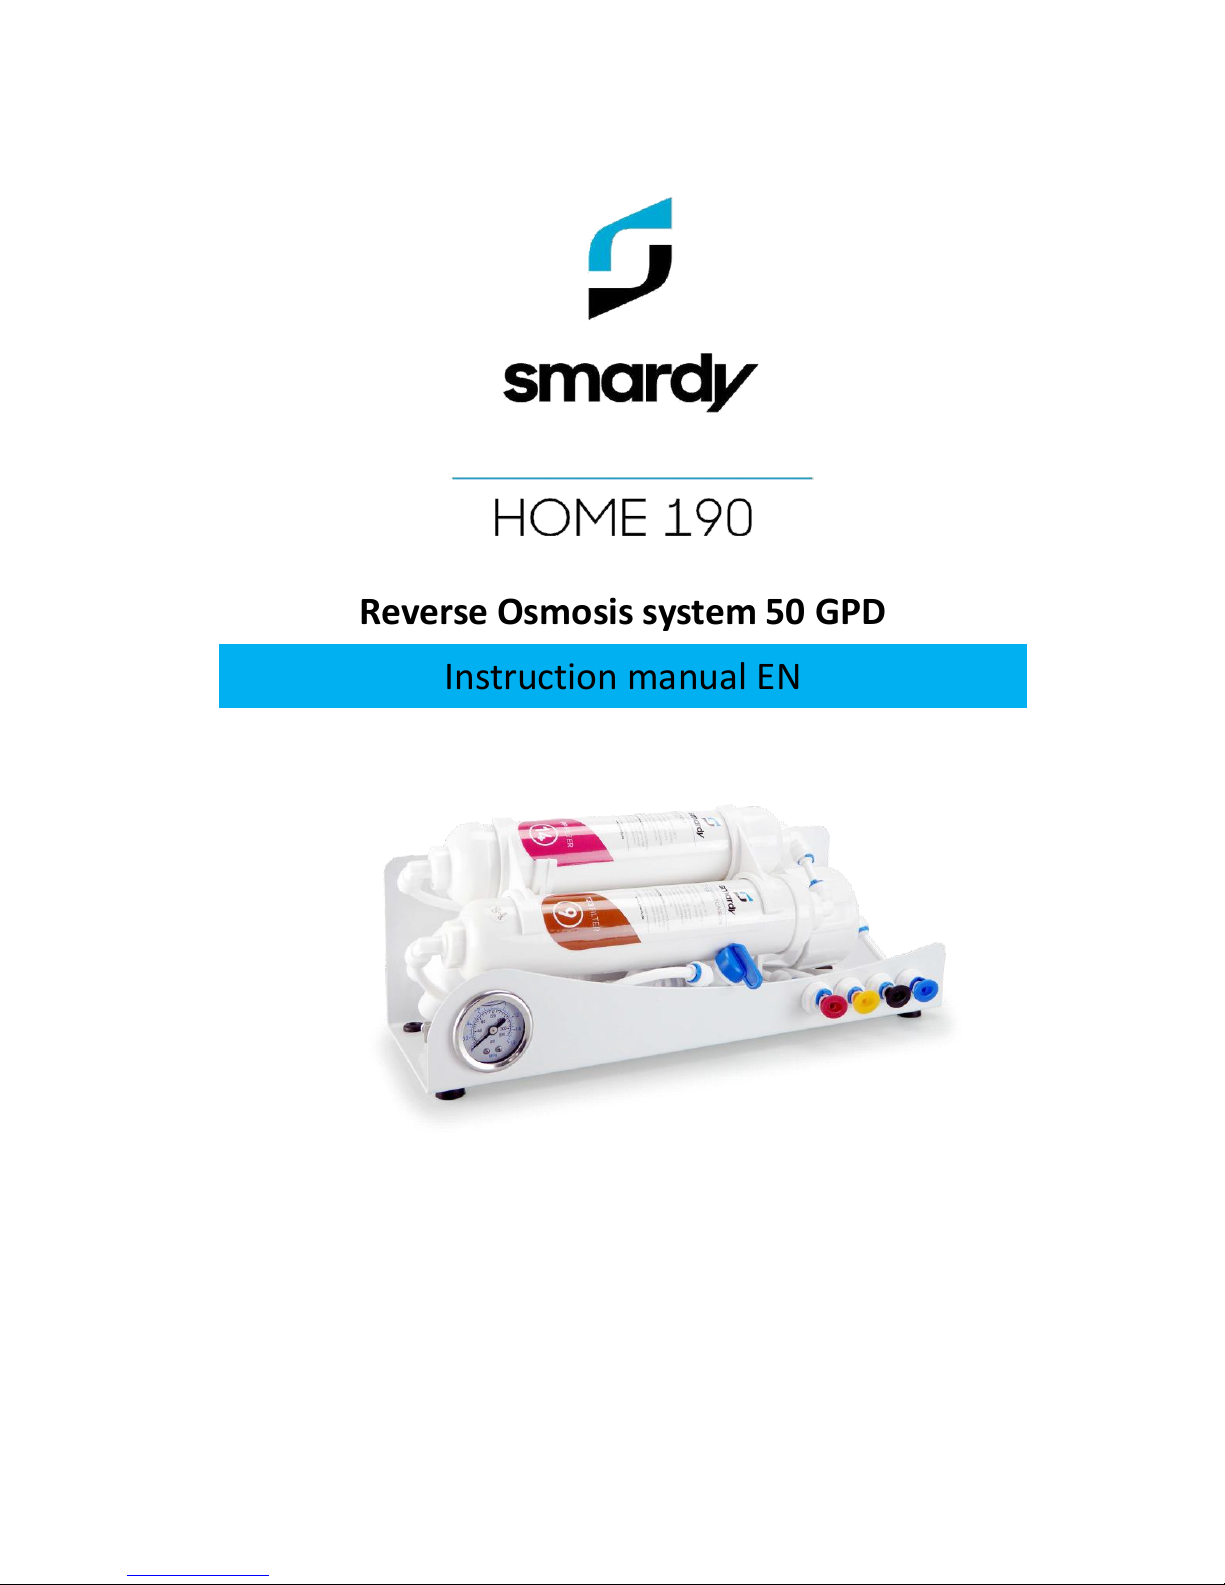
Reverse Osmosis system 50 GPD
Instruction manual EN
Page 2
Contents
1. Unpacking
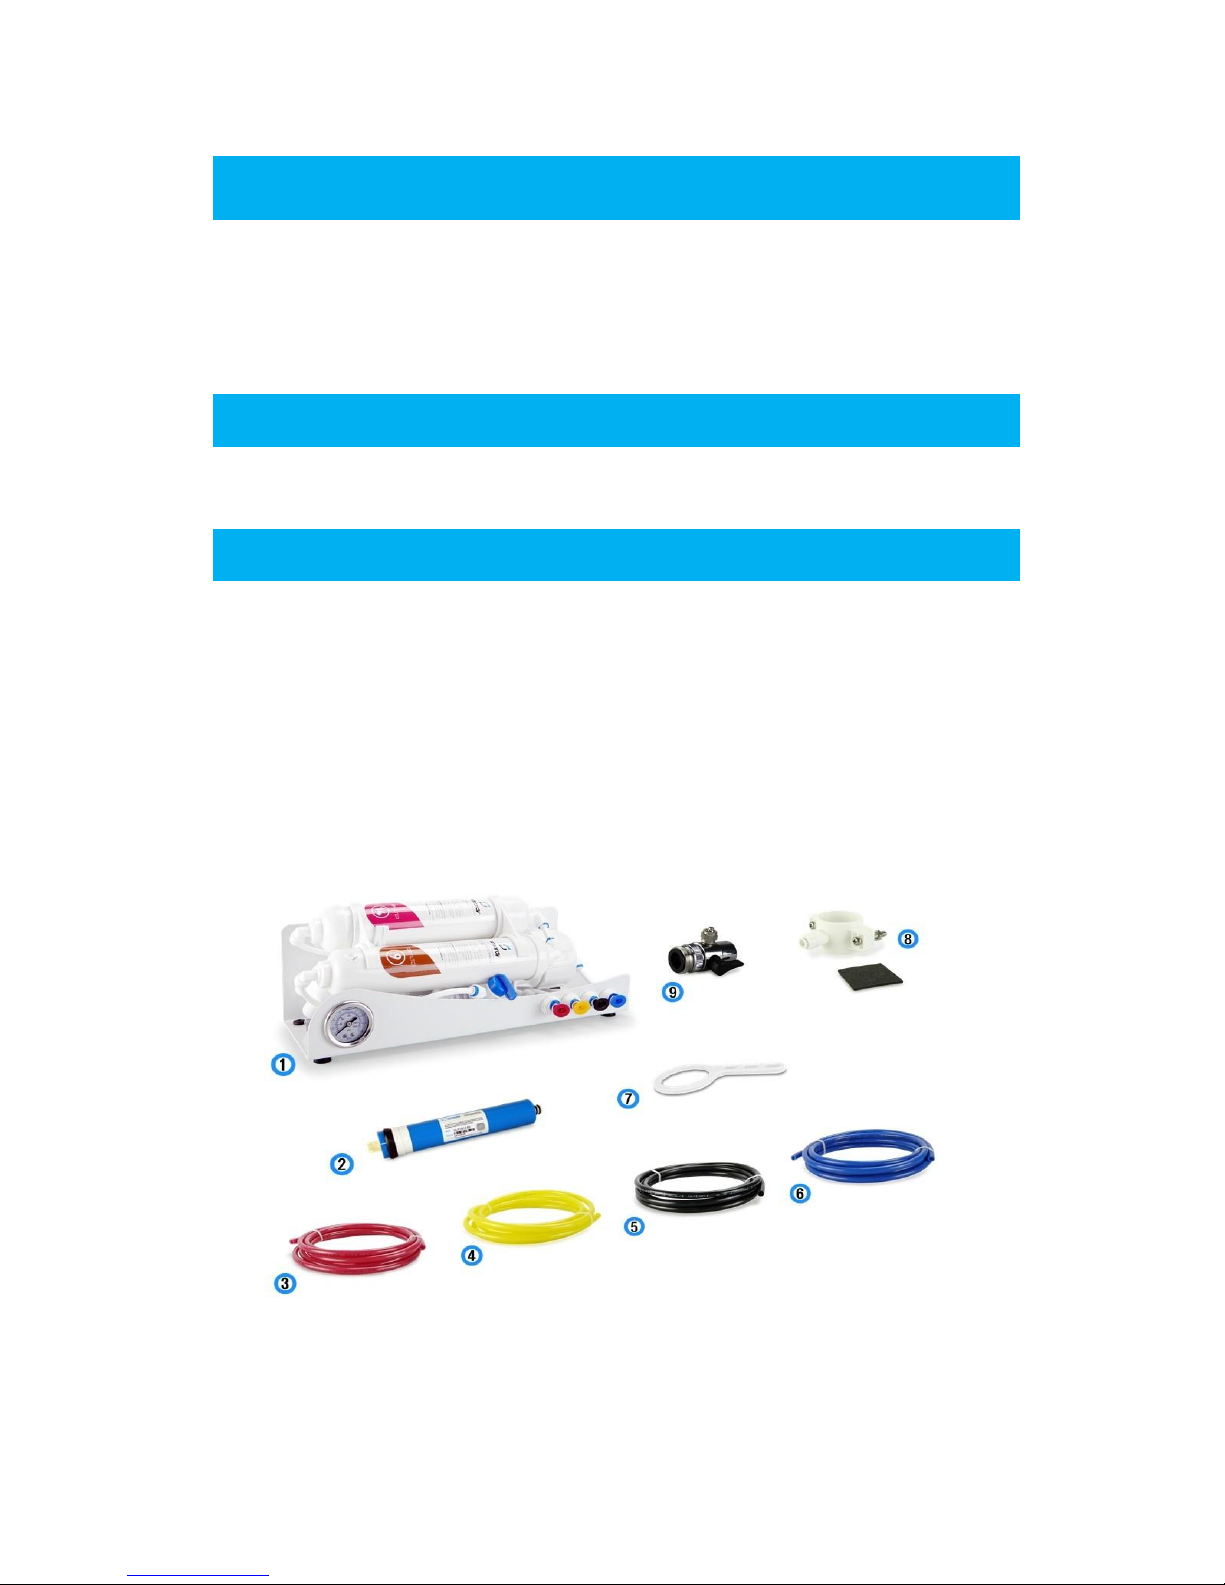
2. Scope of supply
3. Insertion of the membranes
4. Connecting the lines
5. Installation
6. First commissioning
7. Consumables
8. Technical data
9. Assembly and instructions
10. Filter change
11. Filter order
1. Unpacking
Remove all packaging material. Make sure that the reverse osmosis system does not
show any external damage.
2. Scope of supply
1. smardy reverse osmosis water filter
2. Membrane
3. Hose line water inlet
4. Hose line optional tank
5. Hose line waste water
6. Hose line osmosis water
7. Key for membrane housing
8. Clamp for waste water
9. Universal adapter with thread adapter
Page 3
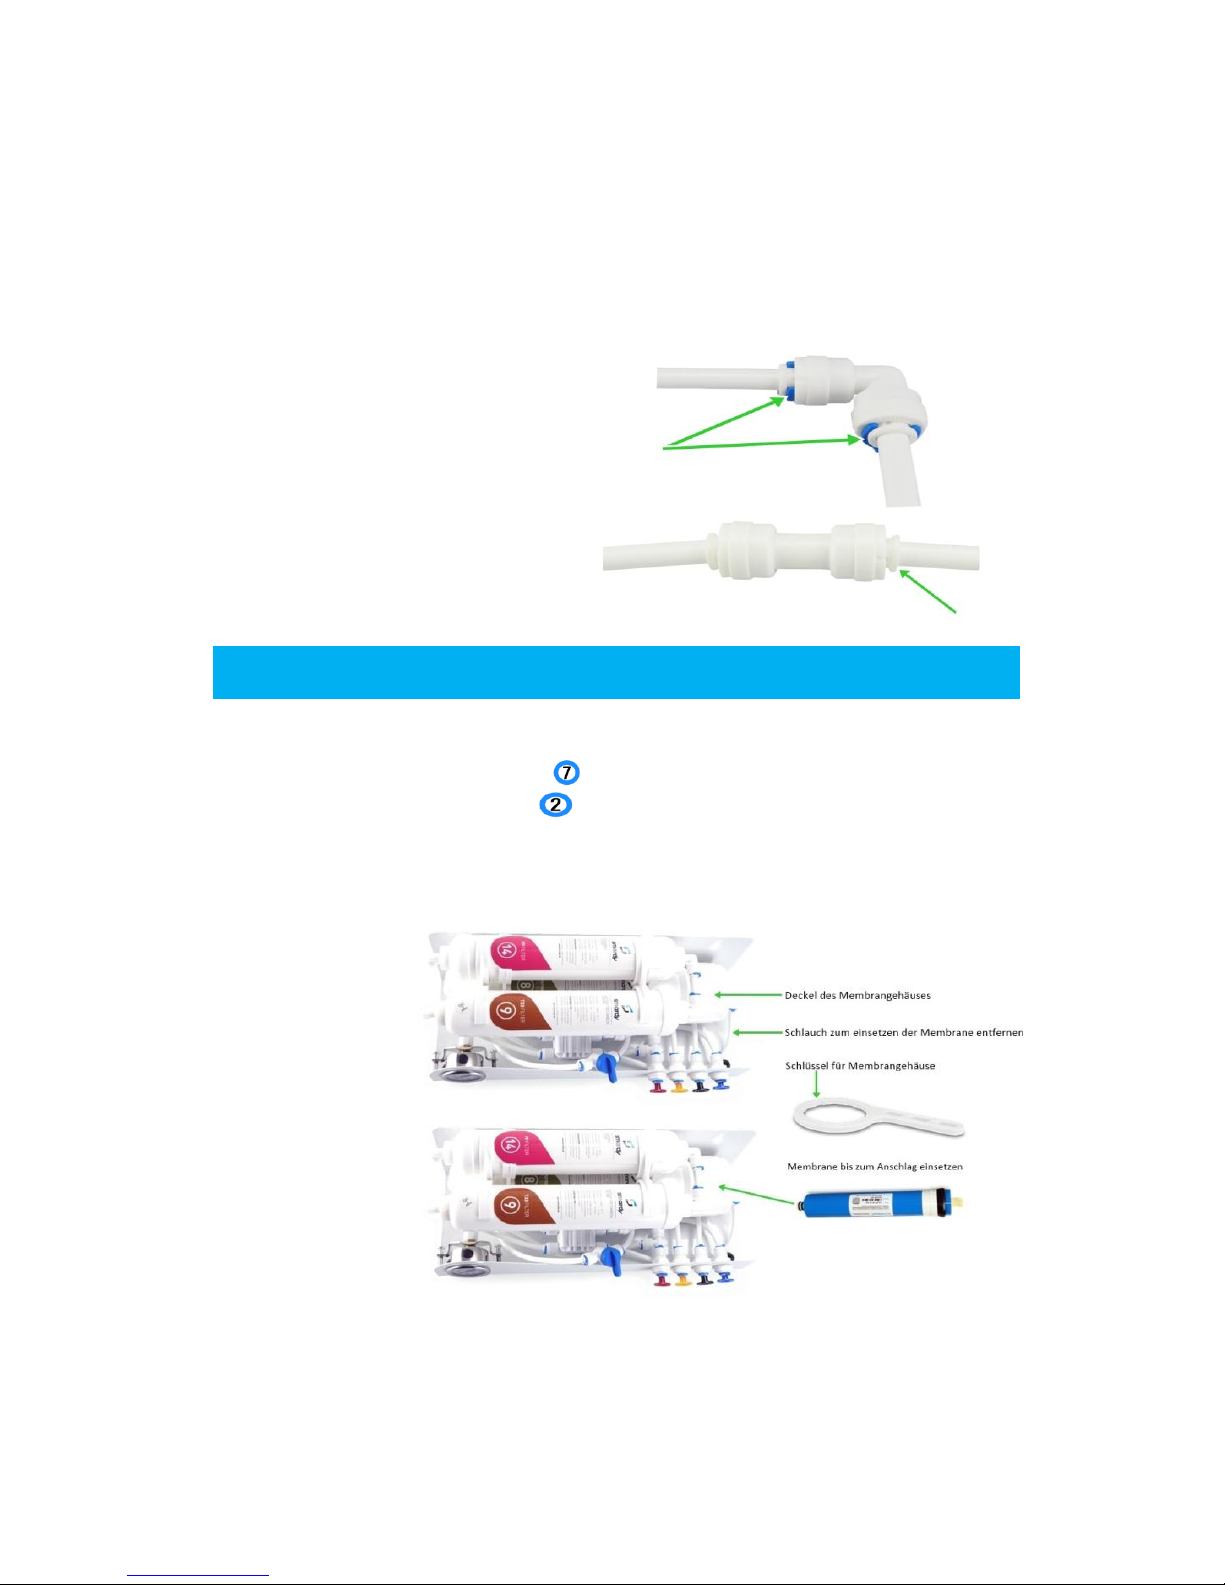
Note:
This system is equipped with plug connectors. These enable an easy and secure
connection of the hose lines. Insert the hose into the respective opening of the
connector until you notice a resistance. Only after the resistance, the hose will be
fixed in the anchor.
• In order to be able to remove the
hose again, you will first have to
remove the safety clamp
• On the connector you will see a small
white plastic ring. Push it evenly in
the direction of the connector and
simultaneously pull the hose.
3. Insertion of the membranes
• Remove the hose from the membrane housing.
• Unscrew the cover from the membrane housing.
(Tool: Key for membrane housing)
• Then first insert the membrane with the two black rubber rings
into the housing.
• Insert the membrane into the housing up to the stop.
• Srew the cover back on to the membrane housing.
• Insert the hose back into connector.
Page 4

4. Connecting the lines
• Please connect hose lines as follows:
Remove the blue retaining rings from the plug connectors at the
Water inlet Waste water and Osmosis water
• Now insert the hoses into the connectors.
• Fasten the blue retaining rings back onto the connectors
Water inlet
Optional:
Connection tank
Waste water
Osmosis water
• The scope of supply includes 4 rolls of hoses (red, yellow, black and blue), please cut
them to the appropiate length.
Page 5

5. Installation
The scope of supply contains a universal adapter. You can screw it directly onto your
water tap. In addition you remove the aerator (sieve) from your water tap and then
screw the thread adapter onto the water tap. Then screw the universal adapter onto
the thread adapter. Remove the nut from the universal adapter and put it over the
hose. Now screw the nut with the hose back onto the universal adapter.
With the black lever you can choose, whether the tap water should flow directly to
the osmosis system (position = lever upwards) or run as normal tap water (position =
lever downwards) through the universal adapter.
Water Inlet
Determine the assembly site for the waste water clamp. This one must absolutely be
positioned over the syphon bend. (the area is marked here in green)
• Drill a hole in the syphon with a 6mm drill bit.
• Stick the foam seal around the drilled hole.
• Fasten the clamp (tighten both screws uniformly).
• Cut approx. 50cm off the thin hose.
• Put the nut over the hose.
• Push the hose into the opening of the clamp.
• Screw the nut and the clamp together.
• Connect the hose with the wastewater connection ❸
2. Screw in the thread adapter
1. Remove sieve
3. Screw on the universal adapter
Page 6

6. First commissioning
Before you open the water supply, please double-check all the hose lines.
These must have been laid absolutely free of kinks.
• Open the filter flush valve. It is located before the membrane.
• Open the water supply (shown here in the green circle) and check all the
connections for tightness.
• Leave the filter flush valve in an open position for approx. 10 minutes.
• Close the filter flush valve.
• Open the water tap for 5 min to flush all the lines once again.
• Subsequently you can enjoy fresh osmosis water
7. Consumables
For your system you need the following replacement filters and membranes:
item N°
Description
Change interval
N° 8
Membrane 50 GPD
Every 24 months
N° 9
Activated carbon afterfilter
Every 6 months
Daily output 190 L
N° 14
Sediment filter
Every 6 months
Just smardy original filters ensure a trouble-free functioning!!
Page 7

8. Technical data
• Dimensions: 36cm x 14cm x 12,5cm (LxWxH)
• Daily filter performance: 190 Liter
• Water purification without electricity – only 3 bar tap water pressure required
9. Assembly and instructions
• We recommend, to let an installer perform the installation. Incorrect assembly can
lead to water damage in the house!
• The connecting parts are tested and standards compliant. Should you wish to obtain
other connecting parts, you can acquire them from us, or from any installation
specialist shop.
• The installation instructions are implementing recommendations for a standard
connection. Local regulations for installation and building standards can contain
other or additional requirements.
• The executing installer is responsible for the compliance with applicable rules.
10. Filter change
Recommended change interval
N° 8 12 -24 Monate
N° 9 6 Monate
Nr° 14 6 Monate
Date:
o N° 8 VONTRON Membrane 50 GPD
o N° 9 Activated carbon afterfilter
o N° 14 Sediment filter
Date:
o N° 8 VONTRON Membrane 50 GPD
o N° 9 Activated carbon afterfilter
o N° 14 Sediment filter
Date:
o N° 8 VONTRON Membrane 50 GPD
o N° 9 Activated carbon afterfilter
o N° 14 Sediment filter
Date:
o N° 8 VONTRON Membrane 50 GPD
o N° 9 Activated carbon afterfilter
o N° 14 Sediment filter
Date:
o N° 8 VONTRON Membrane 50 GPD
o N° 9 Activated carbon afterfilter
o N° 14 Sediment filter
Page 8

11 Filter order
smardy©
Robert-Bosch-Str. 6b
86830 Schwabmünchen
Germany
info@smardy.de
Link for accessories:
https://www.amazon.co.uk/dp/B06Y139JF9
 Loading...