

SMaL Autobrite 1.3-megapixel, Autobrite User Manual
1.3-Megapixel Digital Camera
User Manual
User Manual: 1.3-Megapixel Digital Camera Page 1

Table of Contents:
Section Topic Page
1 Brief Description.............................................................................................................. 3
2 Before Using Your Camera ............................................................................................. 3
• Holding the camera correctly ............................................................................. 3
• Taking test photos............................................................................................... 3
• Identifying the parts............................................................................................ 4
3 Using Your 1.3-Megapixel Digital Camera..................................................................... 4
• Charging the battery ........................................................................................... 4
• Lithium-polymer battery tips.............................................................................. 5
• Turning on the camera........................................................................................ 5
• Understanding the LCD icons ............................................................................ 6
• Using Secure Digital (SD) memory cards .......................................................... 6
• Changing the resolution...................................................................................... 7
• Turning the sound on/off .................................................................................... 8
• Taking pictures ................................................................................................... 8
• About Autobrite® technology ............................................................................ 8
• Low light lockout................................................................................................ 9
• Deleting an image............................................................................................... 9
• Formatting internal flash memory or SD card.................................................... 9
4 Connecting the 1.3-Megapixel Digital Camera to a PC or Mac.................................... 10
• System requirements......................................................................................... 10
• Installing the software ...................................................................................... 10
• Connecting the camera to a PC or Mac ............................................................ 24
5 Using the Photo Album.................................................................................................. 31
• Opening the Photo Album ................................................................................ 31
• Downloading images from the camera............................................................. 32
• Configuring the camera .................................................................................... 36
• Changing the download directory..................................................................... 40
• Rotating images ................................................................................................ 41
• Slide Show........................................................................................................ 43
• Slide show toolbar ............................................................................................ 45
6 Troubleshooting (Digital Camera)................................................................................. 46
7 Specifications (Digital Camera)..................................................................................... 48
8 Safety Notes................................................................................................................... 49
9 Trademarks .................................................................................................................... 51
User Manual: 1.3-Megapixel Digital Camera Page 2

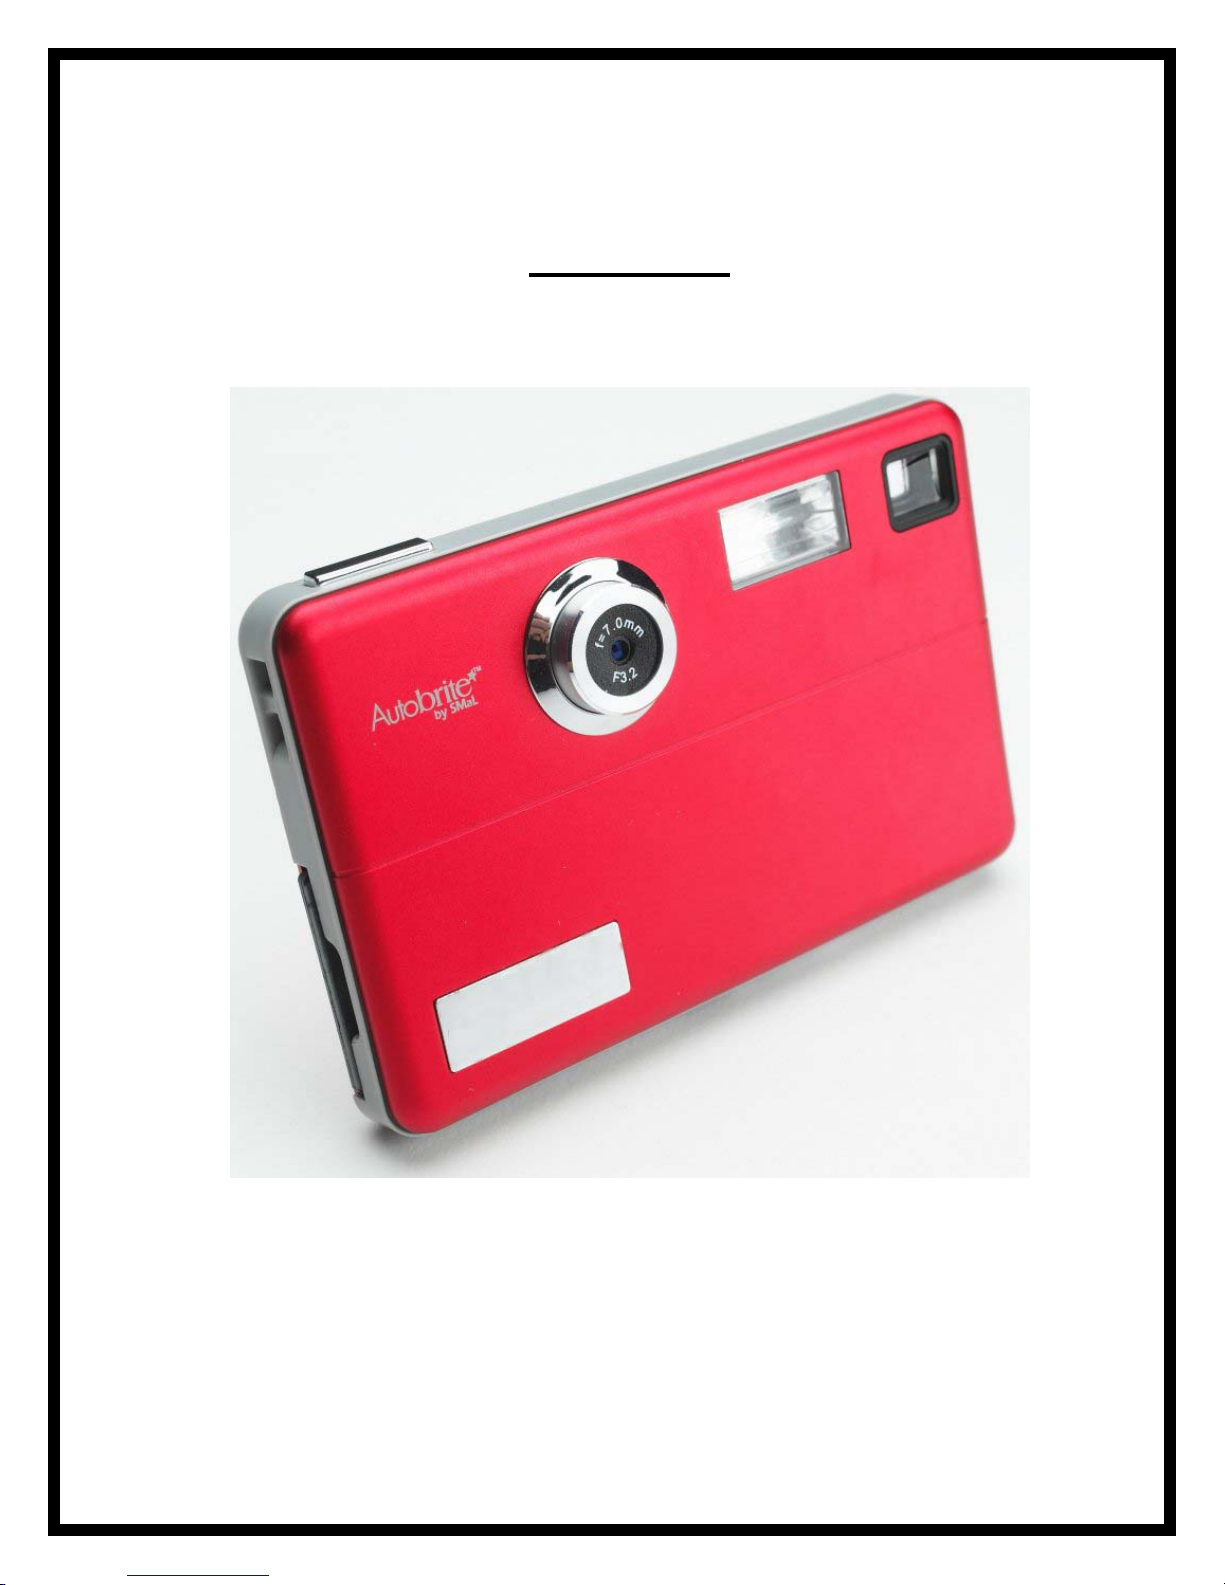
1 Brief Description
Your 1.3-Megapixel Digital Camera is roughly the size of a credit card - only 11 mm thick.
The camera’s portability and convenience are enabled by its “worry-free” rechargeable
battery, simple user interface, and easy image download when you connect the camera to a
PC or Mac with the supplied USB cable.
Package Contents
Be sure to check that the package contains all the items listed below:
Camera
USB cable
CD-ROM
User’s manual
If any items are missing, please contact the store where you purchased the camera. Keep the
camera packaging in a safe place as it will be needed if you return the camera for repairs, etc.
2 Before Using Your Camera
To ensure that you use your camera correctly, read the Safety Notes in Section 8 and the rest
of this user’s manual carefully.
Holding the camera correctly
Due to the extremely compact size and light weight of the camera, it is critical that you hold
the camera securely in order to avoid “camera shake”. The camera is particularly sensitive to
“shake” in low light environments. Taking a picture in low light requires a longer exposure
time for the image to be captured and any movement during this time might cause a blurred
image.
When taking a photo in low light conditions, the flash may trigger. Before this happens, try
to avoid gripping the camera with your fingers placed on the front face of the camera.
Instead, hold the camera on its edges so that the light of the flash does not reflect off your
finger(s) and cause lens flare.
Taking test photos
Before you capture your first images, we recommended you take some test photos to make
sure that the camera is working properly. This will also help you become comfortable
holding the camera in order to capture satisfactory images.
User Manual: 1.3-Megapixel Digital Camera Page 3

Identifying the parts
3 Using Your 1.3-Megapixel Digital Camera
Charging the battery
Long battery life is one of the key benefits of this camera compared to other digital cameras.
On a full charge, the camera will take hundreds of images with the flash or over one thousand
shots without the flash. Your camera battery has already been charged prior to shipment. So,
you should be able to take pictures without recharging it. However, just to be certain, you
may want to follow the instructions below to make sure that your camera is fully charged
before putting the camera to use.
The lithium-polymer battery used in the camera recharges automatically when the camera is
plugged into a PC or Mac via the USB cable. In order to charge the battery the first time,
first install the included software (see Installing the Software in Section 4) and then plug
the camera into your computer using the provided USB cable. When the battery is charging,
User Manual: 1.3-Megapixel Digital Camera Page 4
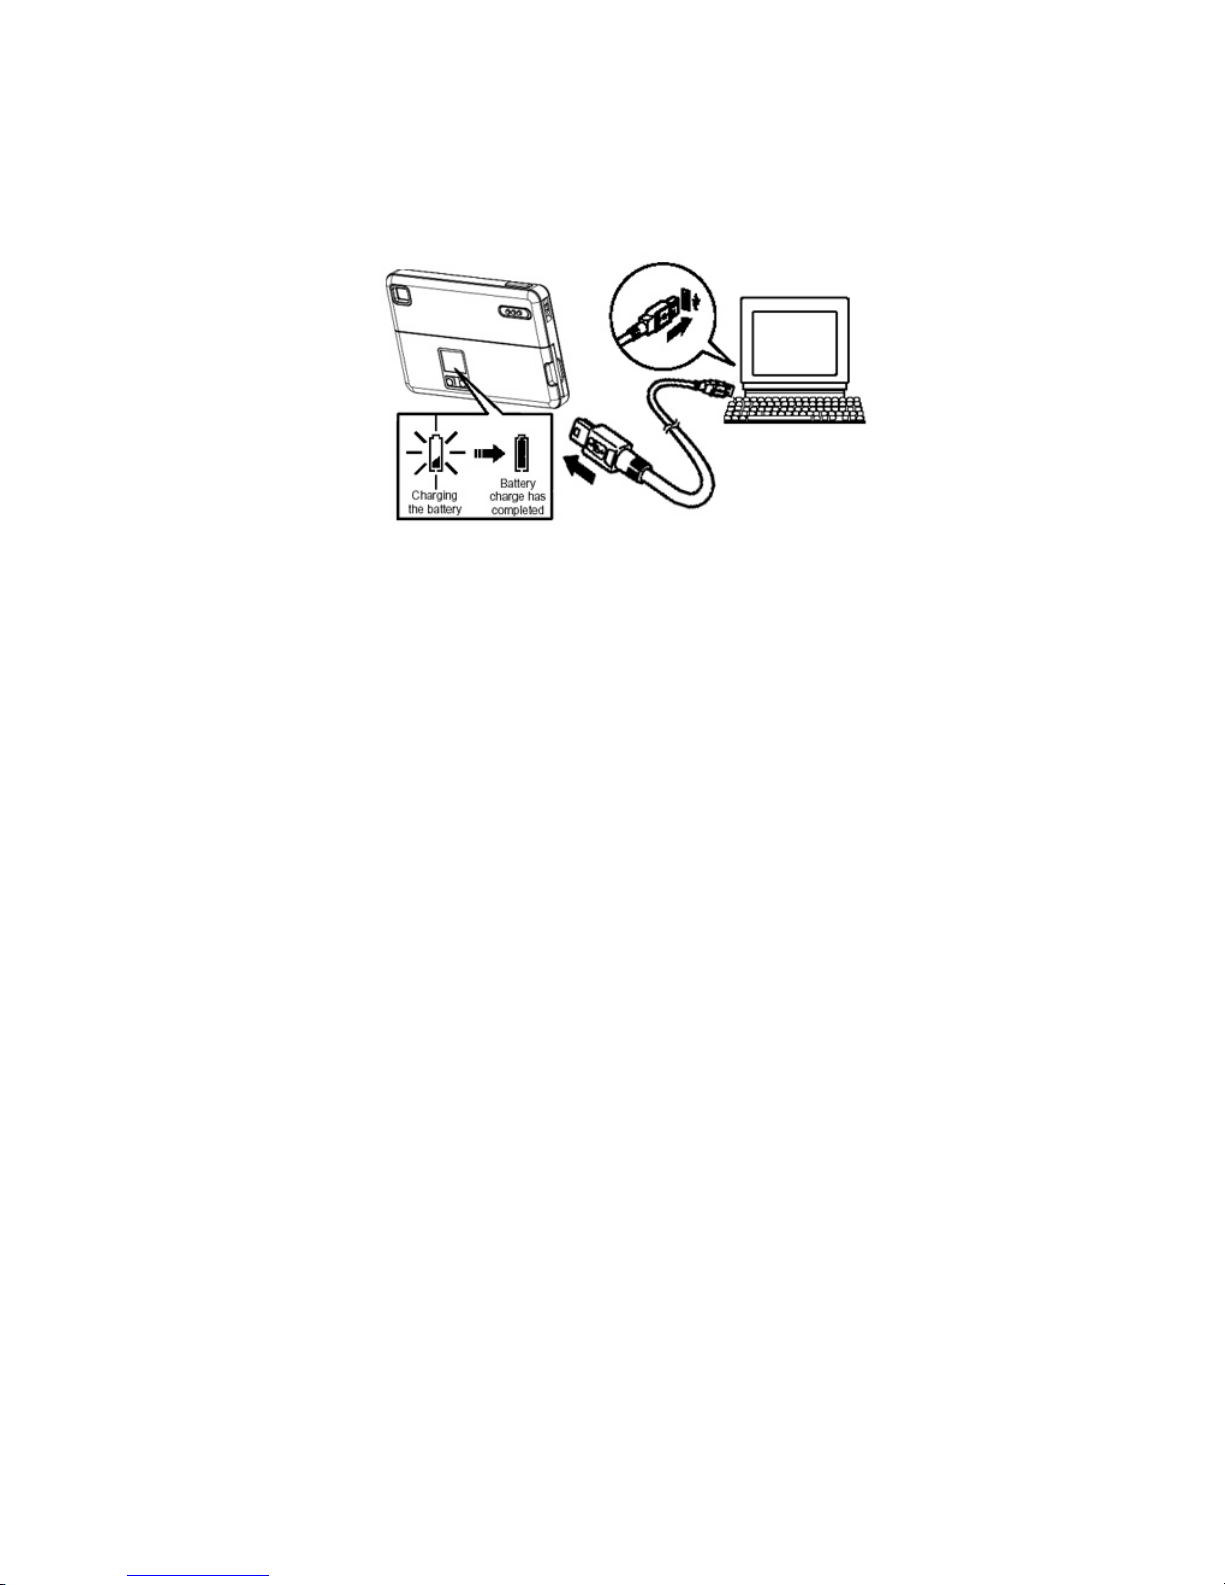
the battery life indicator will show that the battery is being charged by scrolling from 1 to 3
ticks on the battery icon. When charging is complete, the battery indicator will remain solid
with 3 ticks.
Lithium-polymer battery tips
• Safety note: Always observe the precautions described in Section 8.
• It takes approximately 3 hours to fully charge a depleted battery.
• The camera can be charged at ambient temperatures between 0°C – +40°C.
• The battery does not need to be fully discharged or exhausted before being recharged.
• Lithium-polymer batteries lose their charge even when not used. So, be sure to
charge the battery before taking pictures.
• To ensure that your battery lasts as long as possible, switch the camera off when you
are not using it.
• The number of available shots will be lower at low temperatures. You can increase
the amount of power produced by putting the camera in your pocket or another warm
place to heat it just before taking pictures. If you are using a heating pad, take care
not to place the camera directly against the pad.
Turning on the camera
Move the power switch to the “On” position to turn on the camera. The LCD will turn on
when the camera turns on.
• Note: The camera has an automatic time-out feature to conserve battery life. When
timed out, the camera will not take a photo when you push the shutter button. Press
either the “Resolution” or “Sound” button to wake up the camera.
User Manual: 1.3-Megapixel Digital Camera Page 5
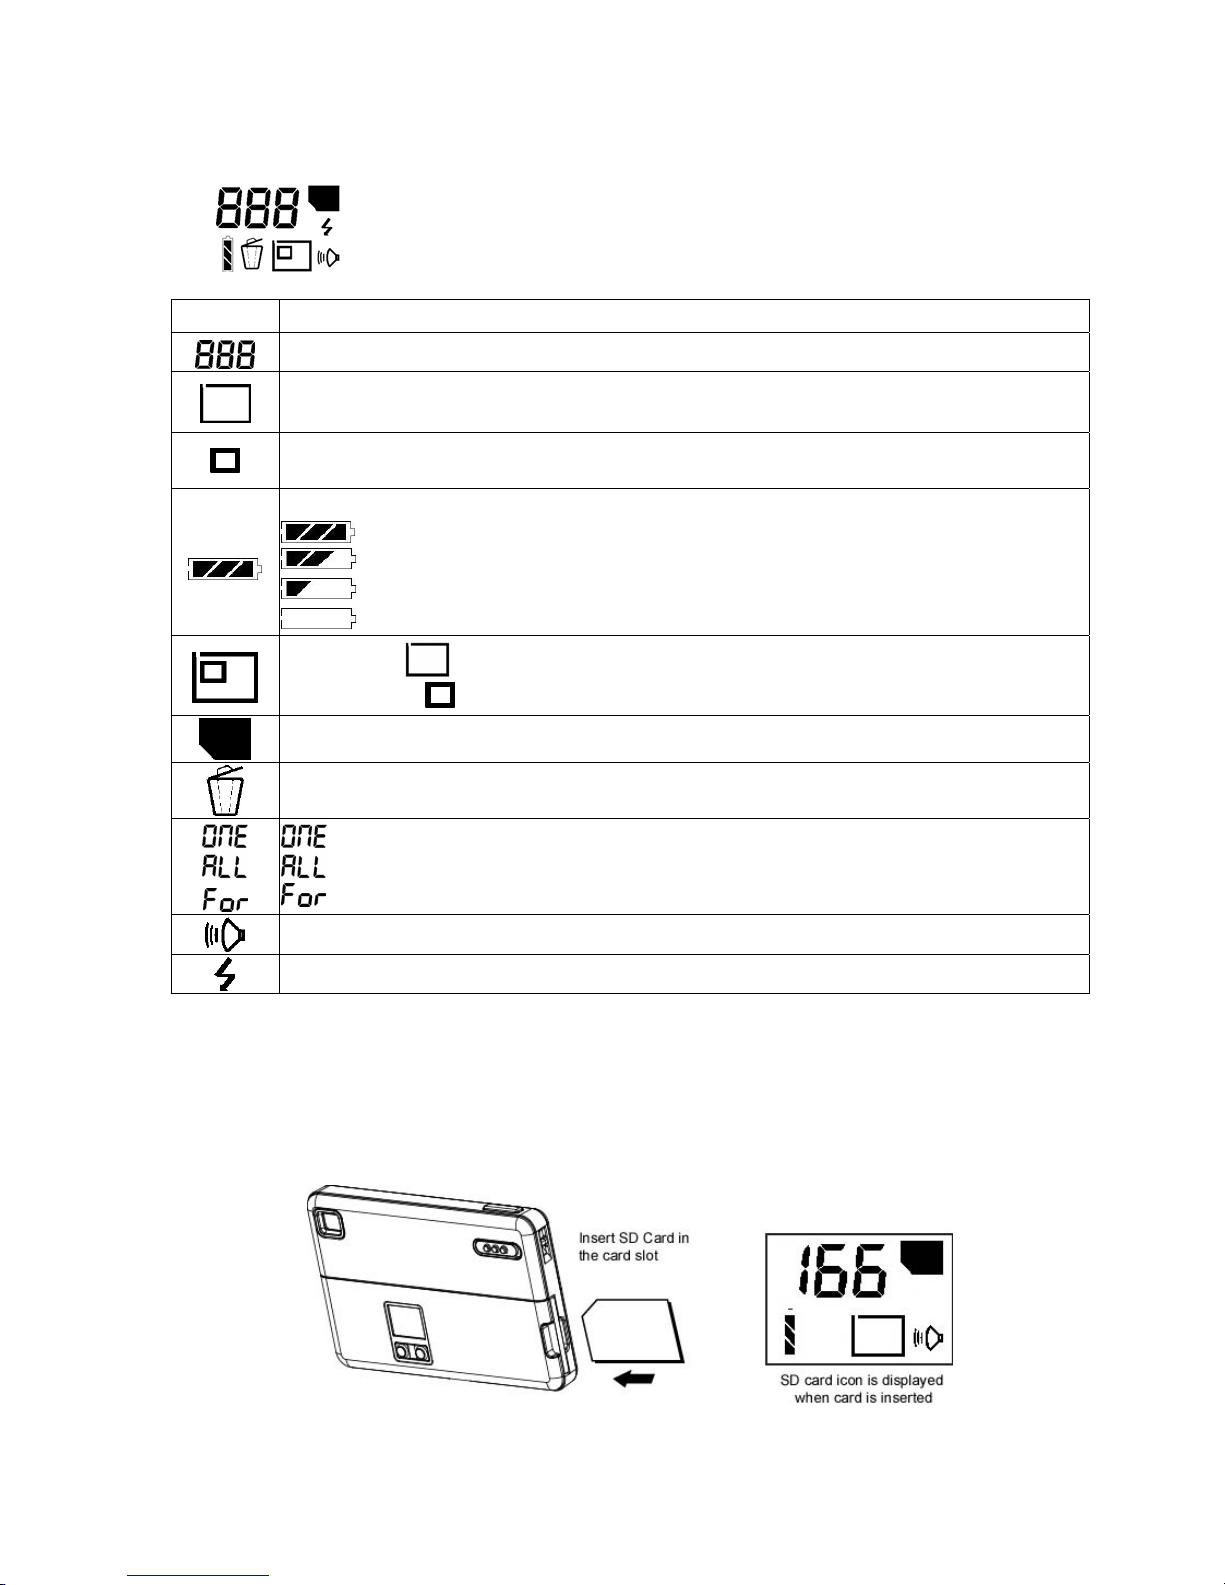
Understanding the LCD icons
LCD Description
Picture Counter. Shows remaining number of shots.
High Resolution indicator. (Default State) Switch between High and Low
Resolution by momentarily pressing Resolution / Delete button.
Low Resolution indicator. Switch between Hi and Low Resolution by momentarily
pressing Resolution / Delete button.
Indicates Battery Charge State
: The battery has ample charge.
: The battery is approximately half-charged.
: The battery charge is low. Recharge the battery as it will run out shortly.
: The battery has no charge. Recharge before next use.
Image Size : 1280 x 1024 pixels
: 640 x 480 pixels
Secure Digital Card indicator
Delete indicator
: Deletes the last image shot.
: Deletes all the images.
: Formats the memory.
Beep Tone on
Strobe Indicator. Flashes on and off while charging.
Using Secure Digital (SD) memory cards
Your camera is capable of storing images on Secure Digital (SD) memory cards. To use an
SD card, insert the card into the SD slot in your camera. The LCD will show the SD card
indicator when an SD card is in the slot.
User Manual: 1.3-Megapixel Digital Camera Page 6

Notes:
• It may be necessary to format the SD card the first time it is used; especially if the
card has been used in devices other than your camera. When the SD card needs to be
formatted, an error beep will sound and the LCD will display “E2”. To format, see
Deleting an Image/Formatting Flash Memory or SD Card in Section 3.
• The camera comes with a “dummy” SD card in order to prevent dust, dirt, or other
particles from entering the SD card slot. Always keep either the dummy SD card or a
real SD card in the slot in order to protect the slot.
• When a real SD card is in the camera, the camera does not write to the internal flash
memory. When the dummy SD card is in the slot, the camera will save images to the
internal flash memory. When a real, full (no memory space available) SD card is in
the slot, remove that card and replace it with the dummy SD card. This will allow
images to be stored in the camera’s internal flash memory.
• If the SD card is full, the LCD display will read “” and the SD card icon will be
solid. If the SD card is write-protected, the LCD display will read “” and the SD
card icon will flash.
• If there is an error writing to the card, the LCD display will read “E1” and the SD
card icon will flash.
• Listed below is the approximate number of images that can be stored on SD cards in
High Resolution* and Low Resolution* modes:
High Res* Low Res*
8MB 8 images 36 images
16MB 21 images 91 images
32MB 31 images 134 images
64MB 81 images 344 images
128MB 169 images 711 images
256MB 275 images 1401 images
*See Changing the Resolution (this section) for details on how to change modes.
Changing the resolution
Your camera offers two choices in resolution: “high” and “low”. “High” resolution is 1.3megapixel (1280 x 1024 pixels) and “low” is VGA (640 x 480 pixels). The higher resolution
setting allows for an image to be printed as large as 4 x 6 inches, but requires more memory
to store. The lower resolution setting will allow for more images to be stored on the camera,
but does not ensure print-quality detail. It is best suited for images to be e-mailed or posted
on a Web site.
User Manual: 1.3-Megapixel Digital Camera Page 7

LCD Resolution Size # of Available Shots
(16MB internal memory)
1280 x 1024 pixels 21
640 x 480 pixels 91
To change the resolution:
• Turn the camera on and press the “Resolution” button.
• In high resolution, the resolution indicator will display a large box.
• In low resolution, the resolution indicator will display a small box.
Turning the sound on/off
To turn the sound on or off, press the sound button while the camera is turned on.
The indicator shows the sound icon when the sound is on.
Taking pictures
To take pictures using your 1.3-Megapixel Digital Camera:
• Turn the camera on (if the camera has timed out, use the power switch or press either
the “Resolution” or “Sound” button).
• In low light conditions, check to make sure the flash is ready. The flash icon on the
LCD will be solid when it is ready.
• Use the aiming mark in the viewfinder to center the image you want to capture.
• Hold the camera still and press the shutter button.
• The LCD will indicate when the picture has been successfully taken by cycling
through the number display. If the sound feature is turned on, two short beeps will
also indicate that a picture has been taken.
Note: Tips on holding the camera while taking pictures
See Before Using Your Camera in Section 2.
Note: Safety while taking pictures
Do not use the camera while you are walking, running, driving or operating machinery.
Doing so can result in a serious accident. See Safety Notes in Section 9.
About Autobrite® technology
The camera offers the benefits of a technology known as Autobrite. This technology
automatically adjusts the exposure and captures crisp details in scenes with varying lighting
conditions, such as glare, backlighting, or shadows. Most existing digital cameras produce
washed out or silhouetted images under such conditions. We suggest you try to avoid taking
pictures pointing directly at bright objects (such as the sun), due to the potential impact of
extremely bright lighting on image quality and lens flare.
Autobrite is proprietary of SMaL Camera Technologies, Inc. of Cambridge, MA, USA.
User Manual: 1.3-Megapixel Digital Camera Page 8

Low light lockout
Low light lockout is a feature that prevents the camera from taking pictures in low light
settings when the flash is not ready. When low light lockout is enabled the camera will give
a warning beep – even if the sound is off. To override low light lockout, continue holding
the shutter button for 1 second after the warning beep. To turn low light lockout on or off see
Configuring the camera in Section 5.
Deleting an image
To delete the most recent image
• Press and hold the “Resolution” button until the trash icon begins to flash (the LCD
will also display “ ”).
• Press the shutter button while the LCD displays “ ”.
• The LCD will blink while erasing the image.
• When the image has been deleted, the LCD will return to display “ ”. If the
sound is on, the camera will beep.
• To delete the next most recent image, press the shutter button again. To resume
taking pictures, wait until the LCD displays the number of images remaining in the
camera, or cycle through the options by pressing the “Resolution” button.
To delete all the images on the camera
• Press and hold the “Resolution” button until the trash icon begins to flash (the LCD
will also display “ ”).
• Press the “Resolution” button again. The LCD will display “ ”.
• Press the shutter button to trigger the deletion process.
• The LCD screen will flash while the images are being deleted.
• The LCD will display the approximate number of images that can be stored in the
camera when all the images have been deleted. If the sound is turned on the camera
will beep.
Note: you may also delete images by using the photo album on your PC or Mac (see
Configuring the camera in Section 5).
Formatting internal flash memory or SD card
To format internal flash memory or SD card
Warning: Formatting an SD card or flash memory will delete all information.
• If formatting an SD card, insert the card into the camera. Remove the SD card if you
are formatting the internal flash memory.
• Press and hold the “Resolution” button until the trash icon begins to flash (the LCD
will also display “
• Press the “Resolution” button until the LCD displays “
• Press the shutter button.
• The LCD screen will flash while formatting.
User Manual: 1.3-Megapixel Digital Camera Page 9
”).
”.

• The LCD will display the approximate number of images that can be stored in the
camera or the SD card when formatting is complete. If the sound is turned on, a beep
will indicate when formatting has finished.
4 Connecting the 1.3-Megapixel Digital Camera to a PC or Mac
Important: It is necessary to install the included software before connecting your camera to
the computer.
System requirements
Windows
• Windows 98 (including SE), ME, 2000, or XP
• 200 MHz Pentium or better
• 32MB RAM
• 200MB available Hard Drive space
• CD-ROM
Mac
• Power Macintosh G3 200 MHz minimum
• Mac OS 9.x or above
• 32MB RAM
• 200MB available Hard Drive space
• CD-ROM
Installing the software
Important: Do not connect your camera to your PC or Mac using the USB cable until
software has been installed. Installing the software also installs the necessary drivers for the
camera to be able to communicate with your computer.
User Manual: 1.3-Megapixel Digital Camera Page 10
Installing WINDOWS/PC software
Note for Windows 2000/XP users: Log on under Administrator account to install software
and drivers.
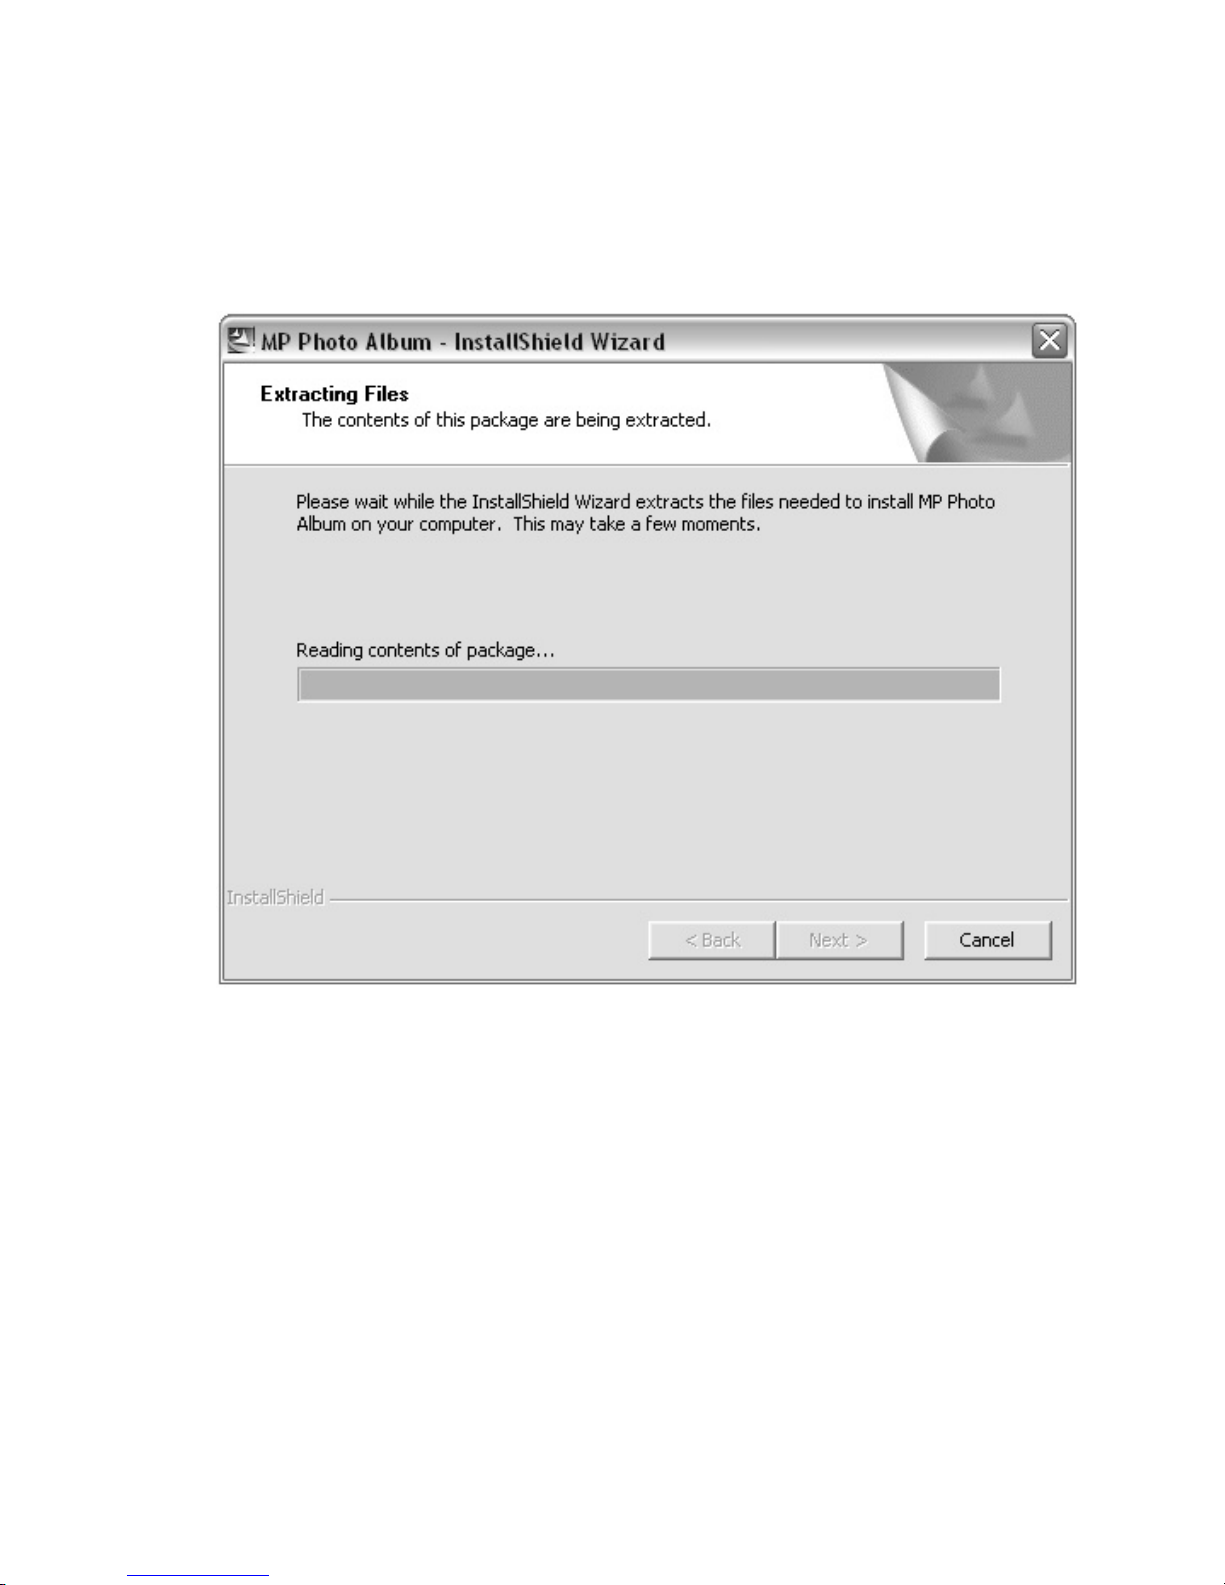
• Insert the installation CD into the CD-ROM drive.
• InstallShield Wizard will automatically begin to install.
If the installation does not automatically begin, run the Setup program from your CDROM Drive (D:\MPCam_setup_WIN.exe).
User Manual: 1.3-Megapixel Digital Camera Page 11
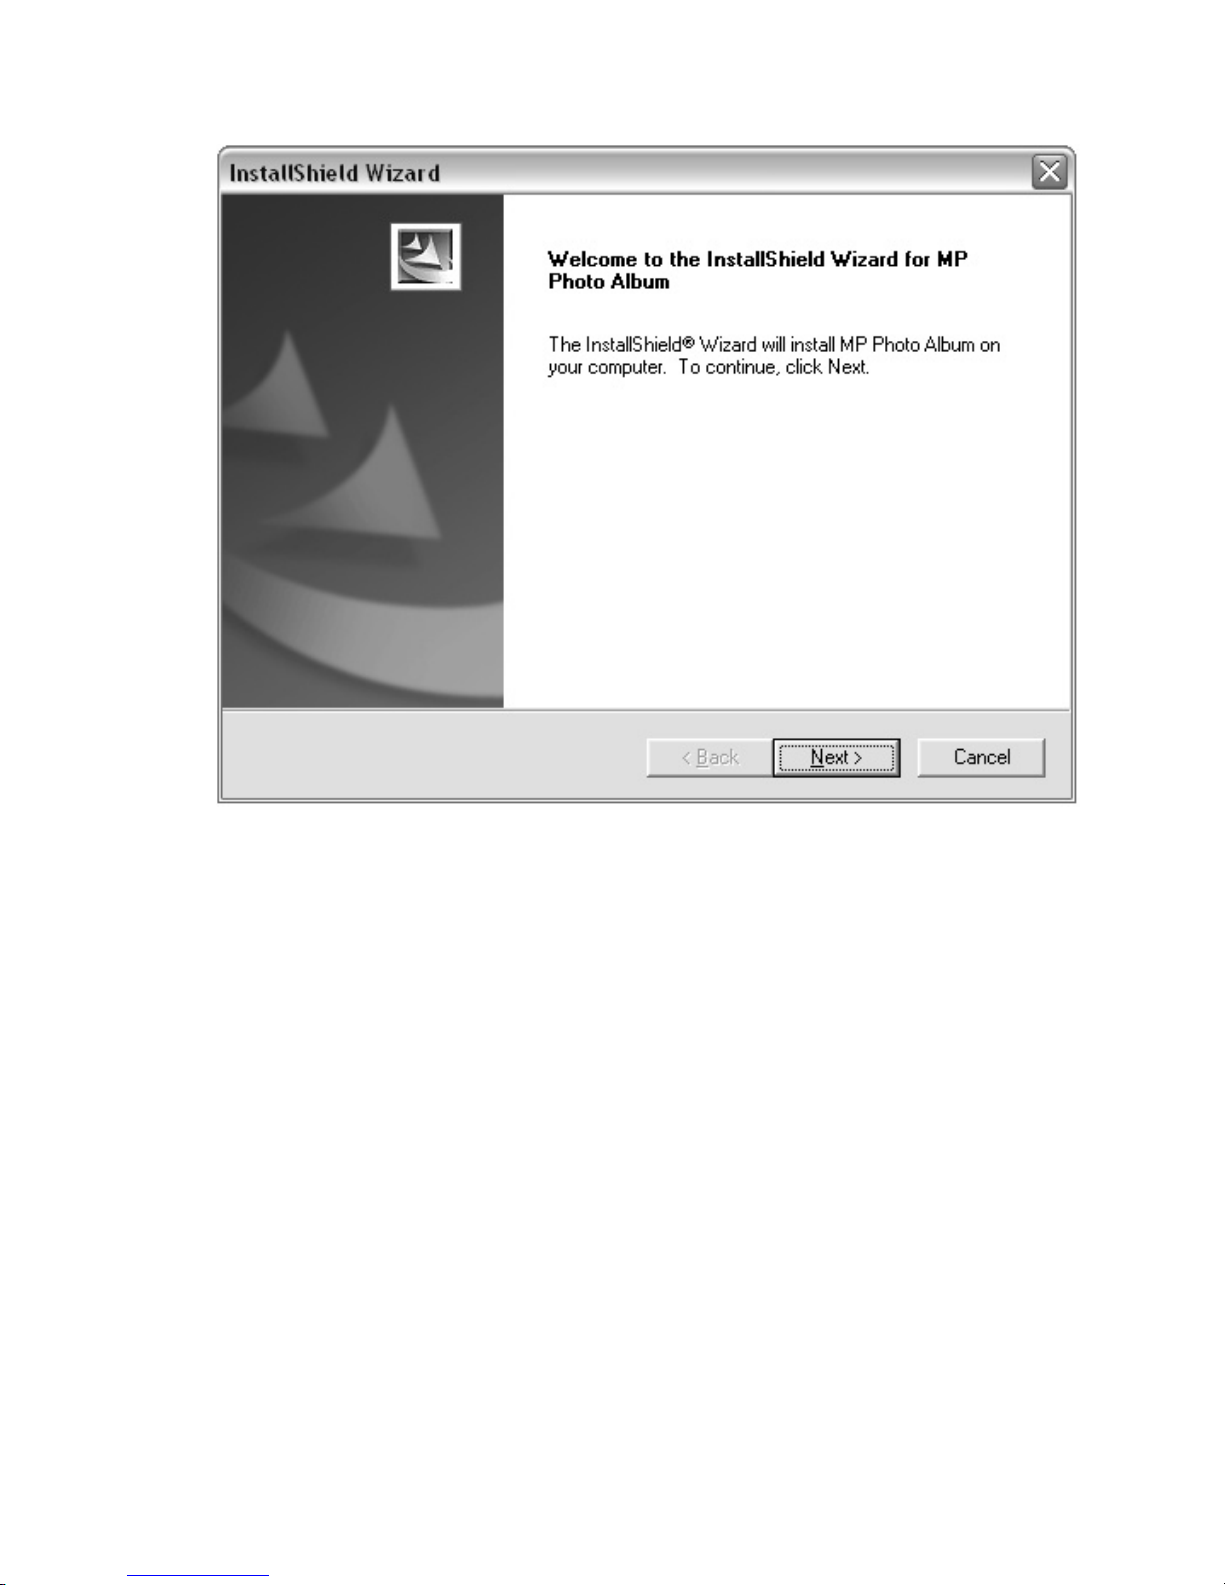
• Click the Next button to begin.
User Manual: 1.3-Megapixel Digital Camera Page 12
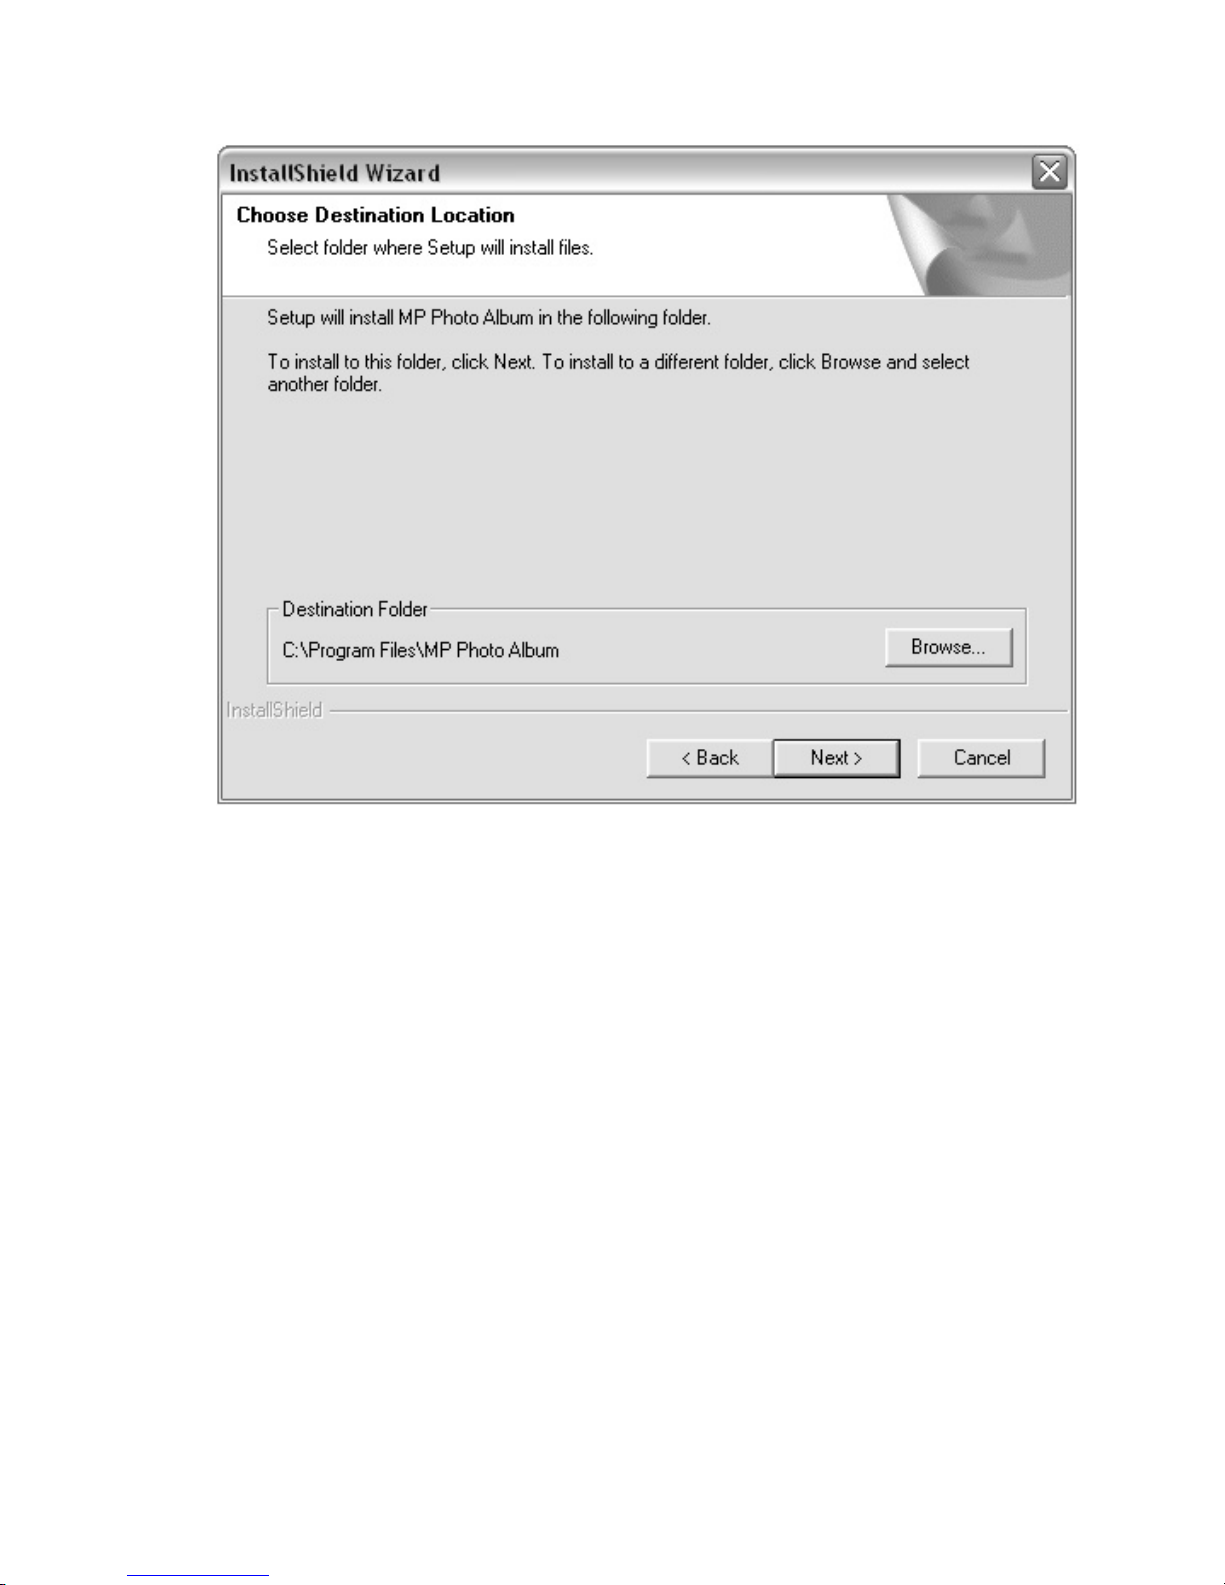
• You will be asked to select a destination folder for the program files to be stored. If
you want to change the directory, click browse. Otherwise, click Next.
User Manual: 1.3-Megapixel Digital Camera Page 13
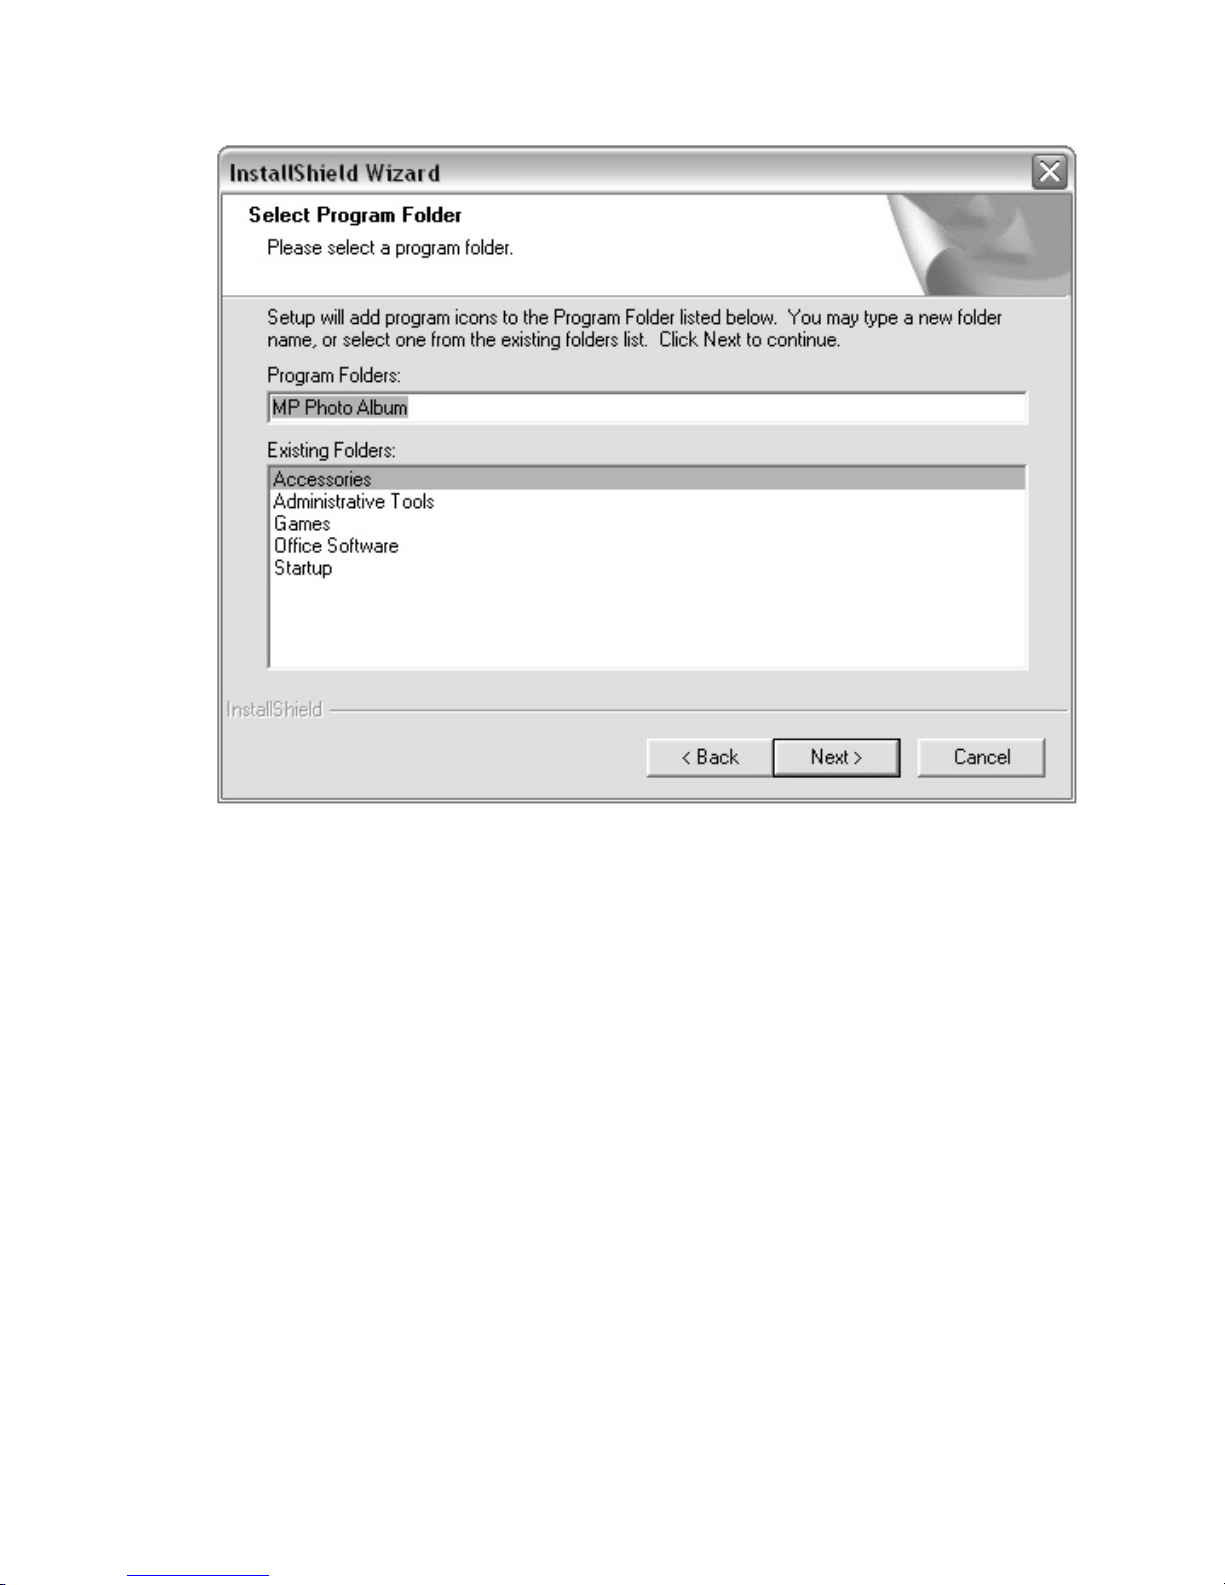
• When prompted to select where the program icons will be added in your Program
Folder, click Next.
User Manual: 1.3-Megapixel Digital Camera Page 14
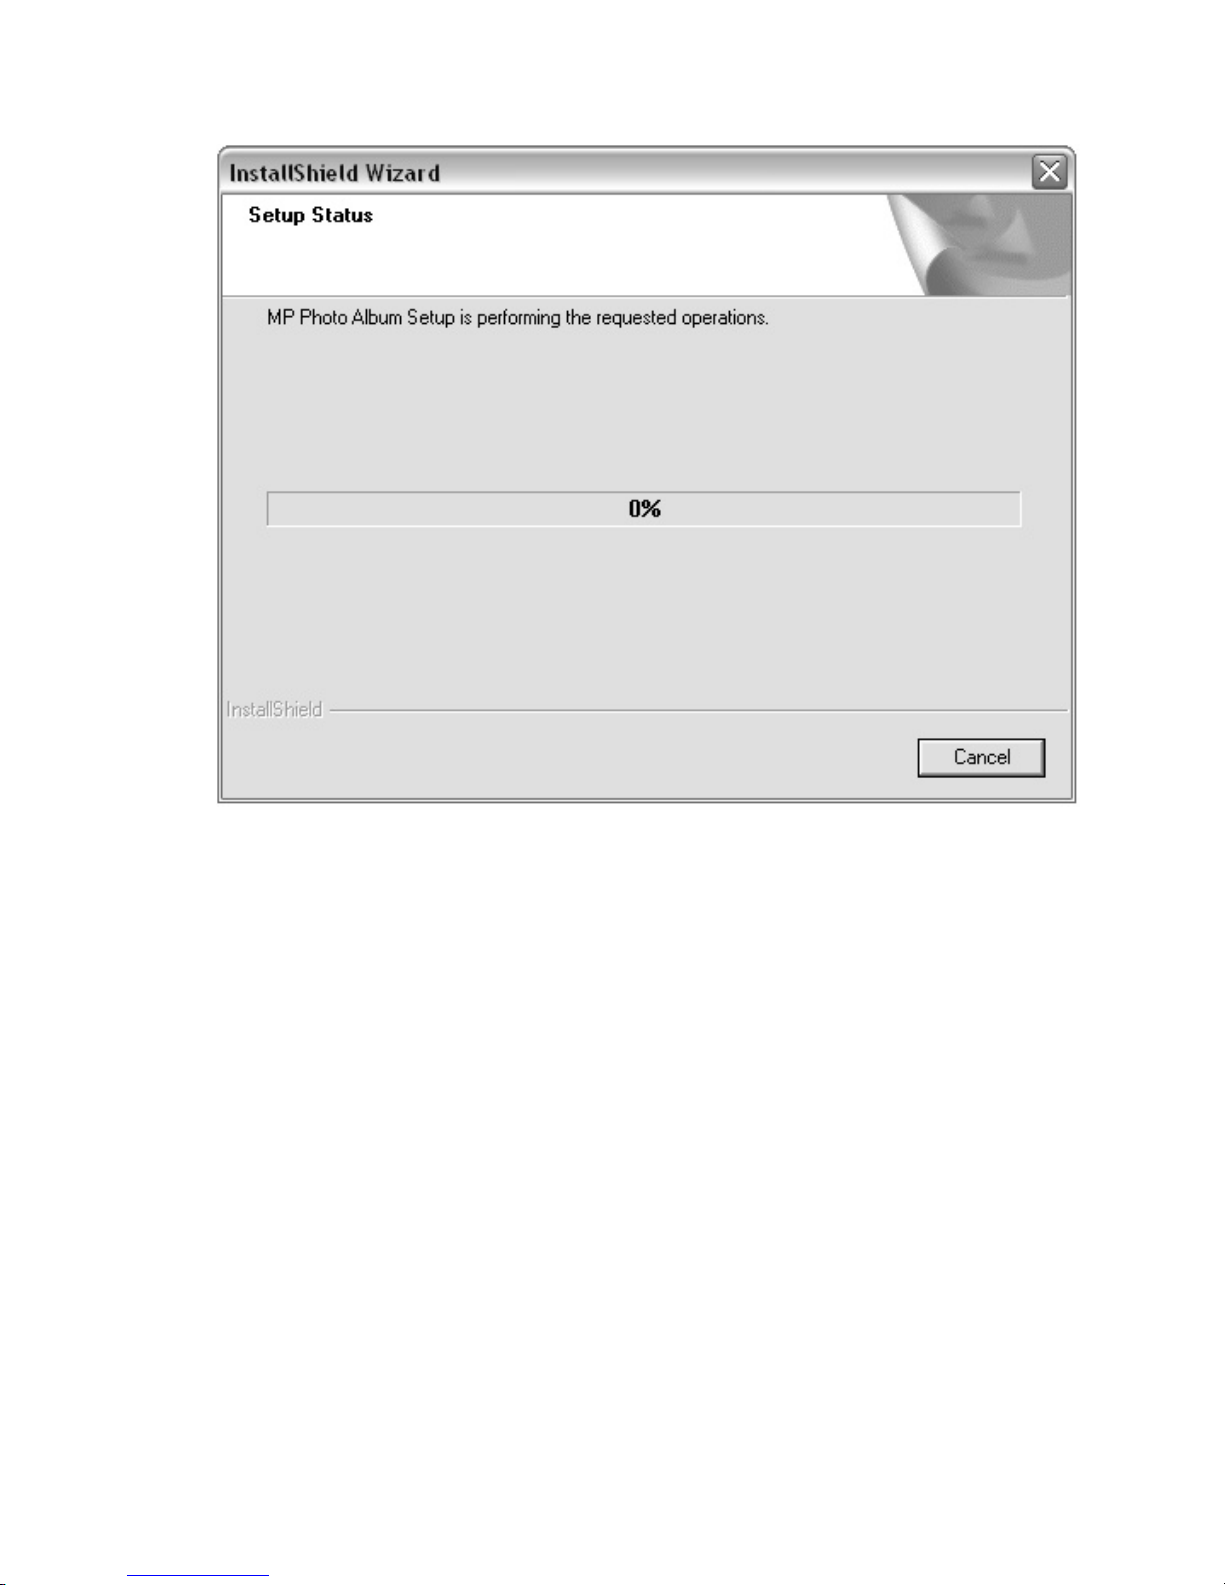
• Installation will begin and you will see a progress indicator.
User Manual: 1.3-Megapixel Digital Camera Page 15
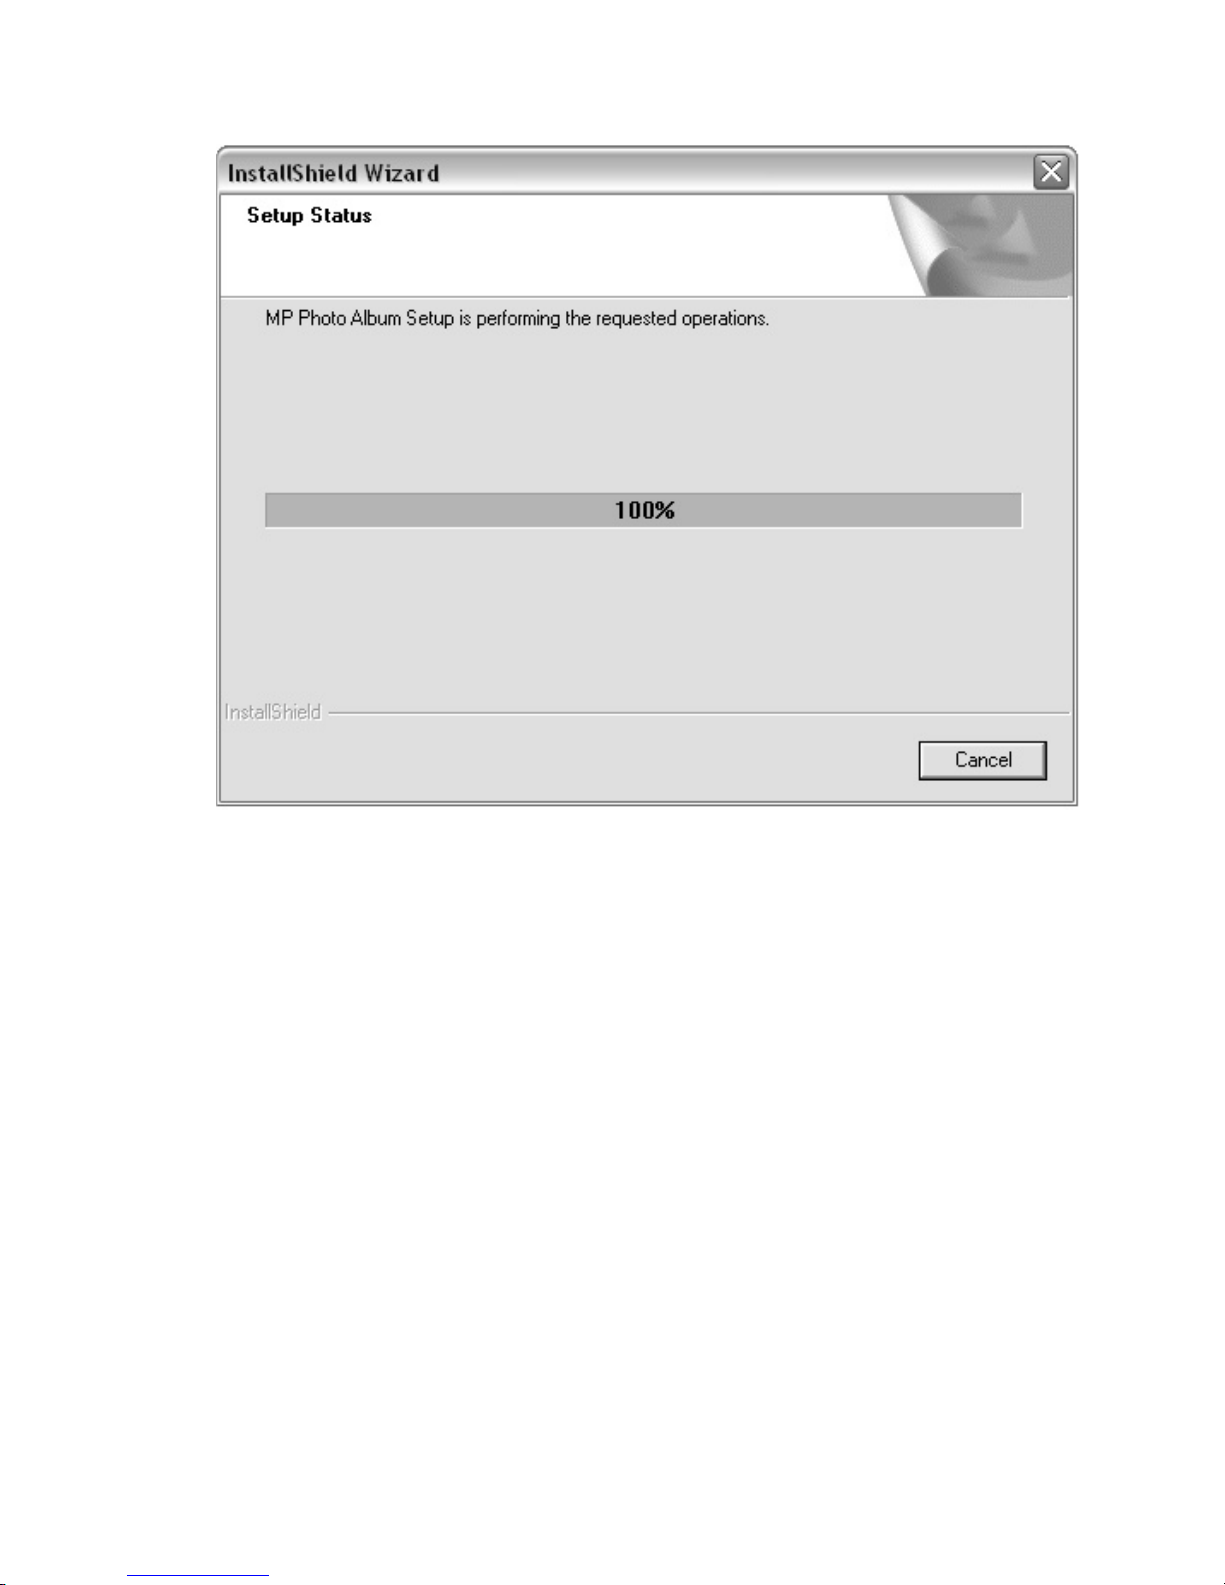
• You will see the above message when setup has reached 100%.
User Manual: 1.3-Megapixel Digital Camera Page 16
 Loading...