

Page 1
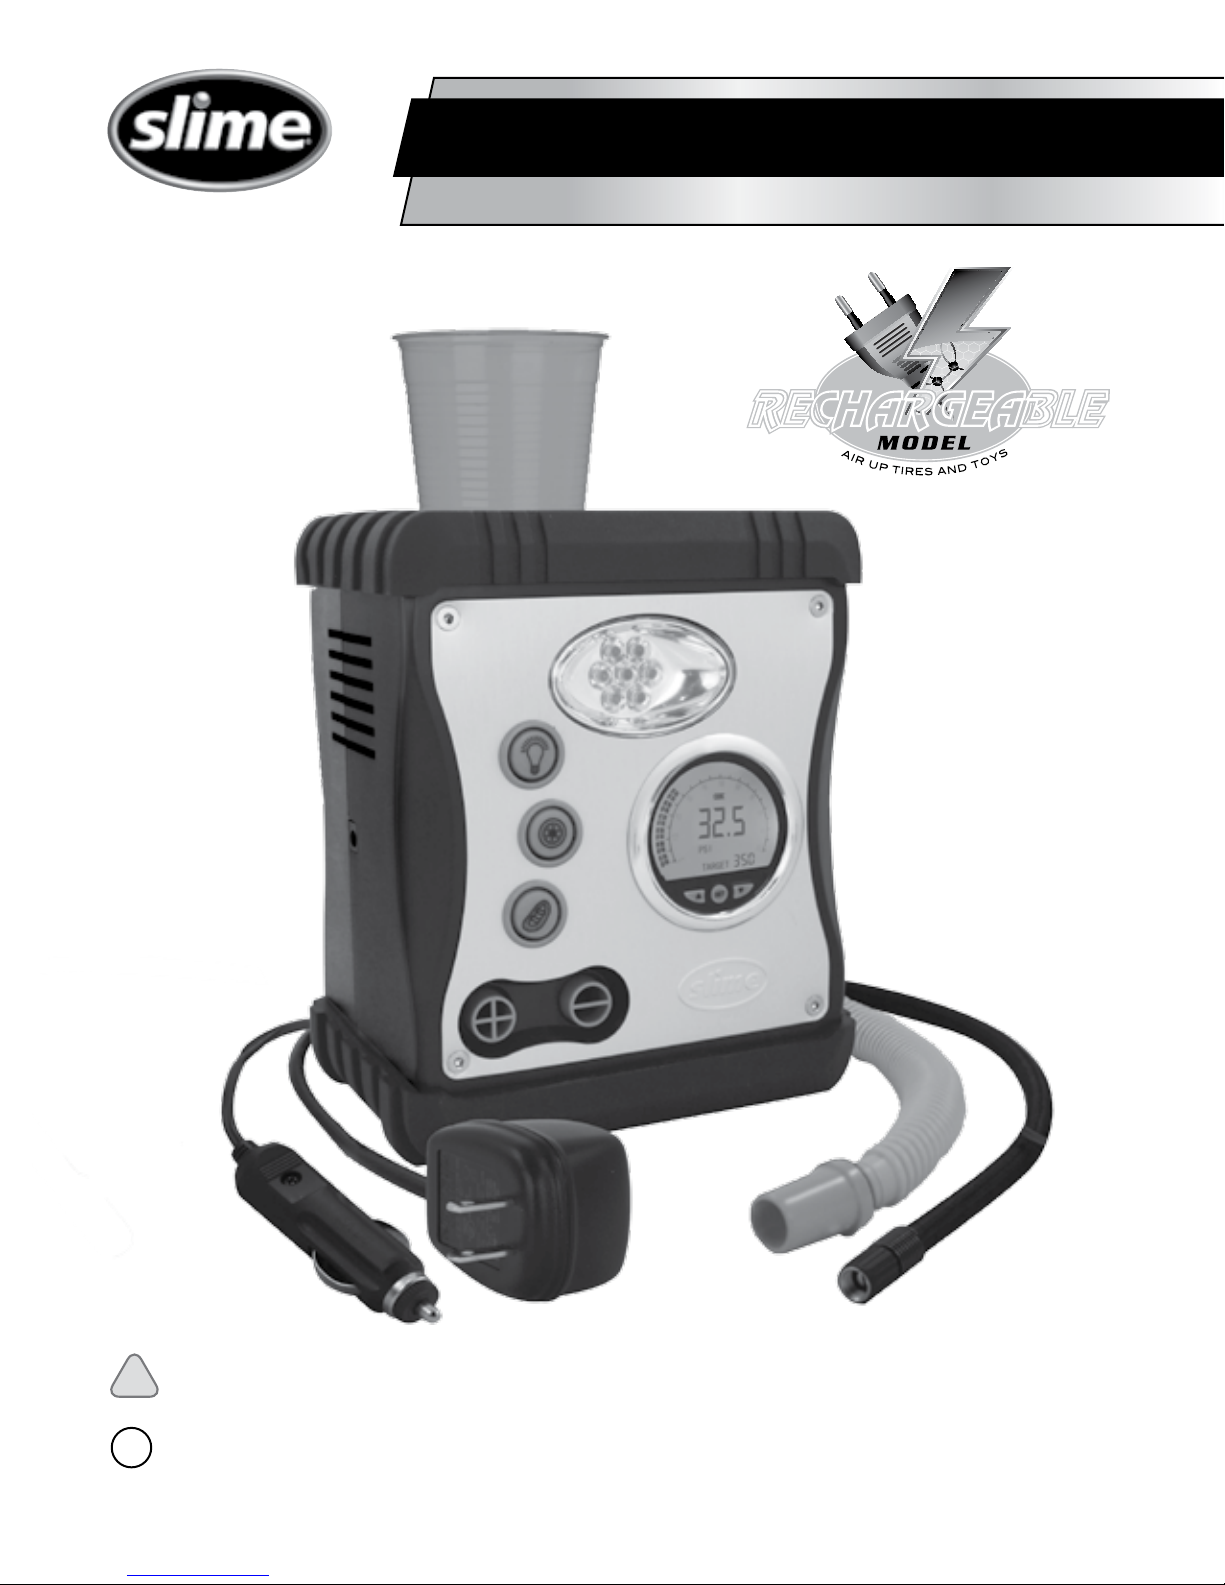
ALL-PURPOSE INFLATOR
CORDLESS AND RECHARGEABLE FOR RAFTS AND TIRES
RECHARGEABLERECHARGEABLERECHARGEABLE
!
ATTENTION! READ ALL INSTRUCTIONS CAREFULLY
FAILURE TO FOLLOW WARNING INSTRUCTIONS CAN RESULT IN FIRE,
BC
PERSONAL INJURY OR PROPERTY DAMAGE.
PART #40028
Page 2

CAUTION: HOT • DO NOT HOLD IN HAND WHILE OPERATING. PLACE INFLATOR ON
A HARD, CLEAN SURFACE
1. DO NOT use inflator continuously for more than 10 minutes. Allow unit to cool
appr
2. DO
oximately 25
NOT
run v
ehicle
minutes betw
while inflator is oper
een
uses. Do not leave inflator unattended.
ating.
Engine must be turned OF
F.
3. DO NOT operate the inflator with a beverage in the cup holder.
4. ALWAYS use a pressure gauge to check actual tire pressure. DO NOT OVERINFLATE!
5. Keep inflator out of reach of children.
6. For use with 12-volt DC power outlets rated 15 amps or higher. Do not use with older 8
amp cigarette lighter receptacles.
TECH SPECS
IDEAL USES RAFTS, INFLATABLES, TIRES, MATTRESSES
TIRE INFLATION TIME
MATTRESS INFLATION TIME
CFM
HIGH PRESSURE AIR HOSE LENGTH 24” (60cm)
POWER SOURCE 1 12 VOLT ACCESSORY OUTLET ADAPTER
POWER SOURCE 2 120 VOLT WALL ADAPTER (RECHARGE ONLY)
POWER SOURCE 3 12 VOLT RECHARGEABLE BATTTERY (OPERATE ONLY)
GAUGE DIGITAL GAUGE WITH INFLATE-RIGHT™
LIGHT LONG-LASTING LED
* (0-35 Psi, Standard Tire-P195/65 R15) ** Twin air mattress
6 MIN*
1 MIN**
1.0 (28 LPM)
Page 3
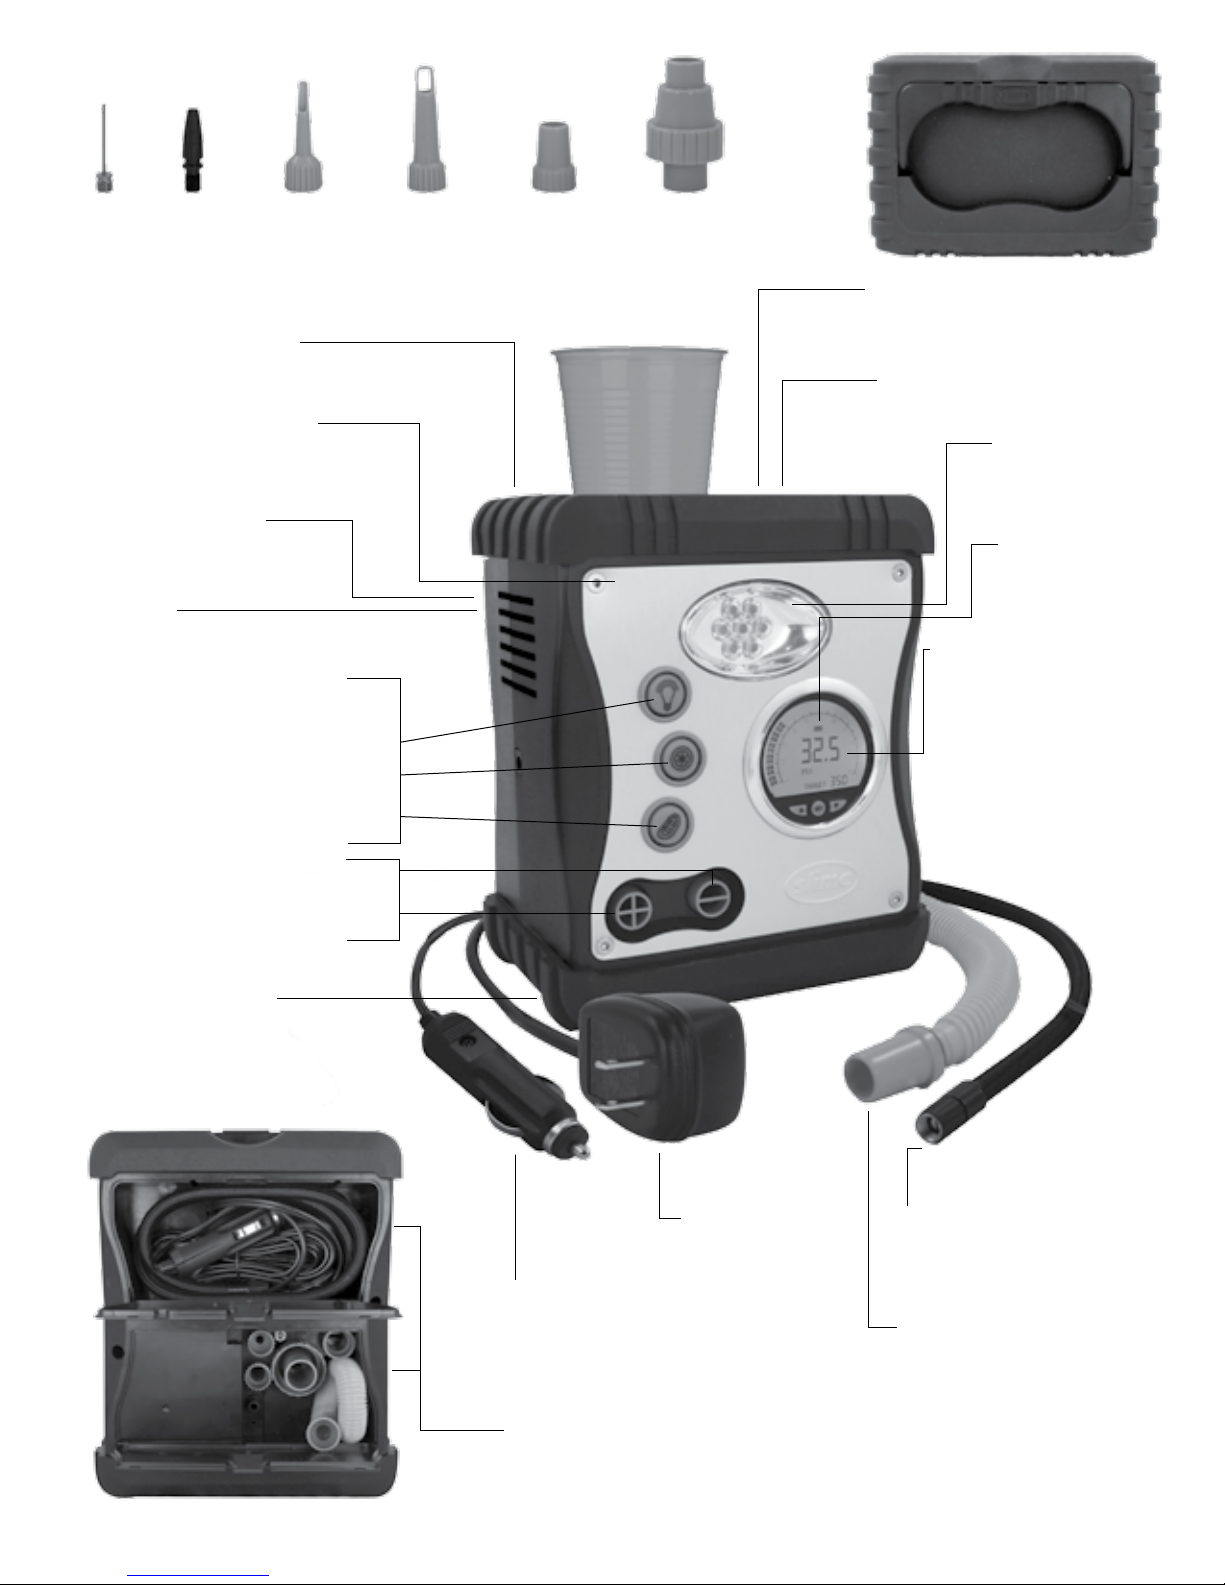
Ball Raft Raft Raft &
Raft &
Raft &
Rubber bumpers
Protective brushed
aluminum faceplate
High durability
motor
Built-In
Rechargeable battery
On/Off buttons
Light •
High pressure motor •
High volume motor •
Inflate/deflate portals
Mattress
Mattress
Mattress
Two built-in cup holders
Carrying handle
Bright LED
light
Battery level
indicator
Digital gauge with
Inflate-Right™
• Choose & set
pressure
• Inflator stops
when set pressure
is reached
• For rafts and mattresses
Rubberized feet
• For added stability
120 volt
High pressure air hose
wall adapter
• For tires
12 volt accessory
power adapter
High volume air hose
• For inflatables
Storage compartments
• For air hose and inflatable adapters
Page 4
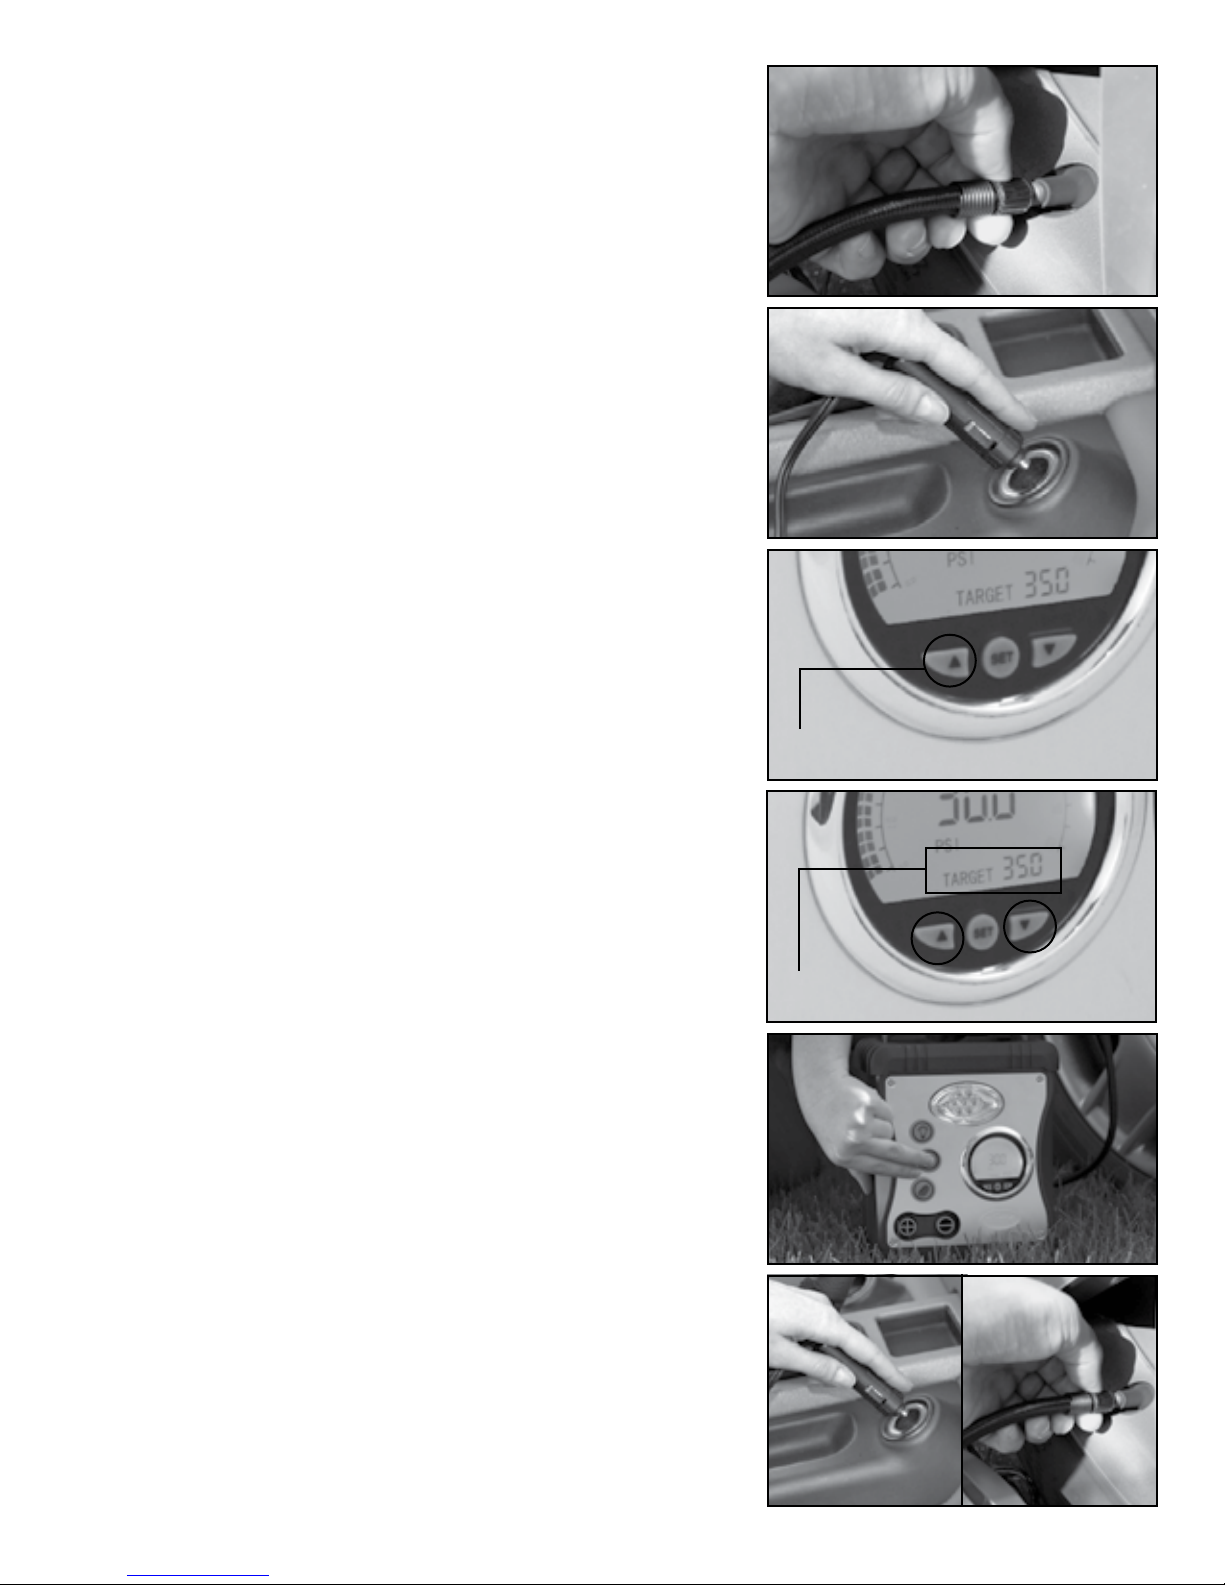
HOW TO INFLATE TIRES:
1. Attach air hose to tire by fully screwing the
connector onto the tire valve.
2. Plug power cord into power accessory outlet or
leave unplugged to run from battery.
NOTE: The unit will not run unless the gauge is
turned on by pr
. To
3
set the Inflate-Right™ system, pr
essing
the “
set”
button.
ess
either arr
button under the display for 3 seconds until the
get pressure
4.
tar
Use
the up and do
get pressure.
tar
blinks.
wn
arr
ow
buttons to r
each your
The inflator will store this pr
essure
automatically after a few seconds.
5. To inflate, press the button with the tire symbol.
Once y
our
get pressure is reached,
tar
the inflator
ow
HOLD FOR 3 SECONDS
TARGET PRESSURE
will shut off. The inflator can be manually shut off
by pressing the tire symbol button again.
Unplug power
6.
cord (if necessar
the air hose.
NOTE: Correct tire pressure can be found in vehicle’s
owner manual or driver’s side door jamb.
O TOGGLE PRESSURE UNITS (PSI/kPa/BAR):
T
Press
the “S
et”
button at the base of the gauge.
y)
and disconnect
Page 5
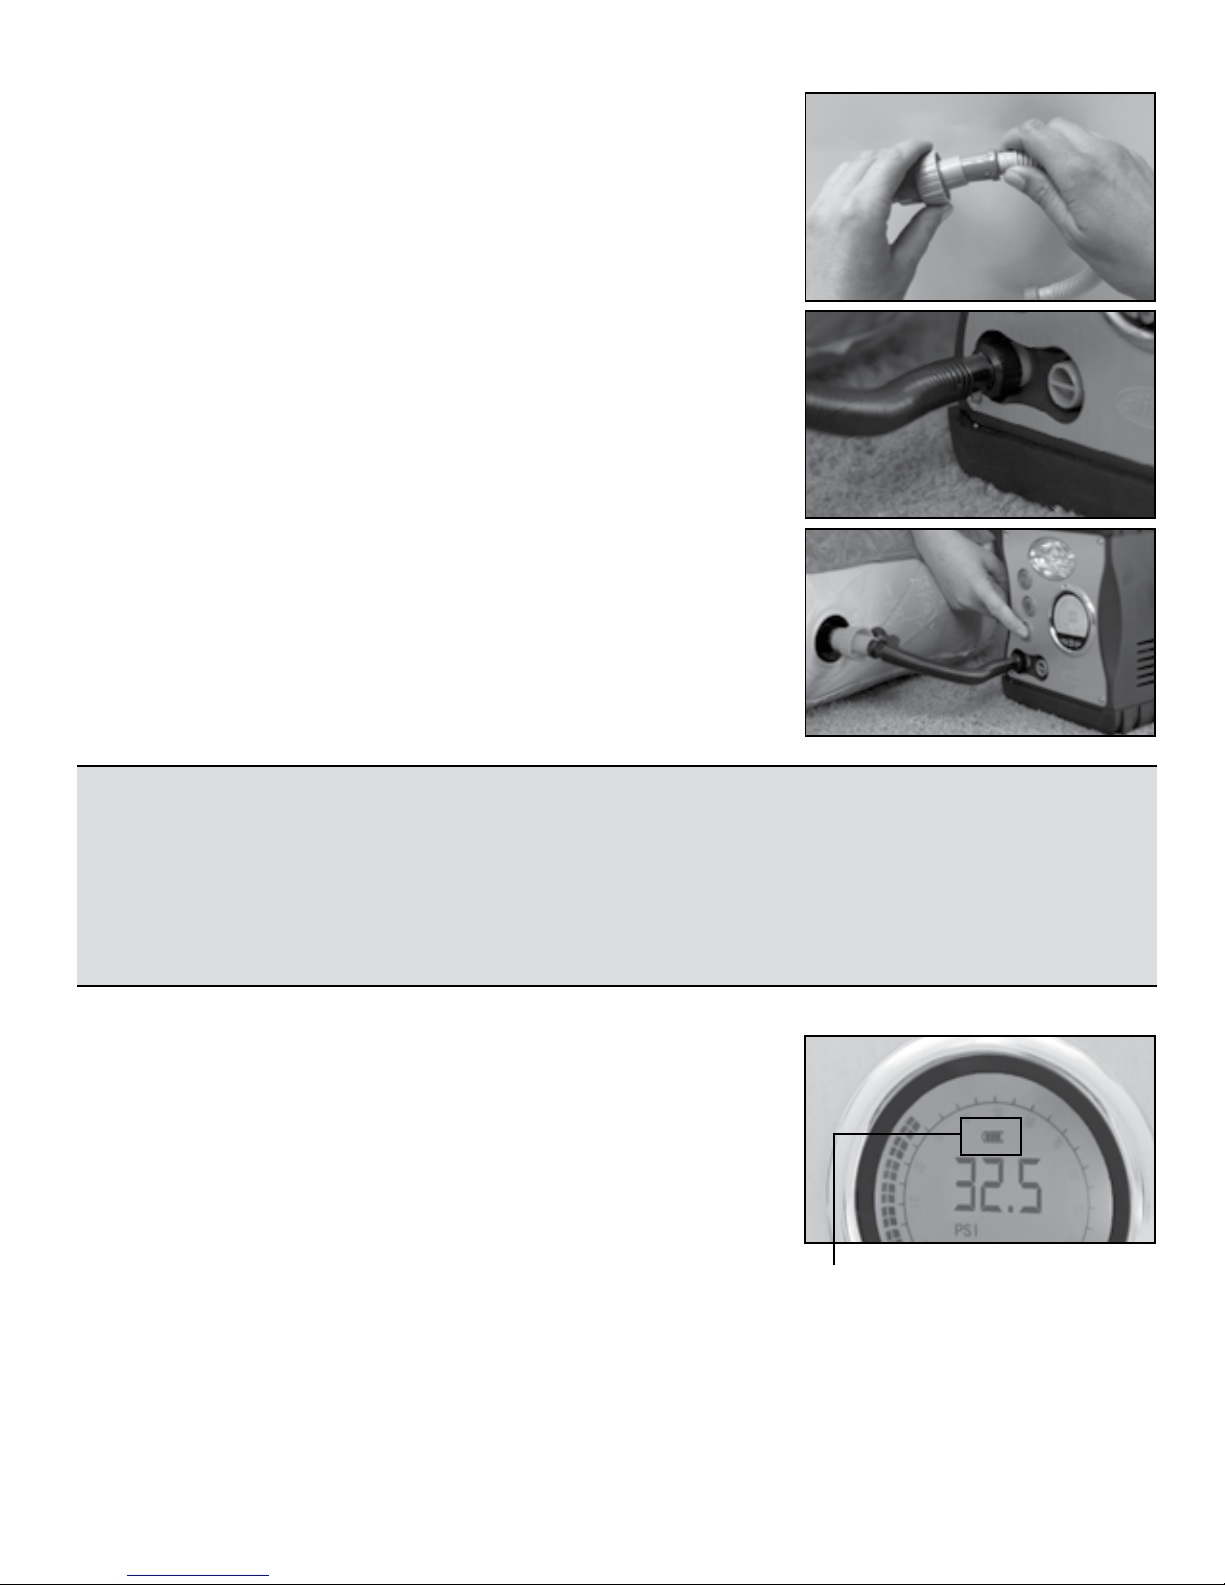
HOW TO USE RAFT PUMP:
The raft air pump is used for inflatables only (more
specifically, high volume/low pressure applications)
and cannot be used for tir
higher pr
essure.
es
and balls which r
equire
1. Attach raft hose to desired inflation adapter, and
make sure connection is tight.
2. Connect hose to the inlet or outlet on the front of
the inflator. The “+” side is used for inflation
and “–“ for deflation.
3. Press button with the raft symbol to activate the
raft pump. Once desired pressure is reached, turn
po
wer
off and r
emove
all connections.
CAUTION:
While operating, never block the inflator input or output.
1.
2. Soft inflatables (i.e. rafts, balls, etc.) may not have recommended pressure
markings. Be careful not to inflate items beyond their capacity.
3. Never operate the inflator with a beverage in the cup holder.
BATTERY:
· Your
unit has been initially charged. However, it is
always good to top it off prior to use for full
performance.
· Note: It takes 16 hours to fully charge your battery
from the wall (AC outlet).
BATTERY LEVEL INDICATOR
Note: It
·
wer
po
takes 6 hours to fully char
outlet (DC outlet).
ge from your
car
The
·
unit should be char
ged every 4
the battery at peak performance.
months to keep
Page 6
TROUBLE
SHOOTING:
Inflator fails to operate when plugged in:
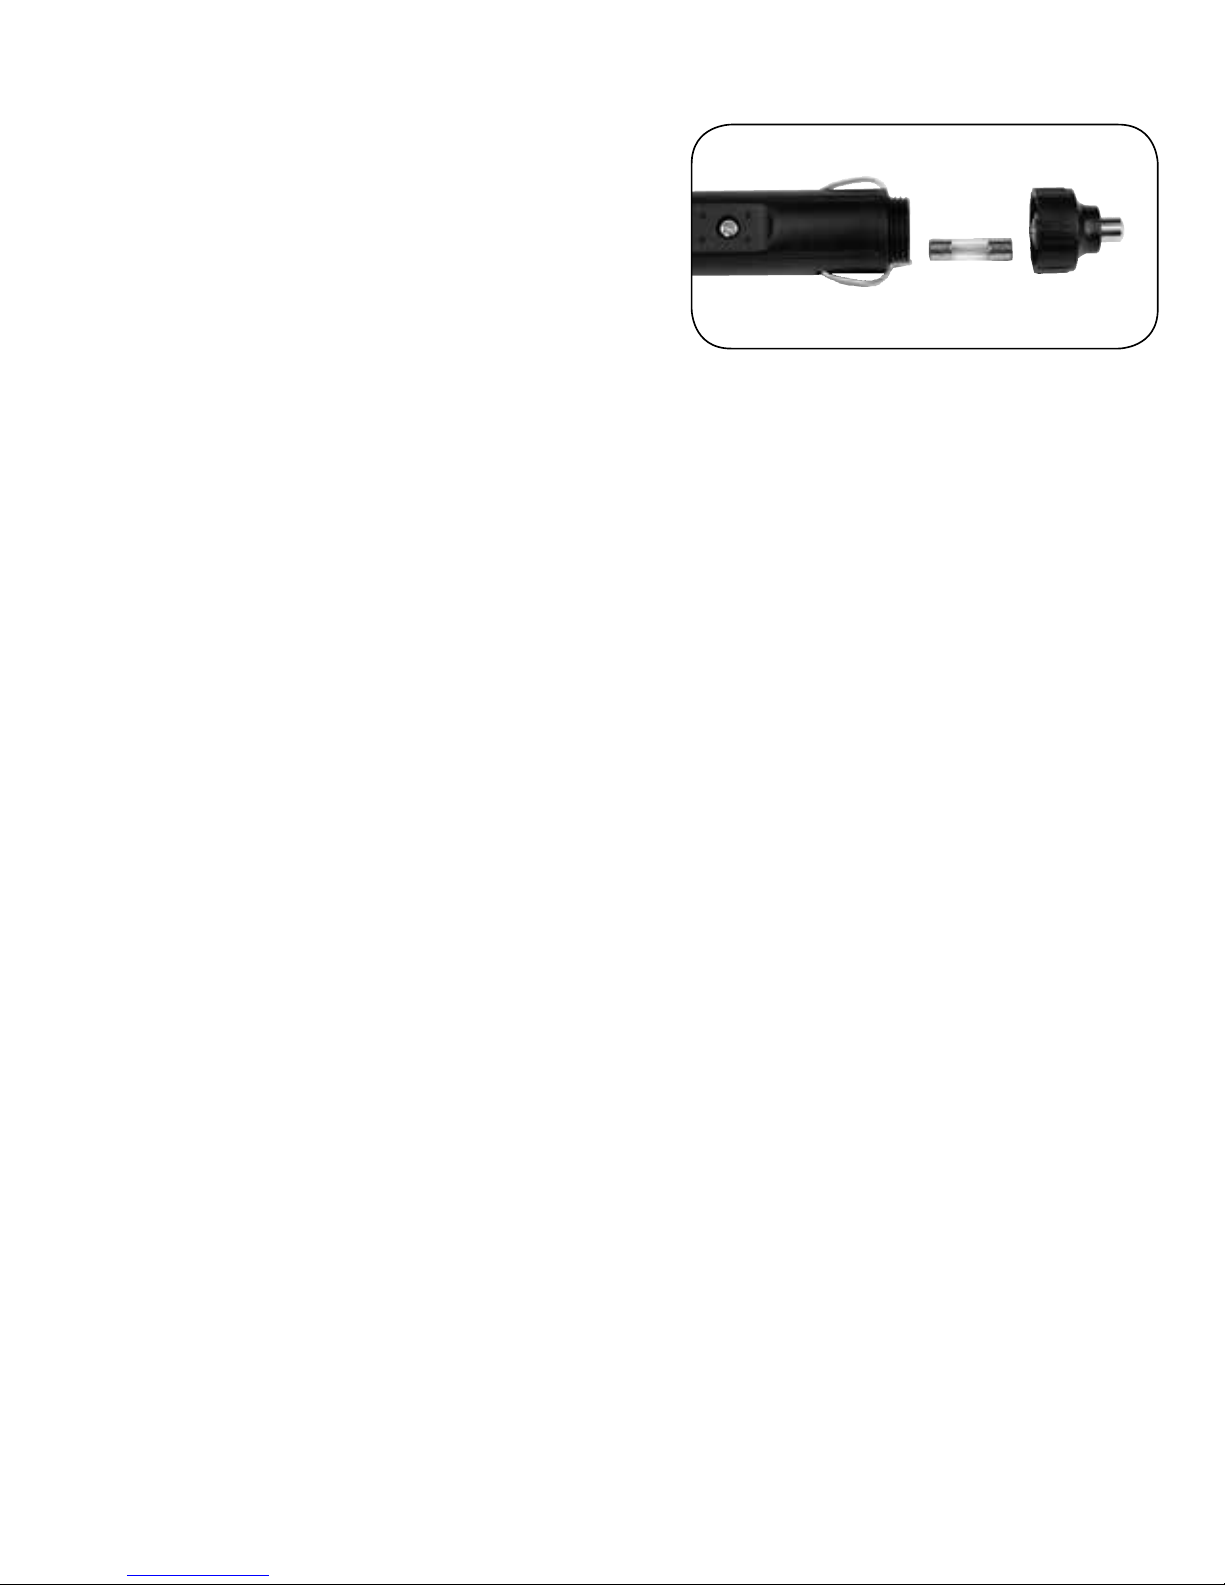
1. The fuse, located in the plug adapter, may
have blown.
2. Unscrew the tip of the plug adapter, remove
fuse and inspect. If necessary, replace fuse
with one of the same amperage.
Inflator does not start or blows fuses:
1. Push the power plug firmly into the receptacle and twist it back and forth (if using DC
adapter plug).
2. Check receptacle and plug terminals for dirt and debris. (Use a non-conductive probe,
not fingers or metal.)
3. Check vehicle’s power outlet fuse. It should be 15 amps minimum.
4. The Inflate-Right™ pressure may be set below the desired pressure. Reset.
Inflator runs but does not inflate:
1. Be sure the connector is fully threaded on the tire valve.
2. Check tire for leaks, and check hose for breaks and leaks at fittings.
Inflator runs slowly:
1. Possibly overheated from excessive use. Shut it off and allow to cool for 25 minutes.
2. Voltage may be too low. Check condition of vehicle battery.
NOTE: If tire is totally deflated, it is possible that the tire could separate from the rim
allowing air to leak out when trying to inflate. In the event this situation occurs, you
will have to jack up the tire prior to inflation.
BATTERY DISPOSAL: This product contains a rechargeable sealed lead-acid
battery. The environmental laws in some counties require retailers to accept returns of
rechargeable batteries for proper disposal. Check the county laws before disposing this
product.
On our website you can discover more about tools and garage.
 Loading...