

Page 1
SERVICE MANUAL
Click on the orange text for the particular
section you would like to see.
To get back to this page, select the Slider
logo at the bottom of each page.
If you have further questions or need to
order any spare parts, please contact us:
US:
+1 (401) 247-7745i
[email protected]
560 Metacom Ave.
Warren, RI 02910
UK:
0208 749 2292
[email protected]
19 Acton Park Estate
The Vale, London, W3 7QE
TABLE OF CONTENTS
Replacing the Chain 02-03
Replacing the Flywheel 04
Replacing the Idler Sprocket 05-06
Cleaning the Flywheel 07
Cleaning the Rails 08
Oiling the Chain 09
Tightening the Bungee 10
Replacing the Bungee 11-12
Replacing the Drive Sprocket 13
Rail Troubleshooting 14
Replacing the Rail Bracket 15
Replacing the Rail Wheels 16
©2014-2015 WaterRower
Replacing the Sensor 17
Replacing the Seat Wheels 18
Replacing the Handle 19
Replacing the Foot Strap 20-21
1
Page 2

SLIDER CHAIN REPLACEMENT
REQUIRED TOOLS:
ALLEN WRENCH TOOL SET
SCREWDRIVER
1. Unplug Monitor. Remove the monitor cover bolts (4)
using a 3mm allen tool.
BE CAREFUL NOT TO STRIP THE BOLTS, it is
recommended on older machines to use Liquid Wrench
or WD-40, apply pressure and slowly turn as to not strip.
2. Remove the 3mm bolts (6) securing the front cover.
4. Pull the bungee chain block pulley up above the
footplate and secure using a screwdriver.
5. Undo the bolt holding the connector end of the chain.
6. Remove the original chain.
7. Remove the chain from the handle end by undoing the
two socket inserts on the rower side of the handle.
8. Pull the U Bolt from the handle.
3. Remove top 3mm bolts (2) holding the rear cover.
9. Undo one insert nut and slide the chain swivel end of
the chain off.
10. Attach the new chain.
11. Thread the insert nut and turn until it is equal with the
other side on the U bolt.
12. Insert the U bolt into the handle.
13. Secure the U bolt with the socket insert nuts.
14. Once attached to the handle, place the handle on the
top rails and straighten the chain out.
2
Page 3

SLIDER CHAIN REPLACEMENT
15. Insert the open end of the chain through the plastic
chain faring opening.
16. Thread the chain over the top sprocket, then down to
the second drive sprocket on the flywheel drive shaft.
17. Thread the chain over the large plastic pulley, then down
towards the footplate.
18. Insert the chain around the small pulley on the bungee/
chain block.
19. Thread the chain back up and over the small idler pulley
then back down to the chain/bungee block pulley.
21. Thread the bolt through the connector plate and tighten
the nut.
22. Pull the handle to make the bungee/chain block plate
move up, and remove the screwdriver that was securing
the block in place.
23. Check that the chain is running smoothly and correctly
around all sprockets and pulleys. Use the threading
procedure picture as a guide.
20. Holding the chain, insert one chain clip into the two
end links on the chain. Insert the other chain clip in the
opposite direction of the same two links the first chain
clip is attached to.
24. Replace all covers and reattach monitor cable.
3
Page 4

REPLACING THE FLYWHEEL
REQUIRED TOOLS:
17 MM WRENCH (2)
PHILIPS HEAD SCREWDRIVER
MALLET
1. Take screws (4) out of the Flywheel Cover, Remove Cover
3. Loosen flywheel nut, take off spacer and nut. and remove
flywheel. If the flywheel won’t come off, put the nut back
on the end of the shaft and tap the nut with the mallet.
This will loosen the flywheel, and allow you to remove it.
4. Replace with new flywheel. You may need to tap on the
opposite side of the shaft for it to slide on all the way.
Take the spacer and nut and put back on the shaft.
2. Using both 17 mm wrenches, loosen the flywheel bolt.
5. Tighten bolts on both sides of the shaft. Take a few
strokes to check that is not too tight. If it is too tight,
the chain won’t recoil properly.
6. Put flywheel cover back on and put the screws back in.
4
Page 5
REPLACING THE IDLER SPROCKET ASSEMBLY
REQUIRED TOOLS:
(2) 4MM ALLEN KEYS
3MM ALLEN KEY
VICE GRIPS OR PLIERS
CLOTH
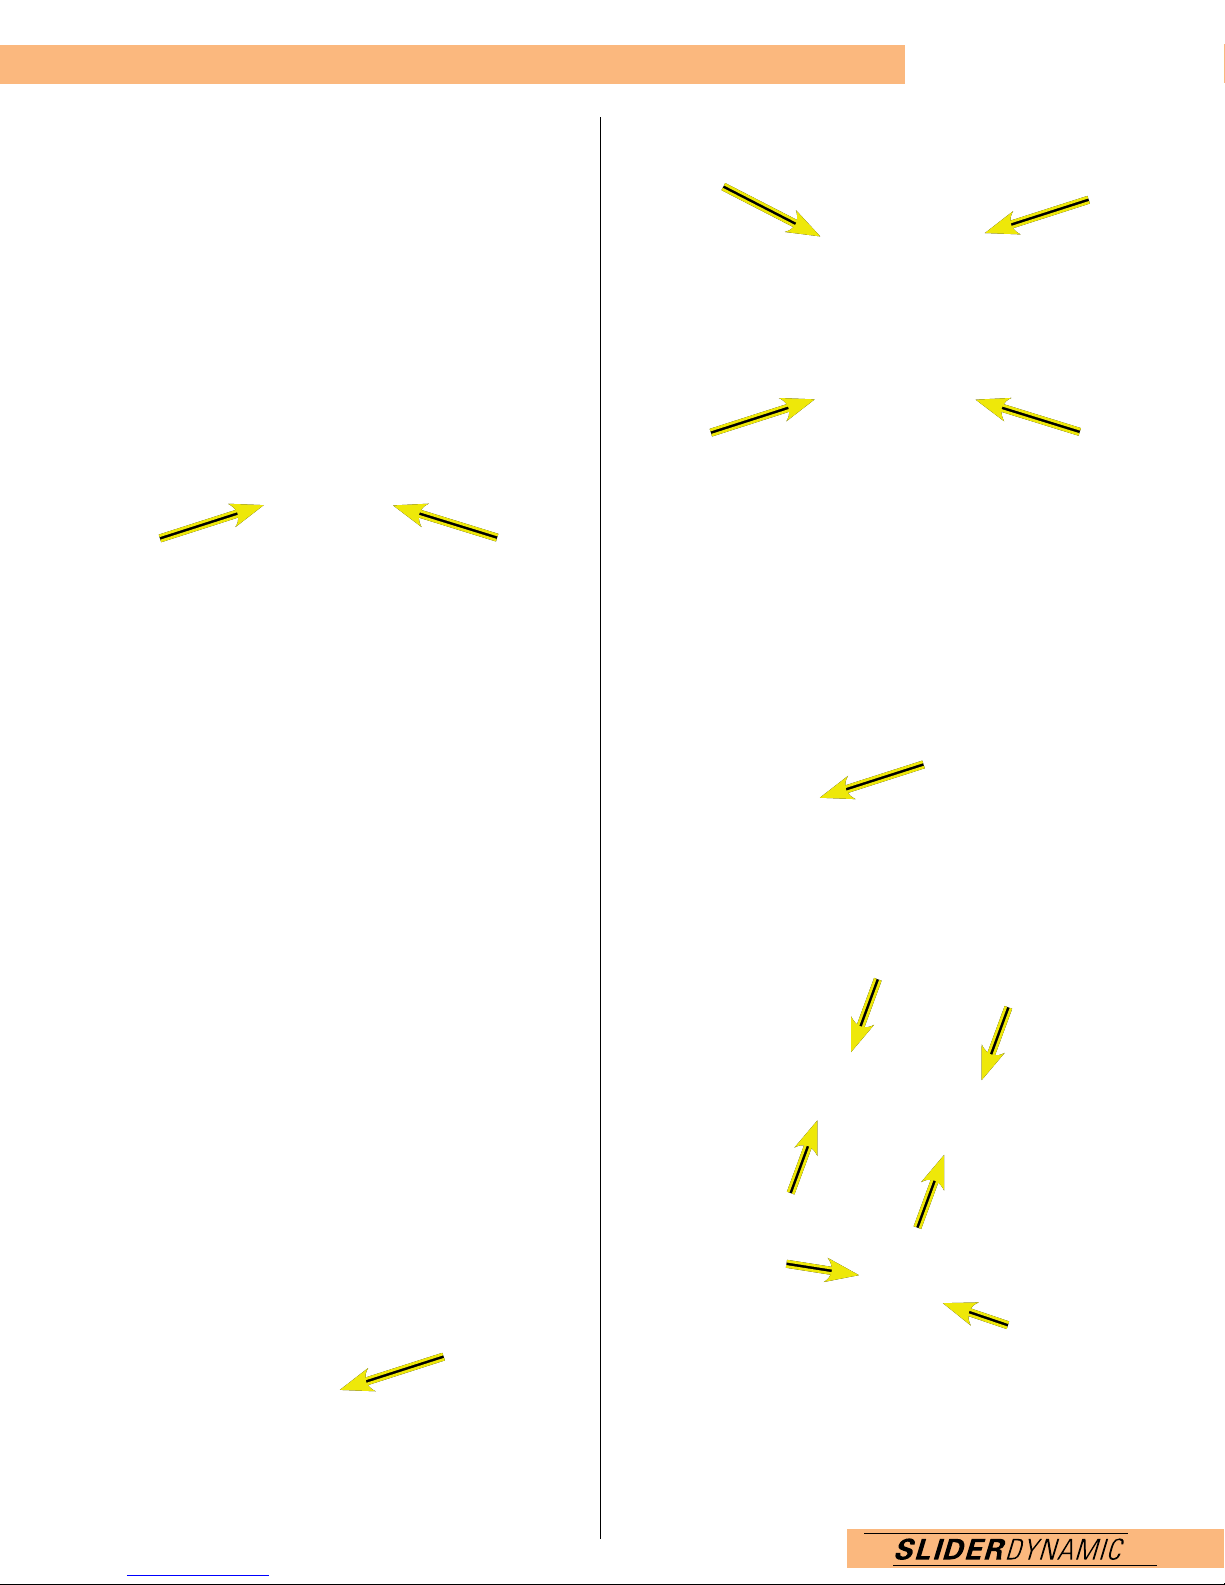
1. To release bungee pressure, stand the machine up and
unclip bungees from the axle. Clip on the safety bungee
bracket (or tie off so they don’t slip into the machine).
2. Use 4mm Allen wrench to remove plastic cover (4 bolts).
3. Take 3mm Allen wrench (you may need to tap with a
mallet) and loosen the bolts on the monitor cover and
the front cover. Be careful not to strip - turn slowly with
pressure or apply WD-40/ Liquid Wrench.
5
Page 6
REPLACING THE IDLER SPROCKET ASSEMBLY
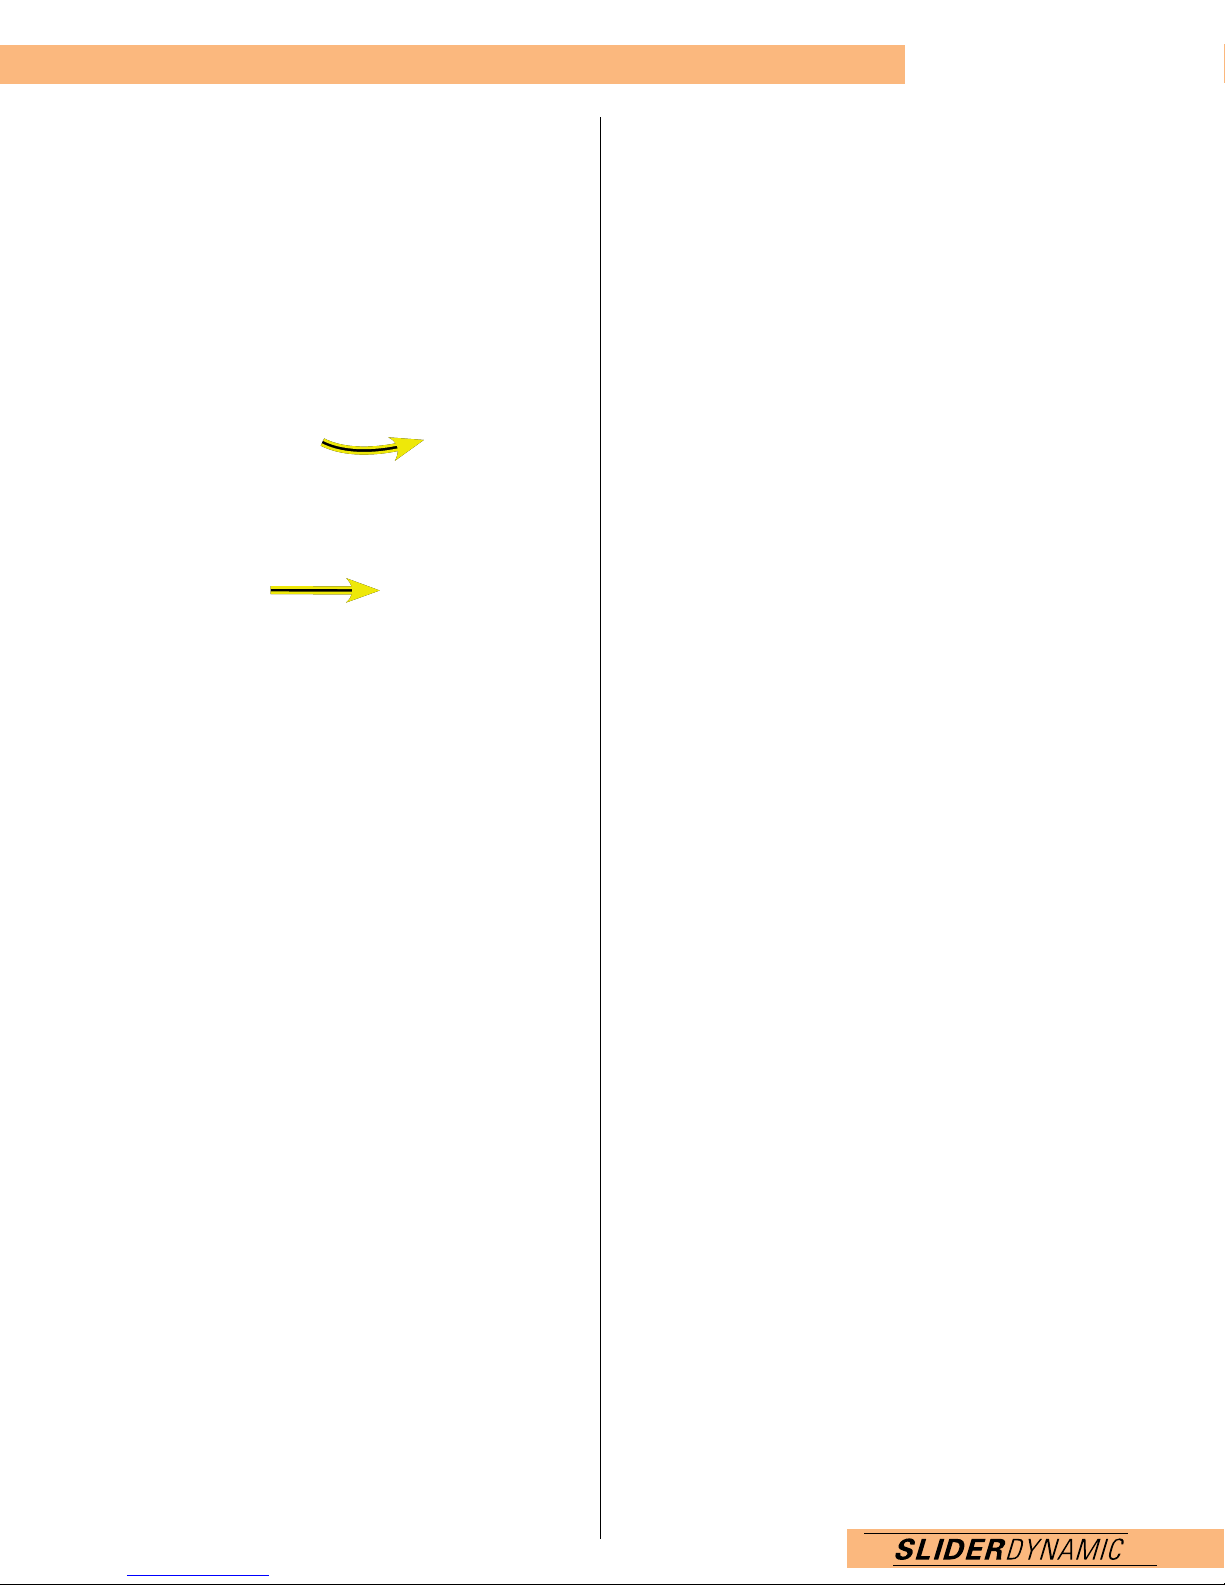
4. Take bungees and chain and move to the sides of the
body. (use a tool or cloth to keep it off your paint)
6. Put replacement assembly in. Tighten with 4mm wrench
on either side of the axle.
5. Use two 4mm Allen wrenches on either side of idler
sprocket assembly to loosen. Once loose, take the
assembly out.
7. Move bungees and chain back to pulley system and put
covers back on.
8. Tighten all the covers and clip bungees back to the
Bungee/Chain Block axle.
9. Oil chain to smooth out and quiet the new sprocket
system.
6
Page 7

CLEANING THE FLYWHEEL
TOOLS NEEDED:
PHILLIPS SCREWDRIVER
VACUUM
1. Take screws (4) out of the Flywheel Cover.
2. Remove Flywheel Cover
3. Use a vacuum to clean out any dust and dirt.
4. Replace the cover and screws.
7
Page 8

CLEANING THE RAILS
TOOLS NEEDED:
CLOTH
MULTI-PURPOSE CLEANER
1. With a mild, multi-purpose cleaner, clean tracks and
wheels inside the rails.
2. Clean seat wheels.
3. If machines are receiving excessive use, clean daily.
8
Page 9

OILING THE CHAIN
TOOLS NEEDED:
CLOTH
OIL
1. Pull chain out to the finish position and slowly retract
back while oiling with cloth. Do this from under the
chain so it does not drip on the machine or your floor.
2. Oil the full length of the chain.
3. Row 250 meters to spread the oil out to the rest
of the chain.
4. This should be done only a few times a year based on
use (otherwise the oil can build up in the gears).
9
Page 10

TIGHTENING THE BUNGEE
NO TOOLS NEEDED
1. Lock the Slider and stand it up.
3. Pull bungee towards the larger opening in the keyhole to
loosen (or ‘unlock’). Pull 2 inches through, then tighten
towards the narrow keyhole to lock into place. Clip back on
bottom pulley axle (flat side to machine body).
1. pull down to unlock
2. pull through
two inches
2. Take one bungee clip off of the axle.
3. lock into place
Repeat steps for opposite side.
Make sure both clips are back on the axle.
Slowly lower machine, unlock the plate and row.
If it still feels loose repeat above steps.
4. You may need to cut off any excess bungee. If the
bungee appears frayed or does not give ample tension
after tightening, it is time to replace your bungee.
10
Page 11

REPLACING THE BUNGEE
TOOLS NEEDED:
3MM ALLEN WRENCH
4MM ALLEN WRENCH
1. Lock the machine.
2. Take the 6 bolts off the front cover off using 3mm
Allen wrench. Take the black cap off using a 4mm
Allen wrench.
6. Insert the new bungee in bungee block.
7. Pull tight and line up.
3. Stand machine up.
4. Take note of how the bungees are wrapped and parallel
(not crossed) before taking out old bungee.
5. Unhook bungees, unlock and slide out of hooks.
8. Take right bungee piece and tie off on foot straps.
(cont. on next page)
11
Page 12

REPLACING THE BUNGEE
9. Take left bungee up and around. Feed into machine to
top pulley, then feed it up and around.
10. Place bungee in hook and lock to small side of keyhole
(flat side to the body).
11. Take the right side of the bungee and hook down and
around. Feed into machine to top pulley. Feed downward
and around.
12. Attach the bungee hook to the axle (flat side to body).
Make sure bungees are parallel - if they are crossed
recheck your steps.
12
Page 13
REPLACING THE DRIVE SPROCKET
TOOLS NEEDED:
PHILLIPS SCREWDRIVER, 3MM ALLEN WRENCH, MALLET,
(2) 17MM WRENCHES, PLIERS
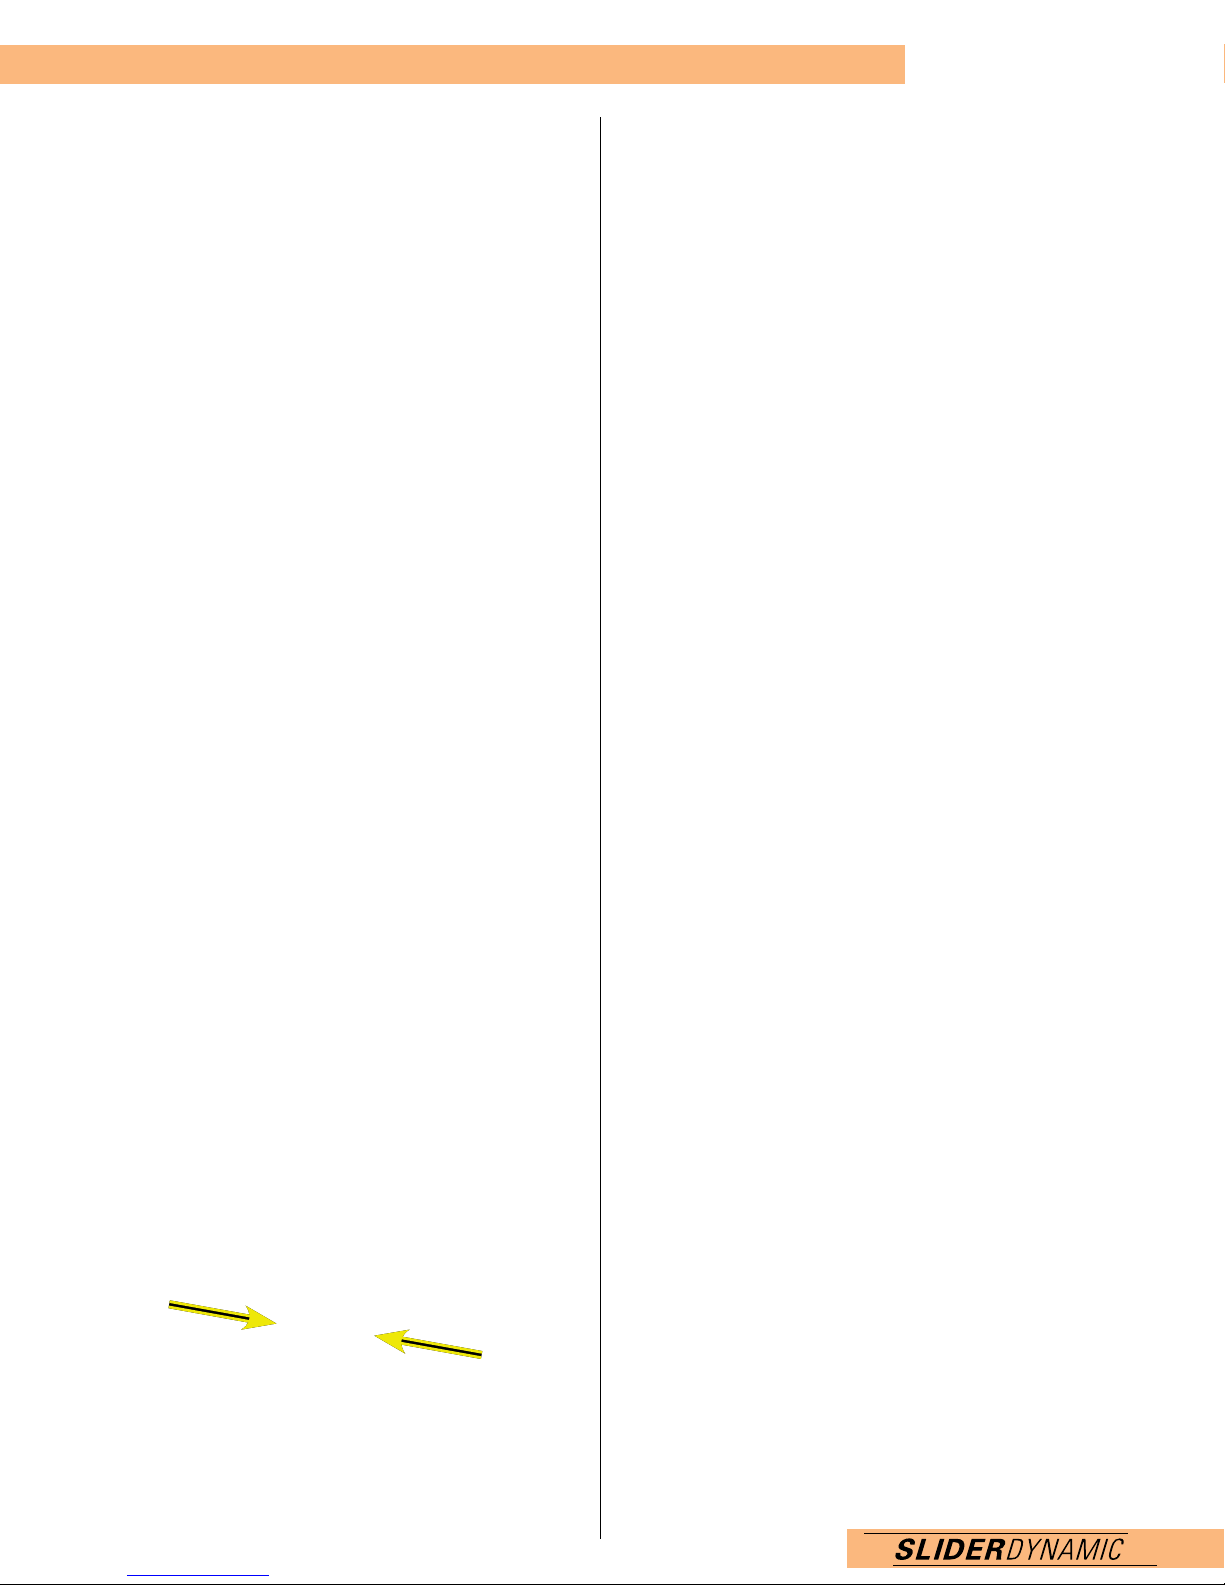
1. With the Slider Flywheel forward, unscrew the 4 Flywheel
screws using a Phillips screwdriver.
2. Loosen the drive axle bolts using 17mm wrenches, then
take bolts off and remove flywheel.
4. Use the screwdriver to hold the chain off of the
drive sprocket.
5. Take a mallet and tap out the drive axle.
6. Unscrew the drive sprocket. You may need, pliers or
vise grips.
3. Take the back cover off using a 3mm Allen tool, making
sure not to strip bolts. Use WD40 if not easily loosened.
7. Put the new drive sprocket on.
8. Tap drive axle back on (making sure the chain can attach
around it).
9. Put the chain on the drive sprocket.
10. Put the flywheel back on, using 17mm wrenches
to attach.
11. Put the flywheel cover back on, screw in the 4 screws
using a Phillips screwdriver.
13
Page 14

RAIL TROUBLESHOOTING
TOOLS NEEDED:
PHILLIPS SCREWDRIVER
3MM ALLEN WRENCH
MALLET
(2) 17MM WRENCHES, PLYERS
If your rails are not traveling back and forth:
Check that the rail brackets are not bent or loose.
If they are bent, take off the bracket, try to straighten it out
and put it back on.
Row to see if the rails are corrected. If unable to straighten,
call customer support @ 800-455-9022 for a replacement.
If the brackets are not bent, clean the wheels and check that
they are spinning properly.
14
Page 15

REPLACING THE RAIL BRACKET
TOOLS NEEDED:
5MM ALLEN WRENCH
PARTS NEEDED:
SKID BRACKET, L BRACKET, BOLTS
1. Remove the 5mm bolts from the bracket and skid strip.
2. Align the rectangular skid bracket on the top rail.
3. While holding the skid bracket, place the L bracket on
top and align holes. Place each bolt in, hand tighten
first, then tighten with a 5mm Allen wrench.
15
Page 16

REPLACING THE RAIL WHEELS
TOOLS NEEDED:
5MM ALLEN KEY
10MM WRENCH
1. Remove the rear base rail end caps.
2. Remove the bumpers.
3. Slide rail back until wheels are exposed.
5. Assemble the wheel (spacers on the outside and punch
through the middle).
wheel
spacer (both sides)
punch
6. Insert the wheel from underneath the top rail.
4. Using a 5mm Allen Key and a 10mm wrench, remove
the wheels.
7. Slide the bolt through the wheel, knocking the punch out.
8. Screw the nut onto the bolt. Tighten with wrenches.
Make sure the wheel can spin (the thread of the bolt
needs to come past the nut to lock).
9. Repeat the above steps on the other side. Return the
bumpers and covers.
10. Replace the front wheels. Remove the front base rail
covers and bumpers and slide the machine forward so the
wheels are accessible.
11. Repeat Steps 4-9
12. Your Slider’s wheels should now be replaced. Test row to
make sure rails are sliding properly.
16
Page 17

REPLACING THE SENSOR
TOOLS NEEDED:
3MM ALLEN WRENCH
PHILLIPS SCREWDRIVER
SMALL PHILLIPS SCREWDRIVER
17MM WRENCH
1. Take a 3mm Allen wrench and loosen top back cover
bolts (2) and remove. Slide cover open.
2. Take flywheel cover off using a Phillips Screw Driver.
Using a 17mm wrench, loosen flywheel bolt. Remove bolt
and flywheel.
3. Take small Phillips screwdriver and unscrew the sensor
and peel off. Look inside the machine and open the tabs
that hold the cable. Remove the sensor and cable.
4. Replace with new sensor plug in the back of the monitor.
Run through the tabs inside the machine and out of the
hole by the flywheel. Peel off the cover so the sticky
adhesive is exposed, line up with screw hole and stick.
5. Tighten sensor screw.
6. Replace flywheel using 17mm wrench. Attach the
flywheel cover using a Philips screwdriver.
7. Attach rear cover. Insert bolts and tighten with a 3mm
Allen key.
17
Page 18

REPLACING THE SEAT WHEELS
TOOLS NEEDED:
5MM ALLEN KEY
13MM WRENCH
PHILLIPS SCREWDRIVER
1. Remove screws from the rear top rail endcaps and
remove endcaps.
2. Slide the seat off. Using the 5mm Allen key and 13mm
wrench, remove the nut and bolt.
3. Take the old wheel off and put the new one on. Make
sure to put washer on one side of the bolt and the
spacer on the other.
The easiest way to do this is to:
-put the bolt partially through
-put on the washer
-put the wheel on
-partially slide bolt through the wheel (to hold wheel)
-insert the spacer
-push bolt through
4. Screw nut on and tighten until the bolt has passed
the lock nut thread. In order to ensure the wheel spins
freely, be sure not to overtighten.
5. Repeat above steps until all the wheels have been
replaced.
6. Put the seat back on the top rail. Make sure the indent
is towards the back of the machine.
7. Replace the end caps and screws.
18
Page 19

REPLACING THE HANDLE
TOOLS NEEDED:
5MM ALLEN KEY
1. Use a 5mm allen key and remove handle bolts.
2. Take the U-Bolt out of the handle (be careful that it does
not retract into the machine).
3. Hook on the handle rest.
4. Take the new handle and slide it into U-Bolt,
5. Insert 5mm bolts and tighten.
19
Page 20

FOOT STRAP REPLACEMENT
REQUIRED TOOLS:
7MM WRENCH
PHILIPS SCREWDRIVER
1. Using the 7mm wrench, locate the small nut on the back
of the footboard. Hold the nut with the wrench. Using
the screwdriver, unscrew the middle inside bolt.
3. Loop the new foot strap through with the buckle part
towards the middle of the footboard. Note the hole in
the foot strap, line up the hole in the strap with the
screw hole in the footboard.
2. Remove the screw, bolt and old strap. Place screw
nearby for reuse.
4. Insert the screw through the footboard and hole in the
foot strap.
20
Page 21

FOOT STRAP REPLACEMENT
5. Take the nut and insert it into the wrench, put your
finger on the back of the wrench to hold the nut in
place, then place on the screw thread on the back of the
footboard.
6. While holding with the wrench, tighten the screw with a
Philips screwdriver.
8. Feed the strap through the buckle. The Footstrap
assembly is now complete. Repeat on the other side if
necessary.
7. Take the remaining part of the strap and feed through
the outer slot.
21
 Loading...