

Slamm Outbreak Instruction Manual

INSTRUCTION MANUAL

ASSEMBLY INSTRUCTIONS
Please note: ADULT ASSEMBLY REQUIRED
Unpack your scooter from the box and check that all the parts pictured below are present. In addition to this we recommend you use two 36mm
spanners or an adjustable wrench (not supplied) to set up your headset correctly. You can set up the scooter with out spanners but it’s harder to
keep the headset nuts secure and achieve the correct headset adjustment.
Before you head out there are a few things you’ll need to know that will help you get the most out of your scooter and help
you maintain it properly.
A) Bars
B) Bar Stem
C) deck
D) Forks
E) Brake
F) Bar Grips
G) Clamp
H) Rear Wheel
I) Front Wheel
J) Headset Top Nut
K) Headset Lower Nut
L) Headset Top Cup
M) Headset Bottom Cup
N) Allen Keys
a)
c)
e)
f)
G)
h) i)
J)
n)
l)
k)
m)
D)
b)
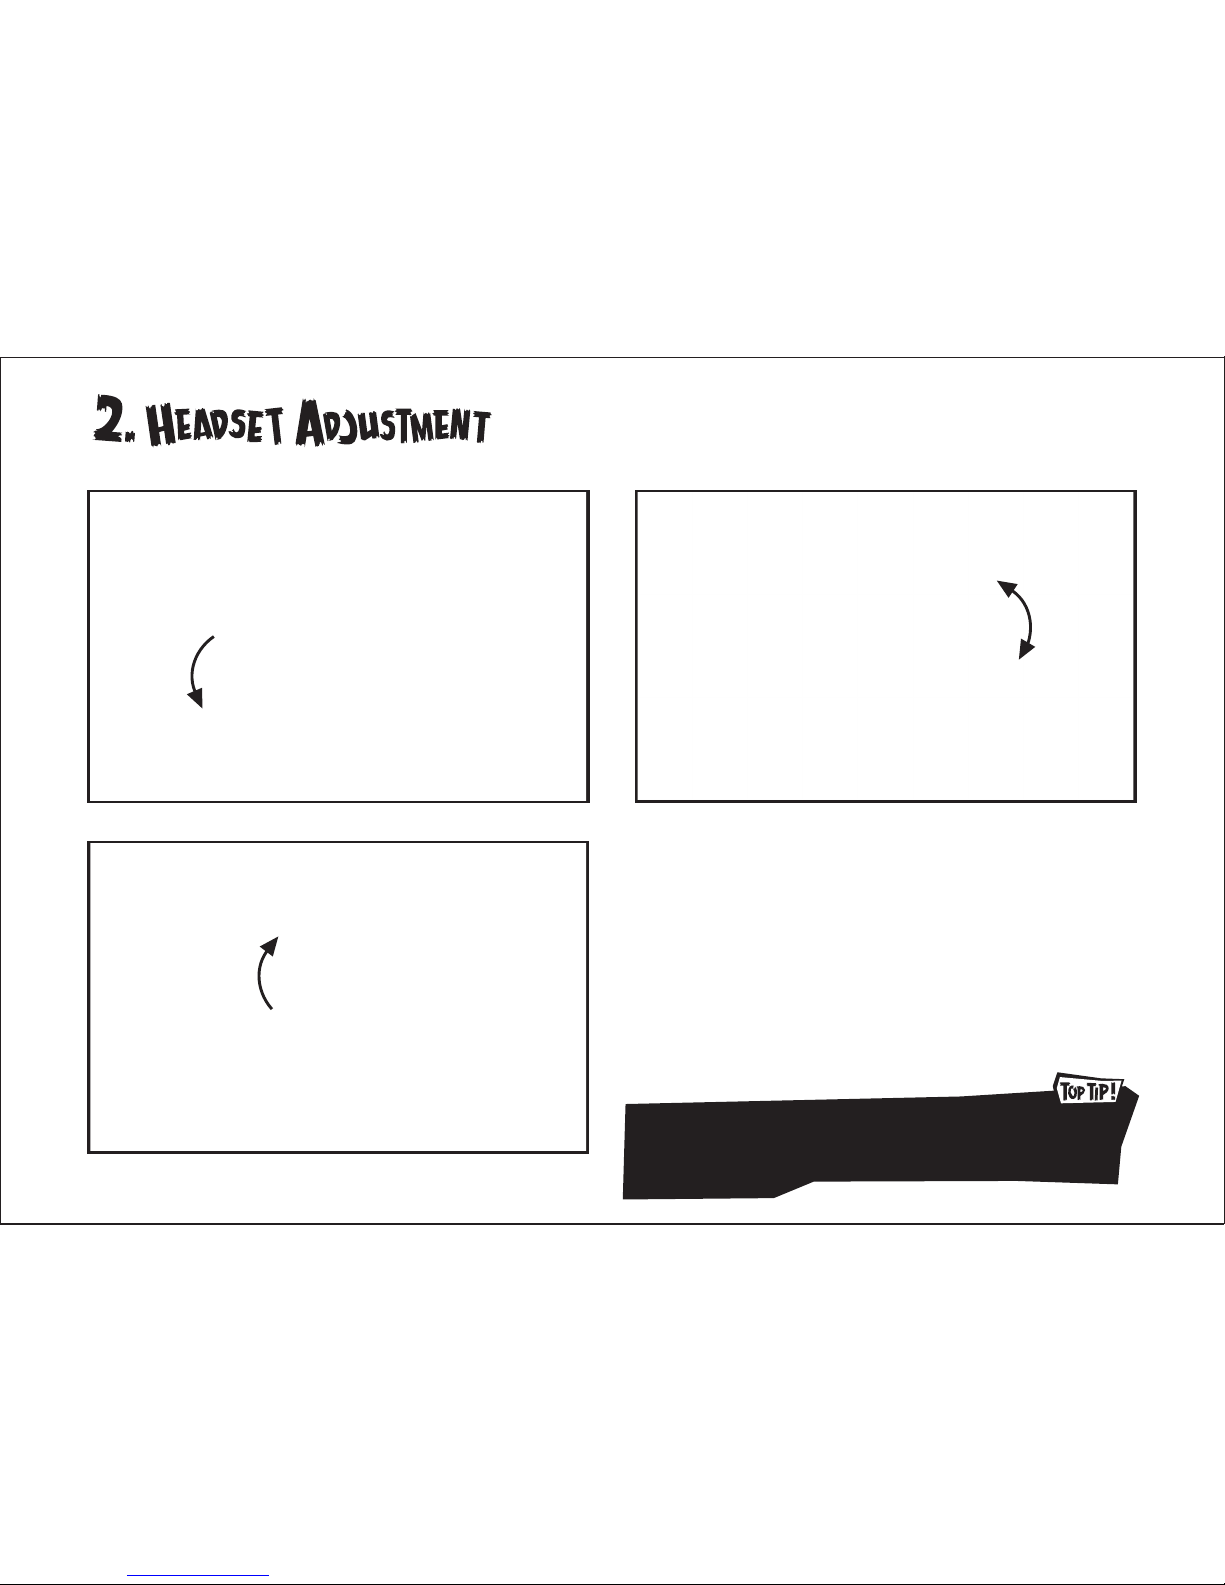
The rst and most important part of building your scooter is checking that the headset is correctly adjusted. If it wobbles, has play or is too tight
follow the simple instructions below to make sure it is working correctly. This is important so take your time to get it right.
Step 1: locate the top two headset adjuster nuts that sit just above the
head tube and loosen o the top nut so you can adjust it.
Step 2: Hand tighten the lower nut so there is no play or wobble in the
fork. It should still turn easily but there needs to be some resistance with
the bars o. Having this nut too tight or too loose may result in damage
to the bearings!
Step 3: Now tighten the top nut down on to the bottom nut to secure it
in place. While holding the lower nut in place tighten the top nut as much
as possible to lock it o. *
Be careful to make sure the bottom nut doesn’t move or that will adjust
the headset!
The fork should have a slight resistance once correctly adjusted.
This is because the bars are not fitted and the bearings require
load to spin. Once the bars are fitted it should spin freely! if not
re-check the above
1 2
3
*NOTE: Two 36mm spanners will make this job much easier
 Loading...