

Page 1
Page 2

TROUBLE SHOOTING
4. Tools
5. Game
6. Hot key
3. System Setup
Main Menu
1. Channel List
2. Installation
MENU INFORMATION
INSTALLATION
Front Panel
Rear Panel
Connecting to Digital Amplifier
Connecting to TV using RCA support
Main Features
For your Safety
Unpacking
General Operation
RCU
GENERAL INFORMATION
31
27
26
25
22
15
11
10
10
8
8
9
9
7
8
3
3
4
6
6
Page 3
2
Subtitle support DVB EN300743 and EBU
Teletext support DVB ETS300472 by VBI and OSD
Automatic save for last channel
Channel list can be sorted by alphabetic A-Z
Up to 3X3 pictures on screen, only 1 active
Video zoom function with 1/2/4/6/8/12/16 ratio
SatcoDX standard support
Parental control for channels
Easy to use Menu System
Software upgrades through RS232 port and Receiver to receiver
Automatic turn on/off by Timer setting(multiple options)
DiSEqC 1.2 fully support, 13/18V, 0/22K, 0/12V LNB control
Various channel editing function(favorite, move, lock, rename and sort)
Fully support to 7 days Electronic Program Guide(EPG)
Picture in Graphics(PIG) support
256 colors On Screen Display
Automatic network search for newly added transponders
MPEG-2 digital & fully DVB-S compliant
SCPC and MCPC receivable from C/Ku band satellite
Automatic PAL/NTSC conversion
4000 channels TV and Radio programmable
32 different favorite groups selection
On Screen Display with multi-language
Main Features
engineering or technology.
Information confirmed in this document is subject to change. We reserves the right,
without notice, to make change in product design or performances as progress in
special features available only in this DSR in detail, which will allow you to make full
use of these features.
the DSR and the necessary steps to implement various features. This also explains
of programs provided through satellite. This user's guide covers the installation of
A Digital Satellite Receiver is a convenient product that allows you to view a variety
Page 4
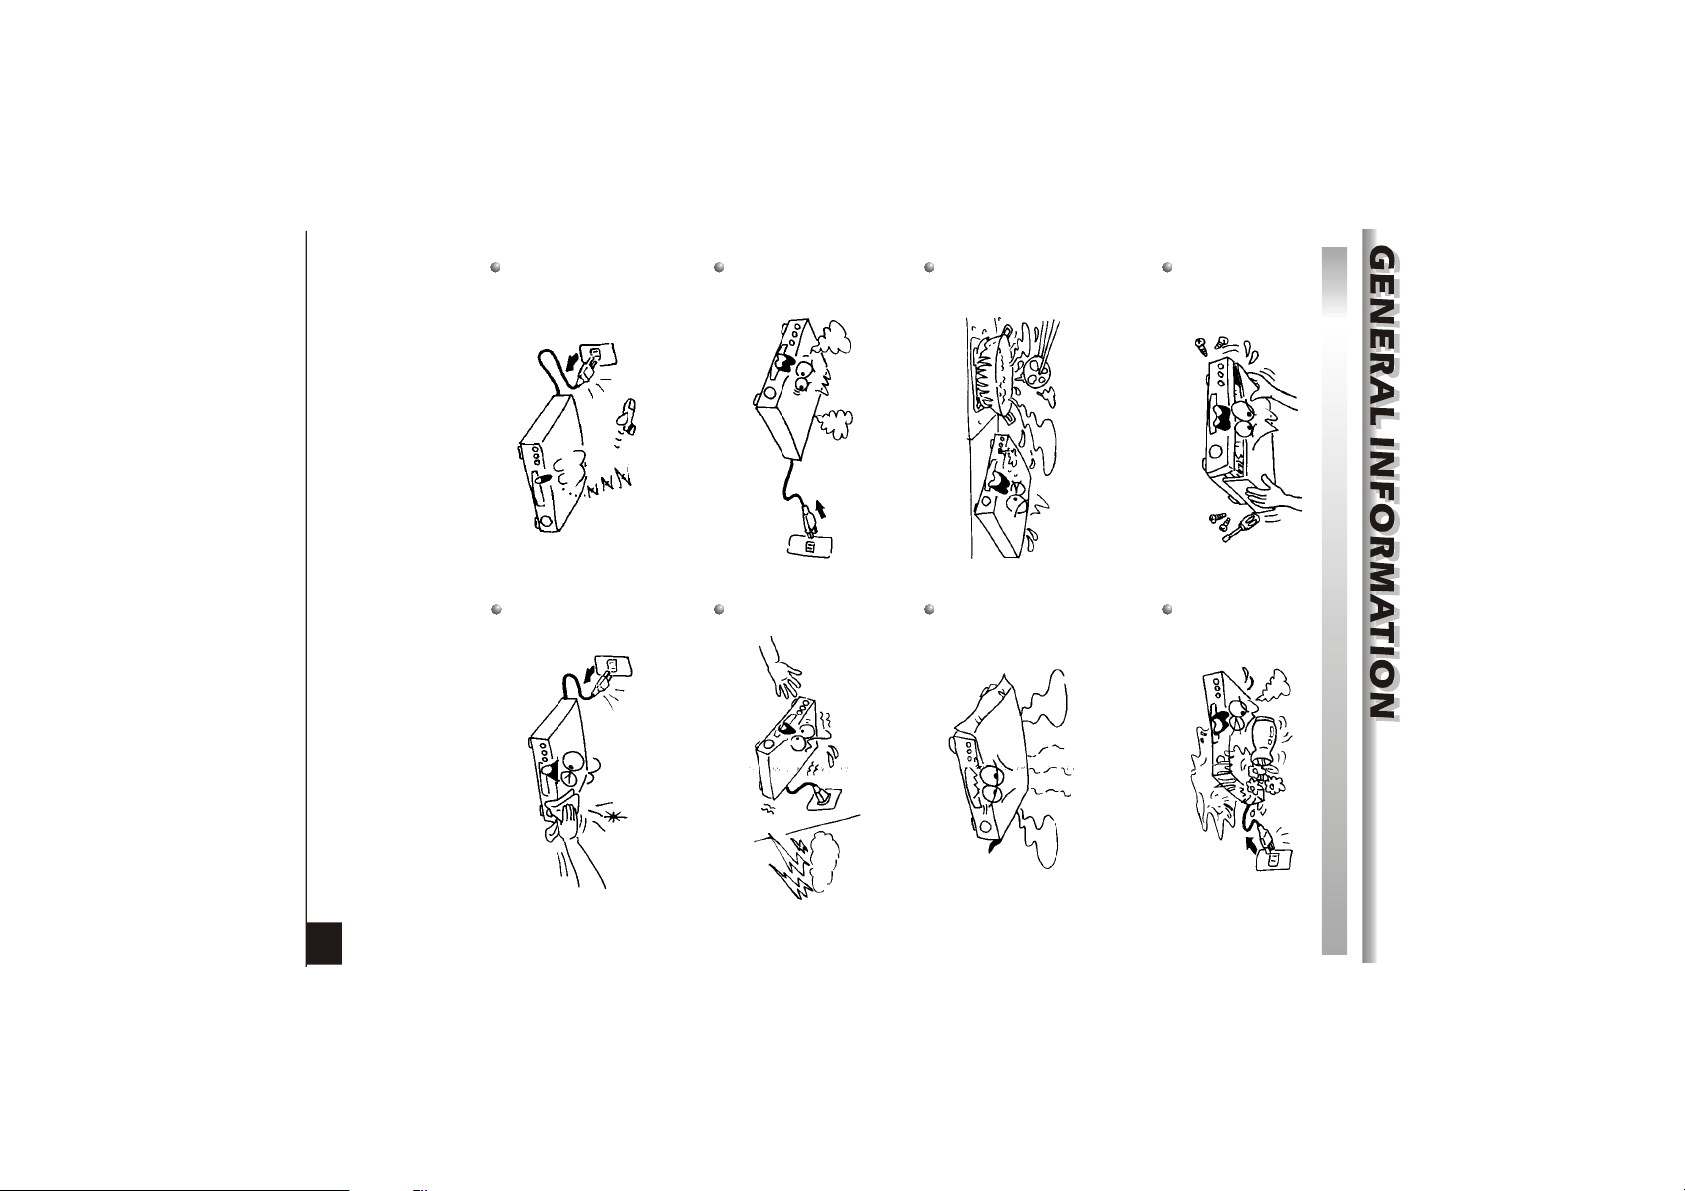
Switch the receiver off whenever it remains
out of service for an extended period.
Be sure to turn the Receiver off and
disconnect the AC power cord before
cleaning the Receiver surface. If the
surface is dirty, wipe clean with a cloth
which has been dipped in a weak soap-and-
water solution and wrung out thoroughly,
and then wipe again with a dry cloth.
When the abnormal phenomenon occur,
you should cut off the power immediately.
Do not touch the receiver during thunder,
since that might create electric-shock
hazards.
Do not expose the receiver un-der the
sunlight. And keep it away from the heat
source.
Do not block ventilation holes of the
Receiver so that air can circulate freely.
To avoid electric-shock hazards, do not
For Your Safety
open the cabinet, refer servicing to qualified
personnel only.
Keep the receiver away from flower vases,
tubs, sinks, etc., in order to avoid damaging
the equipment.
3
Page 5

4
-- Connect the equipment into an outlet on a circuit different
from that to which the receiver is connected.
-- Consult the dealer or an experienced radio/TV technician for help.
-- Increase the separation between the equipment and receiver.
-- Reorient or relocate the receiving antenna.
correct the interference by one or more of the following measures:
can be determined by turning the equipment off and on, the user is encouraged to try to
communications. However, there is no guarantee that interference will not occur in a
particular installation.
If this equipment does cause harmful interference to radio or television reception, which
used in accordance with the instructions, may cause harmful interference to radio
compliance could void the user authority to operate the equipment .
NOTE: This equipment has been tested and found to comply with the limits for a Class B
digital device, pursuant to Part 15 of the FCC Rules. These limits are designed to provide
reasonable protection against harmful interference in a residential installation. This
equipment generates, uses and can radiate radio frequency energy and, if not installed and
Warning statement
Changes or modifications to this unit not expressly approved by the party responsible for
Page 6
Please be aware that new software may change the functionality of the receiver.
Should you experience any difficulties with the operation of your receiver, please
consult the relevant section of this manual, including the Problem Shooting, or
alternatively call your dealer or a customer service adviser.
The receiver is easy to use, always at your command and adaptable for future
advances.
function can also be carried out using the buttons on the front panel.
All function can be carried out using the buttons on the RCU, and some of the
General Operation
Throughout this manual you will notice that the everyday operation of the receiver is
based on a series of user friendly on screen display and menus. These menus will
help you get the most from your receiver, guiding you through installation, channel
organizing, viewing and many other functions.
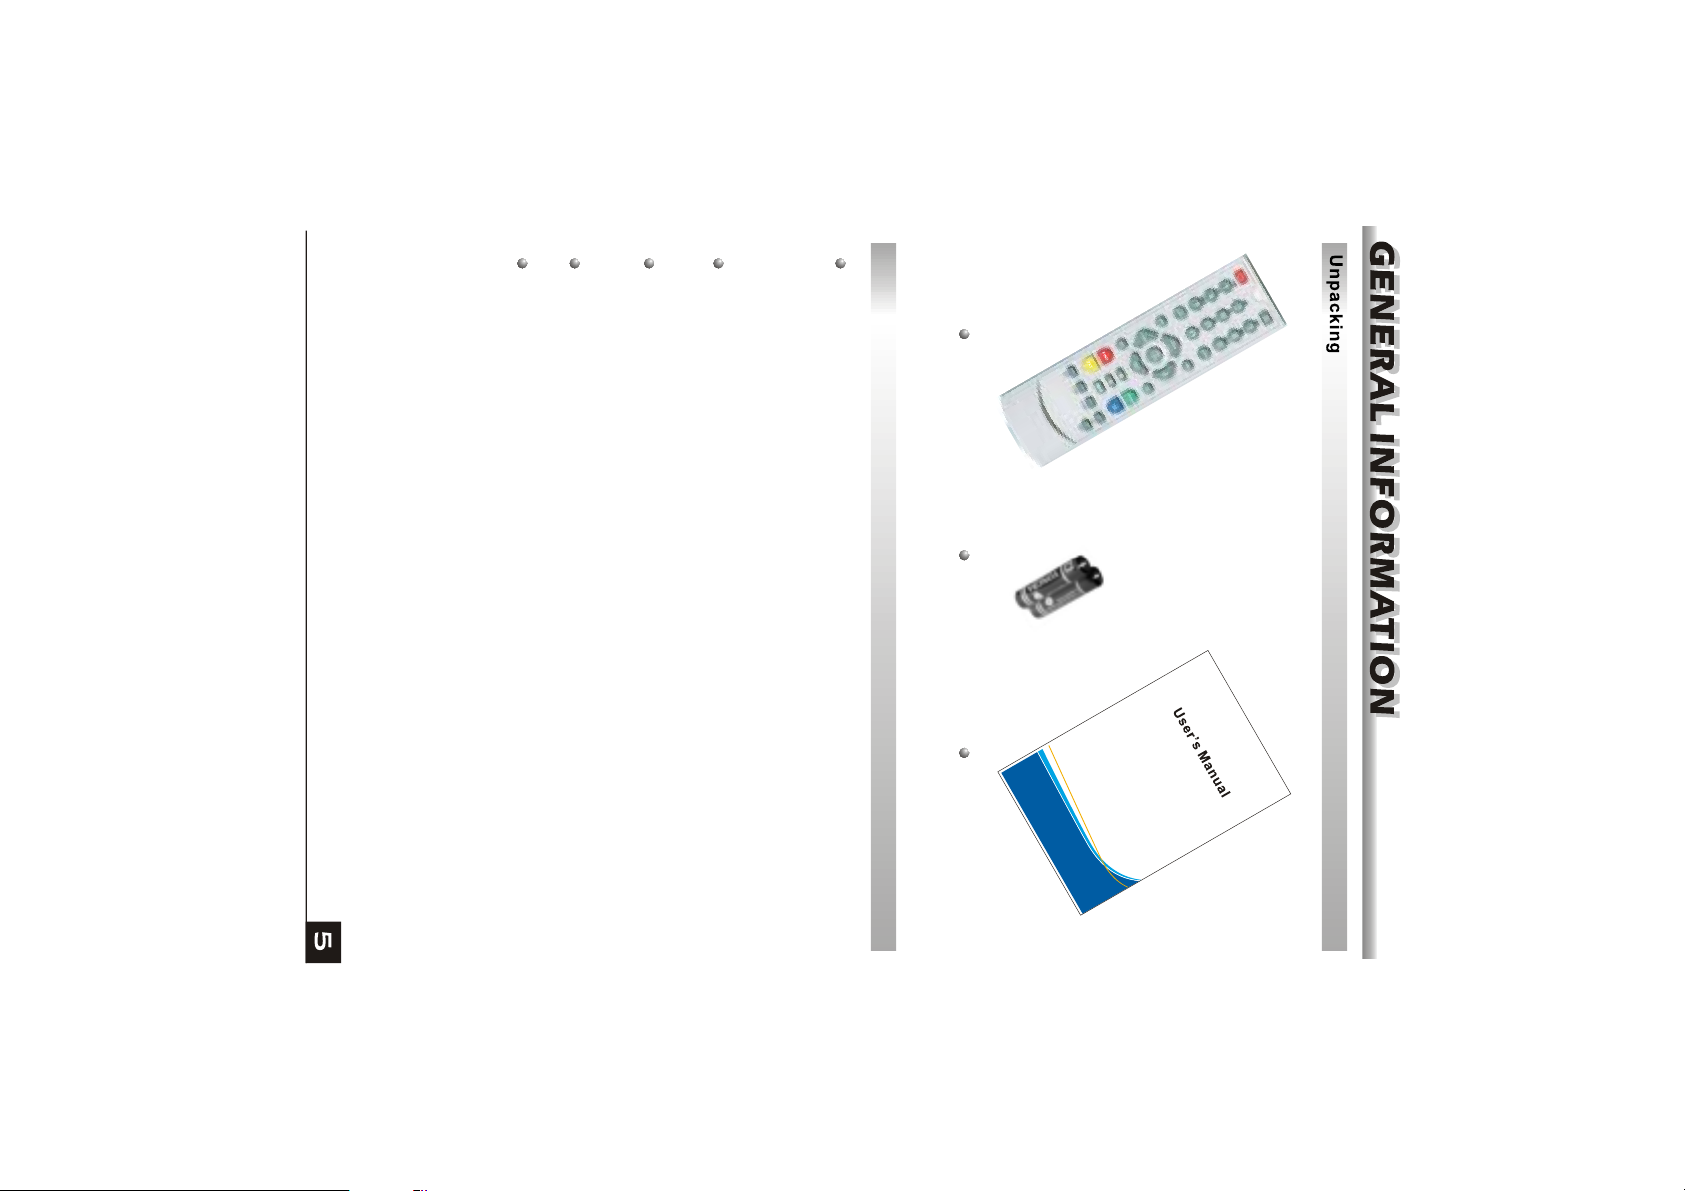
Remote Control
Batteries User's Gudide
(Optional)
Page 7
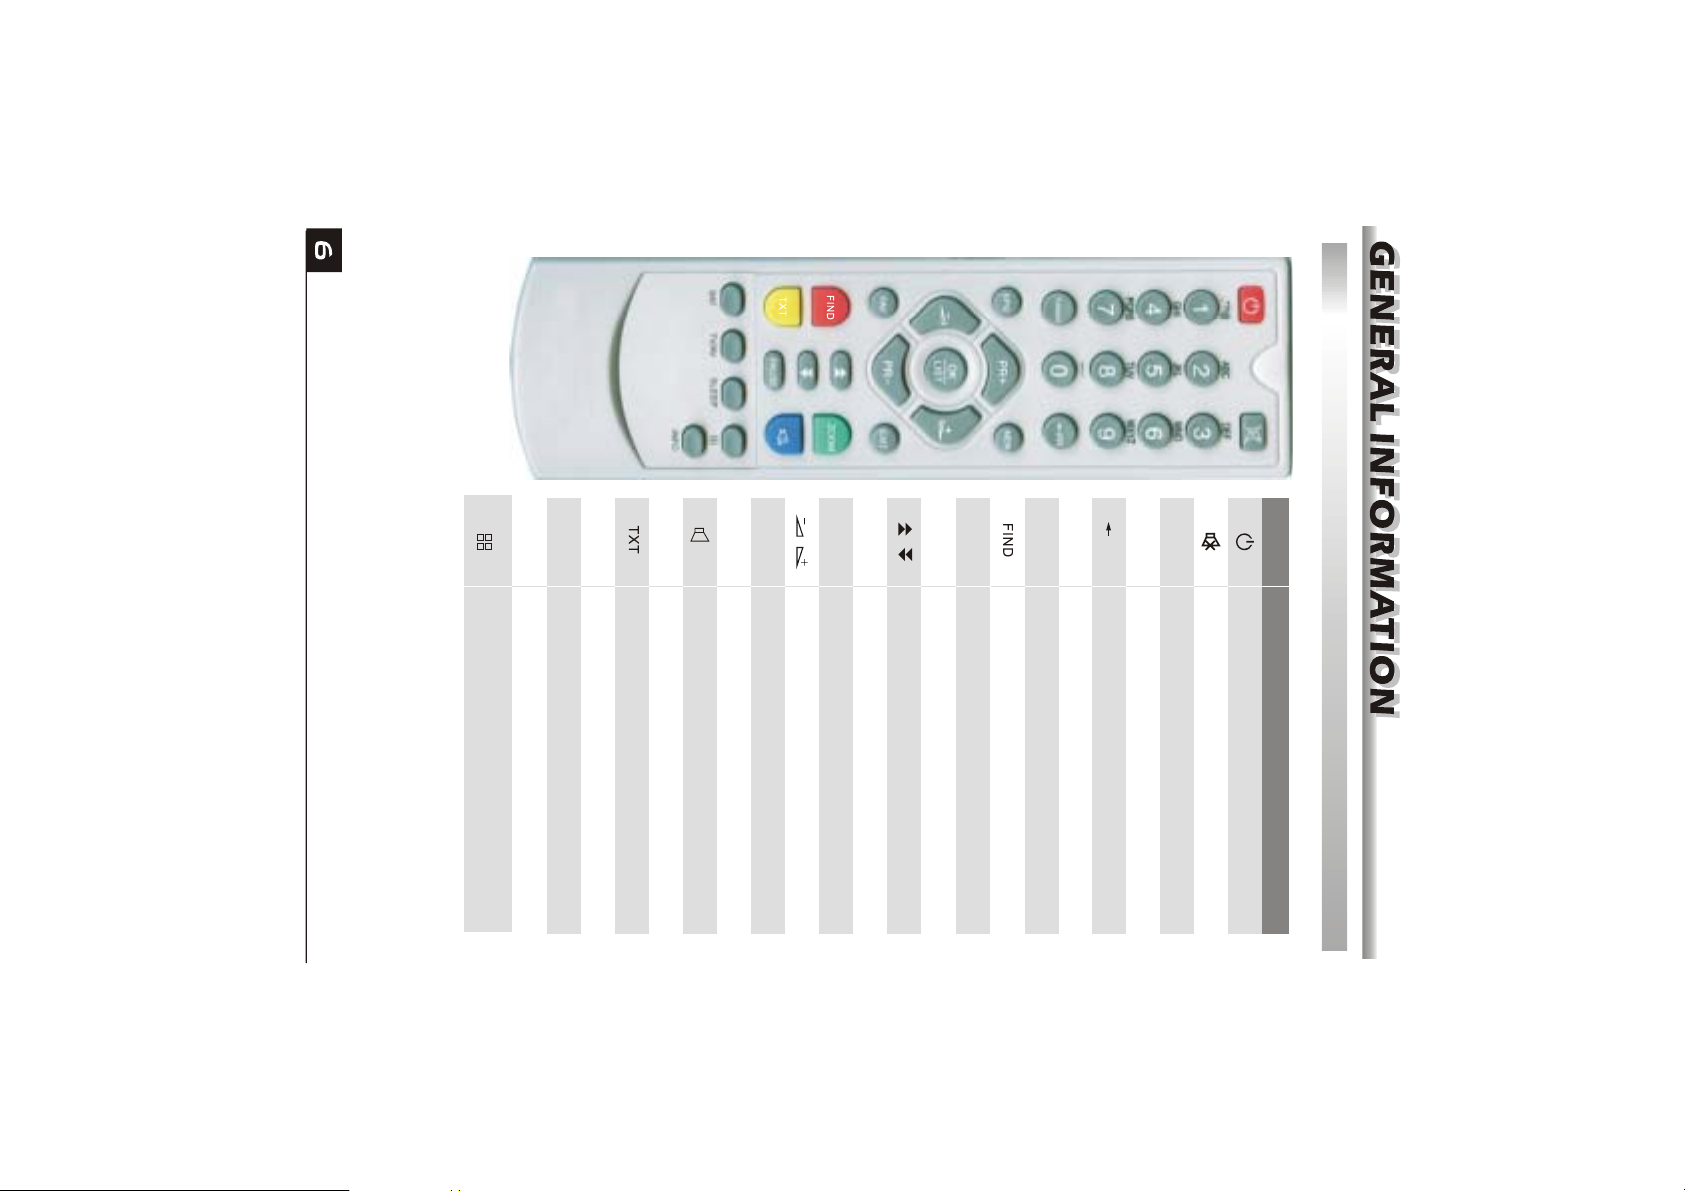
RCU
PAUSE
SLEEP
Enter into the sleep in mode
Enter into the nine-pictures mode displayed
on the screen.
ZOOM
Press once to pause the screen picture, press
once again to go to the normal mode
Switch to teletext or subtitle mode
Enter into the zoom in mode
TV/AV
R
Switch between TV and AV modes
L
Display the Audio window.
EPG
EXIT
Return to the previous menu on the menu
screen or escape from the menu
Call up the EPG (Electronic Program Guide)
PR+, PR-
move to the next higher or lower item in the menu
When watching a channel, adjust the volume or
move to the left or right item in the menu
OK, LIST
Moves up / down a page in the list
Executes the selected item in the menu screen
or enters the desired value in any input mode
When watching a channel, change channels or
MENU
INFO
Press this key one time to run menu onscreen
Show information of the current channel
SAT
Display the satellite list
Display the Find window
TV/RADIO
FAV
PR
Switches between TV and Radio mode
Switches back to previous channel
Display the favorite group list
0~9
Enter number of the required menu item or
select a channel number to watch
When watching a channel, mute the sound
Turns power ON/OFF of the DSR
Key
Function
Page 8
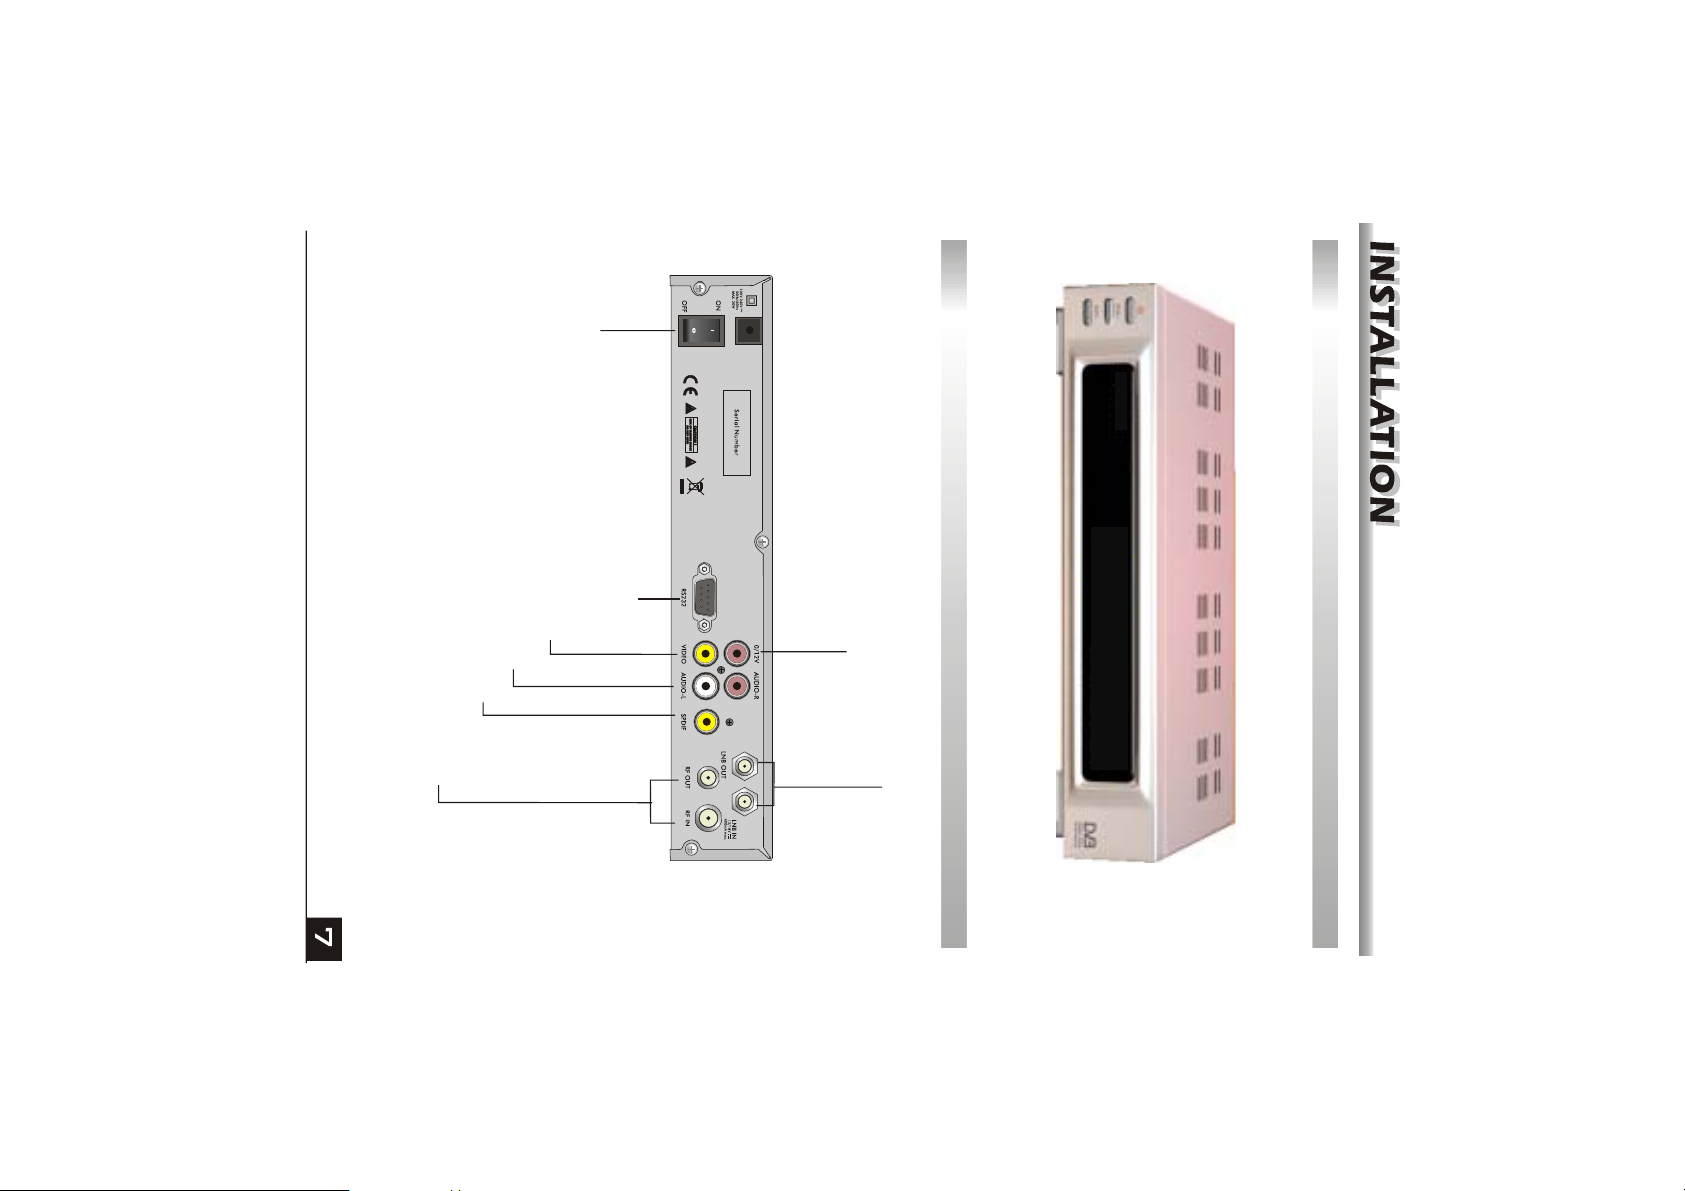
CONNECT TO A DIGITAL AMPLIFIER
RF IN: CONNECT TO CABLE SINGAL
RF OUT: CONNECT TO TV ANT INPUT
POWER ON/OFF
CONNECT TO AUDIO R/L TO TV OR AUDIO TUNER
CONNECT VIDEO TO TV USING RCA JACK
CONNECT TO A PC FOR S/W UPGRADE
Rear PanelRear Panel
CONNECT TO 12V TO AN EXTERNAL 0/12V SWITCH
LNB IN: CONNECT TO SATELLITE ANTENNA
LNB OUT:CONNECT TO THE OTHER RECEIVER
Rear PanelFront Panel
Page 9
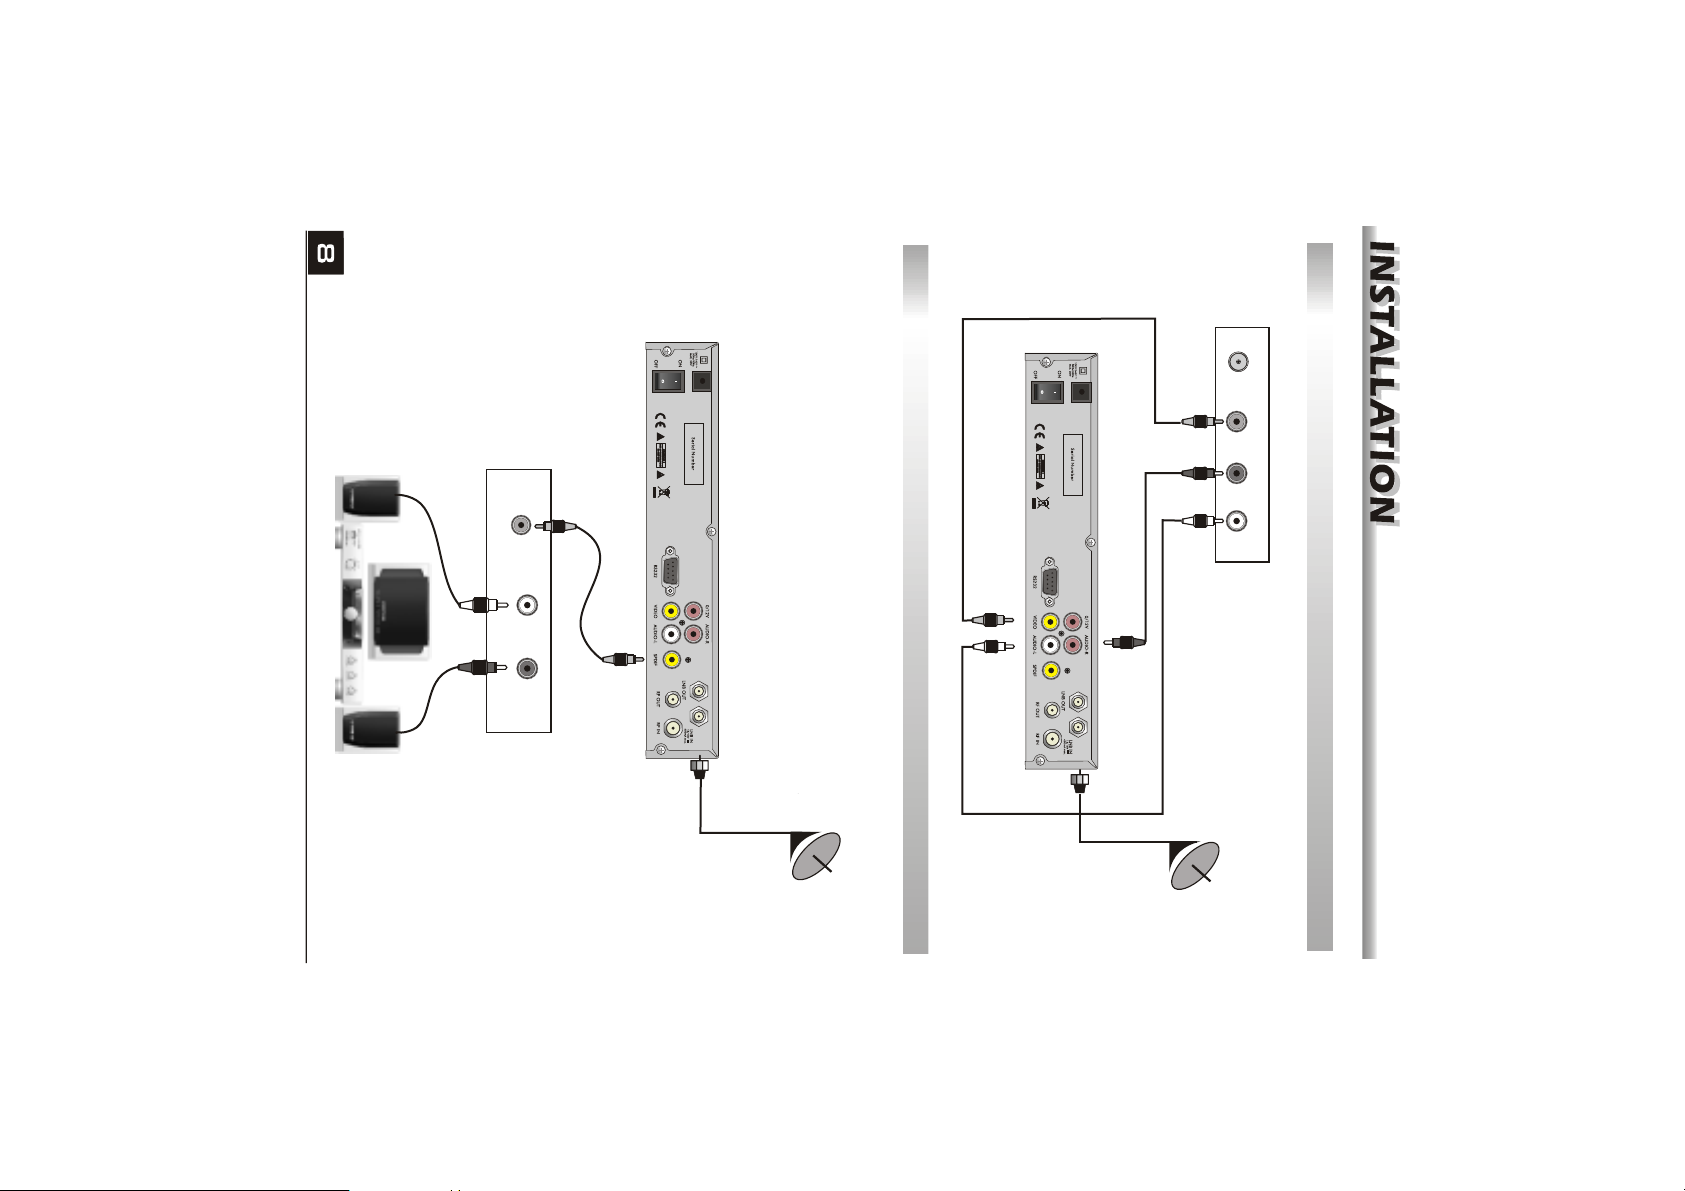
DSR
Connecting to Digital Amplifier
DSR
Connecting to TV using RCA support
TV
IN VIDEO
SPEAKER
DIGITAL AUDIO
LR
CONVERTOR OR
DIGITAL AUDIO
AMPLIFIER
AUDIO
LR
Satellite
Dish
Satellite
Dish
Page 10
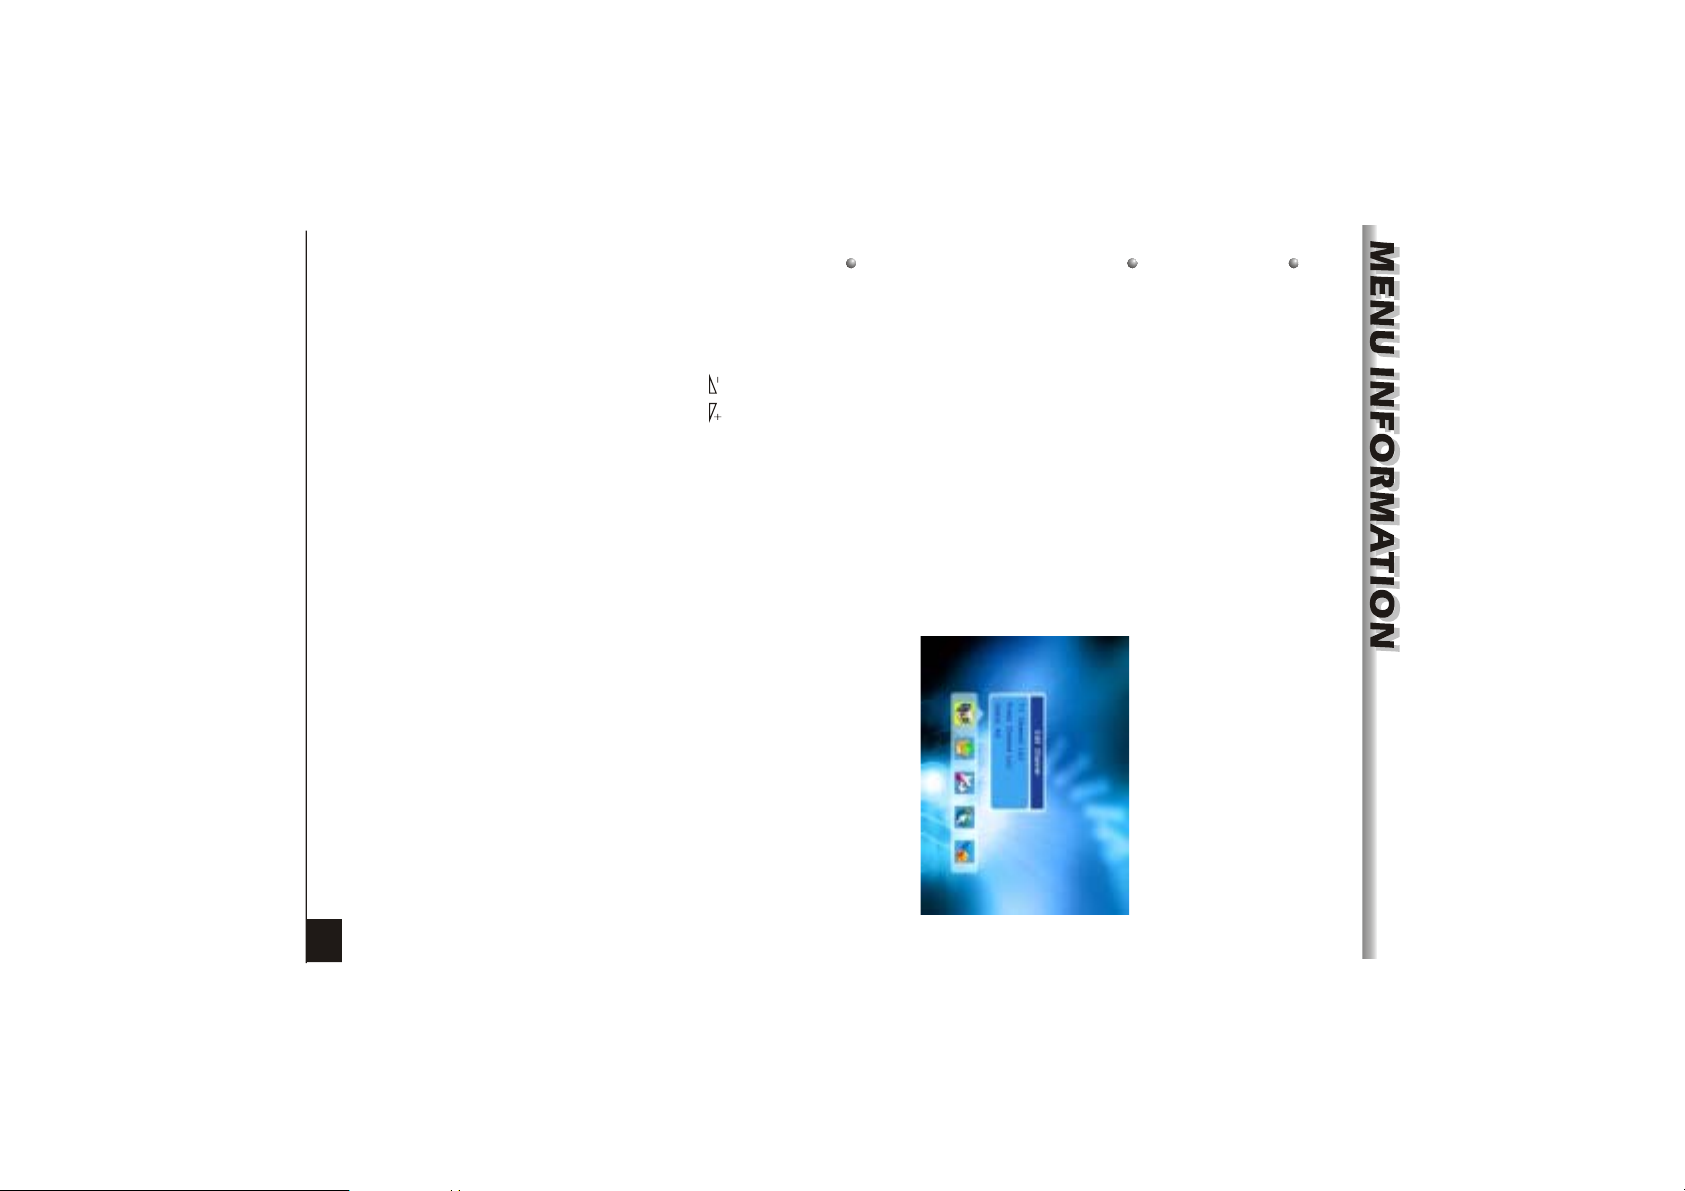
on the RCU.
Meantime, you want to escape the menu system, please press MENU or EXIT key
line and use key to move from main menu to sub menu and move from left
side to right side or versa.
Use the PR+, PR- key to move upwards and downwards from one line to another
RCU to enter numeric value.
List Box if the column has mark. You can also use the numeric keys on the
During the installation the OK key confirms a selection and LIST key shows Down
- System Setup
- Tools
- Game
- Installation
as follow.
- Edit Channel
This menu consists of 5 major main menus
Main Menu window.
During the normal TV/Radio mode, press MENU key on the RCU to enter into the
the Main Menu window will be displayed on the screen.
well. If the receiver is the factory status or there is no program list, when power on,
Main Menu
Make sure that you have properly installed and connected the cables of the receiver
9
Page 11
10
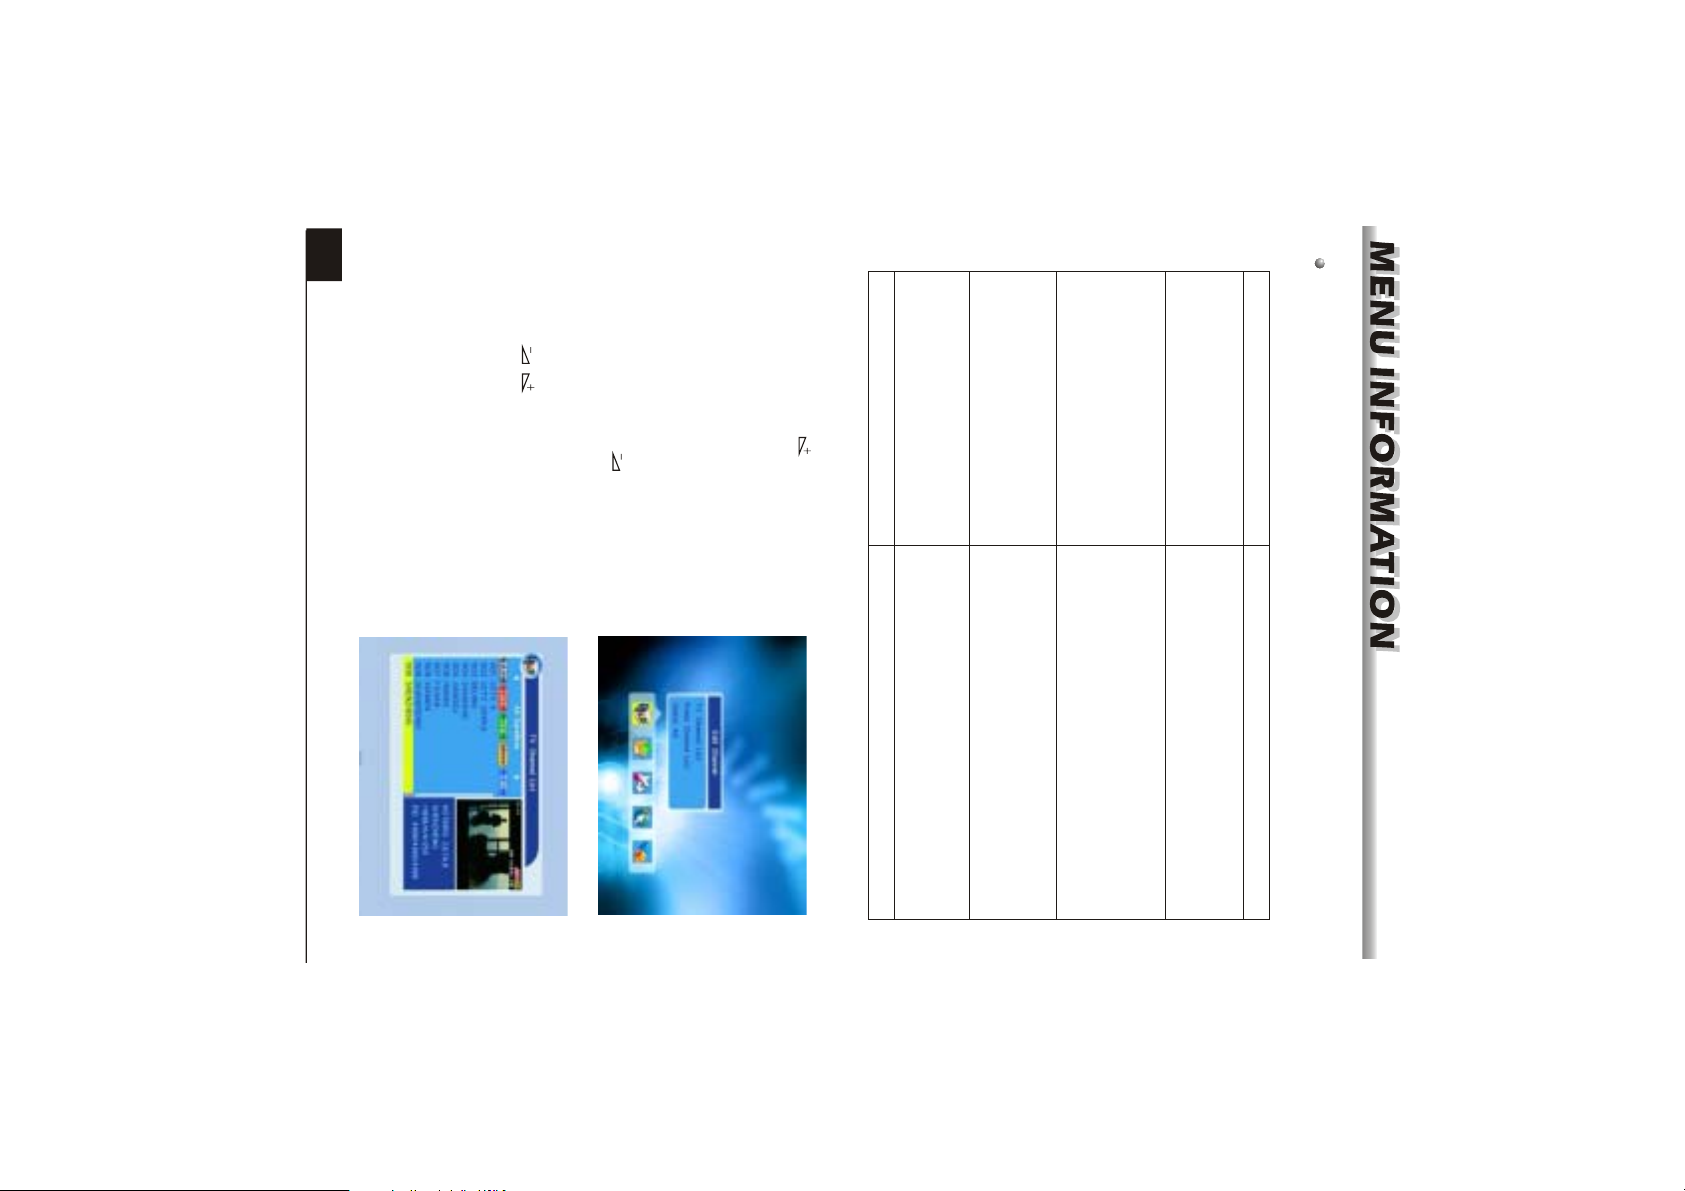
program in the small window.
yellow cursor to select up or down, you will
see a gray line which indicates the playing
to view it in the small window. If move the
that you want to play, and then press OK key
1.1 TV Channel List
focus to the left menu.
1. Press keys to select satellite.
2. Press PR+, PR- keys to select the program
is "0000".
2. Press PR+, PR- keys to move the cursor
up or down.
3. Press EXIT key or key to move the
"Input Password" dialogue, you can not
enter into the menu unless the correct
password is inputted. The default password
1. Press OK key or key to pop up the
1. Channel List
MENU or EXIT key. System will inform "No channel" and the following items turn grey.
If there is no program, you can not exit from the Main Menu window by pressing
Tools
Game Tetris Othello
Information Factory Setting
SatecoDX Auto Programing
Sudoku
System Setup
Language TV System
Local Time Setting Time Setting
TP List
Parental Lock
OSD Setting Favorite Other
Installation
Antenna Setup
Satellite List
Antenna Setup
Single Satellite Search
Multi Satellite Search
Edit Channel
TV Channel List
Radio Channel List
Delete all
Sub-menu Turn grey when there is no program
Page 12
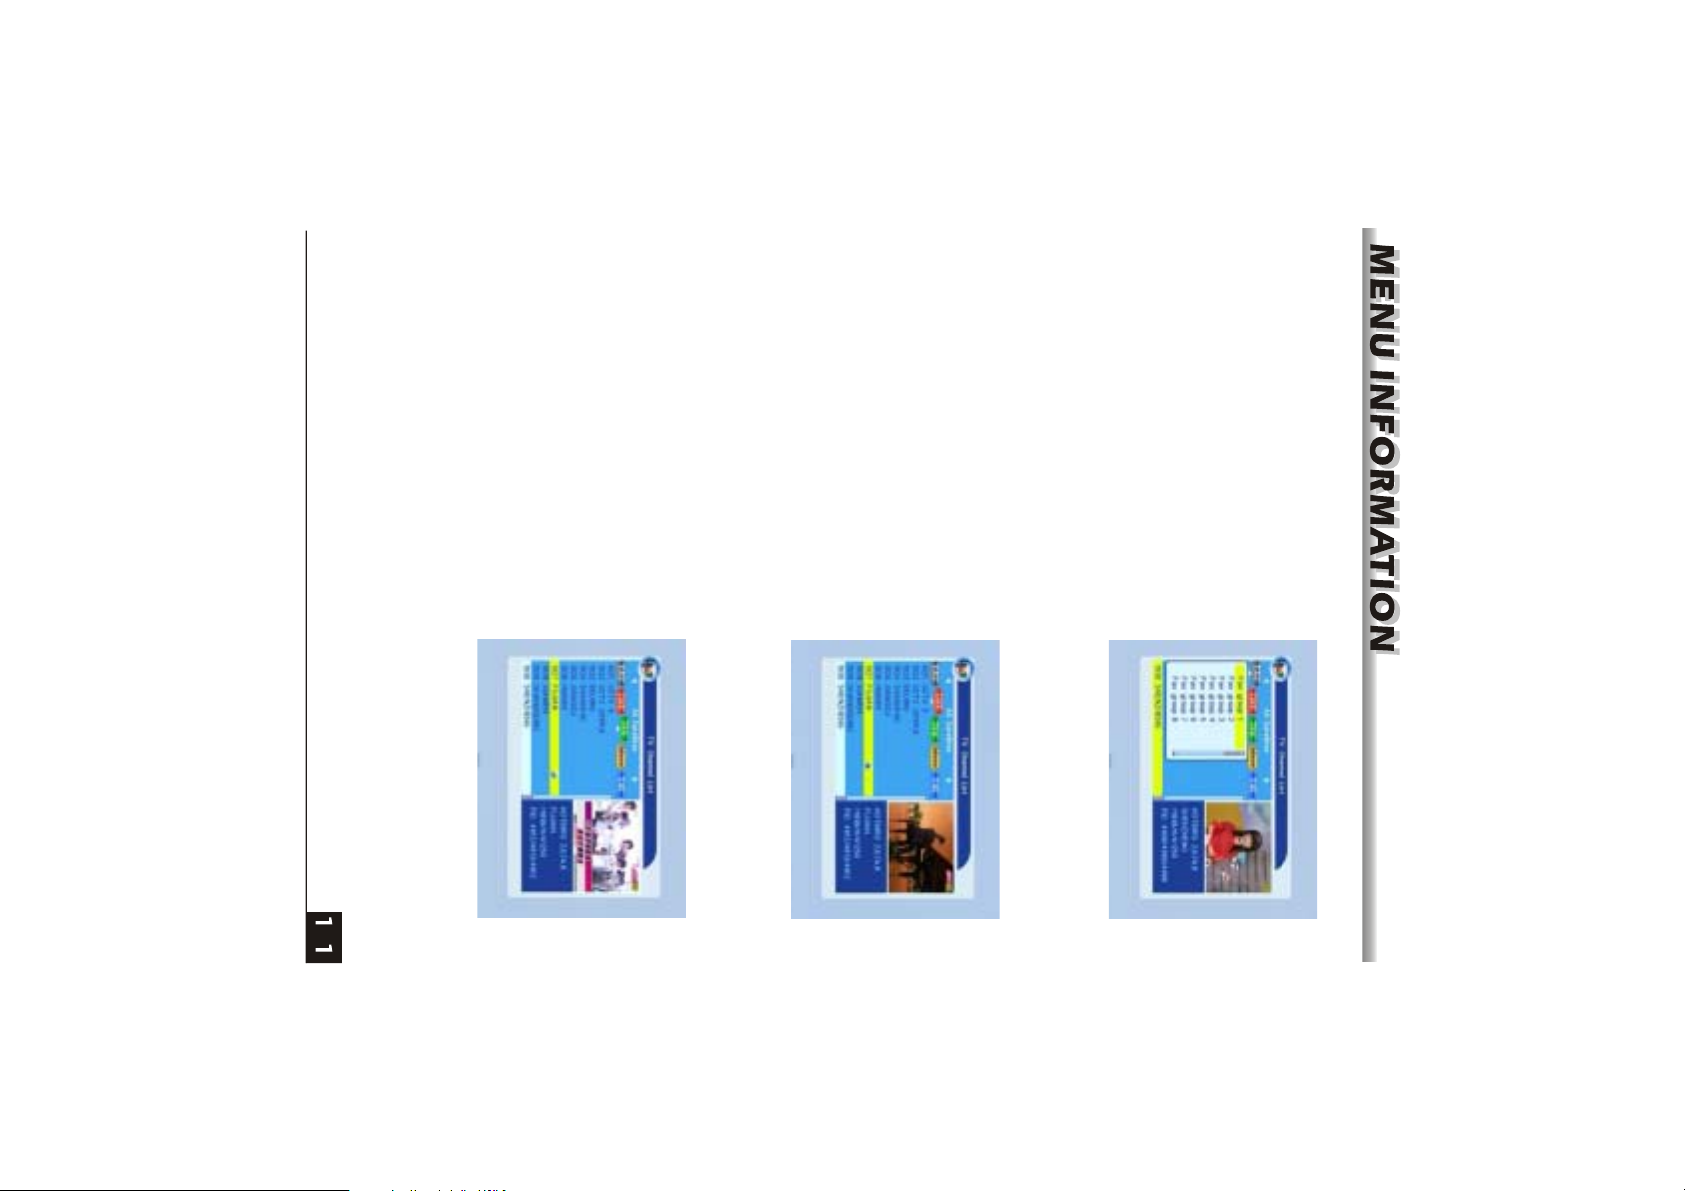
the skip mode, and you will find the Skip
button return to the origin position.
Press green colour key again to exit from
mark. You can cancel this mark by pressing
OK key once more.
OK key to mark this program with the skip
5. Press green colour key to move the Skip
button upward. Select the program and press
lock mode, and you will find the Lock button
return to the origin position.
OK key once more.
Press red colour key again to exit from the
mark. You can cancel this mark by pressing
button upward. Select the program and press
OK key to mark this program with the Lock
mode, and you will find the FAV button return
4. Press red colour key to move the Lock
to the origin position.
of the selected program.
Press FAV key again to exit from the fav
list, select the group that you want to add into
and press OK key, and then you will find the
favourite mark is displayed at the right side
key to pop up the favourite group list. In the
3. Press FAV key to move the FAV button
upward. Select the program and press OK
Page 13
last.
ahead, while all scrambled programs are
listed last.
Lock: all locked programs are listed at the
Name (A-Z).
Free/Scramble: All FTA programs are listed
Name (Z-A): The opposite order of the above
the $ character, the number is ahead, then
the capital letter, at last the lowercase.
down list.
Name(A-Z): The ascending order, omitting
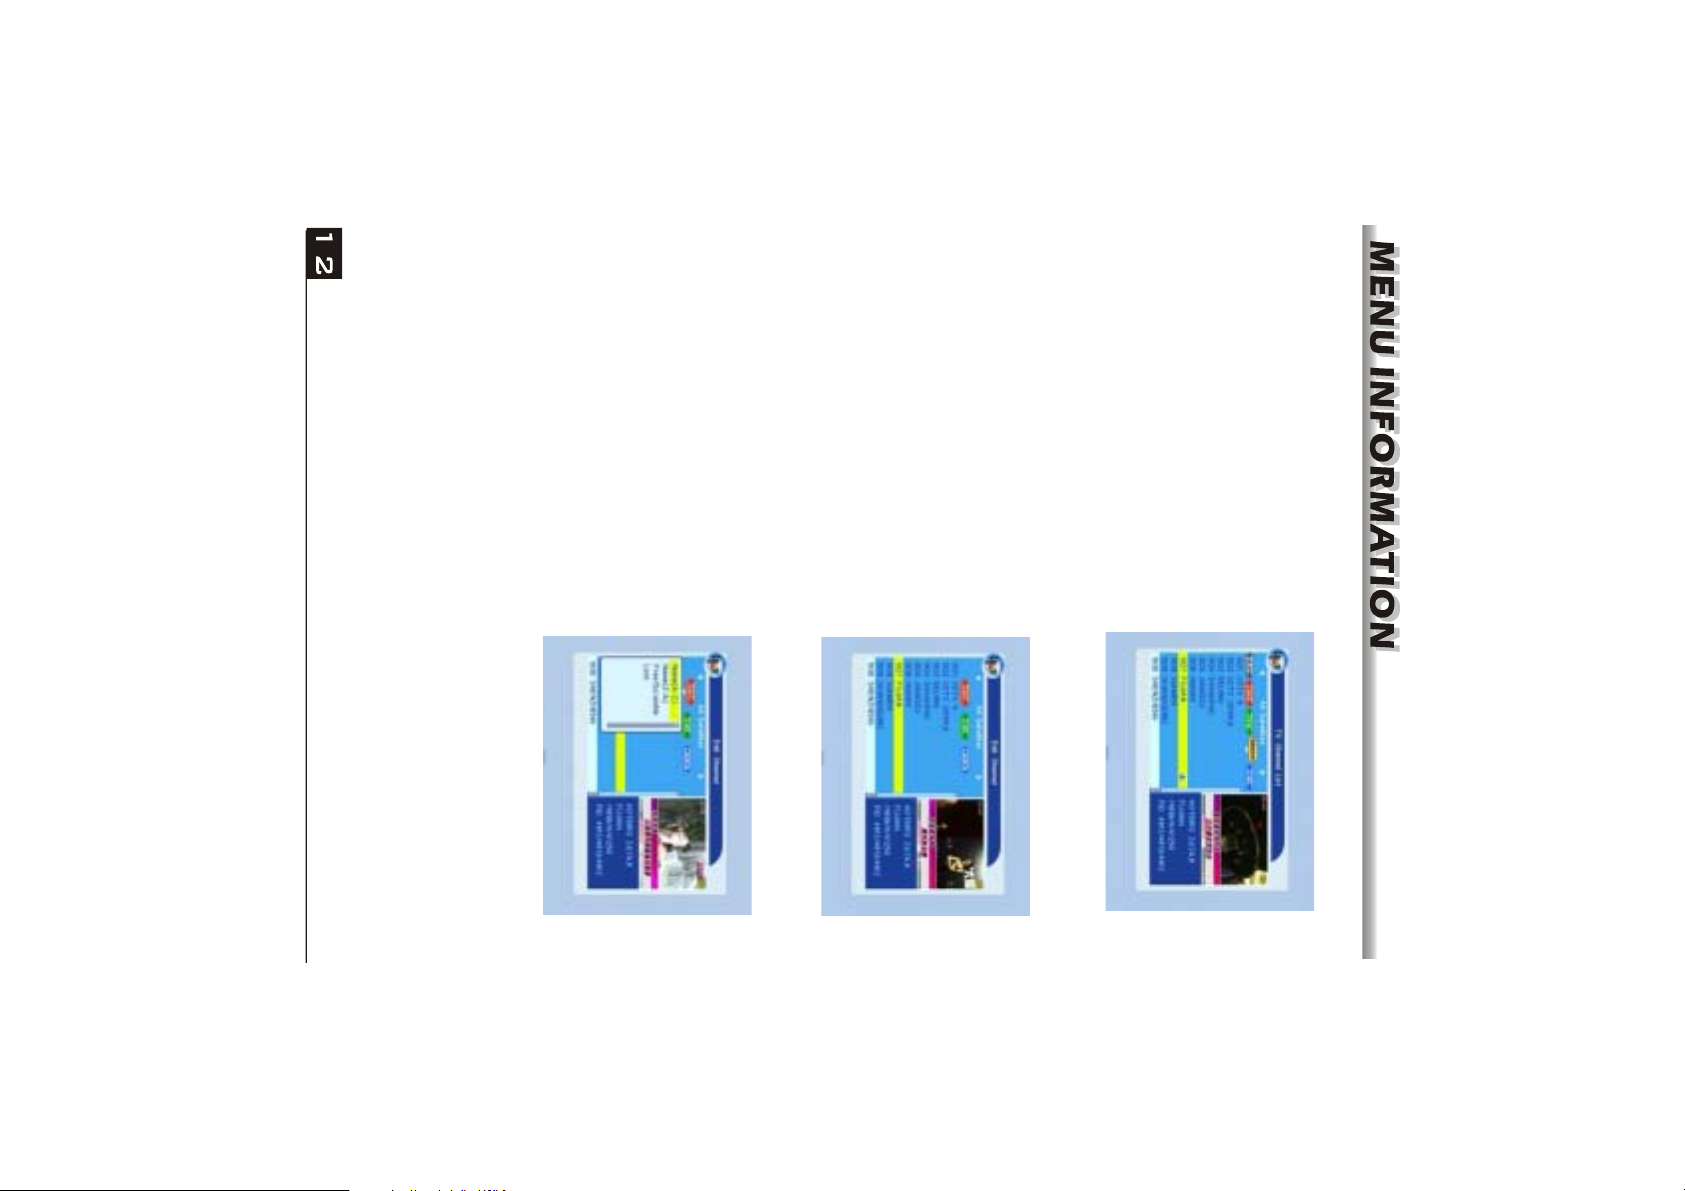
Press red colour key to pop up the Sort drop-
i . Sort (red colour key)
7. Press blue colour key to enter into the
Edit channel window.
button return to the origin position.
the yellow mode, and you will find the yellow
Press yellow colour key again to exit from
mark. Press PR+, PR- keys to move the
cursor to the position where you want to
locate and pressOK key to confirm.
6. Press yellow colour key to move the Move
button upward. Select the program and press
OK key to mark this program with the move
Page 14
colour key is pressed. Press OK key to close this dialogue.
If the name is empty, system will pop up a dialogue informing "Name" once yellow
Numeric keys Press numeric key repeatedly, display in circle
move the cursor left or right; press numeric
keys (0-9) to input the character, please
key to save and exit, or press blue key to
cancel and exit.
refer to the down table. Press yellow colour
switch between capital letter and lower letter;
press green colour key to delete the
character on the cursor; press keys to
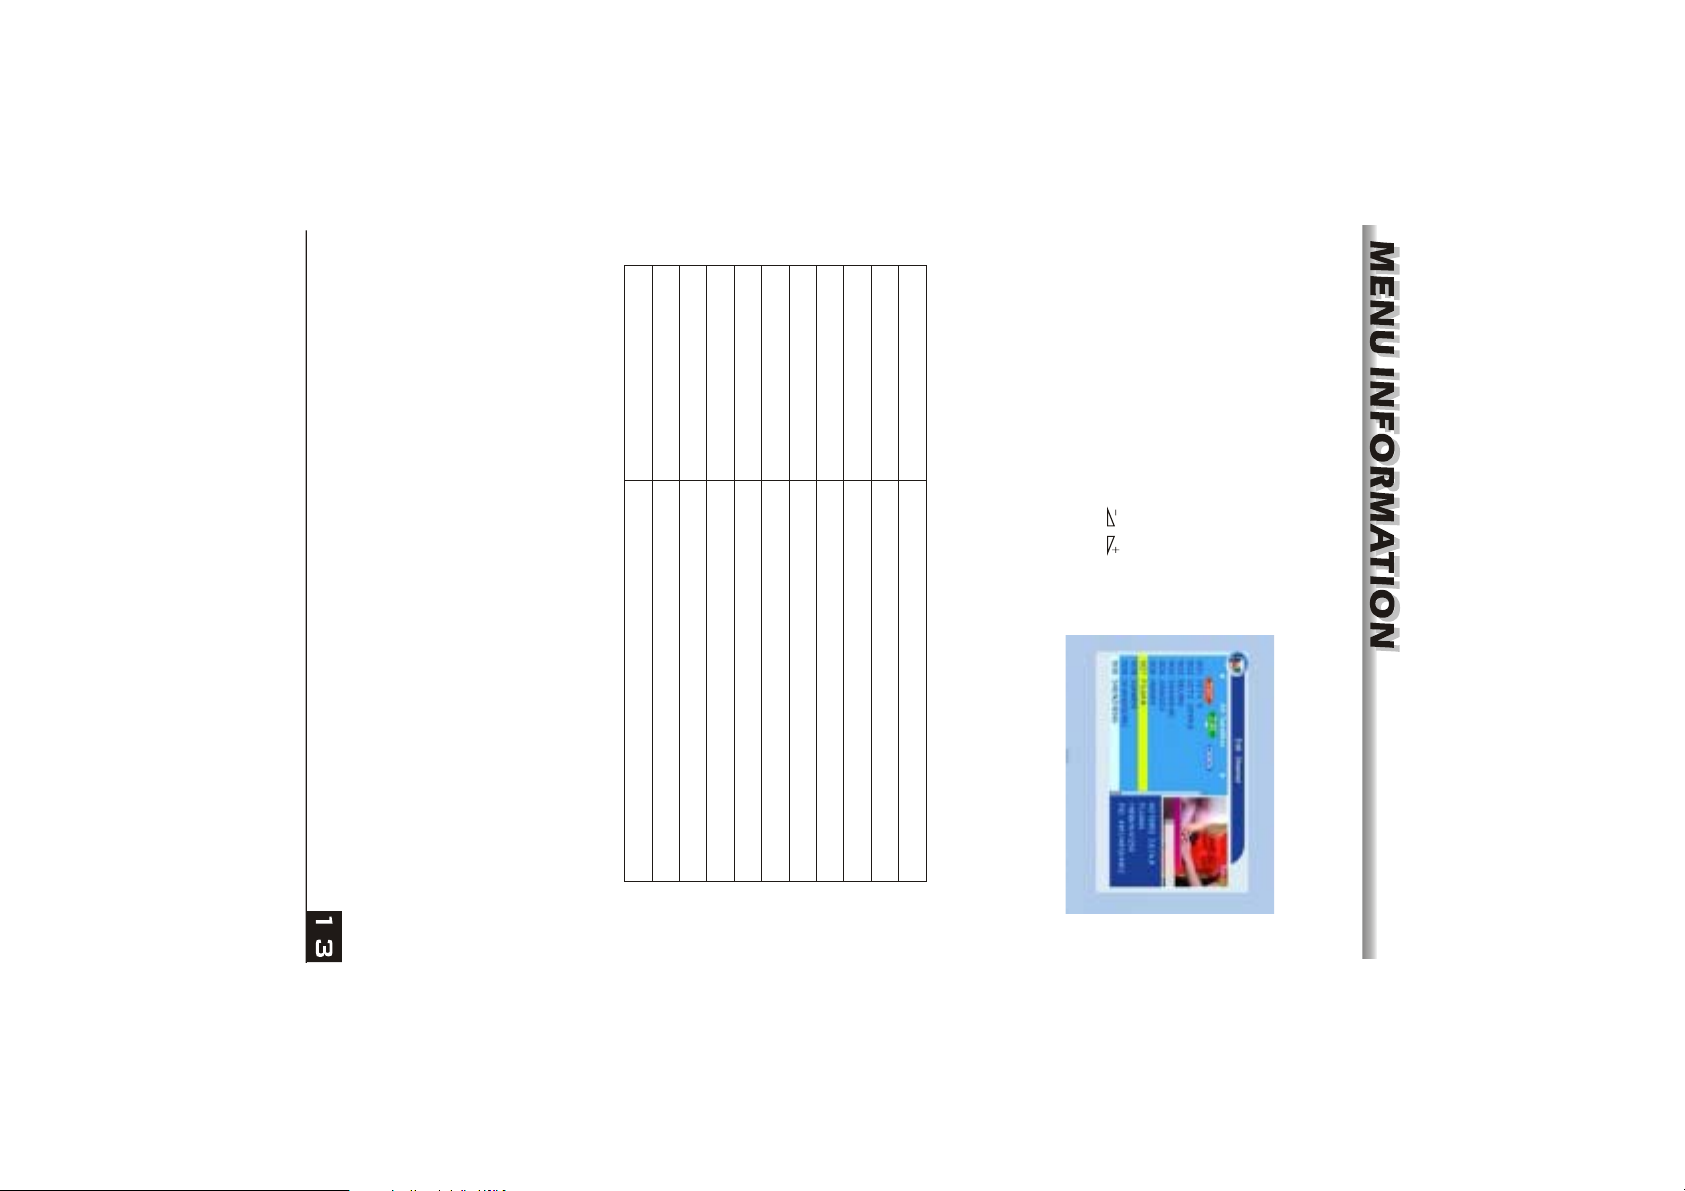
In Rename window, press red colour key to
button upward. Select the program and press
OK key to pop up the Rename window.
Press green colour key to move the Edit
ii. Edit (green colour key)
8
9
0
TUV8
WXYZ9
[space]_-0
7
6
MNO6
PQRS7
5
JKL5
4
GHI4
3
DEF3
2
1
.,*?!@1
ABC2
Page 15
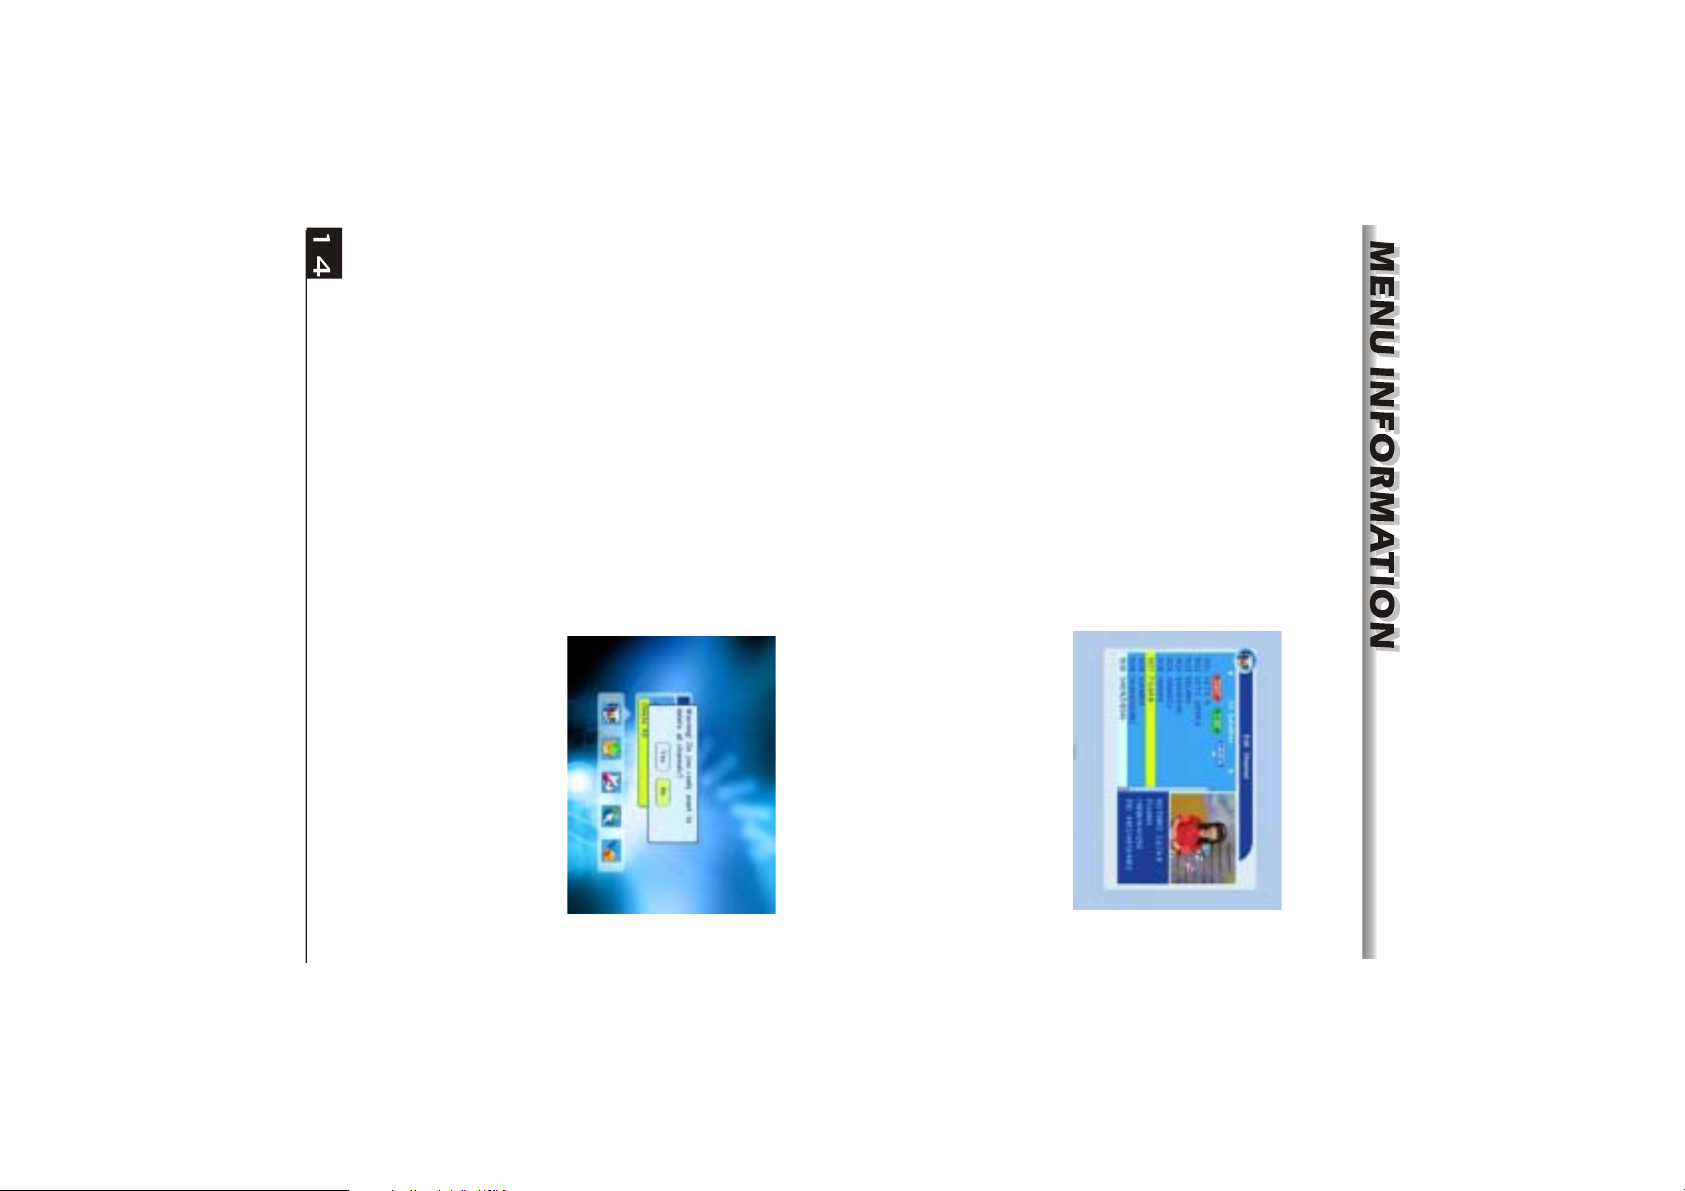
and press OK key to exit without saving.
press OK key to save, or select NO button
channel?".
Press EXIT key to pop up the dialogue "Are
you sure to save?". Select Yes button and
1.3 Delete All
Move cursor to the Delete All item, and
press OK Key to pop up the dialogue
"Warning! Do you really want to delete all
Sine the same operation as 1.1 TV Channel List, here we don't explain any more.
1.2 Radio Channel List
Press EXIT key to pop up the dialogue "Are
you sure to save?". Select Yes button and
press OK key to save, or select NO button
and press OK key to exit without saving.
again.
You can cancel this mark by pressing OK key
mark this program with the deletion mark.
Select the program and press OK key to
key to move the Delete button upward.
In Edit Channel window, press blue colour
iii. Delete (blue colour key)
Page 16
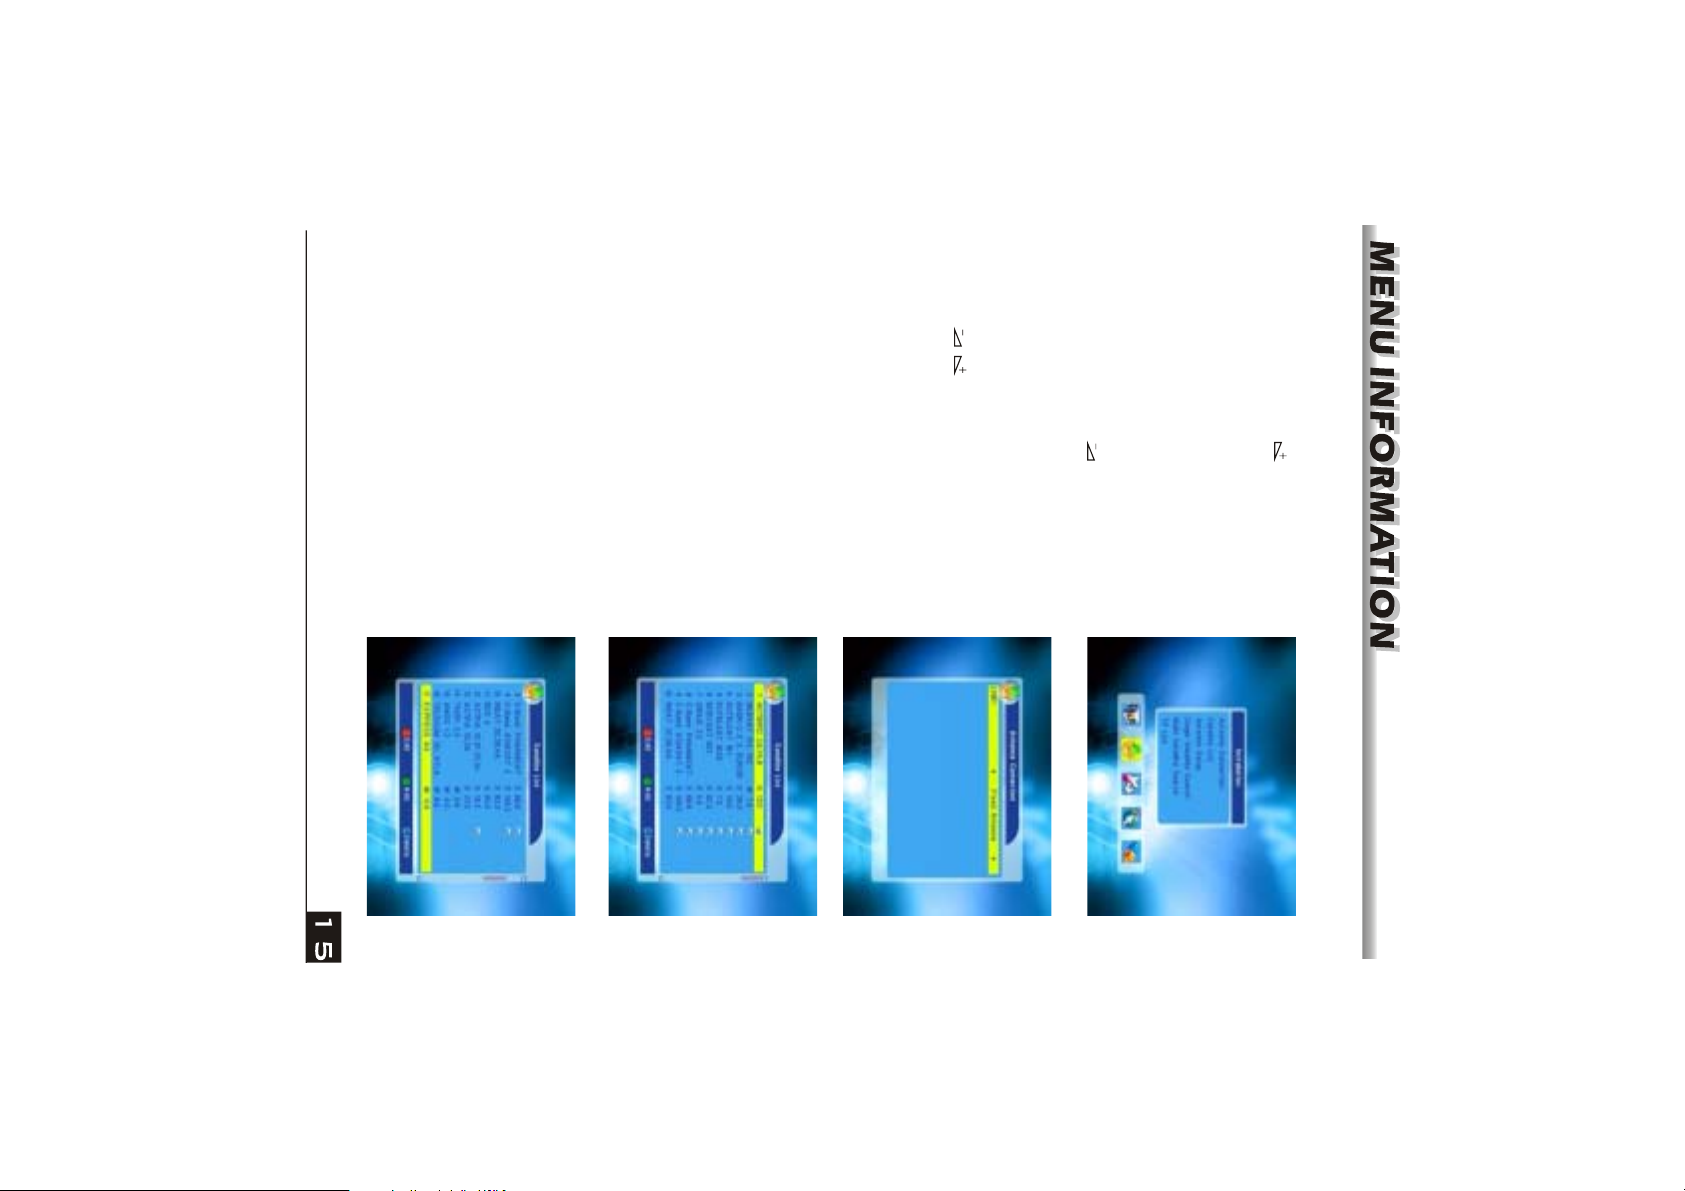
mark, and you can press OK key again to
cancel the selection and the mark.
2. If there is no satellite, the red colour and
blue colour keys will be invalid.
1. Press PR+, PR- keys to select the satellite
up or down. Press OK key to select and
2.2 Satellite List
2.1 Antenna Connection
Press keys to select between Motor
Antenna and Fixed Antenna.
up or down.
3. Press EXIT key or key to move the
focus to the left menu.
password is inputted. The default password
is "0000".
2. Press PR+, PR- keys to move the cursor
"Input Password" dialogue, you can not
enter into the menu unless the correct
1. Press OK key or key to pop up the
2. Installation
Page 17
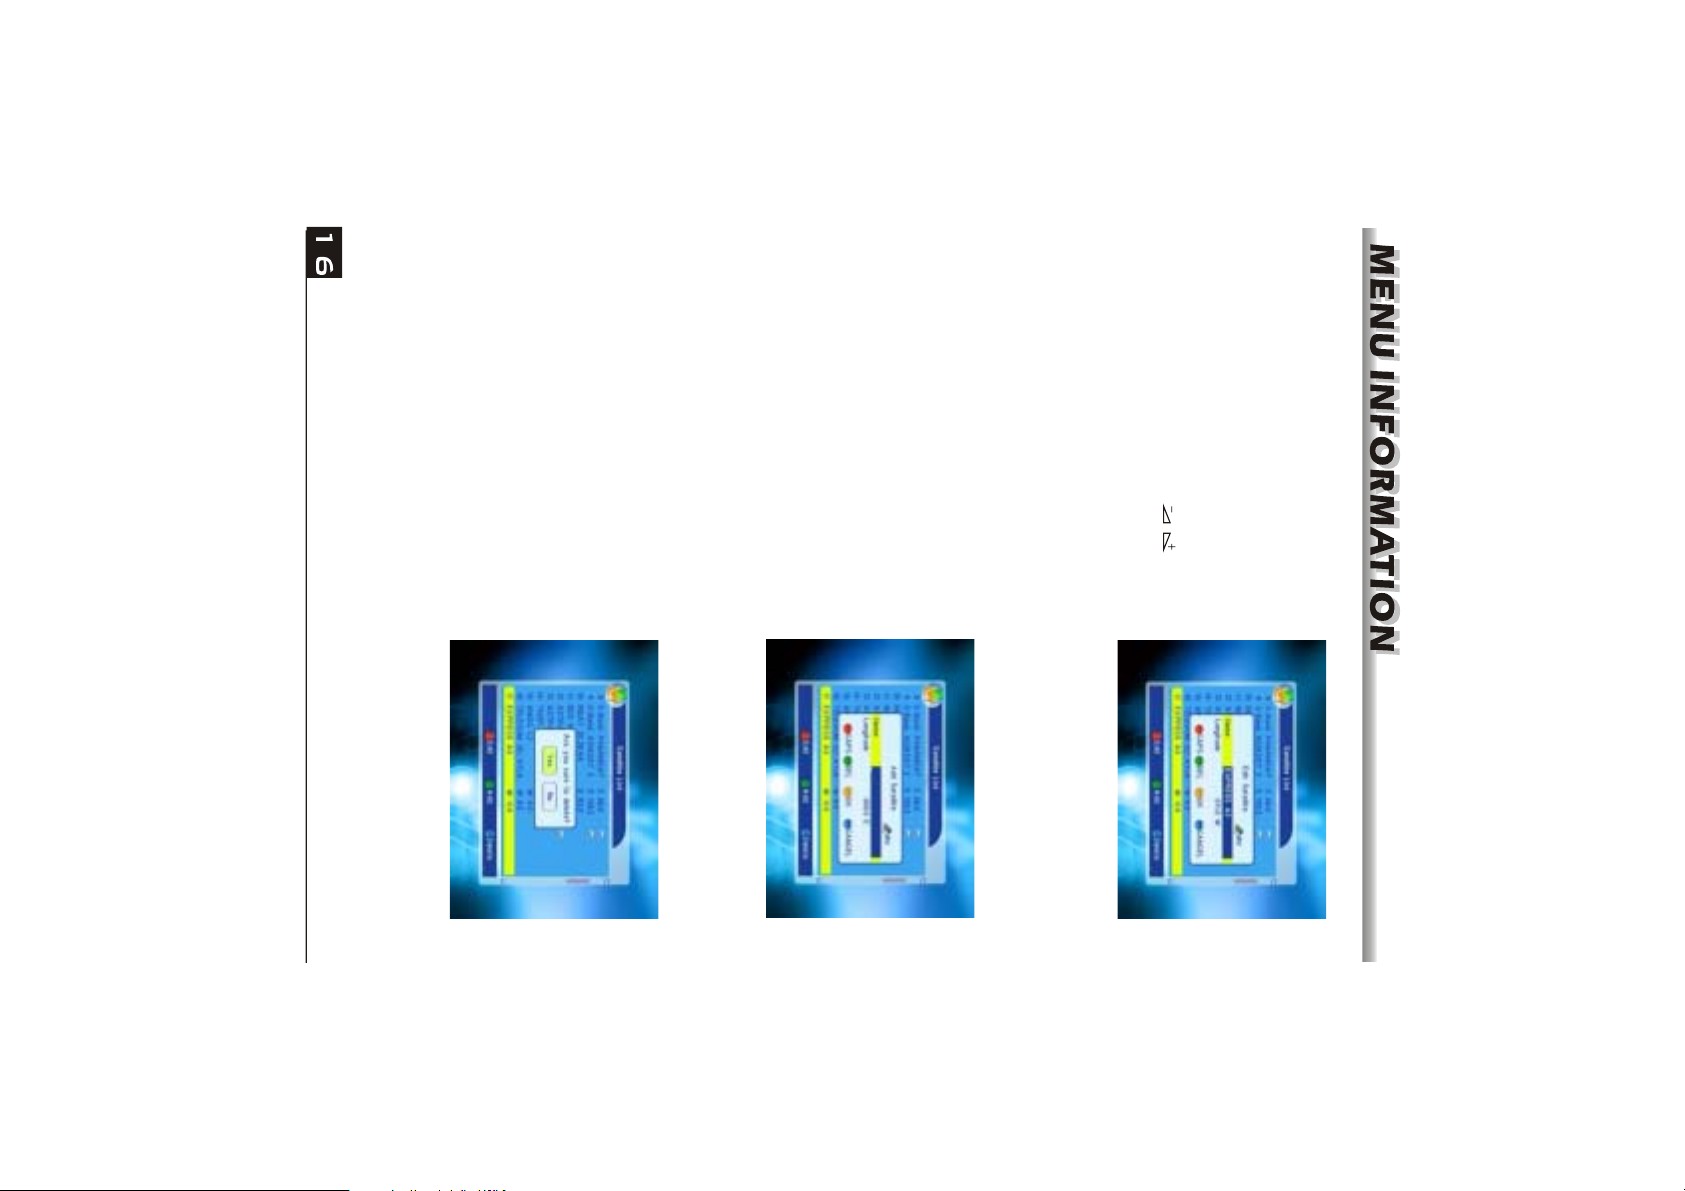
button.
selected satellite. You can cancel this
operation by pressing OK key at the NO
Yes button and press OK key to delete the
5. Press blue colour key to pop up the
dialogue "Are you sure to delete?". Select
don't explain any more.
Satellite window. Since the same operation
as the above Edit Satellite window, here we
4. Press green colour key to pop up the Add
save and exit, while press blue colour key to
exit without saving.
After setting, press yellow colour key to
180 degree. If beyond this range, system will
inform you "out of range" when you press
yellow colour key on the RCU.
mode. The range of the longitude is from 1to
use numeric keys to edit the longitude, press
EXIT key or thePR+, PR- keys to exit editing
longitude. After pressing OK key, you can
name of the satellite, please refer to the Edit
Channel Name.
Longitude: You can press keys to
switch between east longitude and west
move cursor up or down.
Name: User numeric keys to change the
Satellite window. Press PR+, PR- keys to
3. Press red colour key to pop up the Edit
Page 18
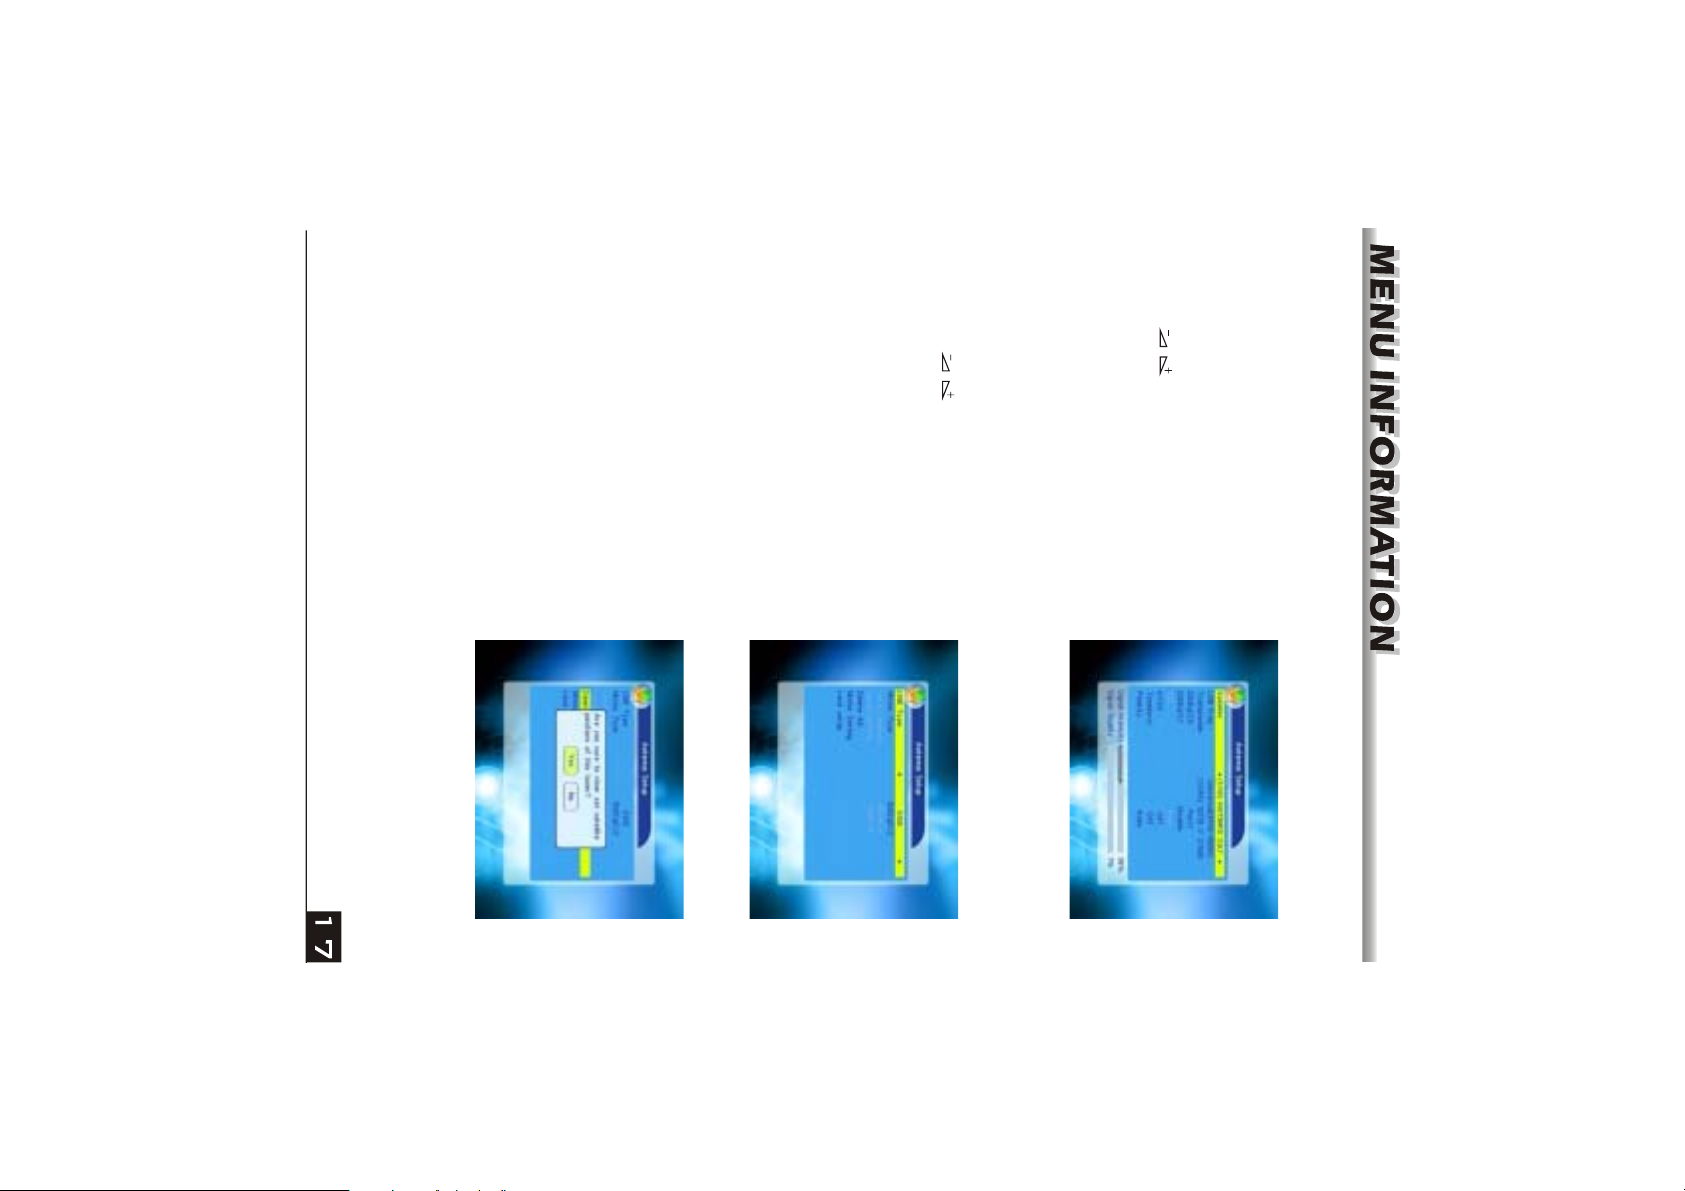
position of this tuner?". Press OK key at the
Yes button to clear all the memories about
the position of the satellites that has
connected to the current turner.
dialogue "Are you sure to clear set satellite
following Local Longitude and Local Latitude
items will turn grey.
3. Delete All: Press OK key to pop up the
1. LNB Type: Select the proper LNB type.
2. Motor Type: Select between DiSEqC1.2
and USALS. If you select DiSEqC1.2, the
Antenna in theAntenna Connection window.
Part B: Motor
Suppose that you have selected Moter
can press keys to select in circle.
3. 22K, 0/12V, Toneburst, LNB Power: You
down list, then select the desired satellite in
the list and press OK key to confirm.
2. LNB Freq, Transponder, DiSEqC1.0,
DiSEqC1.1: The same operation as the
above.
satellite list are displayed in this item.
Press keys to select the satellite in
circle. Or press OK key to pop up the drop-
1. Satellite: All selected satellites in the
Suppose that you have selected Fixed
Antenna in theAntenna Connection window.
2.3 Antenna Setup
Part A: Fixed
Page 19
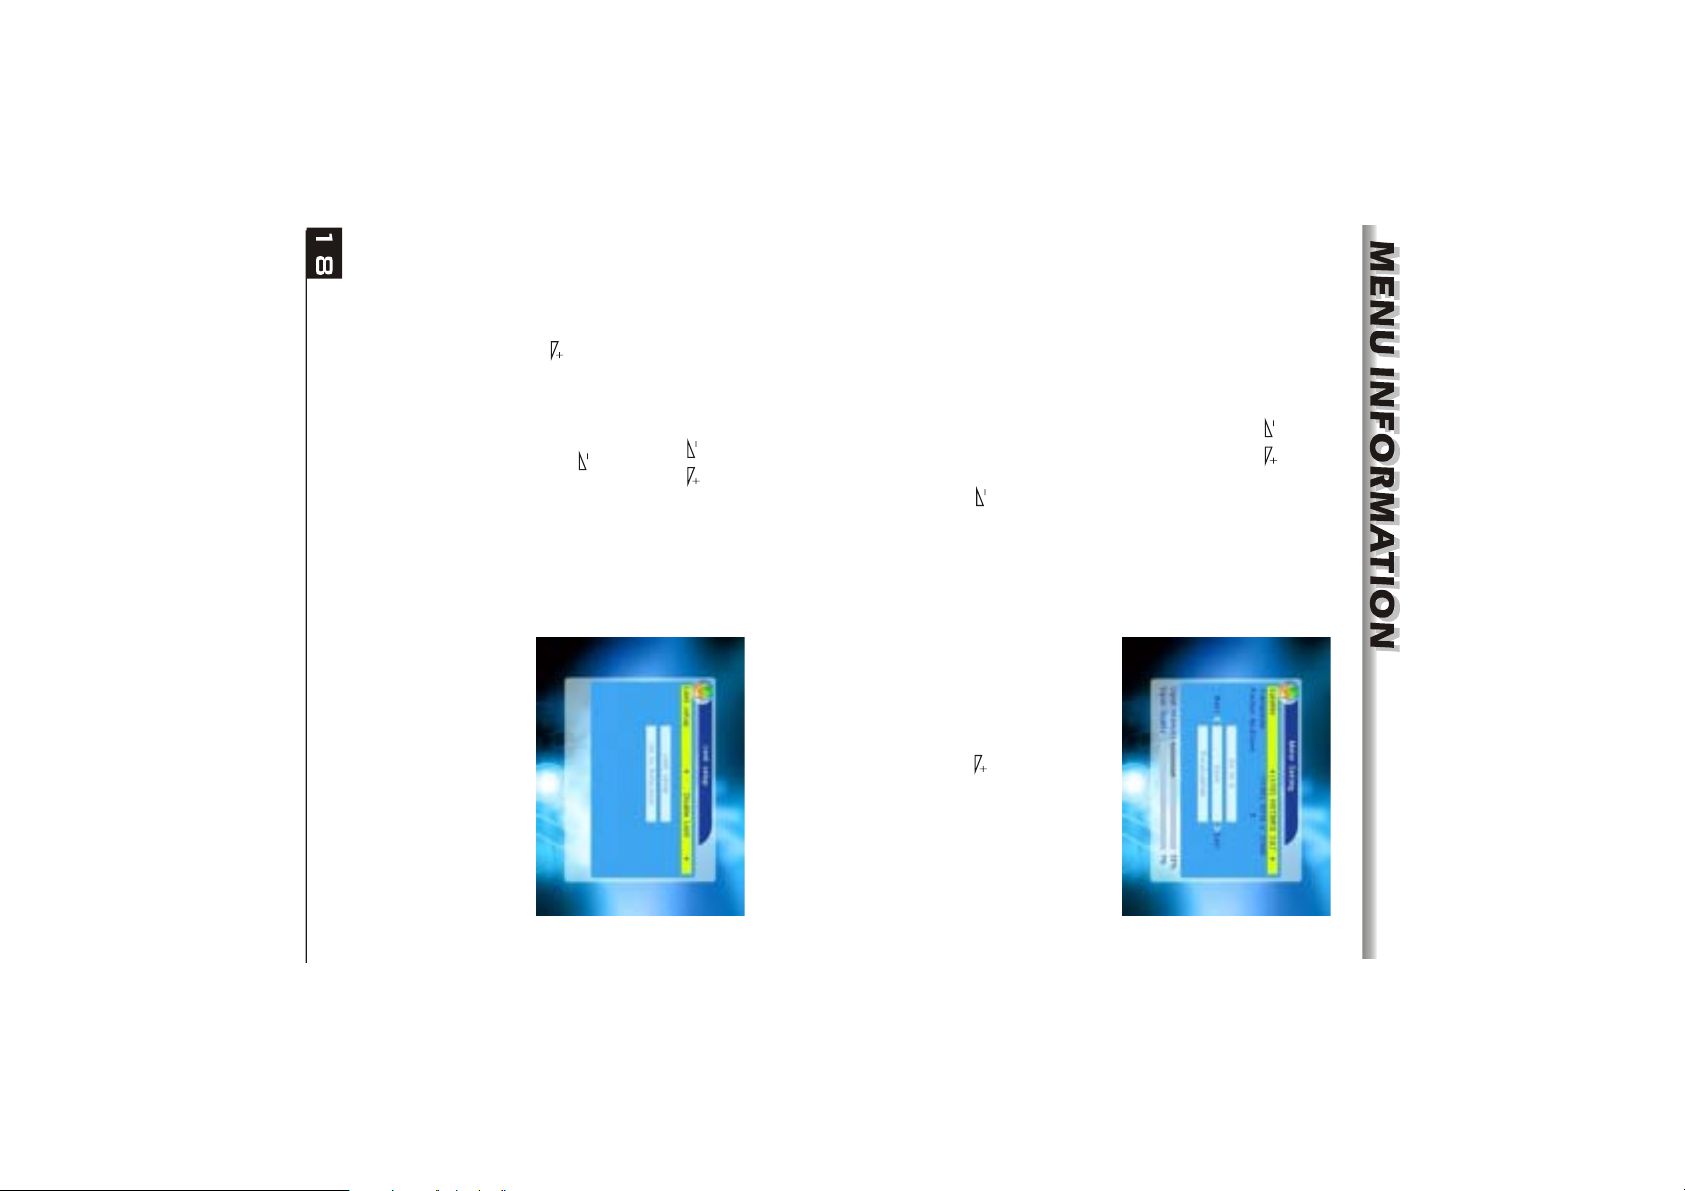
above Limit Setup item, this button will turn
grey.
reference. If you select Disable Limit in the
Go to Reference: Press OK key to go to
button. You can press key to turn west ,
or press key to turn east.
Limit.
Limit Setup: Move cursor to the Limit Setup
Limit Setup: Press keys to switch
among Disable Limit, East Limit and West
Limit Setup window.
5. Limit Setup: Press OK key to pop up the
satellite's position?". PressOK key at the Yes button to recalculation.
key at the No button to cancel the operation.
Recalculation: Press OK key to pop up the dialogue "Are you sure to change this
Press OK key to pop up the dialogue "Are you sure to change this satellite's
position?". Press OK key at the Yes button to save the current position, or press OK
(reference or from 1to 63) to realize the selected position.
West <Save> East: Press key to turn west, while press key to turn east.
Transponder: The same operation as the
above.
You can select the proper value when you has rotated the antenna.
Go to X: Press OK key to pop up the drop-down list, select the proper position
Position No., & Save: The range is from 0 to 63. "0" delegates the original position.
confirm.
satellite in the list and press OK key to
satellite in circle. Or press OK key to pop up
the drop-down list, then select the desired
Satellite: Press keys to select the
Setting window.
4. Motor Setting: Press OK key to theMotor
Page 20
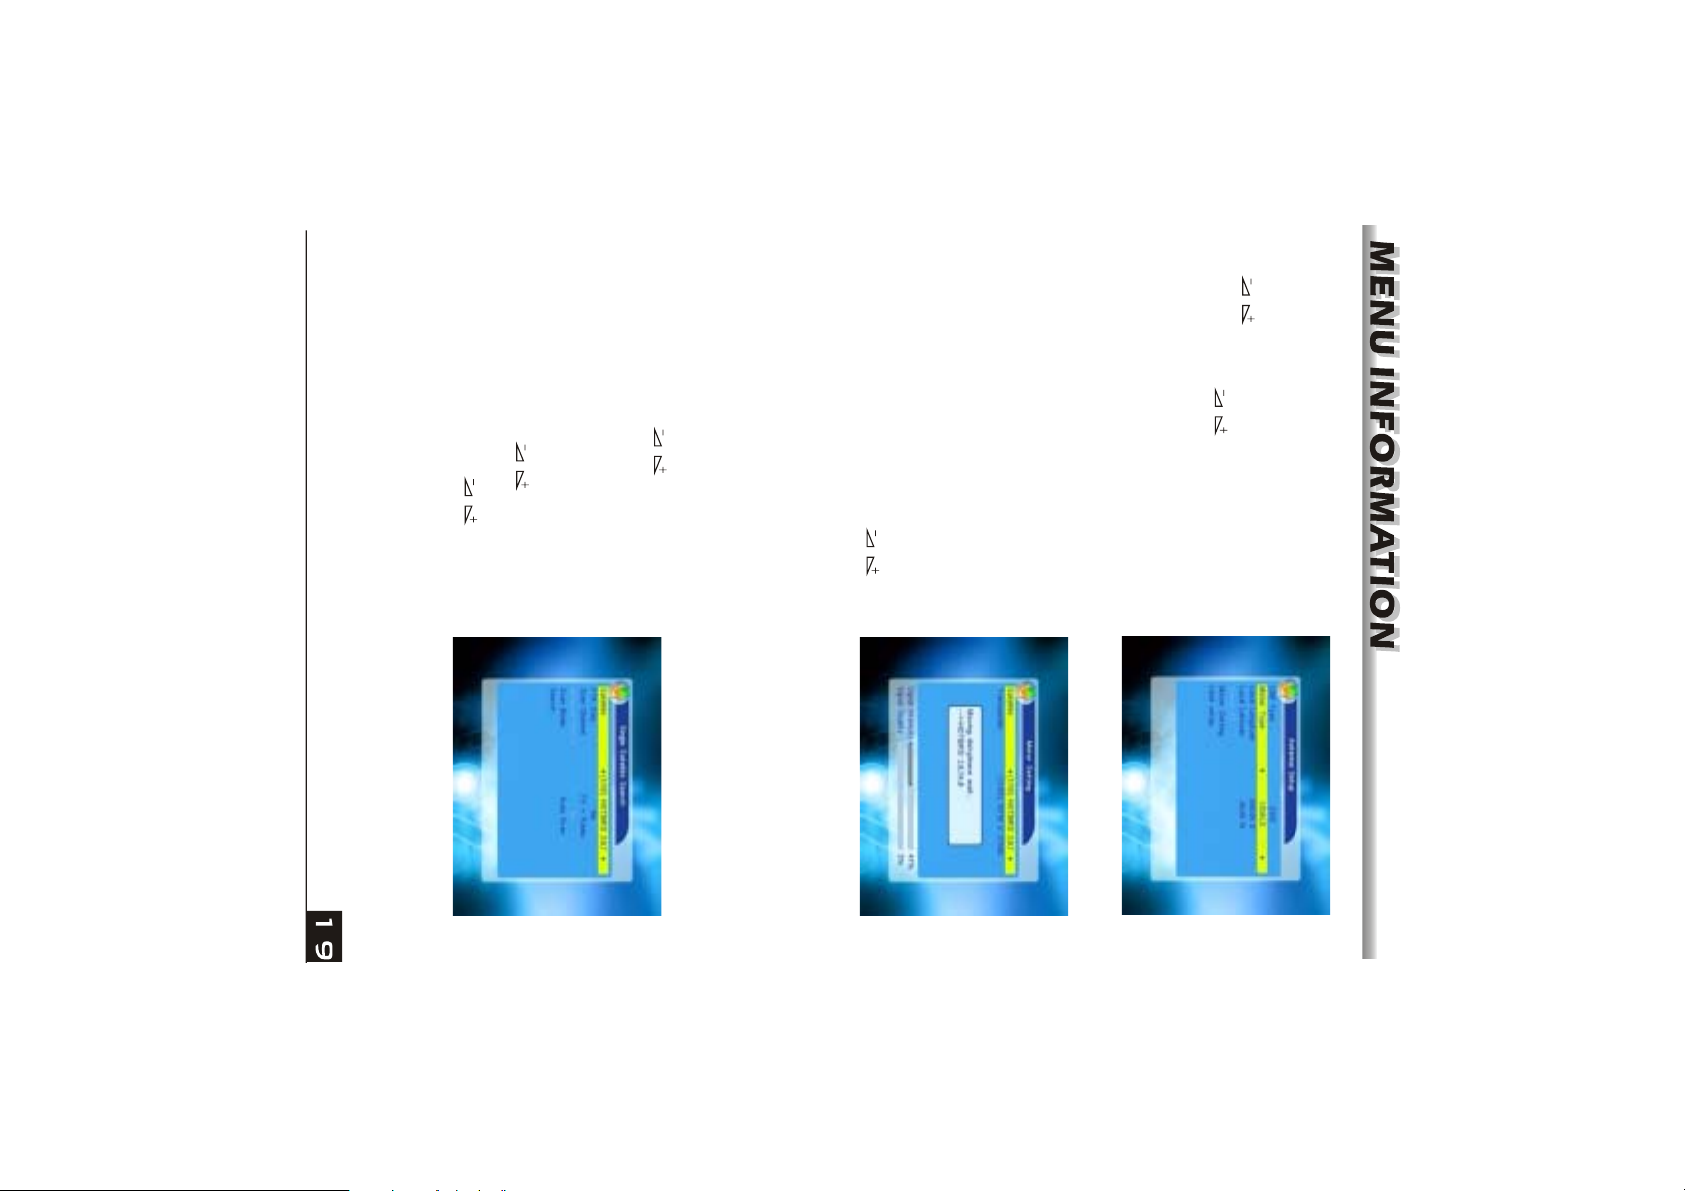
satellite in the list and press OK key to
select among TV+Radio, TV Channel, Radio.
3. Scan Channel: Press keys to
confirm.
2. FTA Only: Press keys to select
between Yes and No.
the drop-down list, then select the desired
satellite in circle. Or press OK key to pop up
1. Satellite :
Press keys to select the
2.4 Single Satellite Search
select in the list.
OK key to pop up the drop-down list and
this dialogue.
7. Motor Setting: Press OK key to enter into
the Motor setting window.
Satellite, Transponder: Press keys
to select satellite or transponder, or press
a dialogue "Out of Range" when exit from
this window. You can press OK key to close
the latitude is from 0 to 90. If the inputted
value is not in this range, system will pop up
longitude is from 0 to 180,while the range of
key or EXIT key to exit. The range of the
input the longitude or latitude, press MENU
the editing mode. Use numeric keys (0-9) to
East, or press keys to switch between
North and South. Press OK key to enter into
keys to switch between West and
grey.
Local Longitude, Local Latitude: Press
6. If select USALS, Delete All item will turn
Page 21
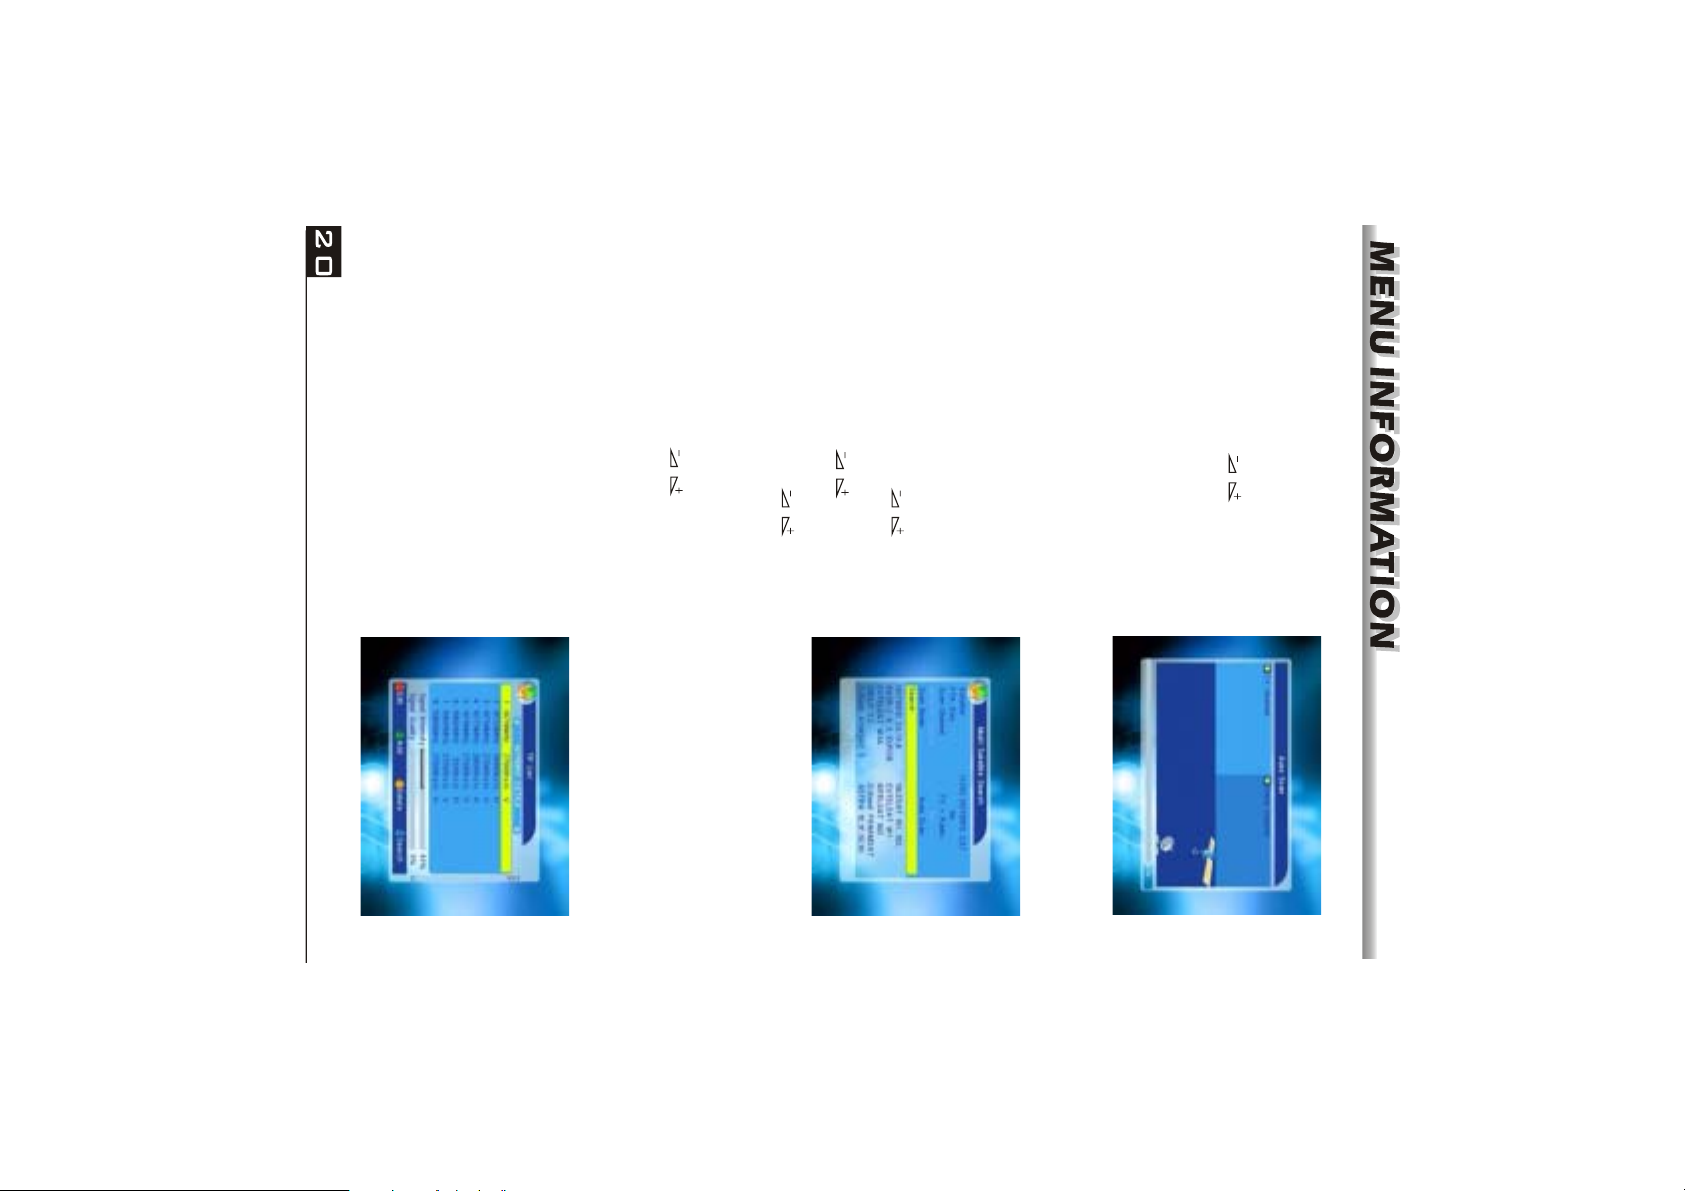
1. Press PR+,PR- keys to select the proper
satellite.
2.6 TP List
6. Search: Press OK key to start searching.
Auto Scan is Blind scan, while Preset Scan is to search the preset frequencies.
4. Network Search: Select between No and Yes. This item turns grey when Auto
Scan is selected in the following Scan mode item.
5. Scan Mode: Press keys to select between Auto Scan and Preset Scan.
select among TV+Radio, TV Channel, Radio.
between Yes and No.
3. Scan Channel: Press keys to
down part. You can press keys to
switch among them.
2. FTA Only: Press keys to select
satellite list window are displayed on the
1. Satellite: All selected satellites in the
you can search several satellites at the one
time.
2.5 Multi Satellite Search
From the Multi Satellite Search window,
Scan is Blind scan, while Preset Scan is to
search the preset frequencies.
6. Search: Press OK key to start searching.
between Auto Scan and Preset Scan. Auto
selected in the following Scan mode item.
5. Scan Mode: Press keys to select
Yes. This item turns grey when Auto Scan is
4. Network Search: Select between No and
Page 22
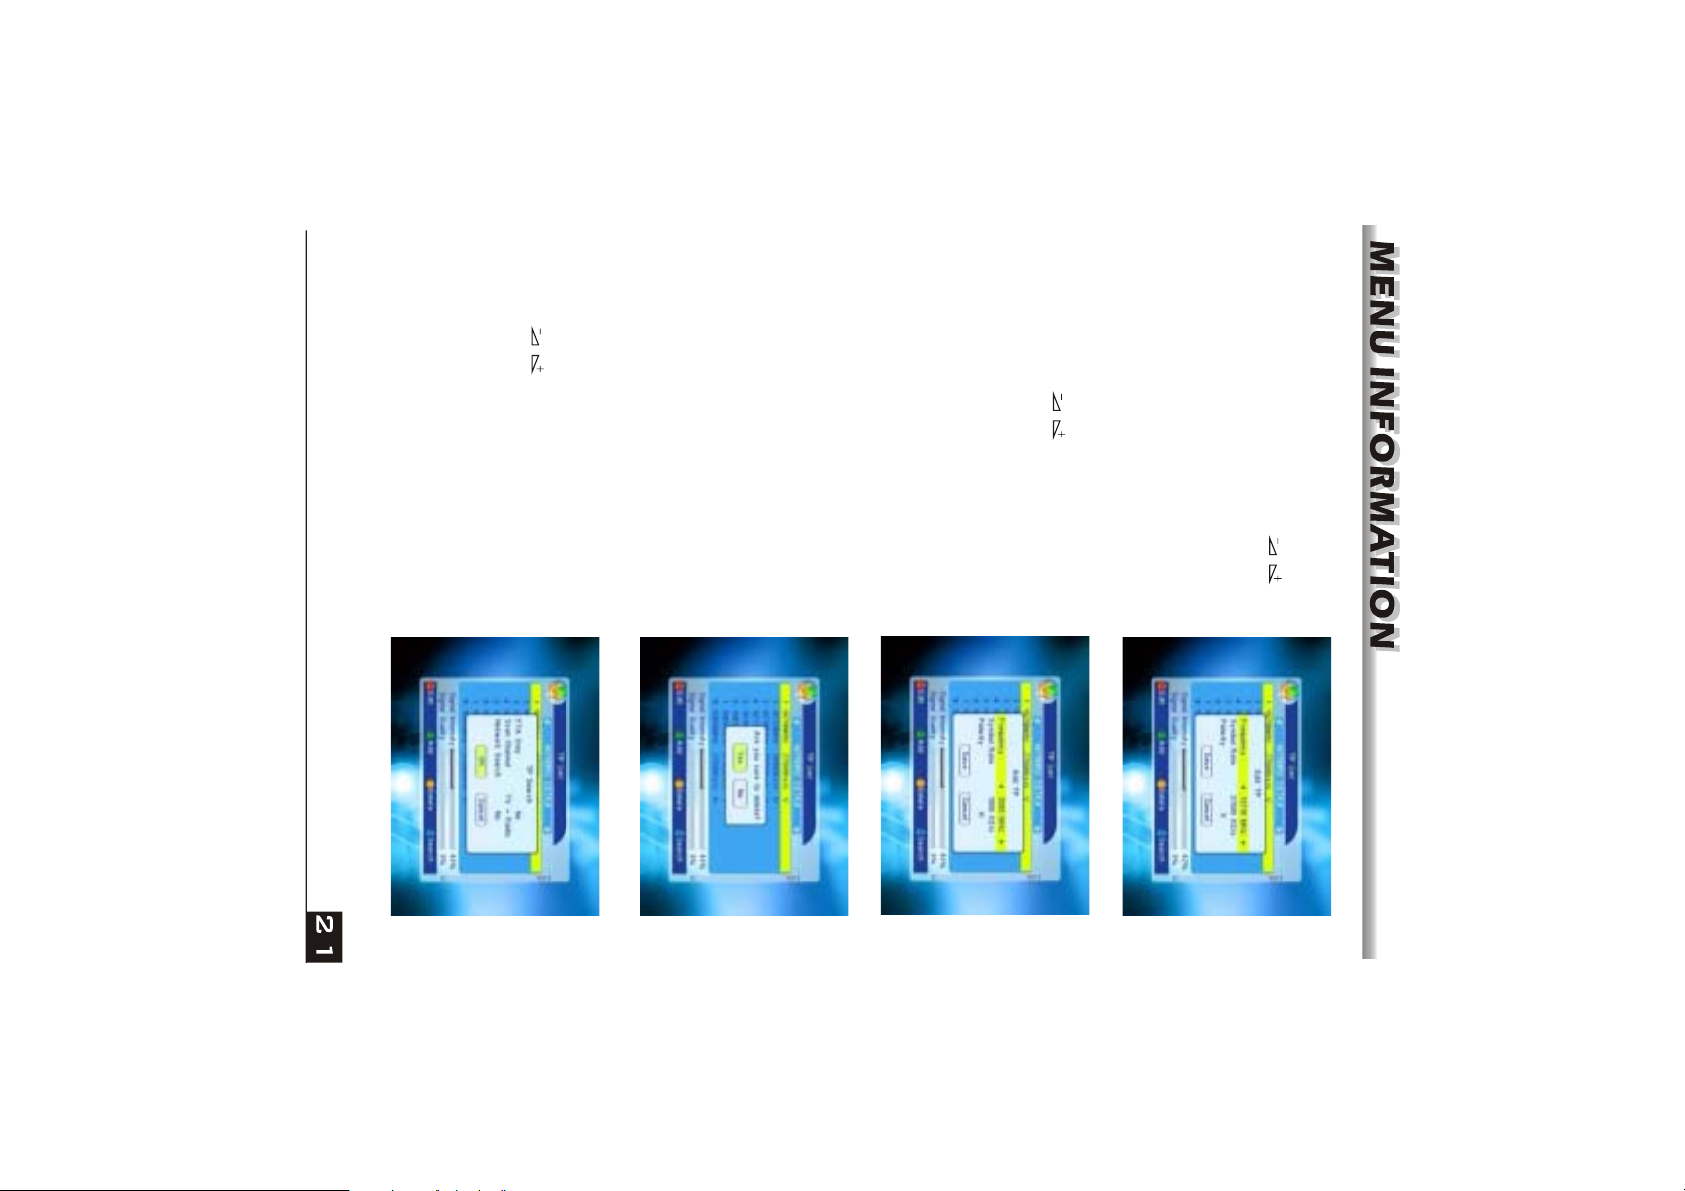
searching.
option.
Press OK key at the OK button to start
Search window.
FTA only, Scan Channel, Network Search:
Press keys to select the proper
5. Press blue colour key to pop up the TP
selected TP, or press EXIT key to cancel the
operation.
OK key at the Yes button to delete the
dialogue " Are you sure to delete?". Press
4. Press yellow colour key to pop up
any more.
above Edit TP window, here we don't explain
TP window. Since the same operation as the
3. Press green colour key to pop up the Add
value.
Polarity: Press keys to switch between
Vertical and Horizontal.
this range, the value will return to the origin
numeric keys (0-9) to input the desired
value. The range of the frequency is 3000-
13450, while the range of the symbol rate is
1000~45000. The inputted value is beyond
Frequency, Symbol rate: Press
keys to add or reduce by step one. Or press
2. Press red colour key to pop up the Edit TP
window.
Page 23
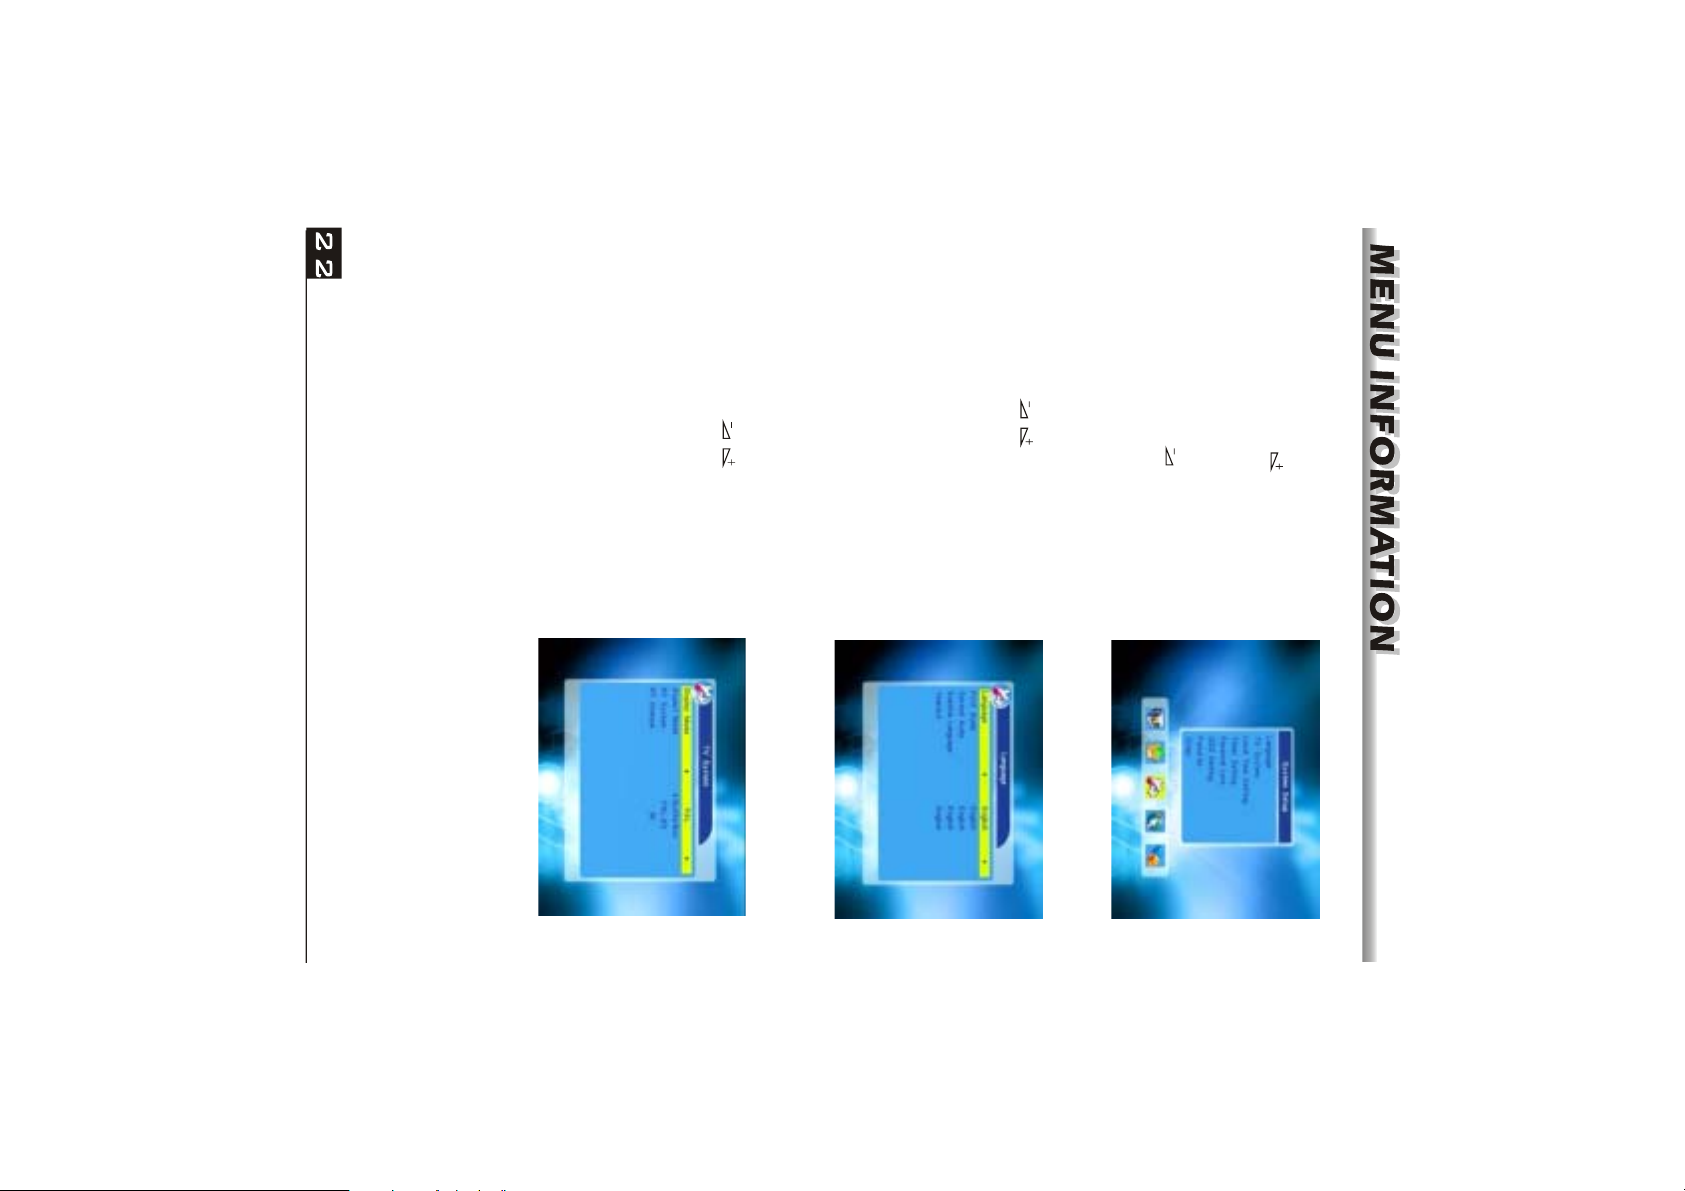
I,PAL-DK,NTSC.
4. R F Channel:PAL:21-69;NTSC:14-83
2. Aspect Mode: Select among 4:3LetterBox,
4:3PanScan, 16:9.
3. RF System:Select among PAL-BG,PAL-
1. Display Mode: Select among Auto,PAL,
PAL-M, PAL-N, NTSC.
down, while press keys to change the
setting and the setting will take effect
immediately.
Press PR+, PR- key to move the cursor up or
3.2 TV System
the configuration of the customer.
3. The types of the language, pleaser refer to
exit.
2. Press MENU key or EXIT key to save and
language in circle, while press PR+, PR-
keys to move the cursor up or down in circle.
window. Press keys to select the
1. Press OK key to enter into the Language
3.1 Language
3. Press EXIT key or key to move the
focus to the left menu.
up or down.
cursor to the right menu.
2. Press PR+, PR- keys to move the cursor
3. System Setup
1. Press OK key or key to move the
Page 24
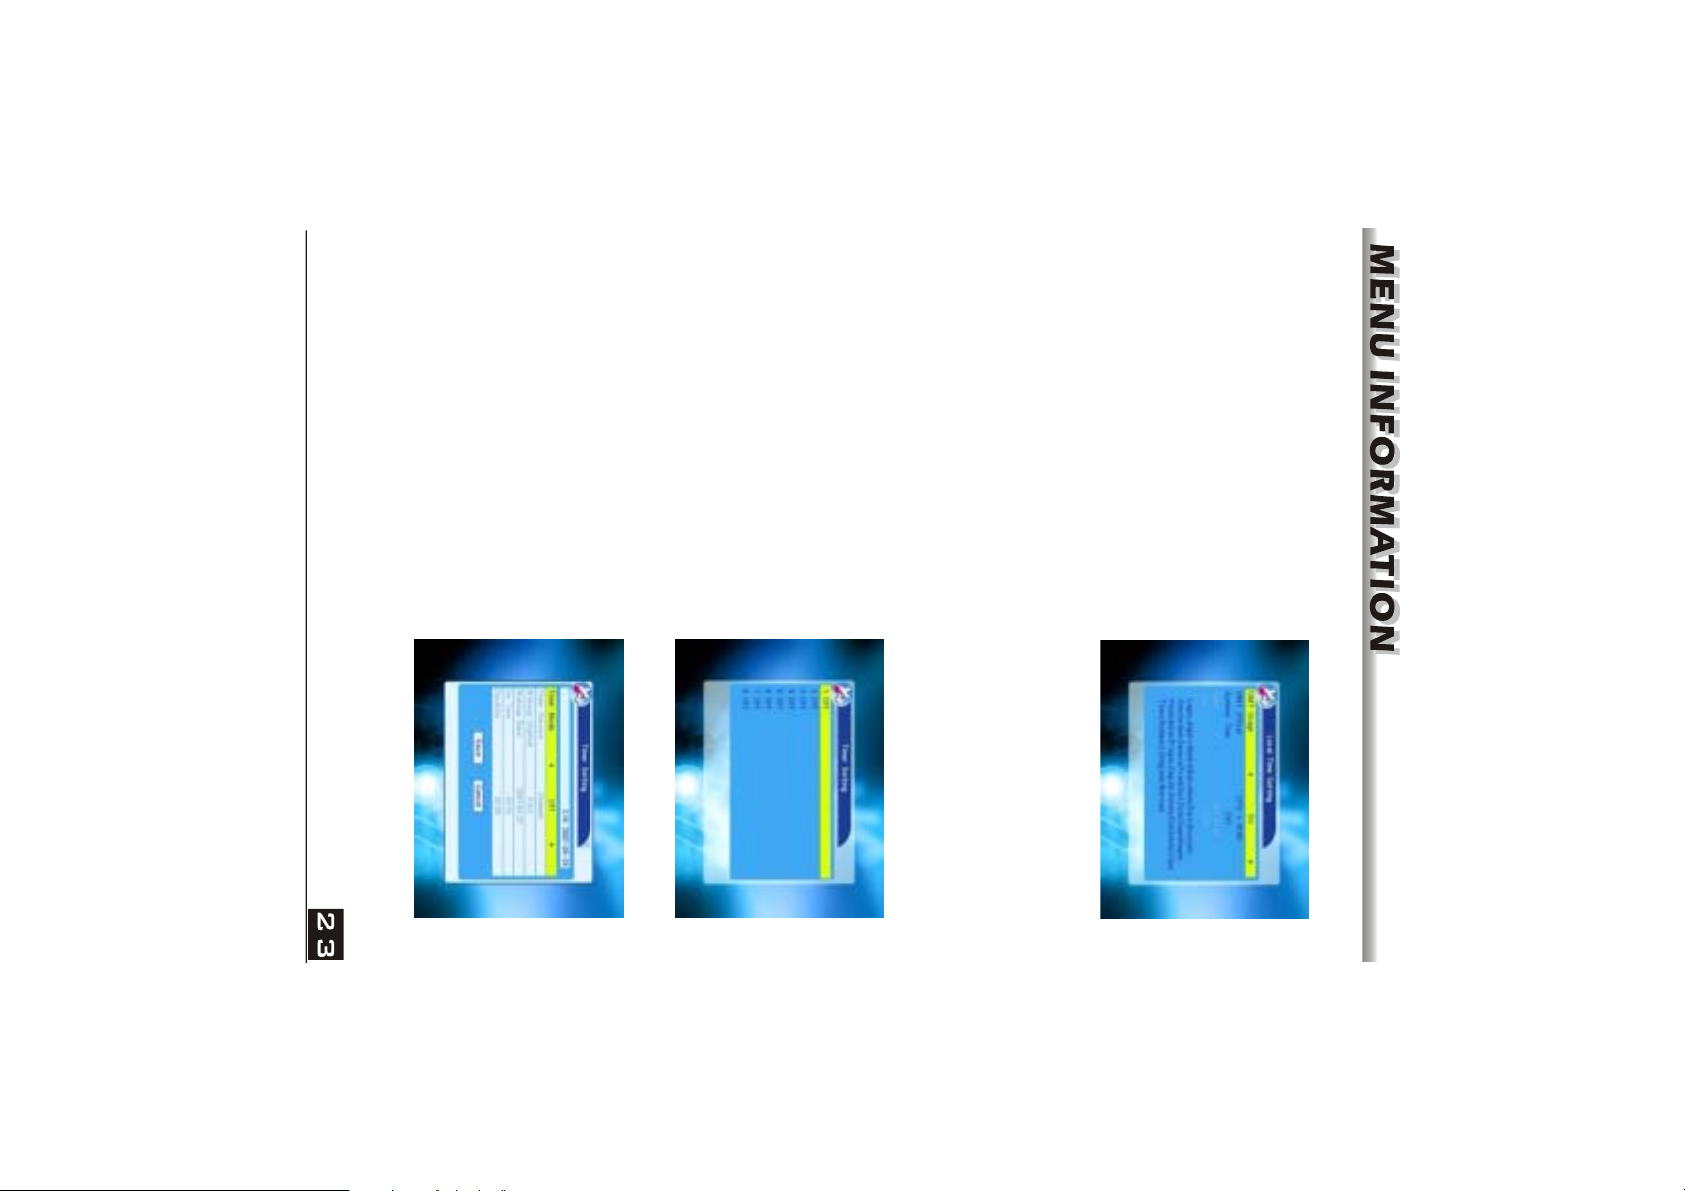
the Wakeup Channel is displayed in the
following item.
3. Wakeup Date, On Time: Use numeric
keys to input the valid date.
2. Timer Service:When you select Channel,
can set the timer once, daily, weekly,
monthly and yearly.
1. Timer mode: The default mode is off. You
set. Select Timer up or down, and press OK
key to enter into the setting window.
this window. There are 8 timers that can be
If there is no program, you can not enter into
3.4 Timer Setting
system will inform "Invalid input! Continue to edit?". Press OK key at the Yes button
to continue the modification, or press OK key at the No button to exit without saving.
After setting, press MENU key or EXIT key to exit and save. If the value is invalid,
item. The default setting is GMT ON.
effect, while GMT Usage turns grey. Use numeric keys to input the desired value.5.
3.Date, Time: When select "OFF" in GMT Usage, Date and Time two items take
3.3 Local Time Setting
1. Summer Time: Select between ON and
OFF. "OFF" delegates the normal time. If
select ON, time will add one hour.
2. GMT Offset: When select "ON" in GMT
Usage item, system will get the date and time
information from the screen automatically.
Date and Time two items will turn grey.
Select the proper option in the GMT Offset
Page 25
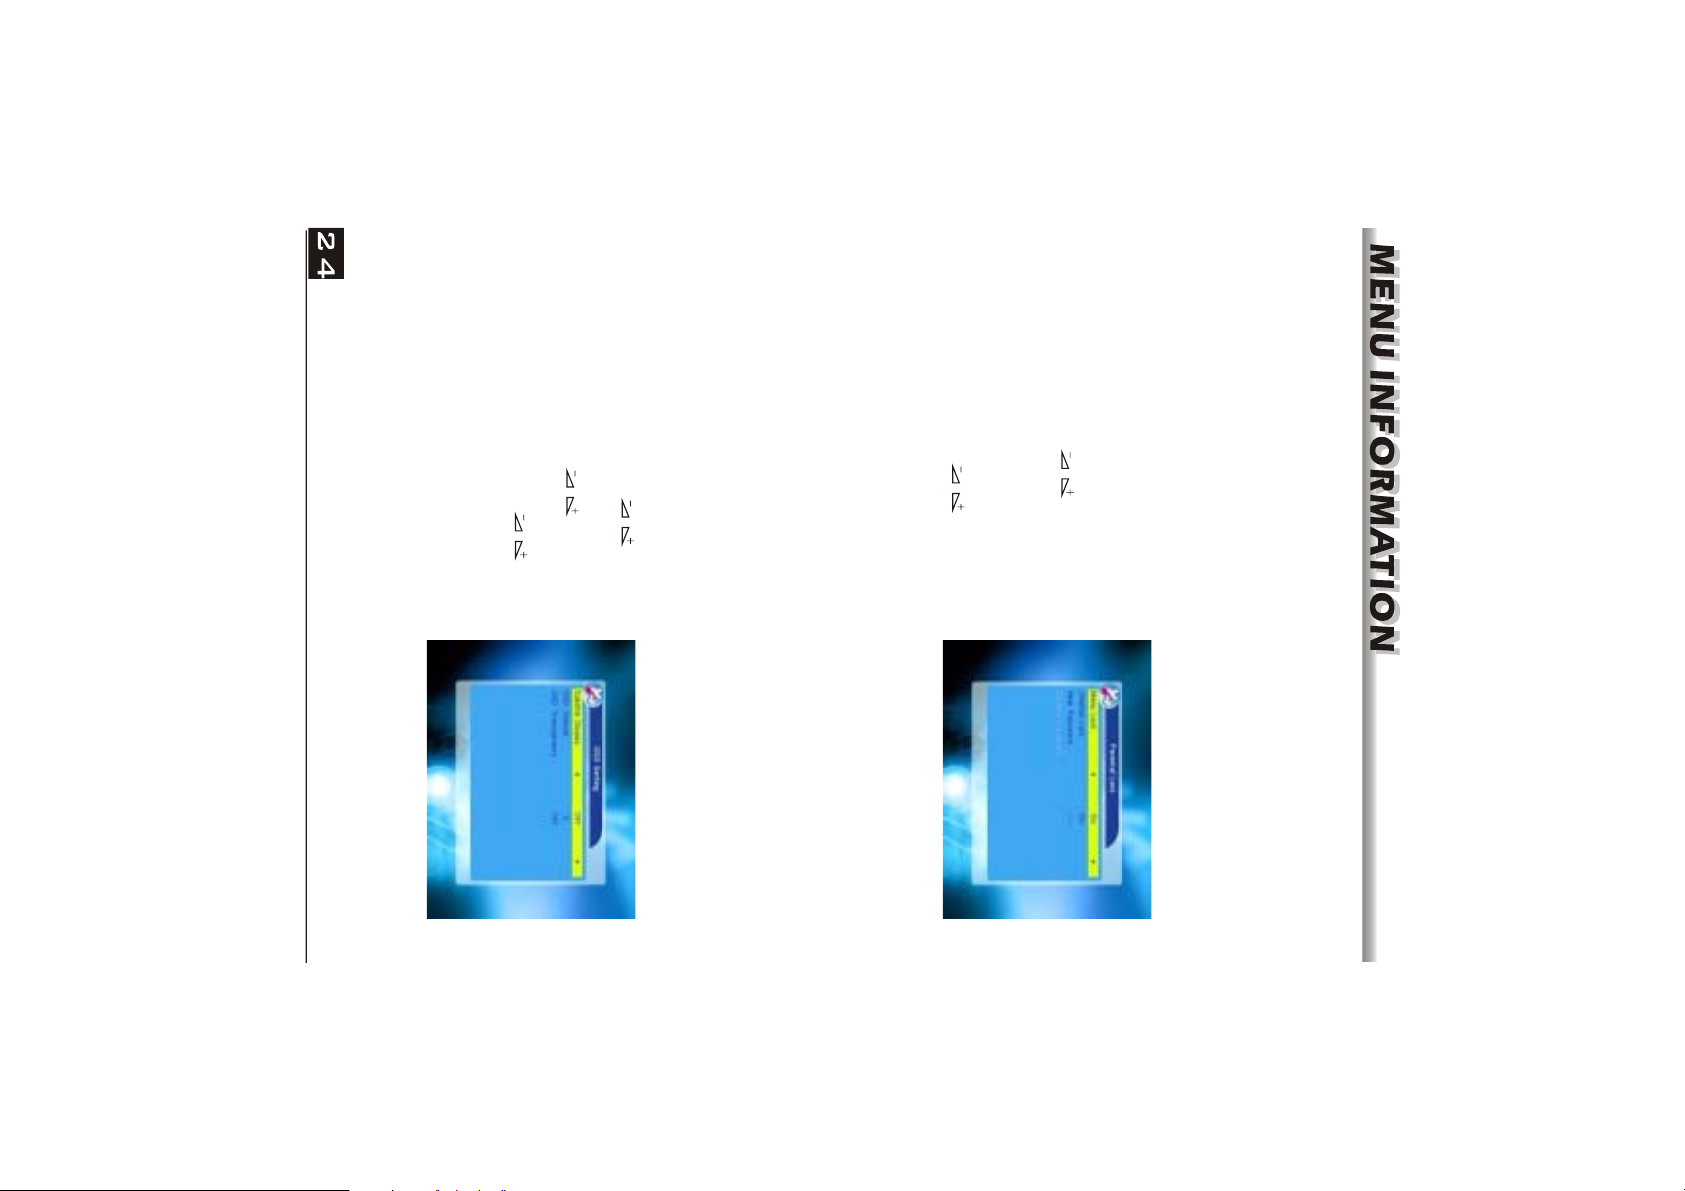
select among Off, 10%, 20%, 30%, 40%. The
default option is Off.
Press MENU or EXIT key to save and exit.
3. OSD Transparency: Press keys to
1. Subtitle Display: Press keys to
select between On and Off.
2. OSD Timeout: Press keys toselect
from 1 to 10 by step1. The default values Is 5.
3.6 OSD Setting
successfully!" while they are the same, or inform you to input the password of
Confirm password once again when they are not the same.
must be the same as the New password. System will inform you "Change password
If select "On", you can not view the locked channel set in Chanel List Edit window
between Off and On. The default value is Off.
until you have inputted the correct password.
3. New Password: User numeric key (0-9) to input the new password.
4. Confirm Password: Input the new password once again. Confirm password
2. Channel Lock: Press keys to select
The default password is 0000.
1. Menu Lock: Press keys to select
between Off and On. If select "On" , you can
not enter into the most window before
entering the password.
Before entering into the Parental Lock
window, you need input the correct password.
3.5 Parental Lock
after the duration time.
Press MENU or EXIT key to save and exit.
Duration: Set the gap time. After waking up, system will power off automatically
Page 26
focus to the left menu.
up or down.
3. Press EXIT key or key to move the
password is inputted. The default password
is 0000.
2. Press PR+, PR- keys to move the cursor
1. Press OK key or key to pop up the
"Input Password" dialogue, you can not
enter into the menu unless the correct
4. Tools
2. Channel Play Type: Select among All,
Free, Scramble.
3. Channel Change: Select between Freeze
and Black screen.
4. Beeper: Select between Off and On.
3.8 Other
1. LNB Power:Select between Off and On.
Since the same operation as the above the
Add Satellite window, here we don't explain
any more.
and press OK key to the Rename window.
window. Press PR+, PR- keys to select one
3.7 Favorite
There are 32 favorites group listed in this
Page 27
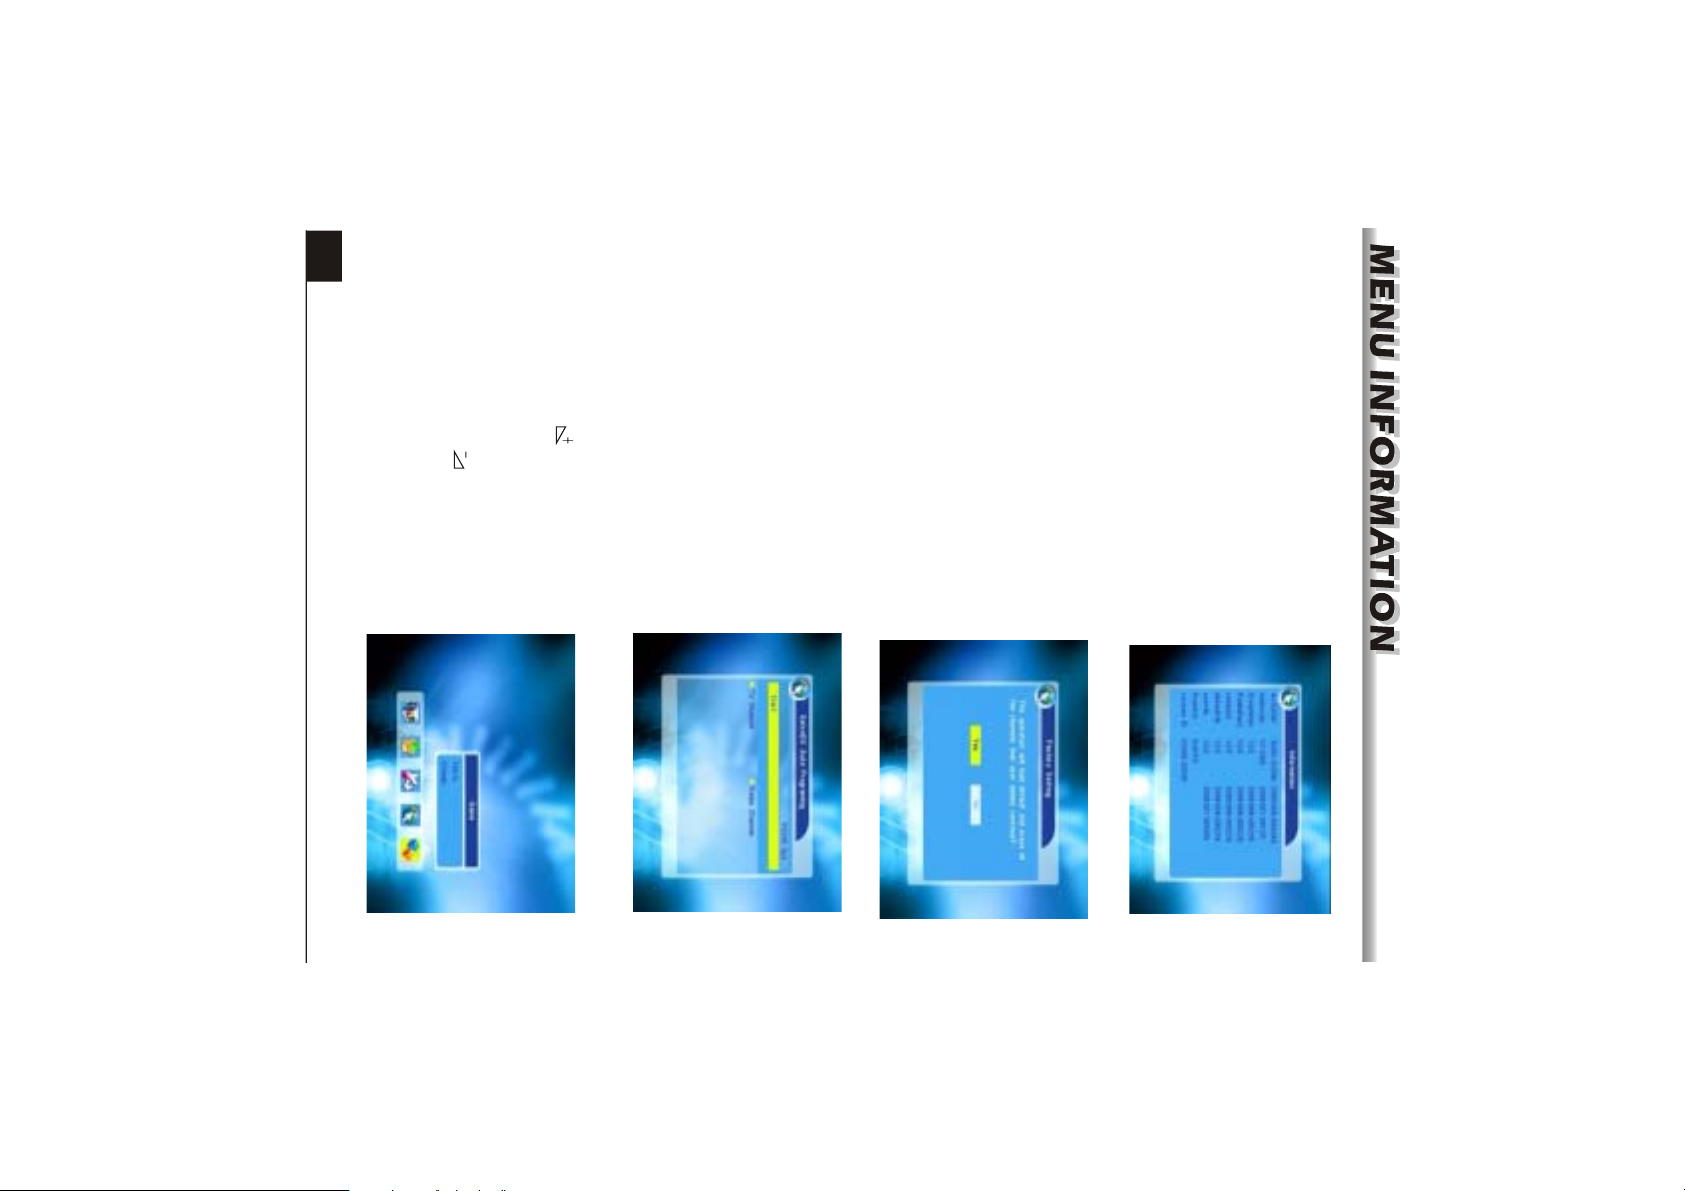
26
press OK key to enter into the window.
focus to the left menu.
4. Select the game that you want to play and
game.
2. Press PR+, PR- keys to move the cursor
up or down.
3. Press EXIT key or key to move the
1. Press OK key or key to enter into the
5. Game
receiving date from RS232 for 10 seconds.
Press OK key at the Start button to start
4.3 SatcoDX Auto Programing
cancel and exit.
this operation, or press MENU or EXIT key to
Select No button and press OK key to cancel
to the factory setting. All searched channels
and set information will be erased.
Setting window.
Select Yes button and press OK key to return
Press OK key to enter into the Factory
4.2 Factory Setting
4.1 Information
Press OK key to the Information window.
Page 28
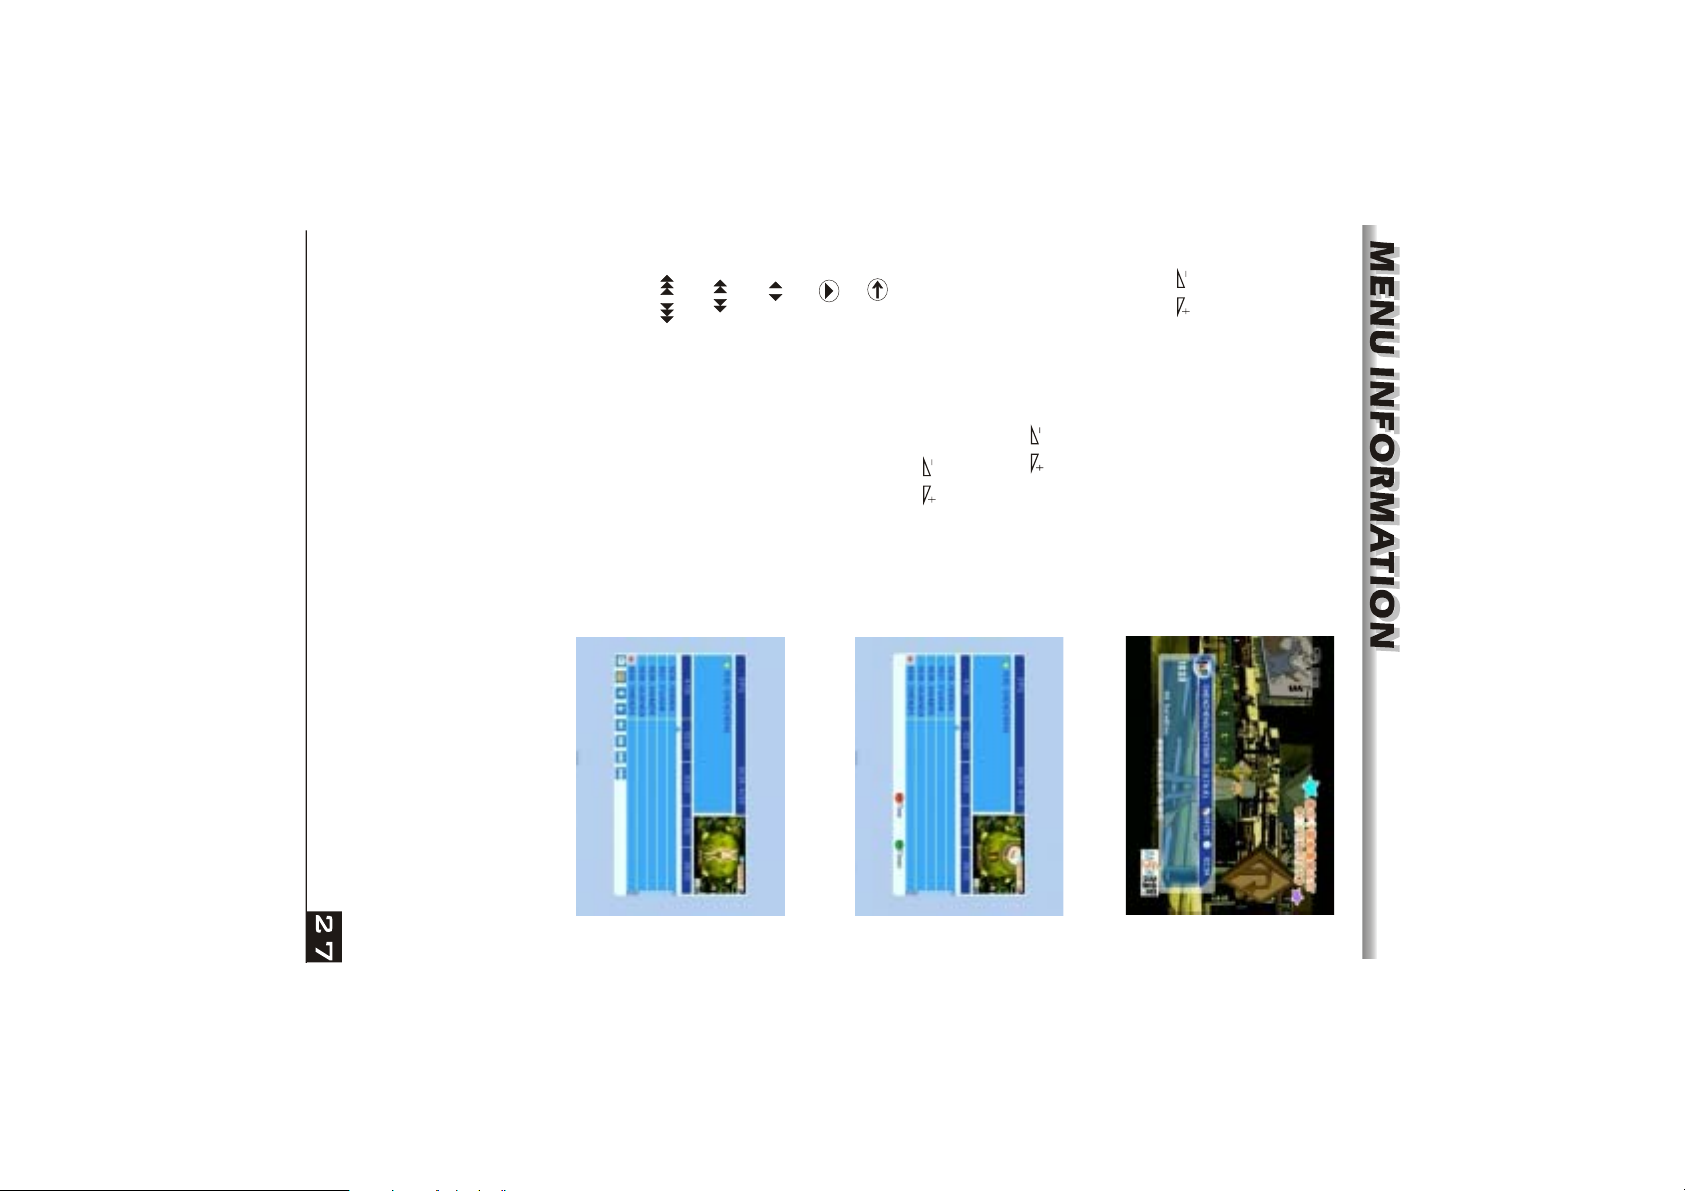
forward or backward by half an hour.
: Press OK key to push the time
forward or backward by a day. From the
current day, you can switch among the
future 14 days in circle.
: Press OK key to push the time forward
or backward by half an hour.
: Press OK key to push the time
cursor to the current time line.
: Press OK key at this button to move the
the EPG window.
left or right in the time bar.
: Press OK key at this button to return to
up or down, while press keys to select
Bar window. Press PR+, PR- keys to select
2. Press red colour key to pop up the Time
1. Press PR+, PR-, keys to select up
or down, left or right.
Press EPG key to enter into the EPG window.
6.2 EPG
guide of the current program. You can press
keys to know the program guide of the
future 16 days.
Press INFO key again to pop up the program
Press INFO key to pop up the Info bar.
6. Hot Key
6.1 Info
Page 29
6.7 Left/Righ (Volume+/-)
Press keys to change the volume. Press keys to decrease the volume by
step 1, while press keys to add the volume by step1.
6.6 Up/Down (Channel Change)
you can select channel in all searched channels. If in the specific satellite, only can
select channel in the satellite group.
Press PR+, PR- keys to change the channel up or down. If in the all satellites group,
6.5 TV/RADIO
In normal mode, press TV/RADIO key to switch between TV mode and Radio mode.
channel" and pressOK key to close this message.
6.4 Number
inputted number is beyond the valid channel number, system will "No such a
Use the numeric keys (0-9) to input the number of the desired channel. If the
system will inform "Timer is full!'.
the corresponding operation.
6.3 Find
Press FIND key on to pop up the Find
window. Use numeric keys to enter into the
character and use the colour keys to realized
program to the Timer. If 8 timers is already,
Timer window. You can add the current
4. Press green colour key to enter into the
program.
press PR+, PR- keys to select the
channel and program, and press OK key to
know the detail information of the current
3. Detail Information: In the EPG window,
Page 30

Press key to switch the current channel to the previous channel.
6.12 Recall
window.
connected with the current channel, not all
the channels.
4. Press MENU or EXIT key to close this
Right, Stereo, and Mono.
3. Changing the audio mode is only
window.
2. Press keys to select among Left,
1. Press keys to enter into the Audio
6.11 Audio
window.
4. Press MENU or EXIT key to close this
up or down, and then press OK key to play
this channel in full-screen.
3. Press keys to select the satellite.
Radio program list.
2. Press PR+, PR- keys to select the channel
key to pop up the TV program list or the
1. During the viewing or listening, press OK
6.10 OK
continues. You can play the picture by pressing PAUSEkey once again.
During the viewing, you can press PAUSE key to stop the picture while the volume
6.9 Pause
6.8 Mute
Press key to close the volume. You can press key once again to restore the
volume, or press keys to open the volume.
Page 31
down.
3. Press MENU or EXIT key to exit
2. In zoom mode, press PR+, PR- keys to move the cursor up, left, right,
6.15 Zoom
1. Press ZOOM key to switch among Zoom*1, Zoom*2, Zoom*3, Zoom*4, Zoom*5,
Zoom*6, Zoom*8, Zoom*12, Zoom*16.
Press TXT key to open the teletext on the screen. If there is no teletext, system will
inform "No Teletext Data". Press EXIT key to exit.
6.14 Teletext
Press MENU or EXIT key to exit.
3. If there is no favorite channel, system will
inform " No FAV Channel!" when you press
FAV key.
selected channel to view it in full-screen.
channel up or down.. Press OK key at the
2. Press keys to select the favorite
group. Press PR+, PR- keys to select the
group window.
6.13 FAV
1. Press FAV key to pop up the favourite
Page 32
Note : If you have tried all of the actions suggested above, without solving the
problem, please contact your dealer or service provider.
RCU is incorrectly aimed.
Aim RCU at the , or check that
nothing blocks the front panel.
receiver
The RCU is not working.
terrestrial channel or video
signal.
terrestrial channels or Video signal.
Battery exhausted.
system by SCART leads.
Change the batteries.
The picture is not
showed on the screen,
when switching on.
There is interference on
your digital satellite
channels, an existing
The system is connected by RF
leads.
The system is connected by RF
leads and the output channel of the
receiver interferes with an existing
Check the UHF channel fixed in your
system and tune the UHF channel
properly.
Change the output channel to
a more suitable channel, or connect the
receiver
LNB noise factor too high.
The LNB is faulty. Change the LNB.
Change to an LNB with lower noise
factor.
Bad picture / blocking
error.
Satellite dish is too small.
input.
Change to a larger dish.
Signal is too strong.
Connect a signal attenuator to the LNB
No signal or weak signal.
The satellite dish is not pointing at
the satellite.
other equipment connected between the
LNB and the receiver, or adjust the dish.
Adjust the dish.
No sound or picture.
Check the cable connections, LNB and
The satellite dish is not pointing at the
satellite.
Adjust the dish. Check the signal
level in the Antenna Setup menu.
panel does not light up.
No sound or picture, but the
front panel shows red light.
Main cable is not connected.
The is in standby mode.receiver
the power socket.
Press the standby button.
The display on the front
Problem Possible causes What to do
Check that the main cable is plugged into
31
 Loading...