

Skyworth LCD-37L16 Instruction Manual

LCD-37L16LCD-37L16
37" LCD TV/MONITOR
Instruction Manual
Thank you very much for your purchase of this product-the most natural
Colour Television Receiver.
To enjoy your set to the full from the very beginning, read this manual carefully
and keep it handy for ready reference.
-1-
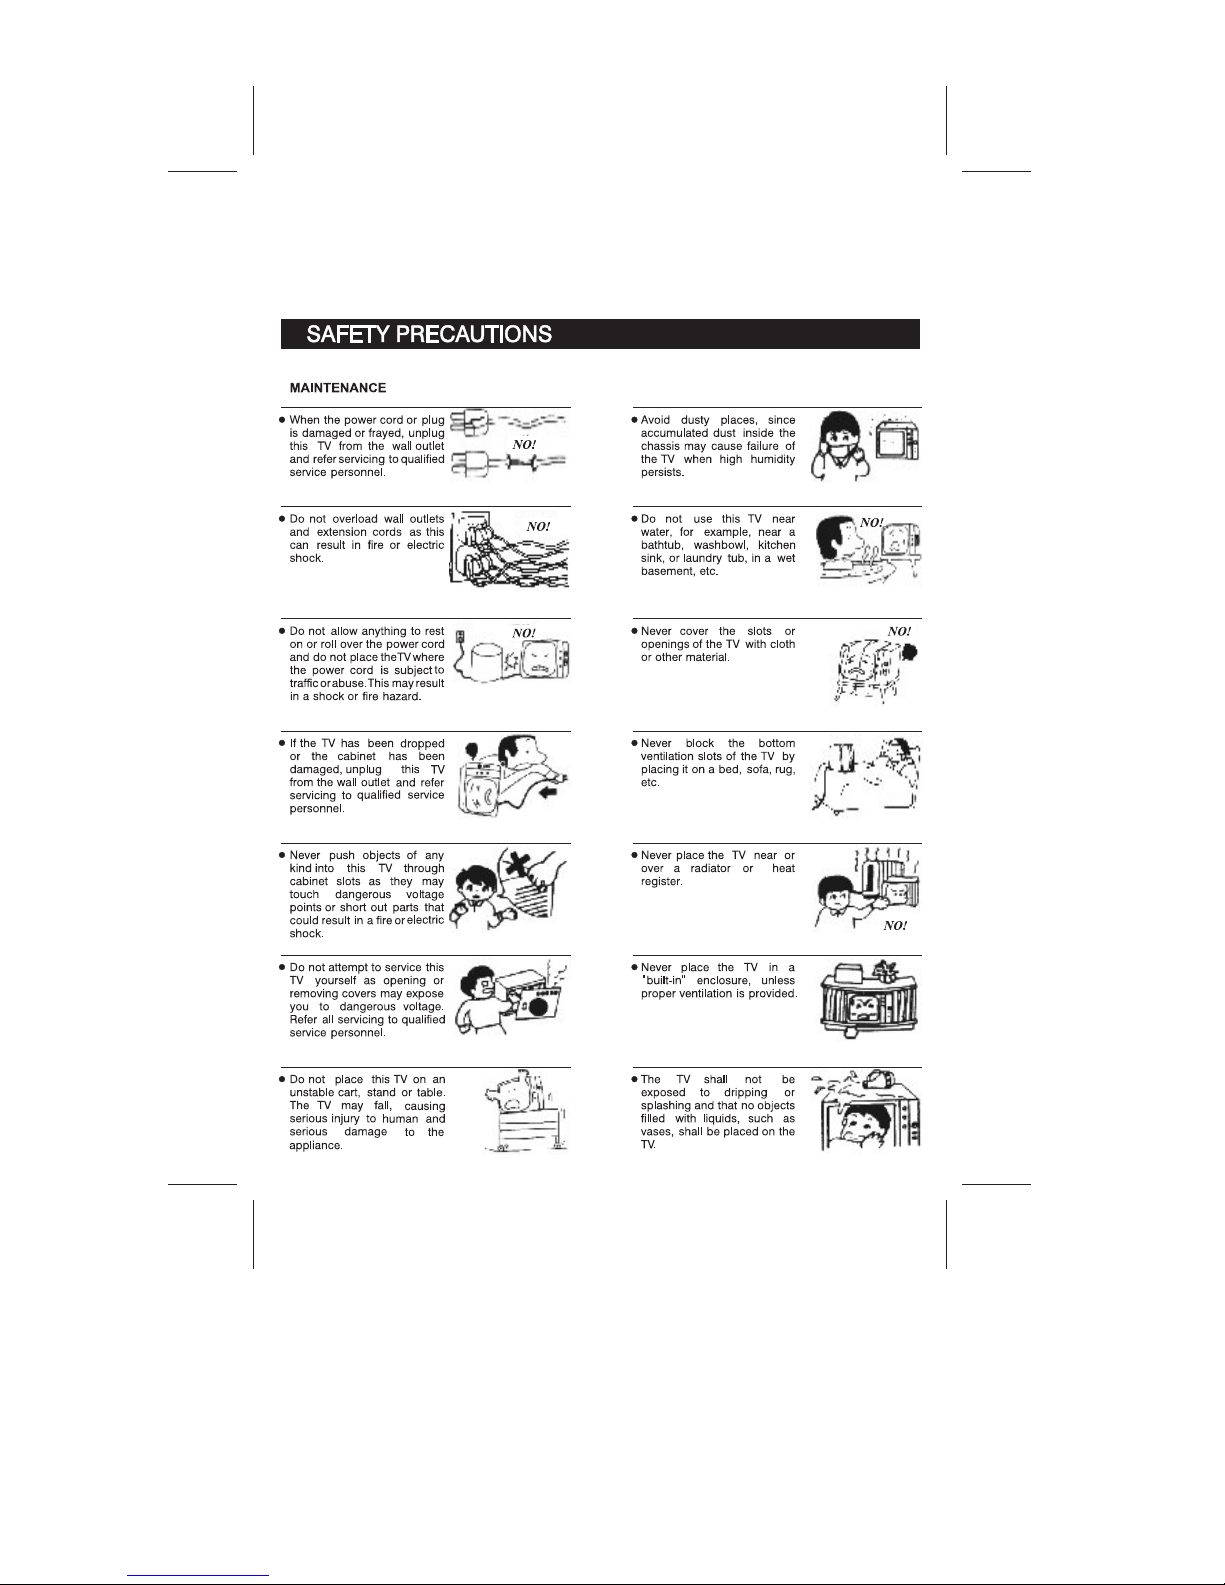
Precautions when using batteries
Do not use old and new batteries together.
Do not use different types of batteries (for example, Manganese and
Alkaline batteries) together.
Note that there are chargeable and non-chargeable batteries. Do not
attempt to charge non-chargeable batteries.
Remove the batteries from the remote control unit if you do not intend to use
the unit for a long time.Precautions when using the remote control unit
Do not drop the remote control unit.
Do not subject the remote control unit to physical shocks.
Keep the remote control unit dry. May cause the unit to malfunction.
Replace the batteries with new ones when operation of the unit deteriorates.
SETUPSETUP
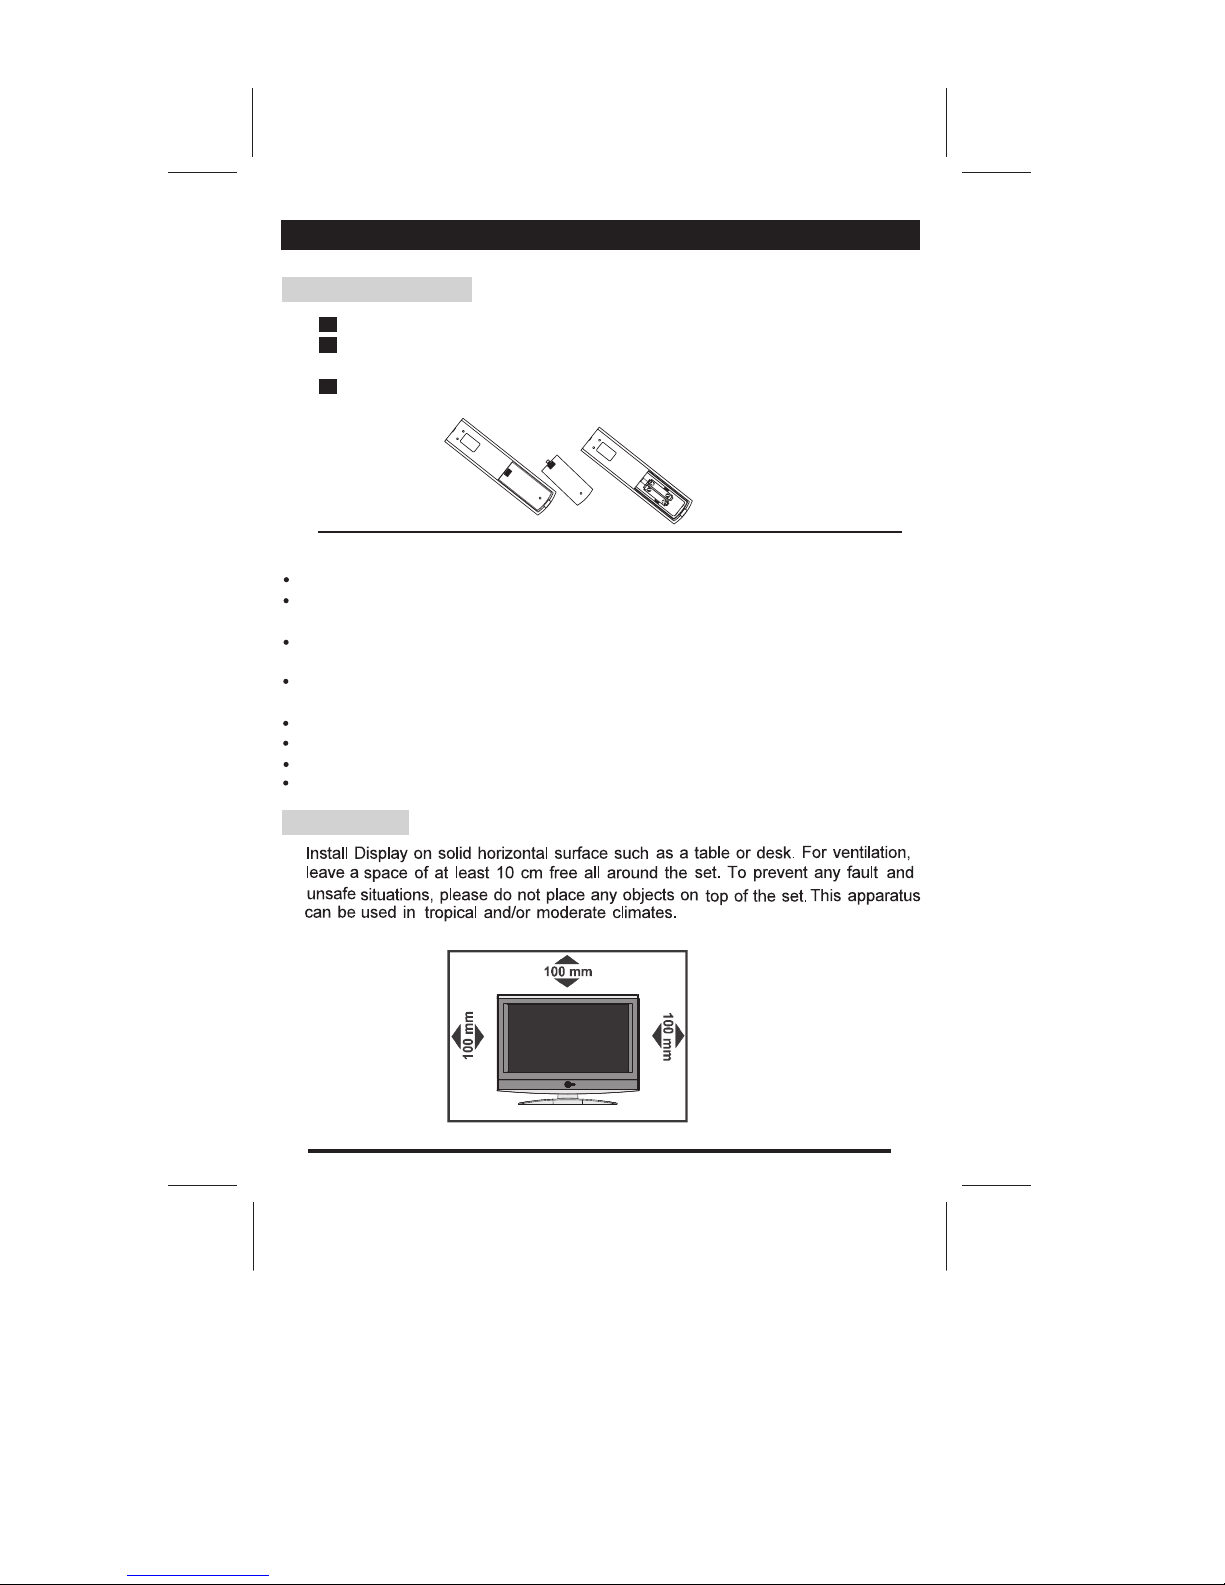
Insert The Batteries
Remove the battery cover by pressing it and sliding it down.
Insert the two 1.5V (AAA size) batteries making sure the polarity (+
or -)of the batteries matches the polarity marks Inside the unit.
Replace the battery cover by sliding it in until you hear a click Sound.
1
2
3
TV Installation

Locate the receiver in the room where direct light does not strike the screen.
Total darkness or a reflection on the picture screen can cause eyestrain. Soft and indirect
lighting is recommended for comfortable viewing.
Allow enough space between the receiver and the wall to permit ventilation.
Avoid excessively warm locations to prevent possible damage to the cabinet or premature
component failure.
This TV operates on AC supply directly, connect the AC plug to the socket at the back of the TV.
Insert the mains plug in the socket having a mains voltage of 100-240V AC.
Do not install the receiver in a location near heat sources such as radiator, air ducts, direct
sunlight, or in a place somewhere like close compartment and close area.Do not cover the
Features
Up to 200 programme memory.
Programme swapping.
Sleep timer.
Original / 16:9/16:9 Zoom / 16:9 Sub /
14:9 picture modes.
When no T V signal is dectected,after 1 5
minutes the T V switches itself automatically
to stand-bymode.
CYS: PAL / S ECAM
SYS: BG/DK / I
HDMI Input (support up to 1080i)
PC Input (support up to 1080i)
NICAM Stereo / AV Stereo
Panel Features
High resolution (1366x768),37" TFT LCD
display.
2
Brightness: 500cd/m
High-speed response time <8msec.
8-bit color depth,display 16.7M colors.
High contrast ratio (1600:1 T ypital)
00
Viewing angle:178 (H)/178 (V)(CR>10).
In The Box
Tele vision
User Guide
You should have:
Remote control
Warranty Card
2 x AAA battery
Stand
Wall mount
SETUPSETUP
-2-
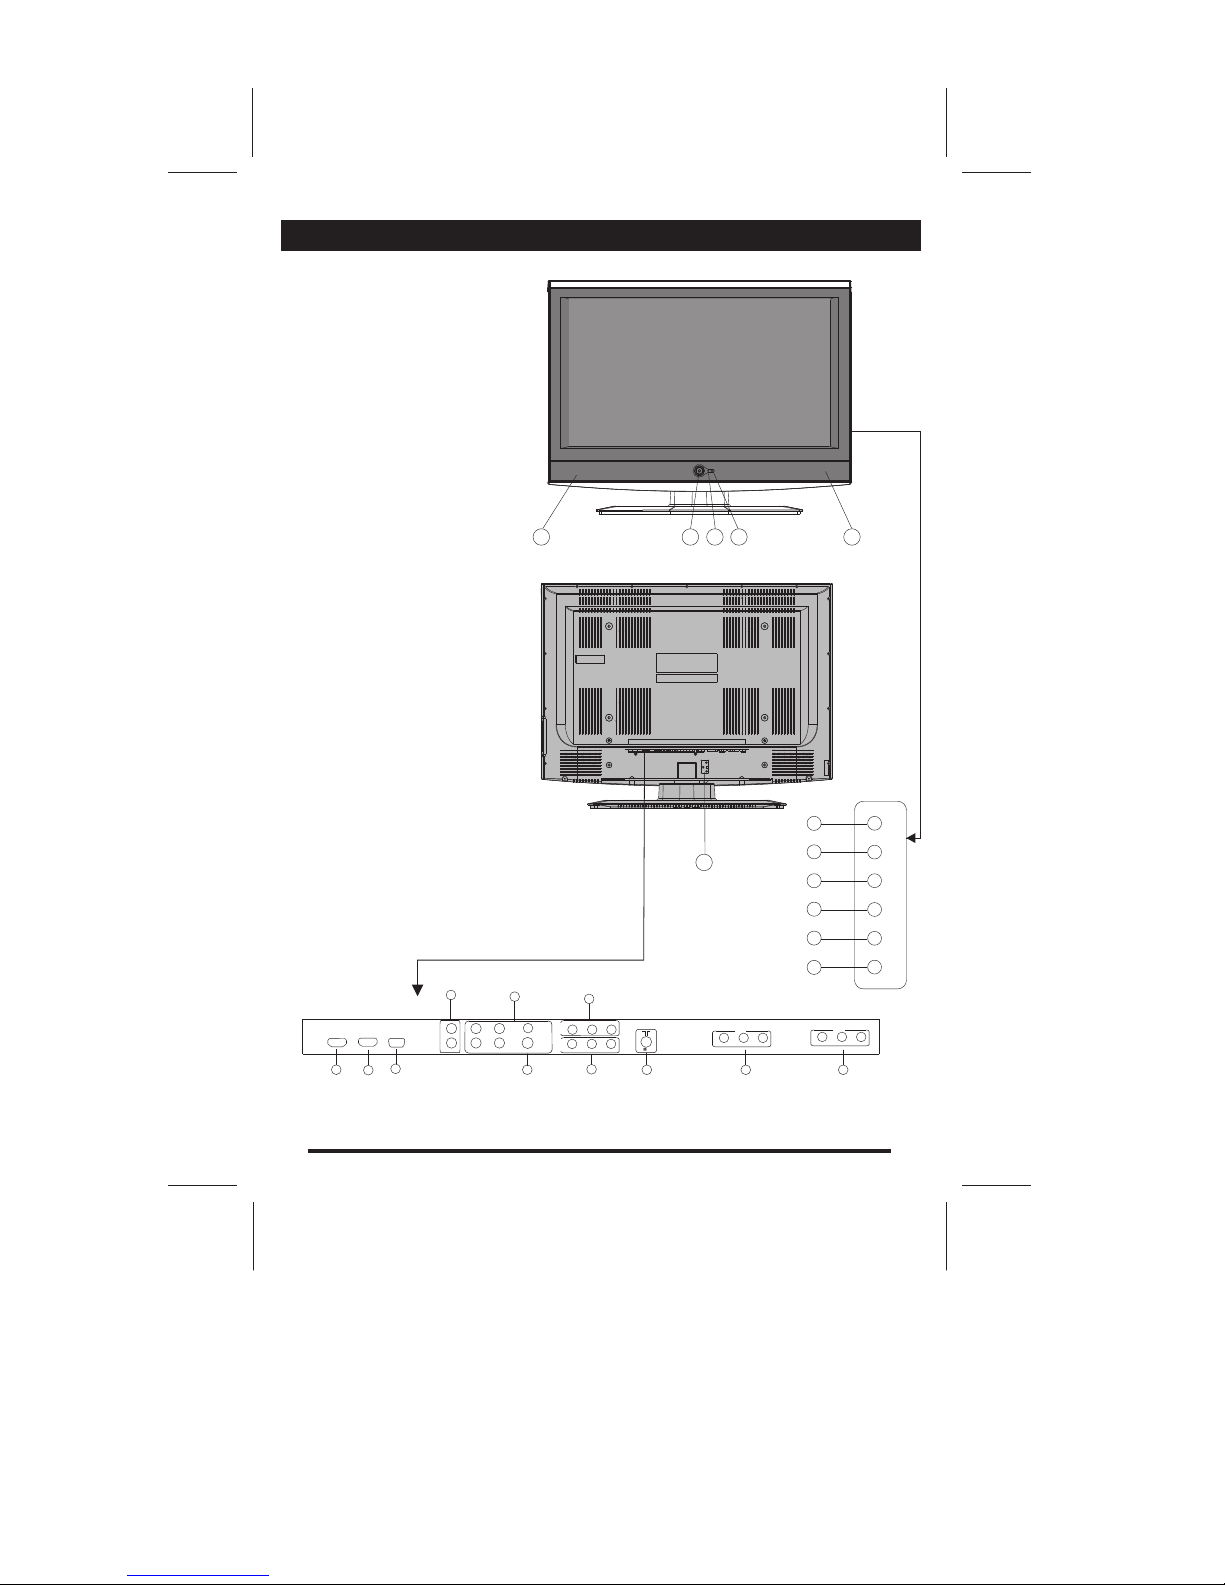
FUNCTIONAL PARTSFUNCTIONAL PARTS
1. ON/OFF Switch
2. Power Indicator
3. Remote Sensor
4. TV / AV
5. MENU
6. VOL.- Button
7. V0L. + Button
8. PROG.- Button
9. PROG.+ Button
10. Speakers
11. AV IN 2
12. AV IN 3
13. Aerial input socket
14. AV IN 1
15. AV OUT
16. S-Video
17. Y Pb/Cb Pr/Cr
18. Audio input (Left & Right)
19. VGA Input
20. HDMI1 Input
21. HDMI2 Input
22. Power cord input
223311
1010 1010
VOL.-
VOL.+
PROG.-
PROG.+
66
77
88
99
TV/AV
MENU
44
55
1313
1414
1717
1212
1111
1919
1515
1616
2020
1818
-3-
2222
VGA
75 ANT
S-VIDEO
Y
Pb
Pr
RIGHT
HDMI 2 HDMI 1
LEFT
RIGHT
LEFT
AUDIO IN 1
AUDIO IN 2
AV IN 1
AV OUT
VIDEO
LEFT
RIGHT
VIDEO
LEFT
RIGHT
AV IN 3
VIDEO
LEFT
RIGHT
AV IN 2
VIDEO
LEFT
RIGHT
2121
 Loading...