

Skytec STM-3012 User Manual
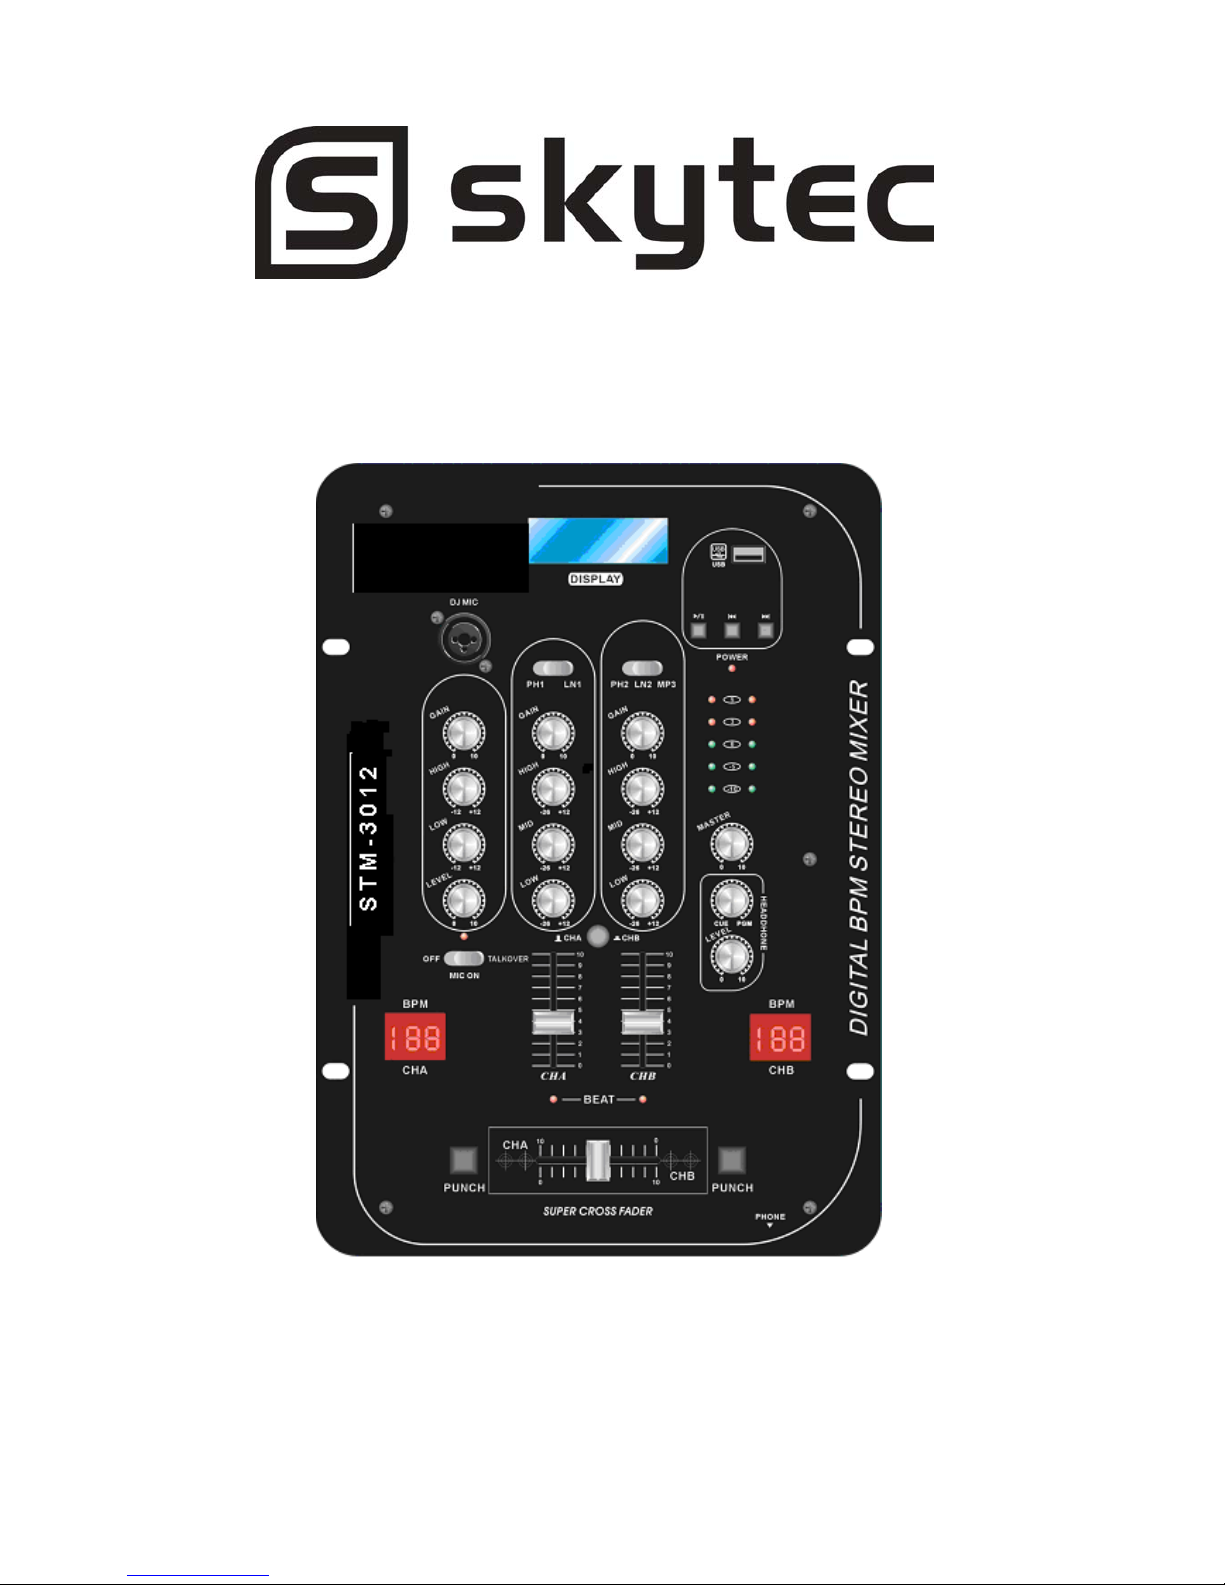
STM-3012 4 channel mixer with USB/MP3
172.733
USER MANUAL
GEBRAUCHSANWEISUNG
HANDLEIDING
USER MANUAL
GEBRAUCHSANWEISUNG
HANDLEIDING
GB
Congratulations to the purchase of our mixer .
Please read the manual thoroughly prior to using the unit.
WARNINGS:
• Read the manual prior to using the unit.
• Keep the manual so that any other user can read it
first.
• Keep the packaging so that you can transport the unit
in its original packaging in order to avoid damage
• For indoor use only.
• Prior to the first use, have the unit checked by a
qualified person
• The unit contains voltage carrying parts. DO NOT
open the housing.
• When you unplug the unit from the mains always pull
the plug, never the lead.
• Do not plug/unplug the unit with wet hands.
• If the plug and/or lead are damaged, they need to be
replaced by a technician.
• If the unit is damaged to an extent that internal parts
are visible, DO NOT connect the unit to the mains
and DO NOT switch it on. Contact your dealer.
• Repairs should only be carried out by a technician.
• Connect the unit only to an earthed 220-240Vac/50Hz
mains outlet protected by a 10-16A fuse.
• Do not place the unit near heat sources such as
radiators, etc.
• During a thunderstorm or if the unit will not be used
for a longer period of time, unplug it from the mains.
• If the unit has not been used for an extended period
of time, condensation may occur inside the unit. Let
the unit reach room temperature first.
• To avoid accidents in public premises, you need to
adhere to the applicable rules and follow the
indications/instructions.
• Keep out of the reach of children.
• Do not use cleaning sprays to clean the slider controls.
They leave residues that cause dust and smear
deposits inside the controls. In case of malfunction,
ask a qualified technician for advice.
• Make sure that all channel slider controls and the
master volume control are set to the minimum prior
to switching the unit on.
• Handle the channel faders with care. Quick variations
can damage the speakers as the amplifier might clip.
•
Avoid clipping of the amplifier. This happens if the
clip Led’s, mostly mounted on the front panel of the
amplifier light up. Set the volume to a sufficiently
low level.
• Make sure that the mains voltage is switched off
before you make connections or changes.
• Use the appropriate connection leads for the specific
signals.
• Always switch on the amplifier at latest and switch it
off at first. This prevents damage to your equipment
in case of overdrive.
• Repairs must always be carried out by an agreed
technical service.
• Avoid excessive mechanical charges of the parts. If
the LED vu-meter is continuously in the red area, the
output signal is too strong. This results in distortion.
Lower the master volume to an acceptable level in
order to prevent damage to your equipment further to
overdriving.
Do not attempt to make any repairs yourself. This would invalid your warranty. Do not make any changes to
the unit. This would also invalid your warranty. The warranty is not applicable in case of accidents or damages
caused by inappropriate use or disrespect of the warnings contained in this manual. Tronios BV cannot be
held responsible for personal injuries caused by a disrespect of the safety recommendations and warnings.
This is also applicable to all damages in whatever form.
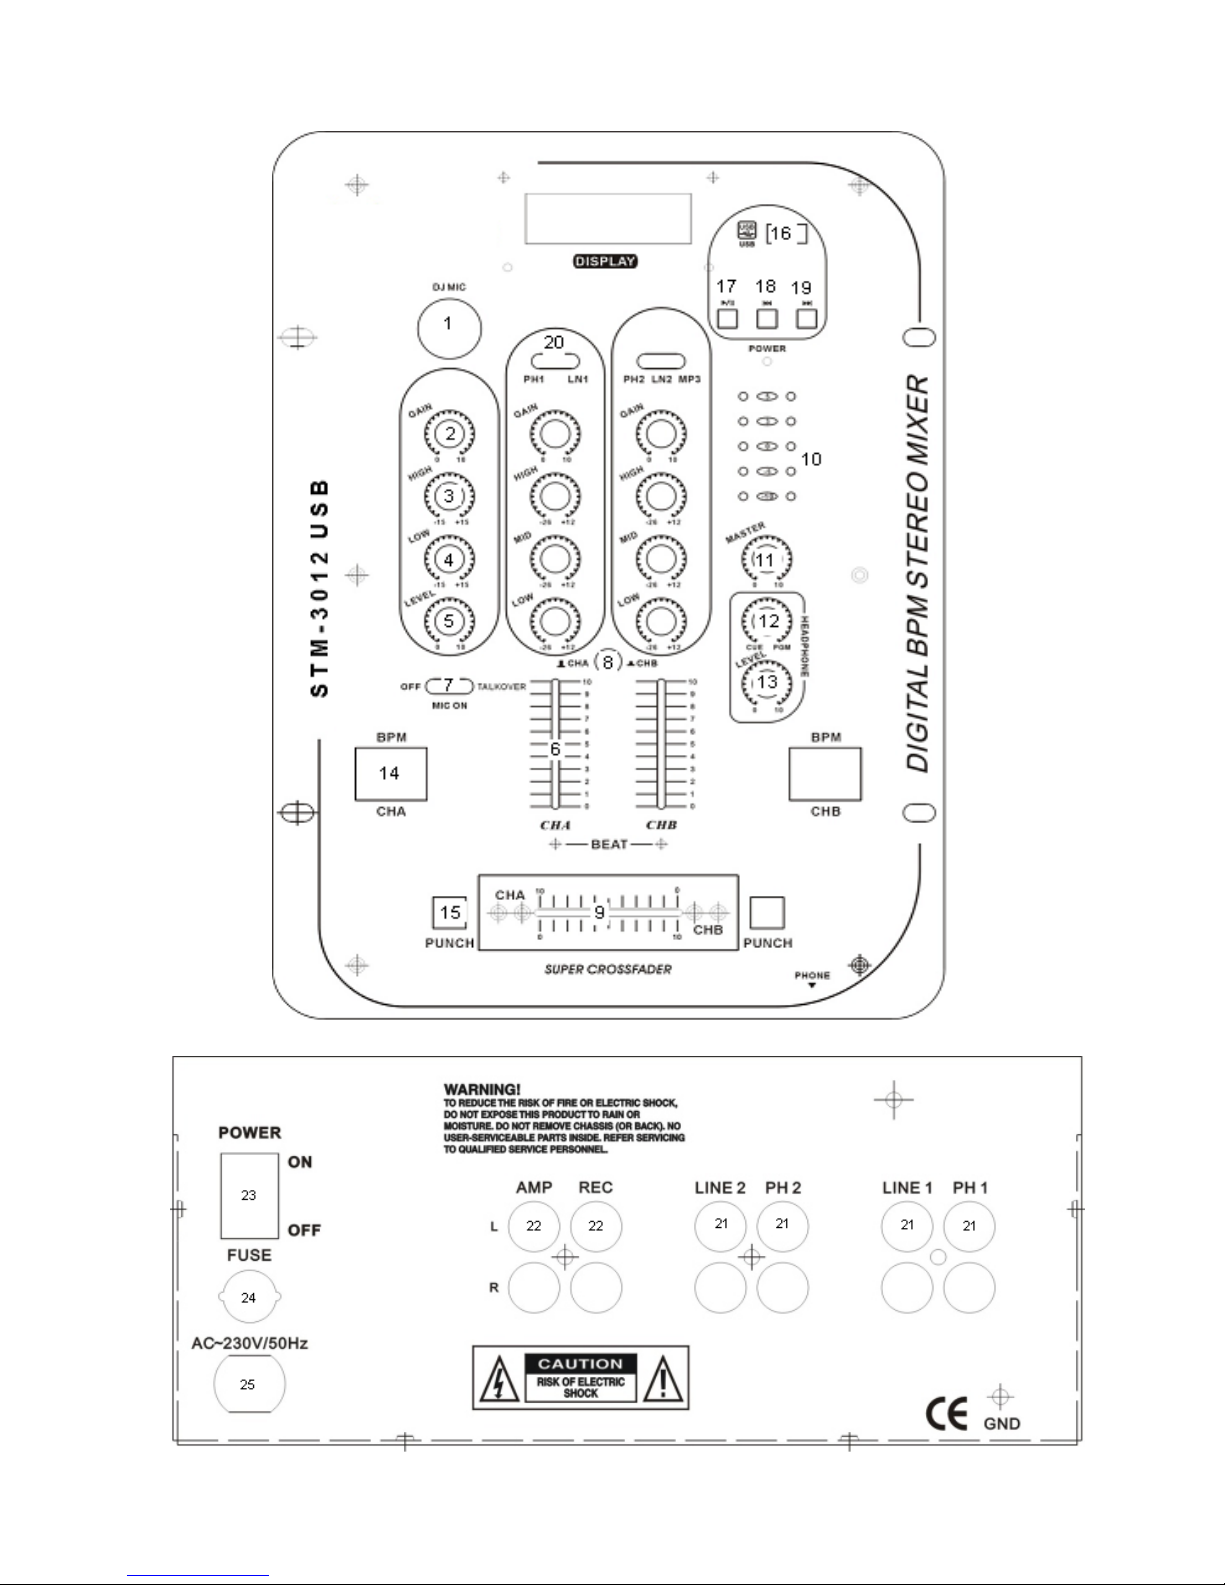

1. Mic: Balanced XLR and TRS connector input socket. For connecting low level signal sources. Such as
microphones or other low impedance devices.
2. Gain : The gain control adjusts the input sensitivity of the Mic.
3. High: Alllows you to control the Hi –rang e of signals.
4. Mid: Alllows you to control the Mid–range of signals.
5. Low: Alllows you to control the Bass –range of signals.
6. Level : Allows you to adjust the signal level to be sent to the master connection of Hi level sound sources.
7. Talkover : When the switch on ON, the volume of all sources except the mic inputs are lowered by 12dB.
8. Cue select: Allows you to select CHA or CHB to be the headphone.
9. Crossfader: This fader allows the mixing of one source into another.
10. Display : The display indicates either the master output left and right levels.
11. Master : Allows you to adjust the master output level.
12. Cue PGM PAN: By moving this control to the left, you will be able to monitor the assigned cue signal .
Moving to the right will monitor the PGM program output.
13. Headphone Level: Allows you to adjust the headphone output level.
14. BPM Display : There are BPM displays for ch 2 and 3. They update approx. every 3 seconds and digitally
display the beats per min. allowing you to match the beats visually. BPM display reflects the Beats p/m of
channel 2 and 3.
15. Punch: These knobs allows you to cut the signal from each side of the crossfader.
16. USB : To connect to USB Stick.
17. Play/Pause : Each time you press the button the operation changes from play to pause or from pause to
play.
18. I << : Use this button to re-start the track or to select the previous track.
19. >>I : Use this button to select the next track.
20. Channel switch : Allows you to select the channel of signals.
21. Input / Output: RCA connector input/output socket.
23. Power ON : Press the power switch once you have connected all the cables to the equipme nt.
24. Fuse
25. AC input : To connect to the AC plug. Verify pls the right Main-voltage (220-240Vac/50Hz).
SPECIFICATIONS :
INPUTS
Mic................................................................................................................................................-60dB / 1kOhm
Phono.........................................................................................................................................-50dB / 47kOhm
Line ............................................................................................................................................-20dB / 10kOhm
OUTPUTS
Master..........................................................................................................................................0dB / 600 Ohm
Rec..............................................................................................................................................-5dB / 600 Ohm
Freq response..................................................................................................................................20Hz~20kHz
THD............................................................................................................................................................>0.3%
S/N.............................................................................................................................................................>80dB
Talkover........................................................................................................................................................12dB
Electric products must not be put into household waste. Please bring them to a recycling centre. Ask your local
authorities or your dealer about the way to proceed.
The specifications are typical. The actual values can sl ightly change from one unit to the other. Specifications can be
changed without prior notice.
 Loading...