

SKYPINE ELECTRONICS VX400, VZ400 Owner's Manual & Installation Manual

VX400 / VZ400
Owner’s Manual & Installation Manual
Radio Operations
Listening to the Radio
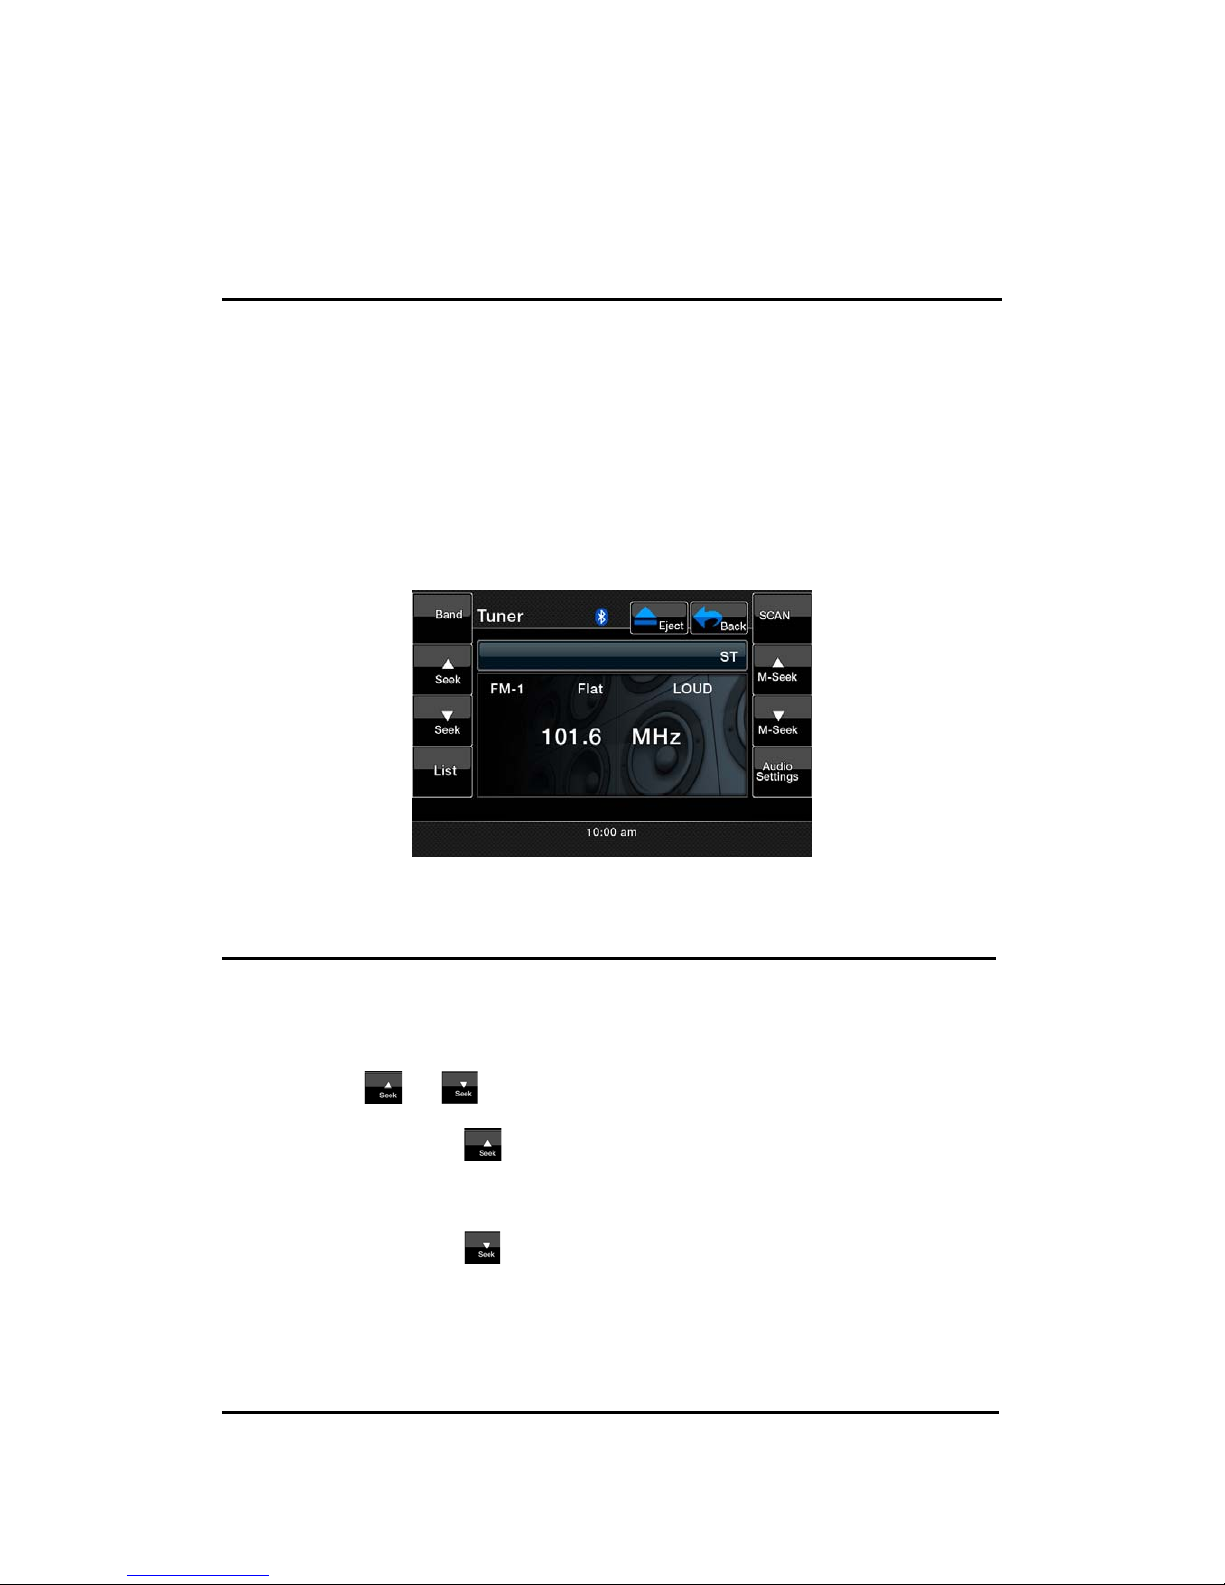
1. Touch the [Tuner] button on the Source display. The Tuner mode screen is
displayed.
2. Press the [Band] key on remote control or touch the [Band] button to
select the radio Band. Each time the button is pressed, the radio reception
Band changes in the following order:
FM1 ė FM2 ė FM3 ė AM ė FM1…
Seek tuning
1. Press the [Band] key on remote control or touch the [Band] button to
select the desired Band (FM or AM).
2. Touch the
or button to automatically seek a station.
ĆWhen touching the
button, the station is sought in the direction of
higher frequencies.
ĆWhen touching the
button, the station is sought in the direction of
lower frequencies.
Manual tuning

1. Press the [Band] key on remote control or touch the [Band] button to select
the desired Band (FM or AM).
2. Touch the
or button to manually select a station.
ĆWhen touching the
button, the frequency is tuned in the direction of
higher frequencies.
ĆWhen touching the
button, the frequency is tuned in the direction of
higher frequencies.
Recalling a preset station
There are total of 48 preset positions (12-FM1, 12-FM2, 12-FM3, 12-AM) to
store individual radio stations in memory.
There are 2 ways available to recall the preset station.
Using the remote controller
1. Press the [Band] button on remote control to select the desired Band (FM
or AM).
2. Press the preset number desired on the 0~9 numeric keypad.
Using the Preset List screen
1. Touch the [List] button.
2. Touch the corresponding Preset button to recall the stored station.

You can select the desired Band by touching the [Band] button. Scroll through
pages using scroll bar buttons to the right of the presets.
Touching and holding the desired Preset button for more than 2 seconds will
store the current station to the preset memory.
3. Touch the [List] button to return to the previous screen.
Manual memory
1. Touch the [Band] button to select the desired Band (FM or AM).
2. Select the desired station with the seek tuning, manual tuning, or preset
tuning.
3. Touch the [List] button.
4. Touch and hold one of the Preset button for more than 2 seconds to store
the current station into the preset memory.
5. Scroll through the 3 pages of presets in each Band by pressing the scroll
bar buttons to the right of the presets.
Auto store
The Auto Store is a function for storing up to 12 stations that are automatically
tuned in sequentially. If 12 receivable stations cannot be received, a previously
stored station remains unoverwritten at the memory position.
1. Touch the [Band] button to select the desired Band (FM or AM).
2. Touch the [Auto Store] button momentarily to start the Auto Store function.
Preset scan
The Preset Scan receives the stations stored in the preset memory in order.
This function is useful when searching for the desired station in memory.
1. Touch the [Band] button to select the desired Band (FM or AM).
2. Touch the [PS] button to start the Preset Scan.
3. When the desired station is tuned in, touch the [PS] button again to

continue receiving that station.
Channel scan
The Channel Scan receives the stations sequentially and scans continuously.
This function is useful when searching for the desired station in an unfamiliar
area.
1. Touch the [Band] button to select the desired Band (FM or AM).
2. Touch the [SCAN] button to start the Channel Scan. The unit starts
scanning each station for 10 second sequentially.
3. When the desired station is tuned in, touch the [SCAN] button again to
continue receiving that station.
DX/LOC setting
The DX/LOC setting changes the Tuner sensitivity in order to separate closely
spaced stations. This feature is useful in areas that have many radio stations in
close proximity.
1. Touch the [LOC] button to switch to LOCAL Tuner sensitivity.
2. Touch the [DX] button to switch to DX Tuner sensitivity.
HD Radio Operations
Listening to the Radio
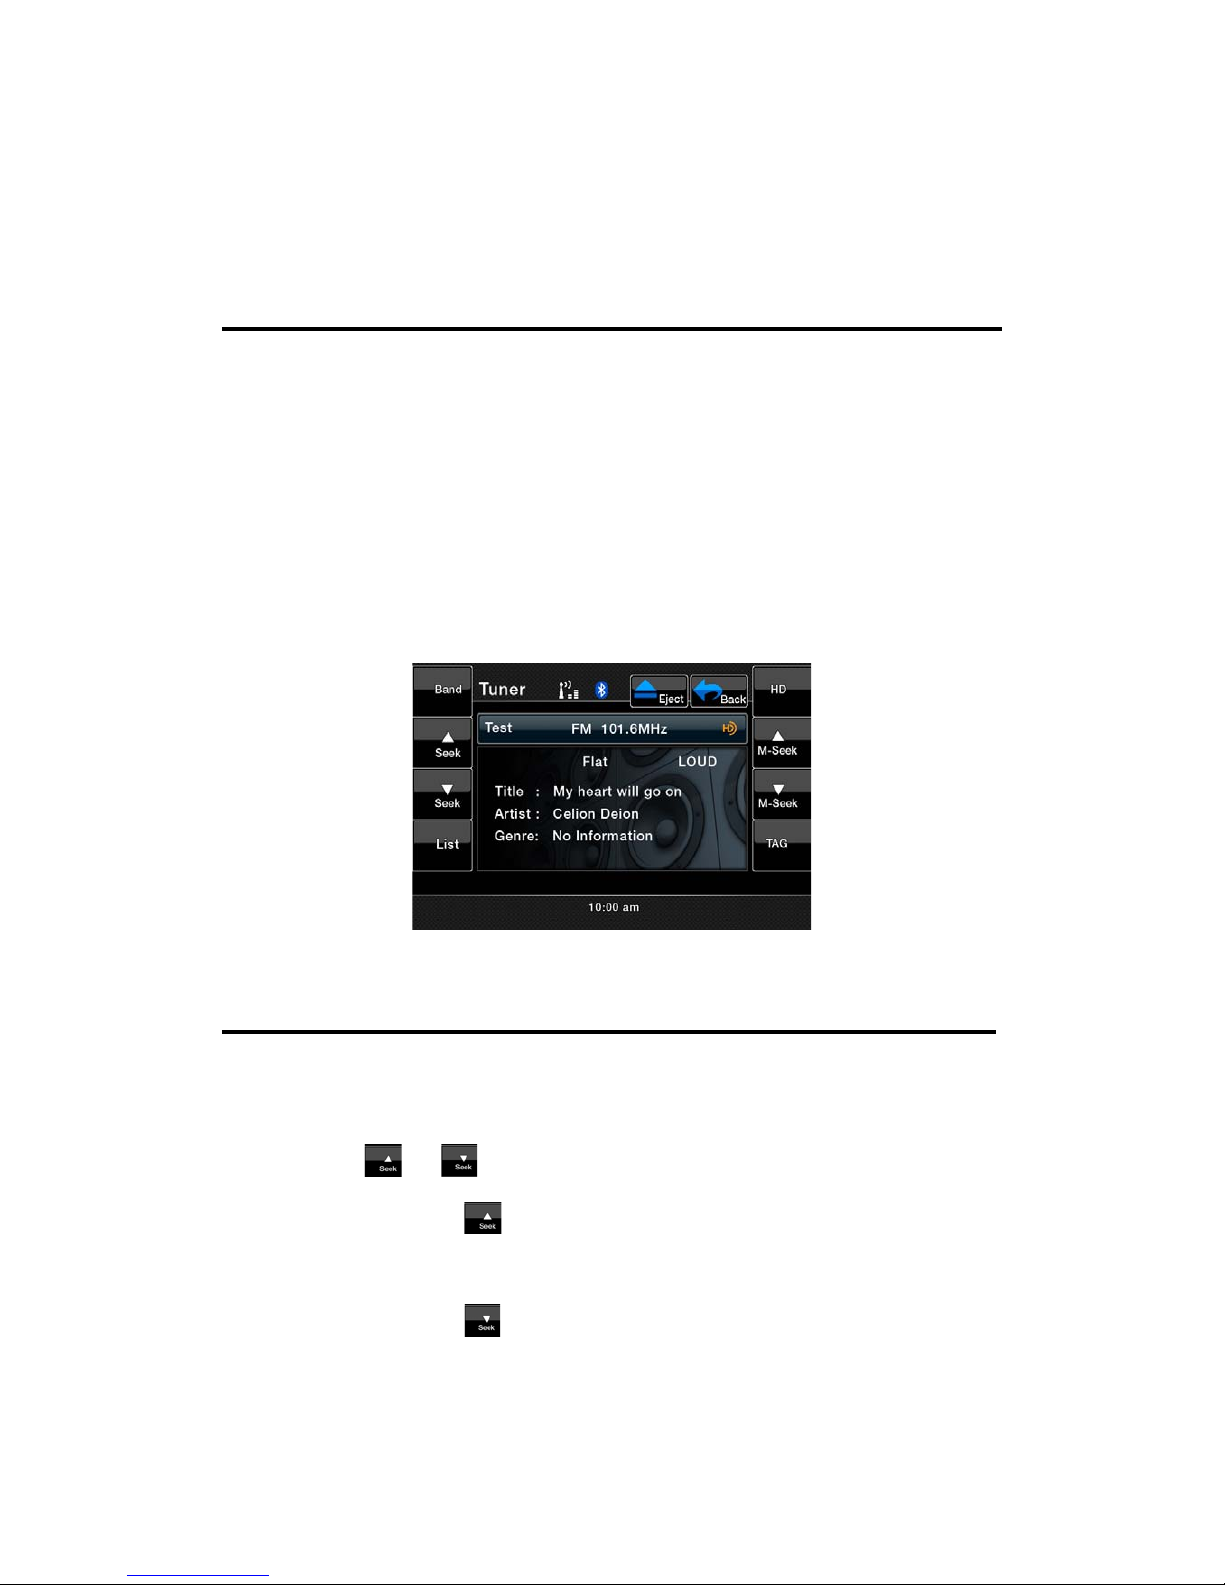
Note: Connect THD400 HD Radio black box to activate HD Radio function.
1. Touch the [Tuner] button on the Source display. The Tuner mode screen is
displayed.
2. Press the [Band] key on remote control or touch the [Band] button to
select the radio Band. Each time the button is pressed, the radio reception
Band changes in the following order:
FM ė AM ė FM…
Seek tuning
1. Press the [Band] key on remote control or touch the [Band] button to
select the desired Band (FM or AM).
2. Touch the
or button to automatically seek a station.
Ć When touching the
button, the station is sought in the direction of
higher frequencies.
Ć When touching the
button, the station is sought in the direction of
lower frequencies.
Manual tuning
1. Press the [Band] key on remote control or touch the [Band] button to select
the desired Band (FM or AM).
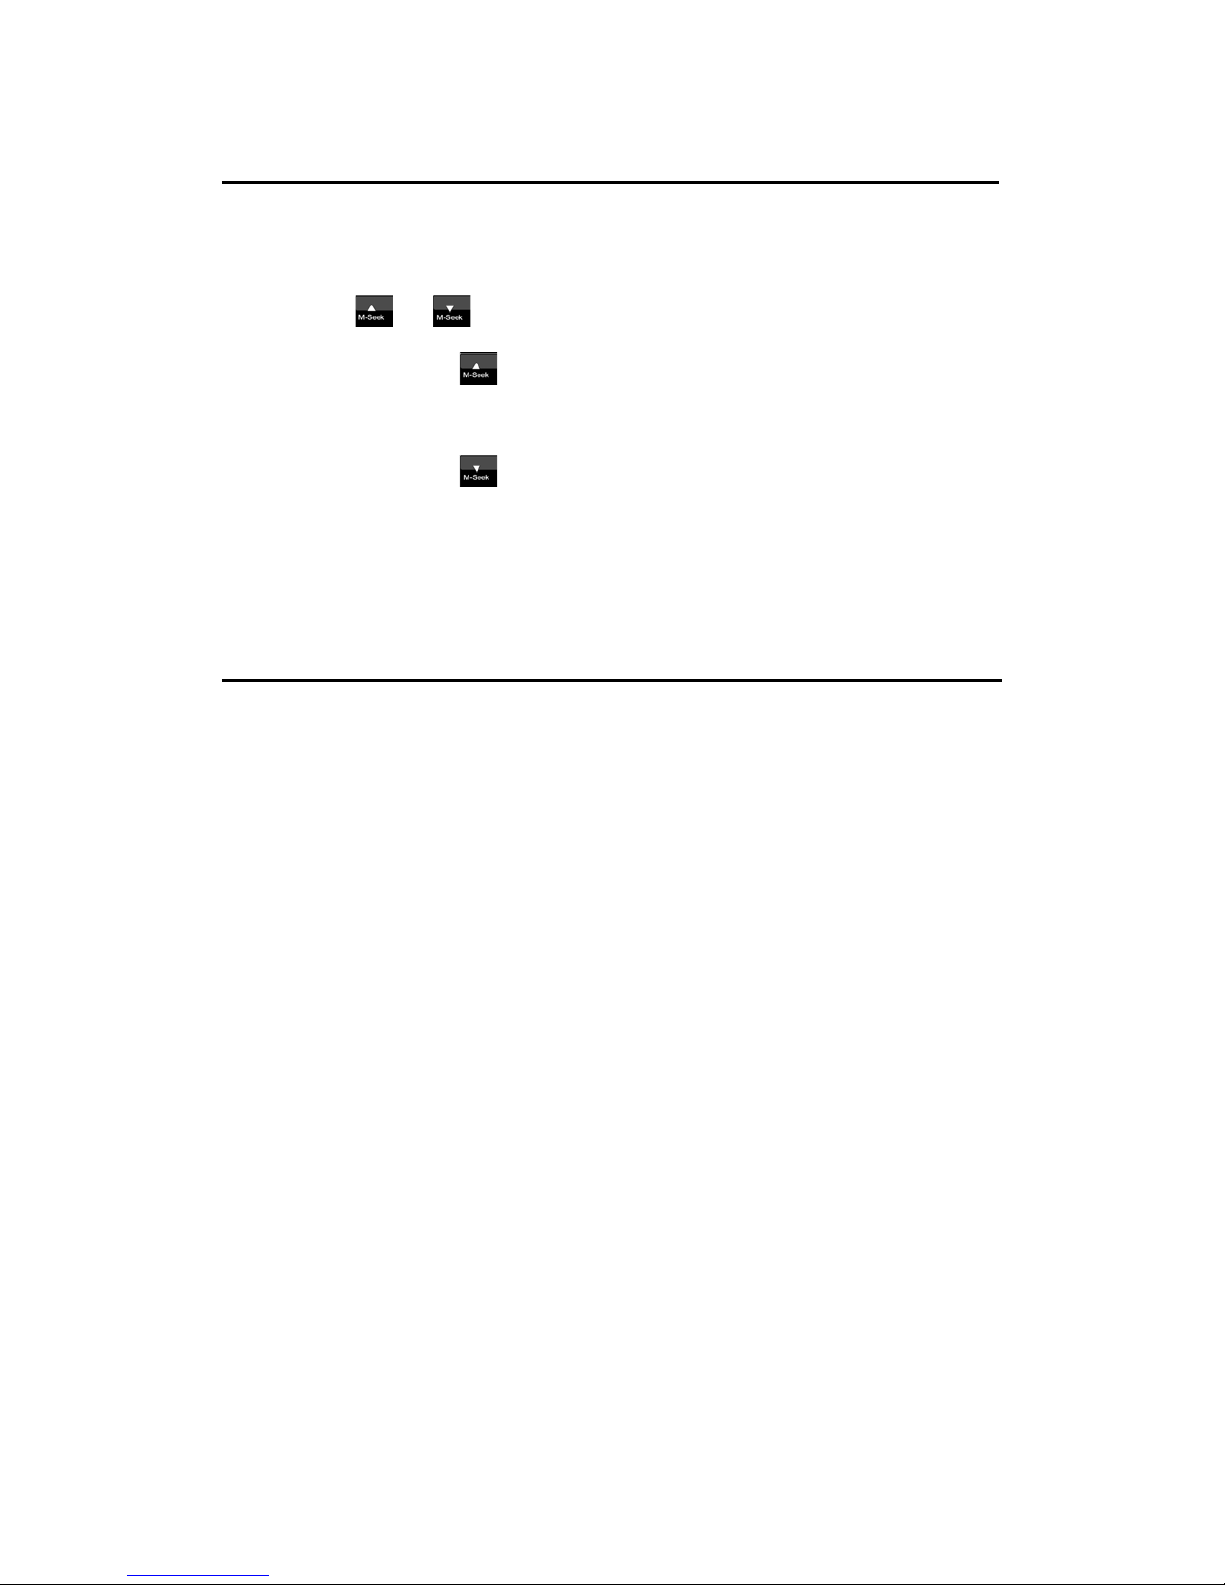
2. Touch the
or button to manually select a station.
ĆWhen touching the
button, the frequency is tuned in the direction of
higher frequencies.
ĆWhen touching the
button, the frequency is tuned in the direction of
higher frequencies.
Recalling a preset station
There are total of 48 preset positions (16-FM, 16-AM) to store individual radio
stations in memory.
There are 2 ways available to recall the preset station.
Using the remote controller
1. Press the [Band] key on remote control to select the desired Band (FM or
AM).
2. Press the preset number desired on the 0~9 numeric keypad.
Using the Preset List screen
1. Touch the [List] button.

2. Touch the corresponding Preset button to recall the stored station.
You can select the desired Band by touching the [Band] button. Scroll through
pages using scroll bar buttons to the right of the presets.
Touching and holding the desired Preset button for more than 2 seconds will
store the current station to the preset memory.
3. Touch the [List] button to return to the previous screen.
Manual memory
1. Touch the [Band] button to select the desired Band (FM or AM).
2. Select the desired station with the seek tuning, manual tuning, or preset
tuning.
3. Touch the [List] button.
4. Touch and hold one of the Preset button for more than 2 seconds to store
the current station into the preset memory.
5. Scroll through the 3 pages of presets in each Band by pressing the scroll
bar buttons to the right of the presets.
Auto store
The Auto Store is a function for storing up to 16 stations that are automatically
tuned in sequentially. If 16 receivable stations cannot be received, a previously
stored station remains unoverwritten at the memory position.
1. Touch the [Band] button to select the desired Band (FM or AM).
2. Touch the [Auto Store] button momentarily to start the Auto Store function.
Preset scan
The Preset Scan receives the stations stored in the preset memory in order.
This function is useful when searching for the desired station in memory.
1. Touch the [Band] button to select the desired Band (FM or AM).
2. Touch the [PS] button to start the Preset Scan.
3. When the desired station is tuned in, touch the [PS] button again to
continue receiving that station.
DX/LOC setting
The DX/LOC setting changes the Tuner sensitivity in order to separate closely
spaced stations. This feature is useful in areas that have many radio stations in
close proximity.
1. Touch the [LOC] button to switch to LOCAL Tuner sensitivity.
2. Touch the [DX] button to switch to DX Tuner sensitivity.
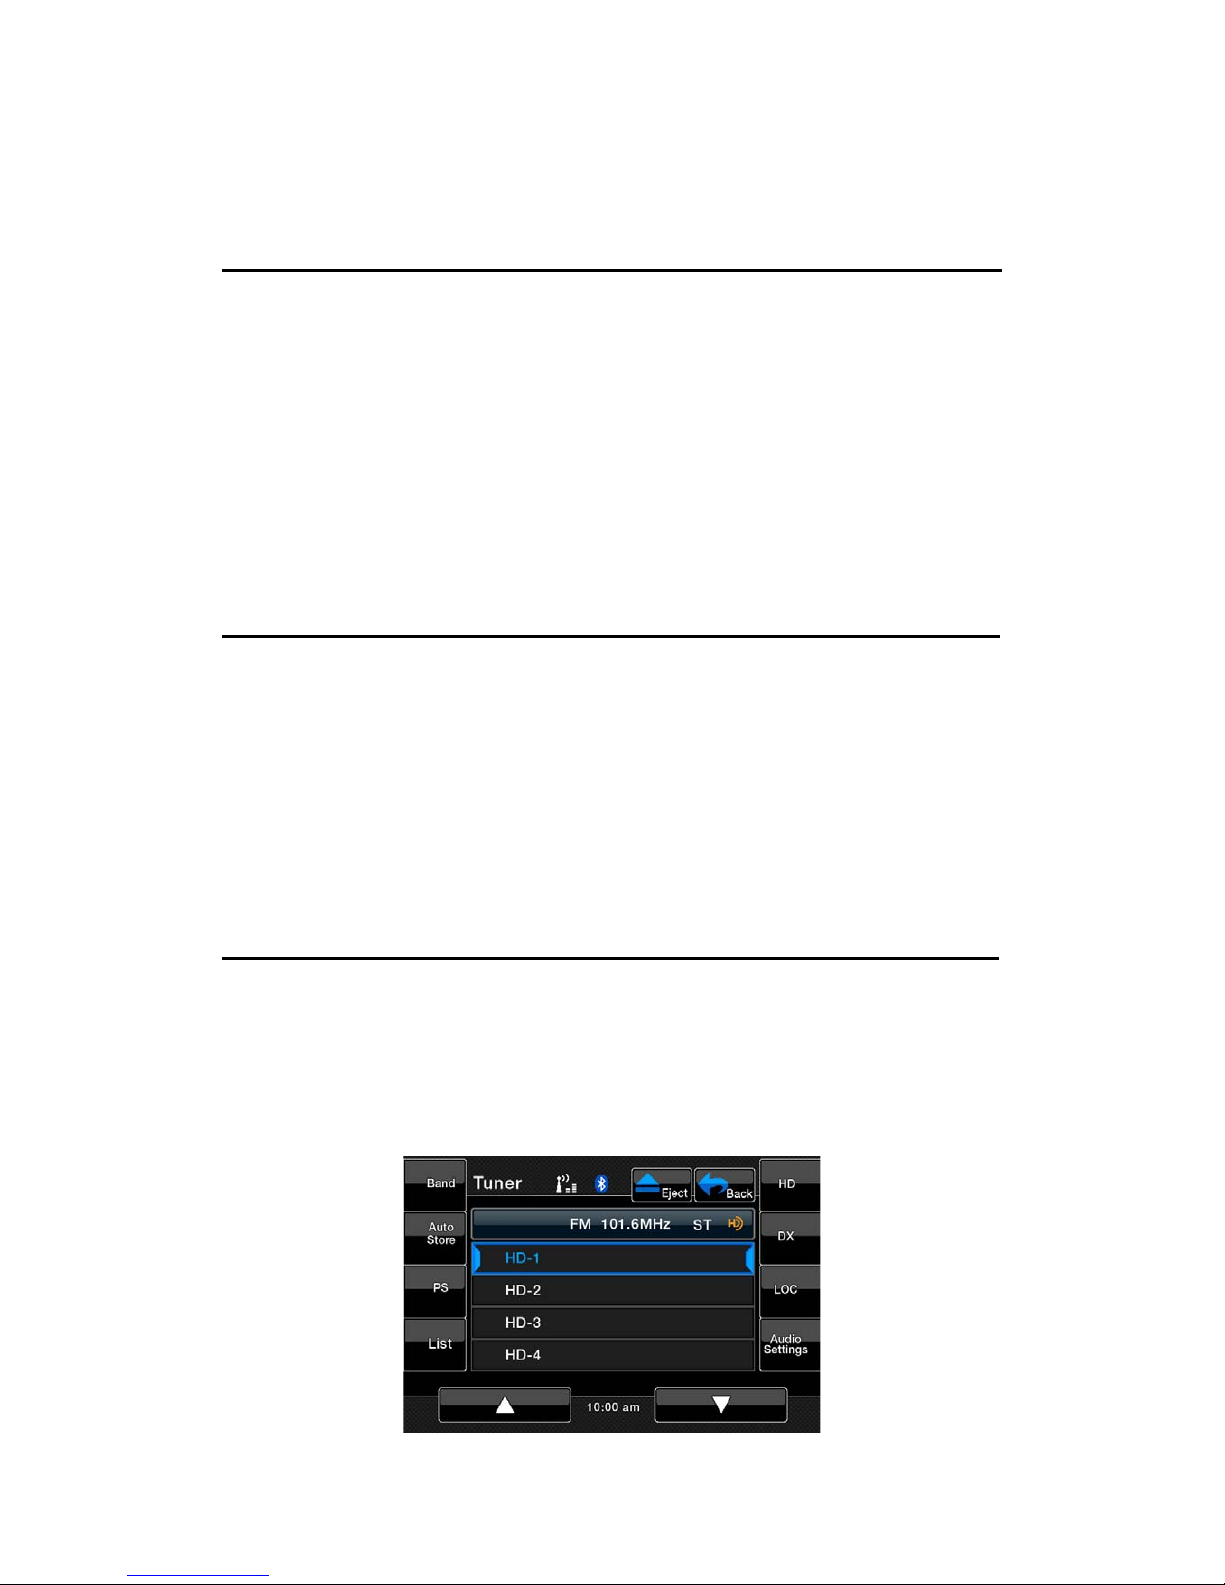
HD Radio subchannel preview
When the subchannel is available, the [HD] button will become activated.
Press it will change the preset list to subchannel list. Press each of the
subchannel to tune to it.
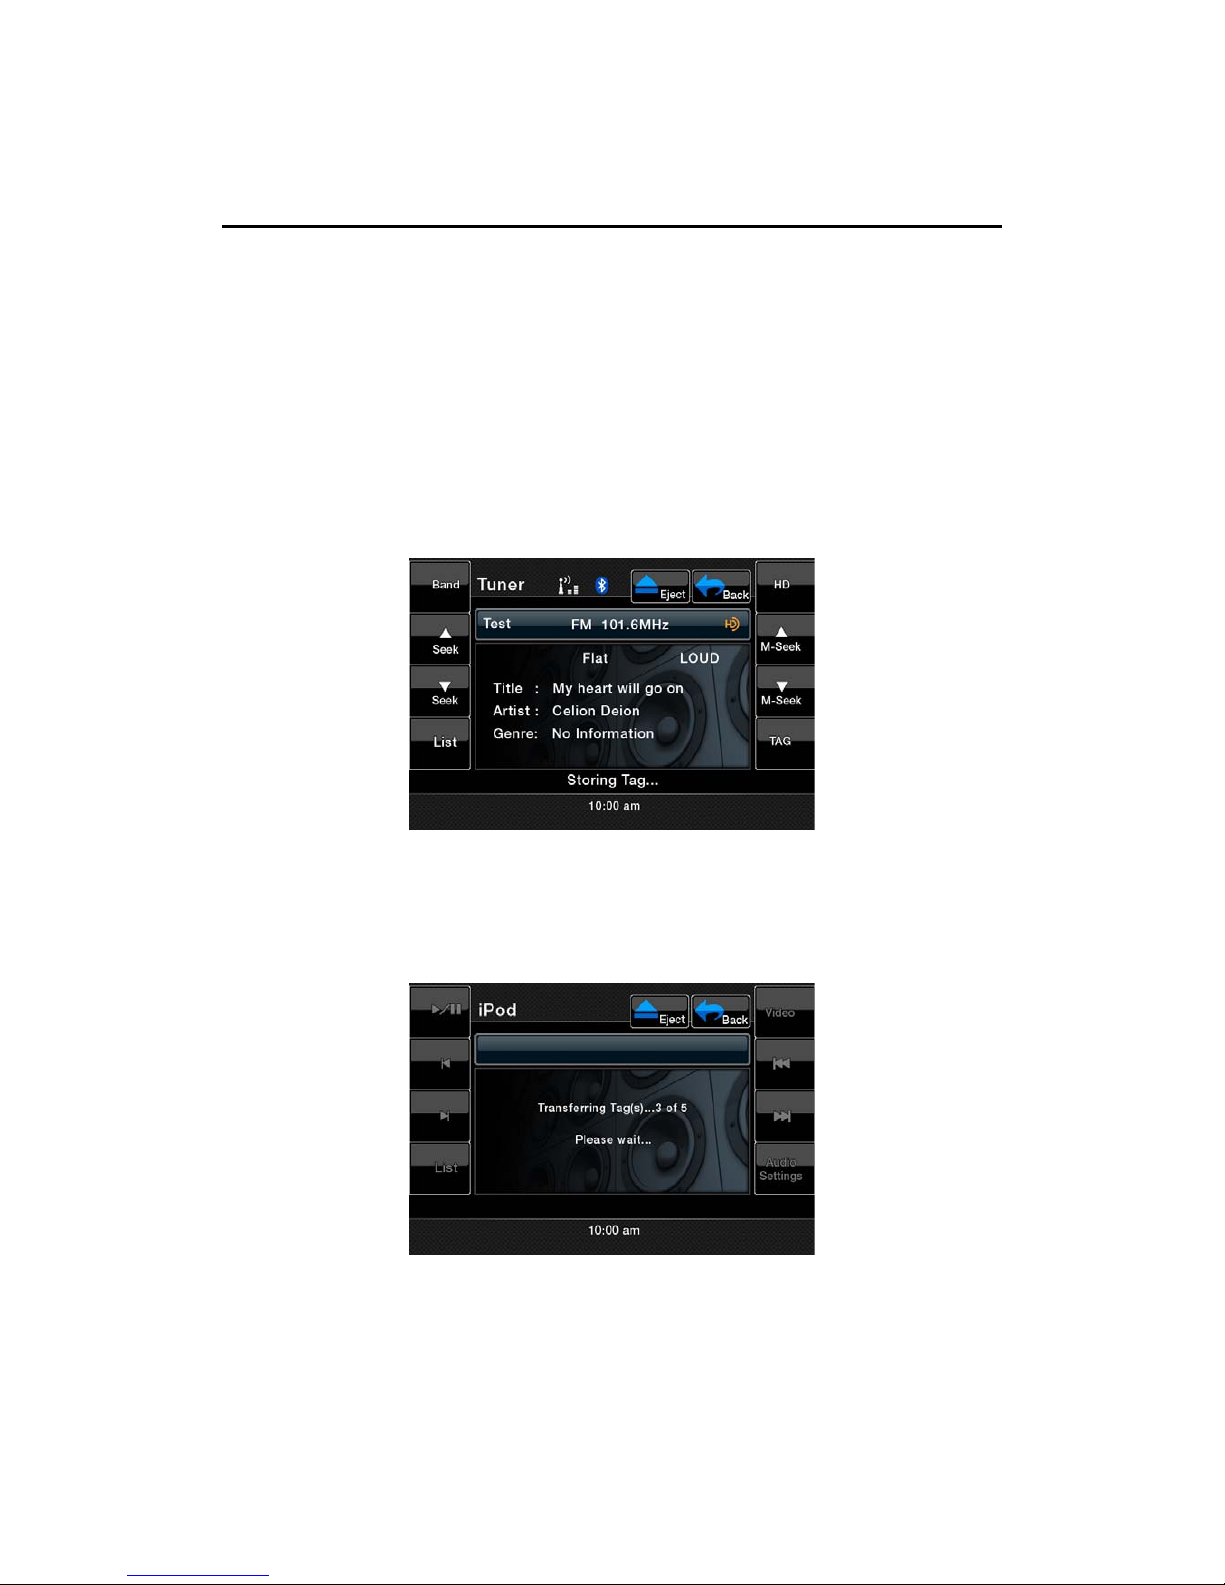
iTunes Tagging Function
A new feature is available to mark songs on HD Radio broadcasts for review
and purchase at a later time from the listener’s personal computer. This feature
is available through HD Radio receivers that build in the new “iTunes Tagging”
feature.
Now iTunes Tagging system is only available for Apple iPod and iPhone.
1. Touch [TAG] button to store the current music information tag to the system.
The capacity is 64 tags totally.
3. When iPod or iPhone is connect to the unit, there will be an iPod logo on
the screen and the radio will transfer the tags information to iPod
automatically.
Sirius Satellite Radio Operations
This function is available when a Sirius Satellite Radio Receiver is connected
through the dedicated connection. This unit requires the following receiver:
ĆSIRIUS Satellite Radio Receiver: SC-C1
Note:
SIRIUS satellite radio is a subscription service. Please contact Sirius Radio to begin or
alter you subscription:
Ć
Internet: www.sirius.com
Telephone: 888-539-SIRIUS(747487)
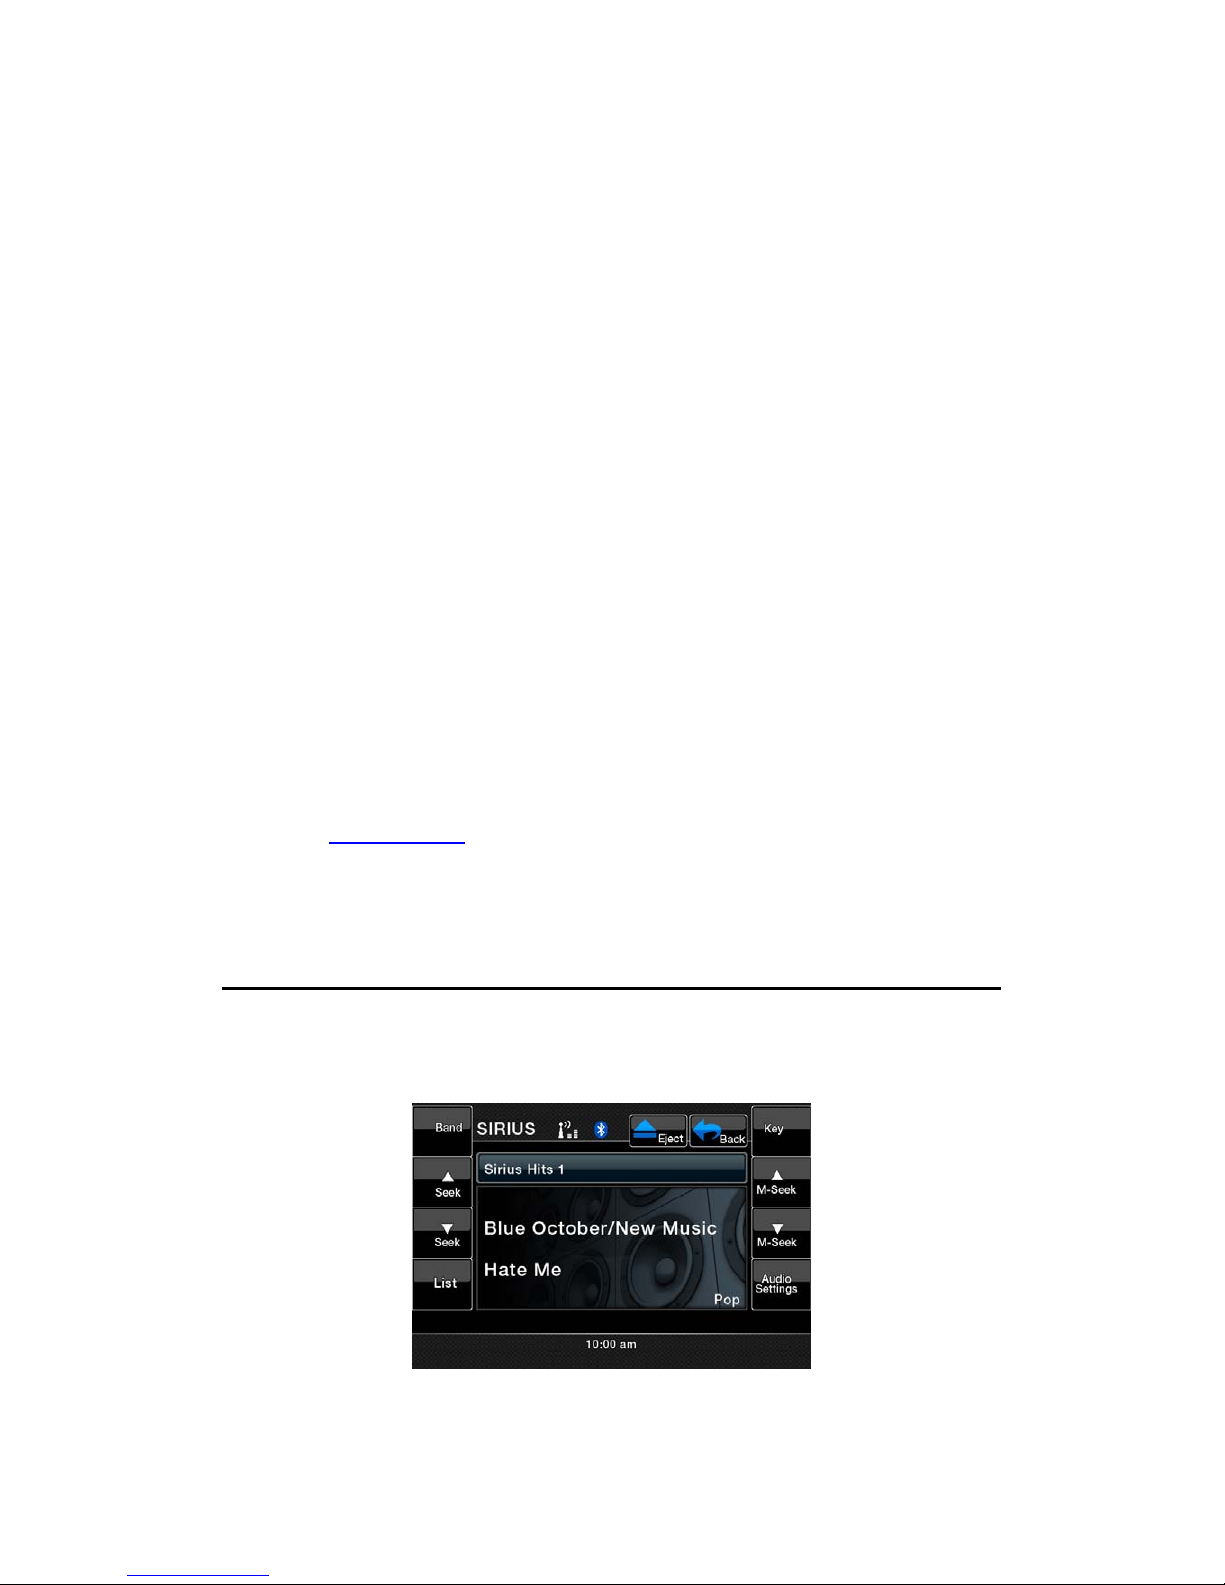
Selecting a Satellite Radio mode
1. Press the [SIRIUS] button on Source display. The system changes to the
Sirius Satellite Radio mode. The Sirius mode screen is displayed.

Selecting you presets
1. Press the [Band] key on remote control or touch the [Band] button to enter
the preset memory menu. You can save up to 20 presets for your favorite
channels for quick access.
Information Displayed During Reception
The following information is displayed when the Satellite radio cannot be
received normally.
ĆWhen the receiver is turned on the first time or after a reset: “UPDATING”
followed by a percentage of completion.
ĆWhen a channel is being tuned in (no signal is yet received): “ACQUIRING
SIGNAL”
ĆA channel not covered by your contract: “CALL 888-539-SIRIUS”
Call (888)539-747487 to activate your radio.
ĆWhen a channel is out of air time: “OFF AIR”
ĆWhen the antenna is disconnected or has been damaged: “ANTENNA
ERROR”
Confirming Your Radio ID
1. Touch the [KEY] button on the SIRIUS Menu display the keypad. Enter [0]
and press [OK].
Your SIRIUS ID (12-digit number) will be displayed.
2. To return to the Sirius Radio, enter a new channel to resume.
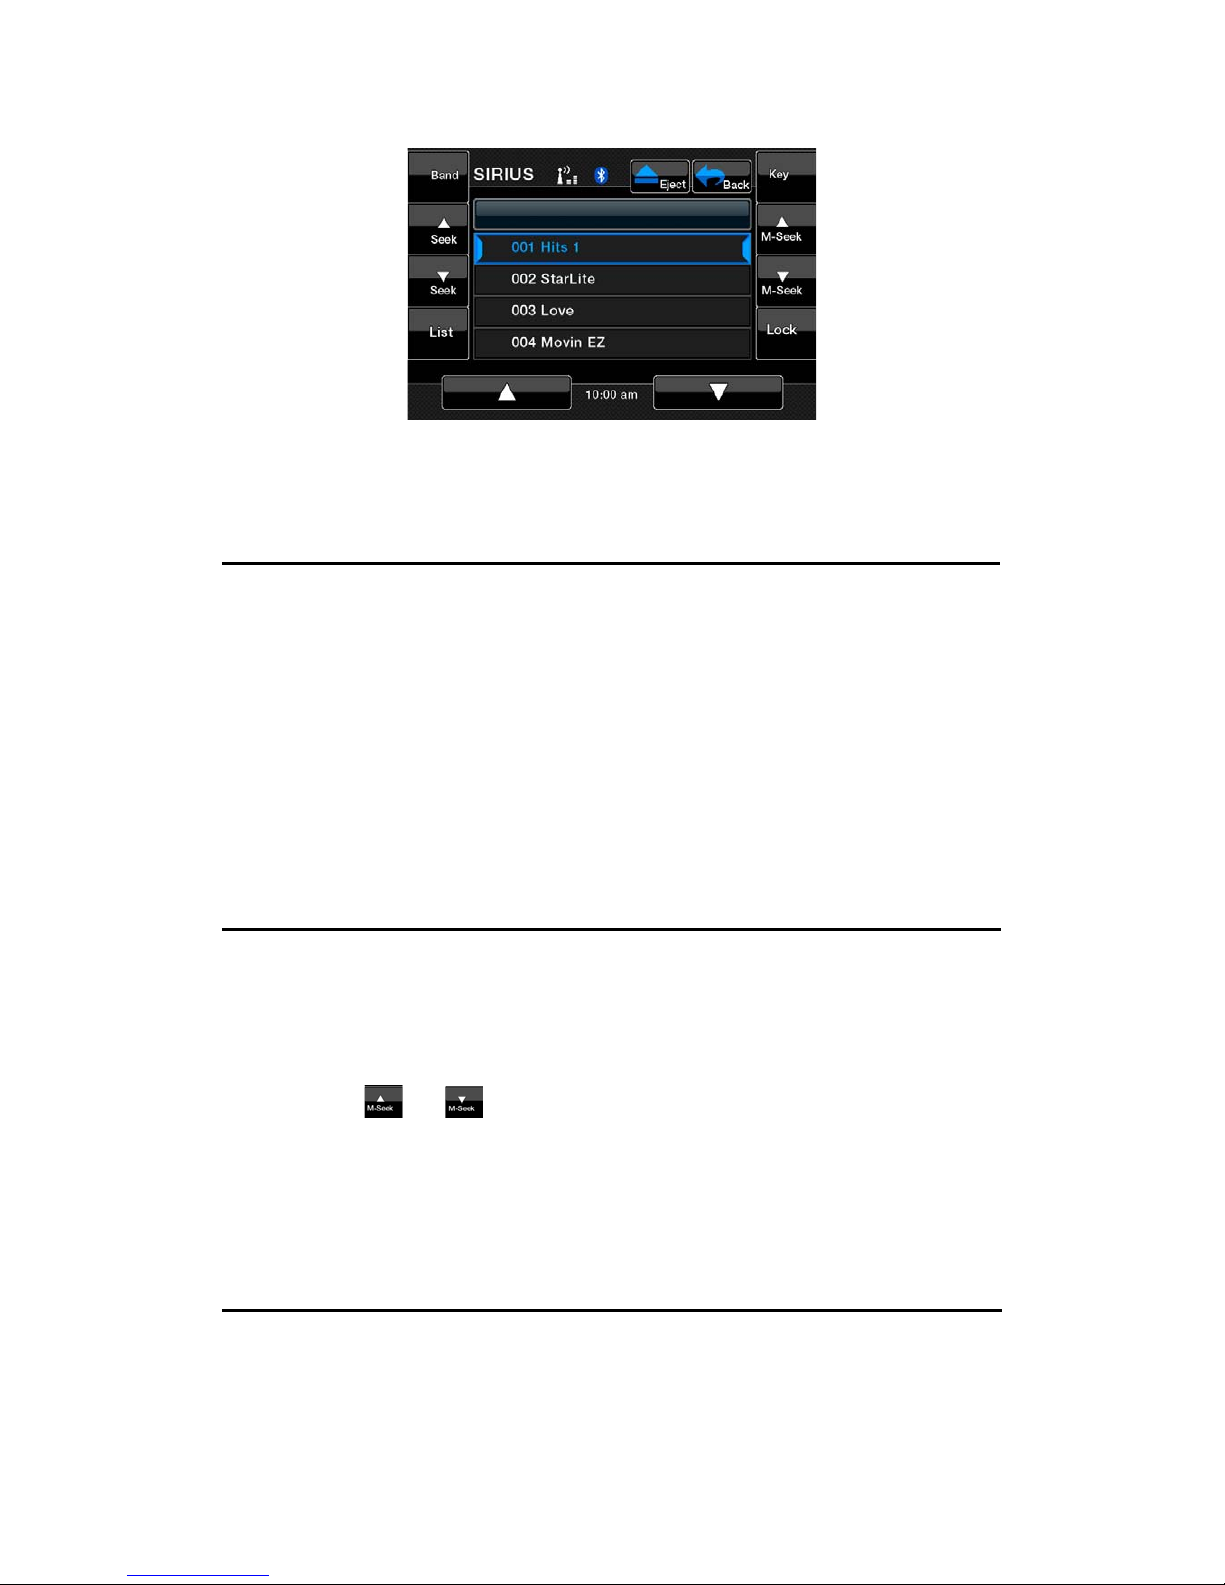
Displaying channel labels
1. Touch the [List] button and the next four channels are displayed for your
ease of viewing.
2. Touch the [List] button again to return to the main display screen.
Selecting a station with the channel number
1. Touch the direct access button on the Sirius screen to enter direct channel
selection.
2. Enter the channel number of your desired station by touching the [0] to [9]
buttons.
3. Touch the [OK] button.
The radio channel you entered will be tuned.
Selecting a station with in the tuning mode
Only channels that can be received are selected. Channels that are locked and
channels not covered by the contract will be skipped. The receiver seeks the
next available channel below or above the current channel.
1. Touch the
or button.
The receiver seeks the next available channel below or above the current
channel.
Saving a preset station
A total of 20 satellite radio stations can be stored in the receiver’s memory. You
can access the presets by pressing the BAND button. This allows you to stores
your favorite satellite radio stations the memory for later recall.

1. Enter the channel number of your desired station by touching the [0]
presets.
2. Touch and hold for more than 2 seconds the corresponding preset button to
save the selected channel.
ĆThere are 5 pages of preset memory space available for your use. You can
scroll the right of the screen.
3. Touch the [Band] button to return to the previous screen.
Auto preset store
1. Touch the [Band] button and hold it for 3 seconds and the selected channel
will be stored in the next available empty preset location.
Recalling a preset station
A total of 20 satellite radio stations can be recalled from the receiver’s memory.
You can access the presets by pressing the [Band] button. This allows the
memory for later recall.
1. Touch the [Band] button to enter the preset list to select or save your
presets.
2. Touch the corresponding Preset button (1 to 4) to recall the desired preset
station.
ĆThere are 5 pages of preset memory space available for your use. You can
scroll the right of the screen.
3. Touch the [Band] button to return to the previous screen.
Deleting a preset
1. Touch the [Band] button and enter the preset menu.
2. Select the preset you would like to delete by touching it in the preset menu.
3. Touch and hold the [Del] button for more than 3 second.
 Loading...