

Page 1
PANtC
Smarthome.com, Inc. (800) SMART-HOME
(949) 221-9200 http://smarthome.com
TRANSMITTER
USER’S INSTRUCTIONS
(Model PT-434)
8
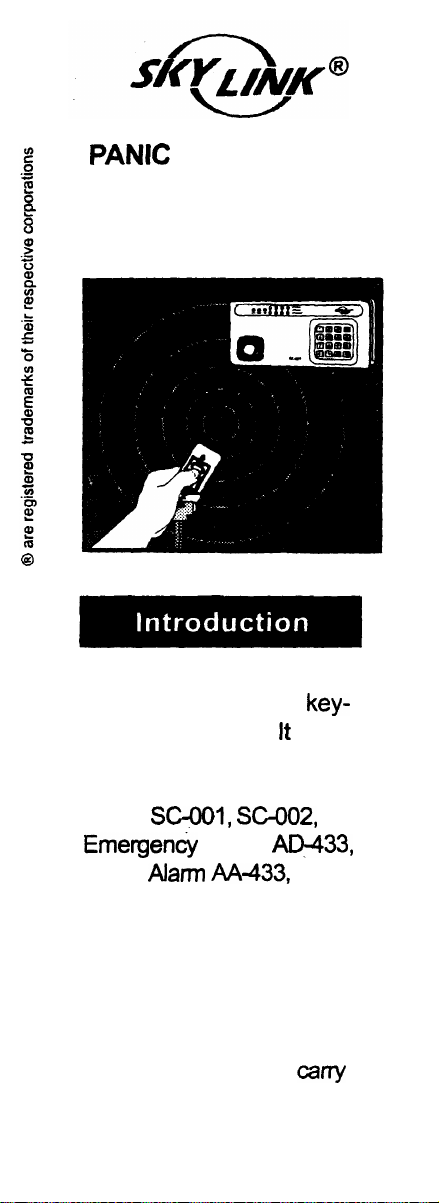
The Panic Transmitter conveniently fits on any
chain or necklace. it allows
you to activate Skylink’s
receivers (Secuftiy Control
Panel
Emerge&y Dialer
Audio
Alarm SW-433) from a
maximum distance of
approximately 100 feet
from the receiver. This
transmitter is water
resistant and shock resistant, it allows you to
this transmitter all the time.
SGOO1, SC-002,
AD+,
Alarm AA-433,
key-
Silent
cany
Page 2
Enter the current
Smarthome.com, Inc. (800) SMART-HOME (949) 221-9200 http://smarthome.com
1.
MPIN
(Master Personal Identification Number)
on the SC-001, SC-002.
2.
Press [B].
Press the number key to identify which zone to add the panic
3.
transmitter to. Do not program the transmitter to zone
1,2,3,4.
The panic transmitter is designed to be programmed in zone 5
for SC-001 and zone 9 for SC-002.
Therefore, press
The zone light(s) will flash for eight seconds.
4.
While the zone light(s) are flashing, press [ *I. Now both the
5.
[5]
for SC-001 and press
[9]
for
SC-002.
green and red lights flash for 30 seconds.
6.
While the zone lights are flashing, activate the panic transmitter
by pressing the button on the transmitter. The red LED light of
the sensor will flash. You will hear a long beep from the control
panel, the zone light will stop flashing and the panic transmitter
will now communicate to that zone.
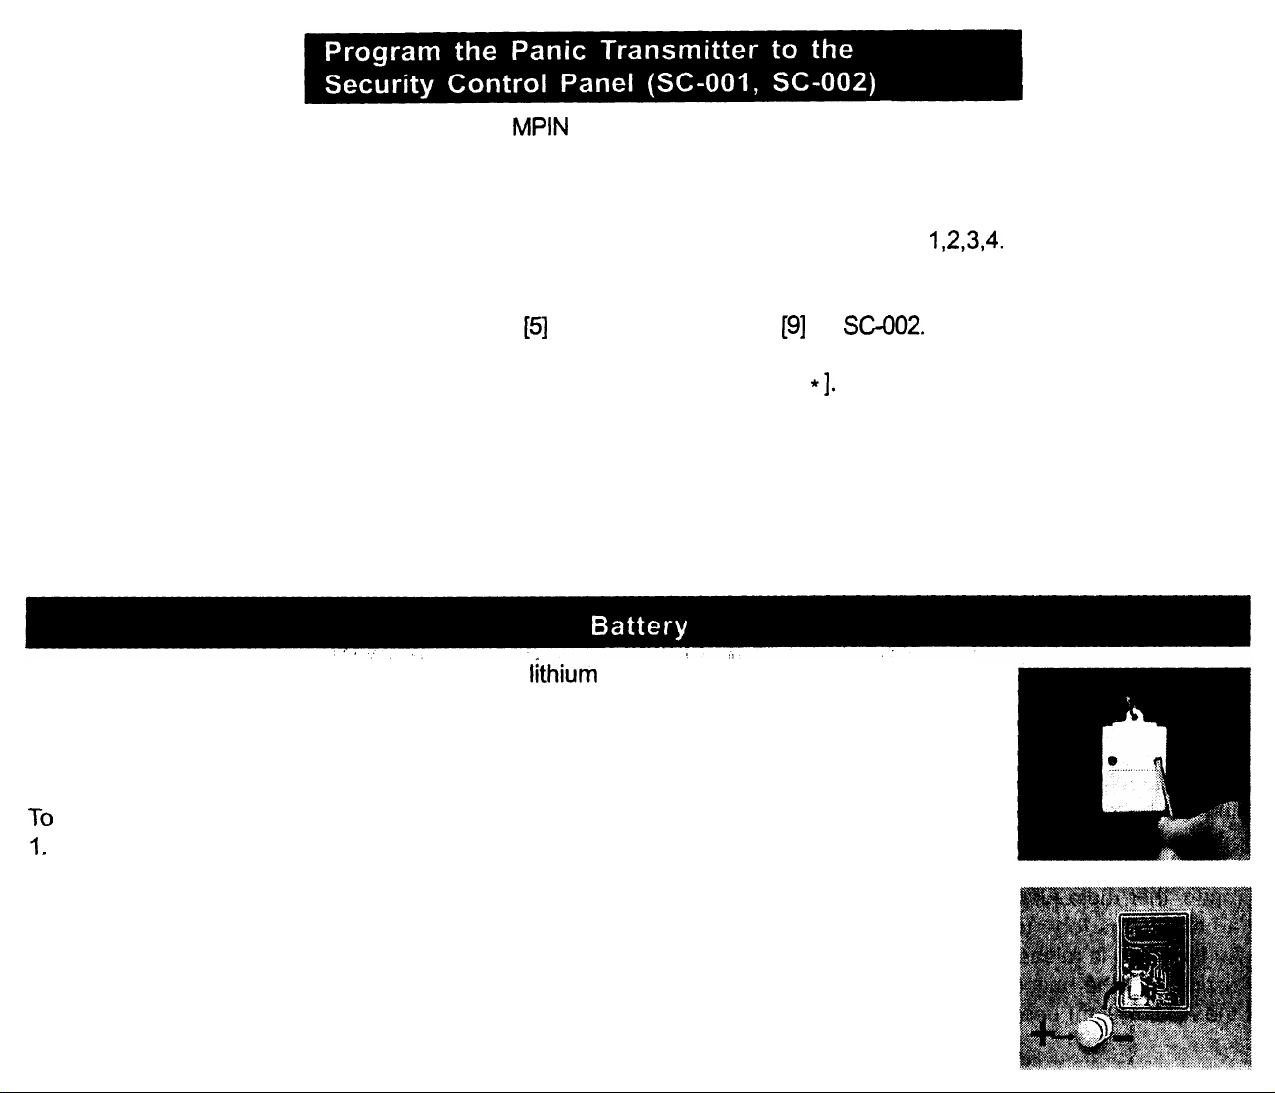
The Panic Transmitter operates on three 3-volt
lithium
batteries that are installed at the
factory. The battery life of these lithium batteries is approximately three years. There are
two screws on the back of the transmitter that hold the top and bottom case together.
Recommendation: Test your transmitter periodically to ensure that all the batteries are
working.
To replace the Panic Transmitter batteries:
?
_
Undo the two screws on the back of the transmitter. The bottom case will then come
off.
2. Take out all the old batteries using a small screwdriver or a pen.
3. Place the new batteries in position. The positive end should be facing upward as you
place the batteries in the transmitter (refer to diagram)
4. Close the battery cover and reinsert two screws.
Page 3

Press [L],
Smarthome.com, Inc. (800) SMART-HOME
(949) 221-9200 http://smarthome.com
show
Activate the panic transmitter
[5]
“L5
when in clock.mode, the display will_
Id
codE”.
within
5 seconds by
pressing the button on the transmitter. The red LED
light of the transmitter will be on when the button is
pressed. The display will return to clock mode once
the panic transmitter has been learned.
If the button of the panic transmitter is pressed, it
will trigger the Emergency Dialer and start
dialing-
the preset phone numbers (refer to AD-433, AD-002
User’s Instruction for details).
-
In an emergency, you can
activate the
Skylink
re-
ceivers using the Panic
Transmitter. Move the sliding cover and press the
panic button for one second.
This will activate the “learned”
Skylink receiver(s).
-
Note: Make sure you press
down on the transmitter for
one full second or the system may not respond.
The Remote Control is
approved by the FCC and
it complies with Part 15
of the FCC Rules. Its
operation is subject to the
following two conditions
I.
This device may not
cause harmful interference.
2. This device must accept
any interference that
may cause undesired
operation.
WARNING:
Changes or modification3
to this unit not expressly
approved by the party
ponsible of compliance
:
could void the user’s
authority to operate the
equipment.
res
 Loading...