

Page 1
1-Button Remote
2-Button Remote
3-Button Remote
1. INTRODUCTION
Model LK-318-1
Model LK-318-2
Model LK-318-3
4. ON / OFF OPERATION
Thank you for your purchase of a SkylinkHomeTM Remote, Model LK318-1/ LK-318-2 / LK-318-3. This remote which is also called transmitter
in this document allows you to wirelessly operate SkylinkHomeTM receiver
modules.
All wireless signal communications within the SkylinkHomeTM system are
based on rolling code technology to ensure highest security is used.
The following items are included in
this package:
- One of LK Series Remotes
- Lithium Battery CR-2032 (Installed)
- User’s Instructions
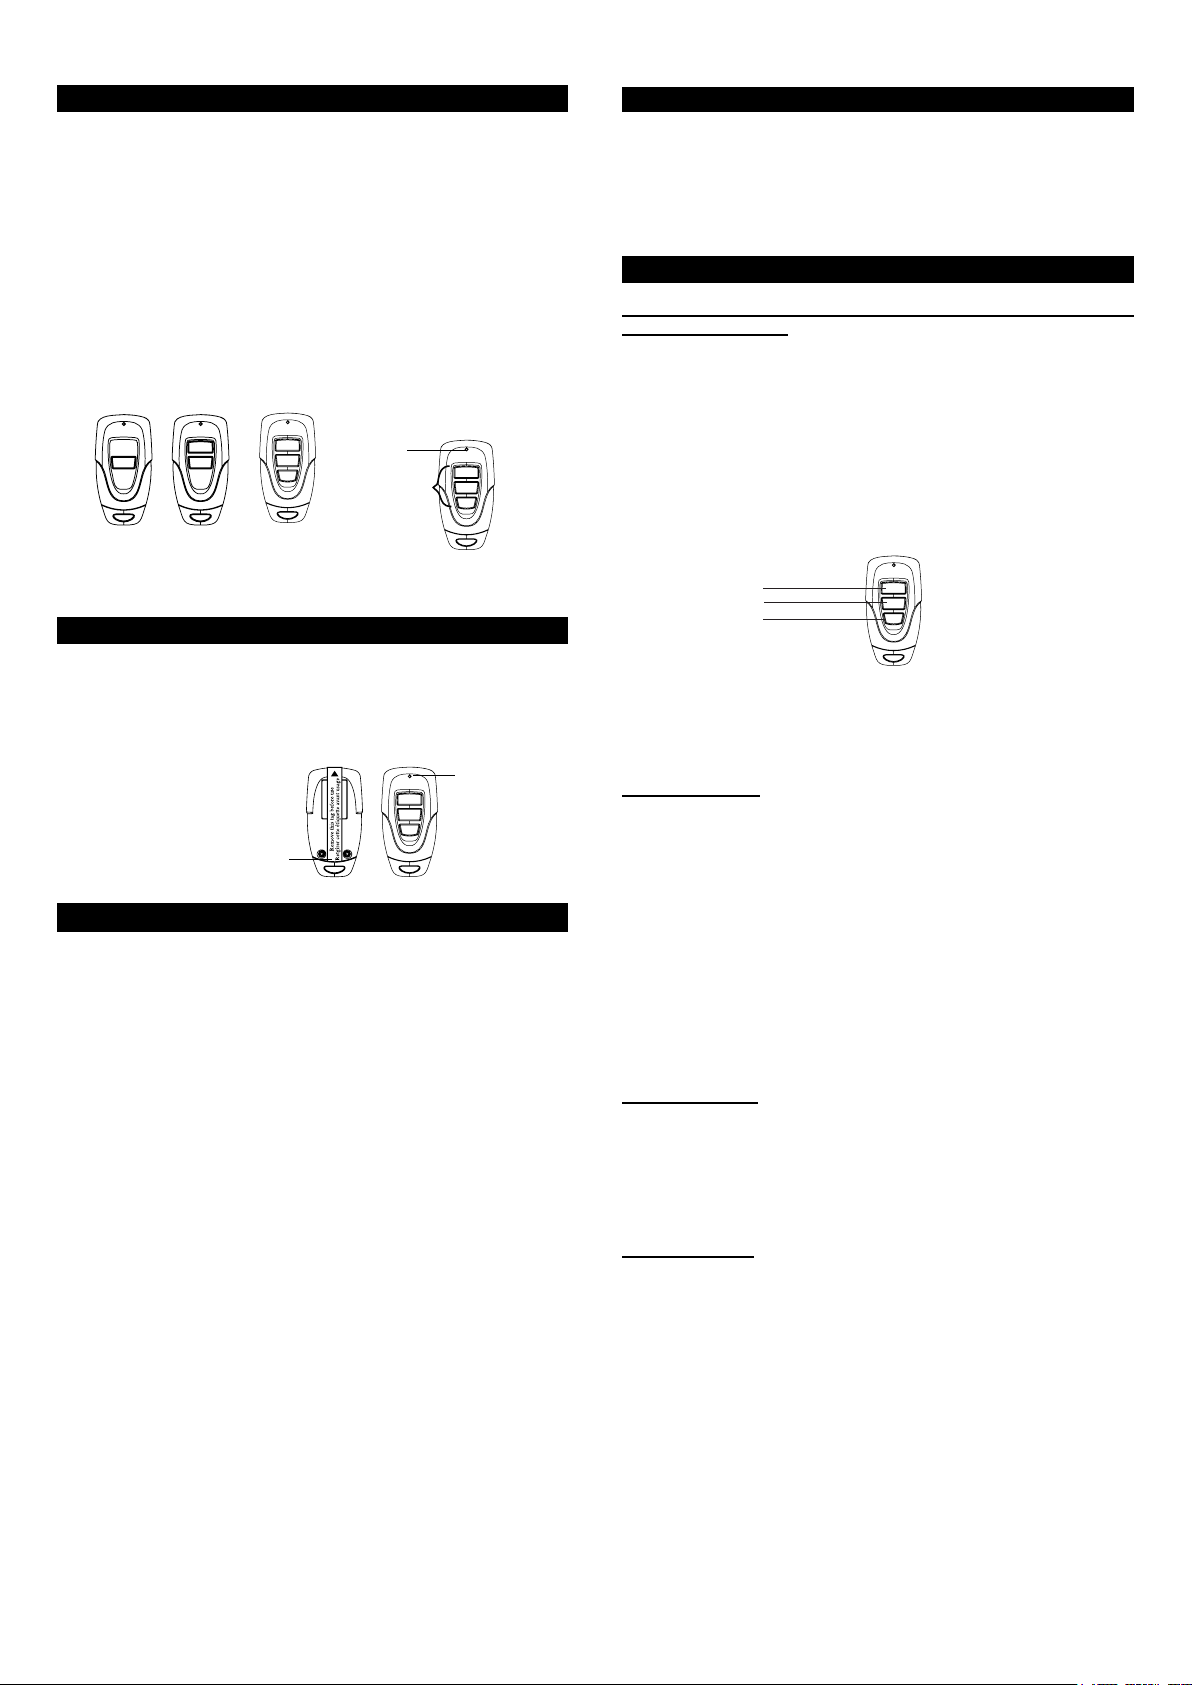
Red
LED
Buttons
1-Button
Transmitter
LK-318-1
2-Button
Transmitter
LK-318-2
3-Button
Transmitter
LK-318-3
2. POWER UP
To power the transmitter, simply remove the battery isolator from the
transmitter, red LED will ash once. Press the button on the transmitter,
the red LED should ash. The transmitter is now powered properly. If
the red LED does not ash when button is pressed, refer to Section 6
“Battery” of this manual.
1) Remove isolator,
2) LED on for 1 second
Remove
isolator
LED on for
1 second
3. PROGRAMMING TRANSMITTERS TO RECEIVER MODULE
In order to operate the receiver module remotely with a transmitter, it
must be programmed to the receiver module.
To program a remote to the receiver module, a “Learn” code must be
transmitted, follow the instructions below to transmit the “Learn” code
to the receiver.
1. Put the receiver module that you plan to program into programming
mode. Refer to the User’s Instructions of that receiver module.
2. Press 1 and 2 simultaneously and hold for 2 seconds until the LED
changes from on to ashing quickly. Release the buttons. The red
LED on the transmitter will be on for 15 seconds.
3. Press the button on the remote that you plan to use when the LED is
steadily on to transmit the “Learn” code.
4. Once the remote is programmed, the receiver modules will quit from
programming mode and the programmed transmitter is ready to be
used now.
Learn Code
Follow steps 2 and 3 above to transmit the “Learn” code when
programming the remote to receiver modules.
You may follow the same instructions to program different buttons on the
transmitter to different receiver modules.
Pressing the programmed button on the transmitter once will toggle
the status of the load that is connected to the receiver module, i.e. if the
light is off, pressing the button turns on the light, and vice versa.
When the programmed button is pressed, the red LED ashes briey
indicating signal is transmitting.
5. ADVANCED FEATURE - PASSWORD PROTECTION
Password protection (Only available for LK-318-3 (Not available for
LK-318-1 or LK-318-2)
The LK-318-3 can be password protected. If you enable the password
protection, you can only operate LK-318-3 after you input the correct
password.
Password can be 2-8 digits long, which is a combination of 1, 2 and 3. For
example, password can be 1, 2, 1, 2. To input this password, you have to
press button [1], then [2], then [1], then [2].
Note:
[1] = Button 1 [2] = Button 2 [3] = Button 3
Button [1]
Button [2]
Button [3]
Note:
The time-out period is 1 second during above password input.
The factory default password is 2, 2, 2, and this password function is
disabled out of factory.
Change password
1. Press 1 and 3 simultaneously and hold for more than 10 seconds
until the LED changes from ashing quickly to ashing slowly.
2. Input old password.
3. Press 1 and 3 once simultaneously to conrm. If the password is
wrong, the LED will ash 3 times and you have to start it over from
step1.
4. Input new password.
5. Press 1 and 3 once simultaneously to conrm.
6. Input new password again.
7. Press 1 and 3 once simultaneously to RE-conrm. If the password is
different from the one of step 4, the LED will ash 3 times and you
have to start over from step 1. Otherwise, the password has been
changed to the new one and the password protection is enabled.
Disable password
1. Press 1 and 3 simultaneously and hold for more than 5 seconds
until the LED ashes quickly but not until the LED ashes slowly.
2. Input old password.
3. Press 1 and 3 once simultaneously to conrm. If the password is
the password protection will be disabled.
Enable password
1. Press 1 and 3 simultaneously and hold for more than 2 seconds
until the LED ashes quickly but not until the LED ashes slowly.
2. Input old password.
3. Press 1 and 3 once simultaneously to conrm. If the password is
correct, the password protection will be enabled.
You can toggle the two states - password protection enabled or
disabled.
Note:
The time-out period is 15 seconds during any of the above setting opera-
tions. After 10 seconds, the LED will ash 3 times and the remote will exit
from setting.
Page 2
5. ADVANCED FEATURE - PASSWORD PROTECTION (CONT)
10. ACCESSORIES
If you forget your password and want to reset LK-318-3, follow the
steps below:
1. Press 1 and 2 simultaneously and hold for more than 15 seconds
until the LED ashes.
2. After you release 1 and 2, the LED will be turned off and LK-318-3
will be reset. The password will be reset to factory default.
After the reset, password protection is removed but the remote can not
control any receiver until you reprogram it to receivers you want to
control.
6. BATTERY
When the operating range is reduced, or when the red LED does not
ash during operation, it is time to replace the battery.
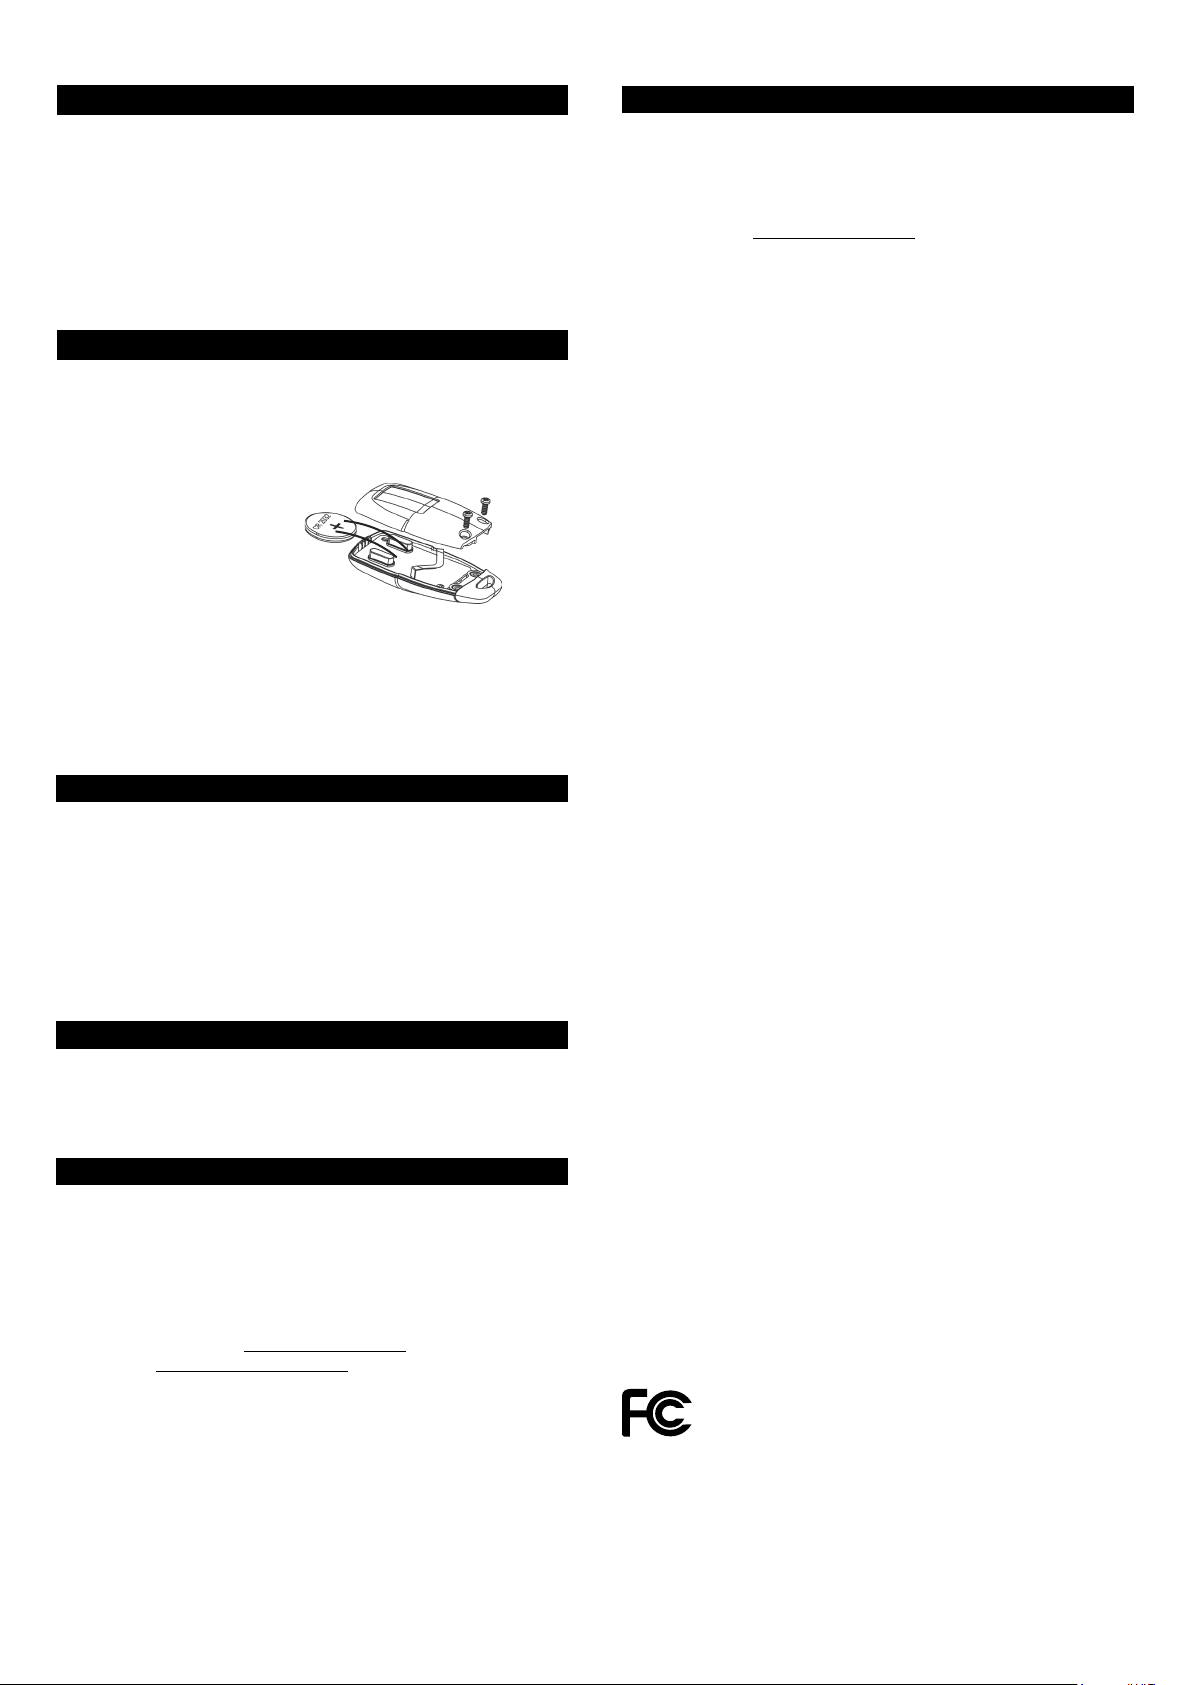
The transmitter is powered by a lithium battery CR-2032. Follow the
instructions below to replace the battery to the transmitter.
Lithium battery CR-2032
included. (Positive side up)
1. Undo the two screws on the back of the remote. The bottom case will
then come off.
2. Take out the old battery.
3. Place the new battery in position.
4. Close the cover and reinsert two screws.
The SkylinkHomeTM System consists of many other devices such as
SkylinkHomeTM Remotes, Motion Sensor, ON/OFF Wall Switch, Wall
Dimmer, Plug-In Dimmer with or without Repeater, Plug-In ON/OFF
Control (Outdoor/Indoor), Screw-In Dimmer, ON/OFF/Dimming Control,
ON/OFF Control, Smart ButtonTM Garage Door Control, etc. Please visit
Skylink website at www.skylinkhome.com for more information.
Note: Dispose of old battery promptly and properly.
7.FCC
The device is approved by the FCC and it complies with Part 15 of the
FCC Rules. Its operation is subject to the following two conditions :
1. This device may not cause harmful interference.
2. This device must accept any interference that may cause undesired
operation.
WARNING:
Changes or modications to this unit not expressly approved by the party
responsible
of compliance could void the user’s authority to operate the equipment.
8. WARRANTY
If, within one year from date of purchase, this product should become
defective (except battery), due to faulty workmanship or materials, it will
be repaired or replaced, without charge. Proof of purchase and a Return
Authorization are required.
9.CUSTOMER SERVICE
If you would like to
- nd out the up-to-date specications
- know more about features and applications
- download documents, i.e. user’s instructions
- order Skylink products
or if you have difculty getting products to work, please:
1. visit our FAQ section at www.skylinkhome.com, or
2. email us at support@skylinkhome.com, or
3. call our toll free at 1-800-304-1187 from Monday to Friday,
9 am to 5 pm EST. Fax (800) 286-1320
CUSTOMER SERVICE
17 Sheard avenue, Brampton, Ontario, Canada L6Y 1J3
Email : support@skylinkhome.com
http://www.skylinkhome.com
P/N. 101Y058
Patent Pending
© 2012 SKYLINK GROUPE
 Loading...