

Page 1
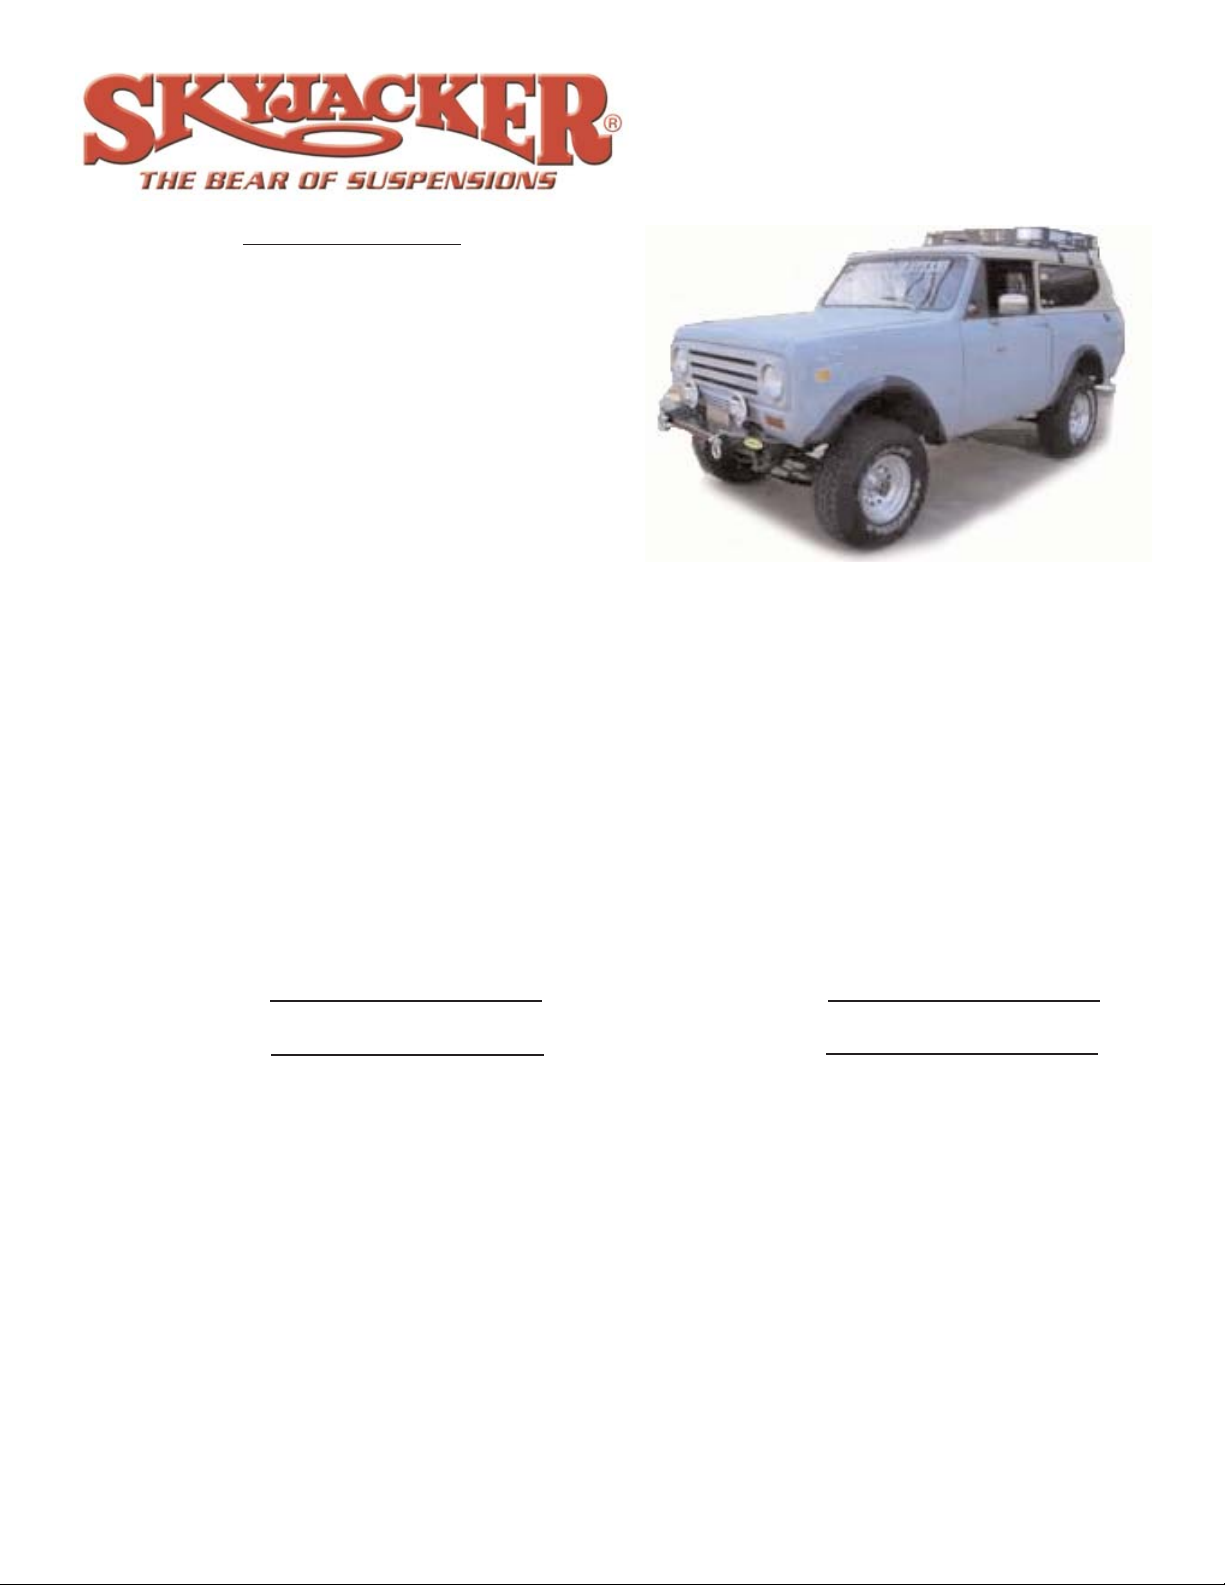
1972-1982 Scout II & Traveler 4WD
Installation Instructions
Part # S20K & S40K
I-S24 4-03 Pg 1
Before beginning the installation, read these instructions and the enclosed driver’s WARNING
NOTICE thoroughly and completely. Also affix the WARNING decal in passenger compartment in
clear view of all occupants. If any of these items are missing from this instruction packet, do not proceed with installation, but call SKYJACKER®to obtain needed items. If you have any questions or
reservations about installing this lift kit, call SKYJACKER®at 318-388-0816 for Technical Assistance
or Customer Service departments.
Make sure you park the vehicle on a level concrete or asphalt surface. Many times a vehicle is un
level (side-to-side) from the factory, but usually not noticed until a lift kit has been installed which
makes the difference more visible. Using a measuring tape, measure the front and rear (both sides)
from the ground up to the center of the fender opening above the axle. Record below for future reference.
Driver Side Front: Passenger Side Front:
Driver Side Rear: Passenger Side Rear:
IMPORTANT NOTES:
• Please refer to Parts List to insure that all parts and hardware are received prior to disassembly of
vehicle. If any parts are found to be missing, contact your dealer as soon as possible.
• After installation occurs, a qualified alignment facility is required to align the vehicle to factory
specs.
REQUIRED TOOL LIST:
* Metric and Standard wrenches and sockets
* Floor Jack
* Jack Stands
* Measuring Tape
* Torque Wrench
Page 2

Front Installation Instruction:
1. Raise front of vehicle. Set emergency brake. Support frame ahead of axle with jack stands. Place
floor jack under the axle.
2. Remove the front shocks and u-bolts and raise the axle with the floor jack.
3. Remove the spring's pivot bolt and nut. Remove both springs from vehicle. Grease the eye's of
the new front springs and the head of each bushing and install polyurethane bushings and
sleeves into new springs. Install new spring into vehicle(1). Install shackle bolt and nut. Hand
tighten pivot bolt at this time(2). Install other end of springs and tighten bolt and nut.
* It does not matter which end of the spring goes to the front as the front springs have a tie bolt
positioned in the center of the spring.
* The pivot bolt will be tightened after step 6.
4. Slowly lower the axle making sure the tie bolt heads align into the axle pad. Install new u-bolts
and nuts and torque to 75-85 ft. lbs. Re-torque after 100 miles.
5. Install new SKYJACKER shocks.
6. Install tires and wheels. Release emergency brake. Remove jack stands. After vehicle is lowered,
tighten shackle pivot bolts to 30 ft. lbs.
Rear Installation Instruction:
Repeat steps 1 - 6 at this time.
NOTE: The rear springs have a long end and short end. Measure from center of eye to center
of tie bolt to determine long end of springs. The long end of the spring goes to the rear.
NOTE: It may be necessary to space lower shock mount away from mounting bracket to
obtain clearance using ordinary ½" flat washers.
***Re-torque u-bolts after the first 100 miles and periodically thereafter.
Available Accessories:
Stainless Steel Brakelines
Shackle Bushings
Steering Stabilizers
Contact Your Dealer for Pricing!
Note: 2” Lifts require 2 Front springs Part # S20FS, 2 Rear Springs Part # S20RS
Note: 4” Lifts require 2 Front springs Part # S40FS, 2 Rear Springs Part # S40RS
Note: Skyjacker Drop Pitman Arm Part # SA40 is required for both 2” and 4” lifts.
12X234X6U 1/2 X 2 3/4 X 6 U-BOLT ROUND 6
12X318X612U 1/2 X 3 1/8 X 6 1/2 U-BOLT ROUND 2
12X334X912U 1/2 X 3 3/4 X 9 1/2 U-BOLT ROUND 2
12FTN 1/2-20 FINE N/I LOCK NUT 16
SP2028 SCOUT II SPRING BUSHING 16
SSSCOUTII SPRING SLEEVE SCOUT II 8
Part # Description Qty
Contents: Box Kit Part # S24
Pg 2I-S24
 Loading...